1996 PONTIAC PONTIAC light
[x] Cancel search: lightPage 250 of 370
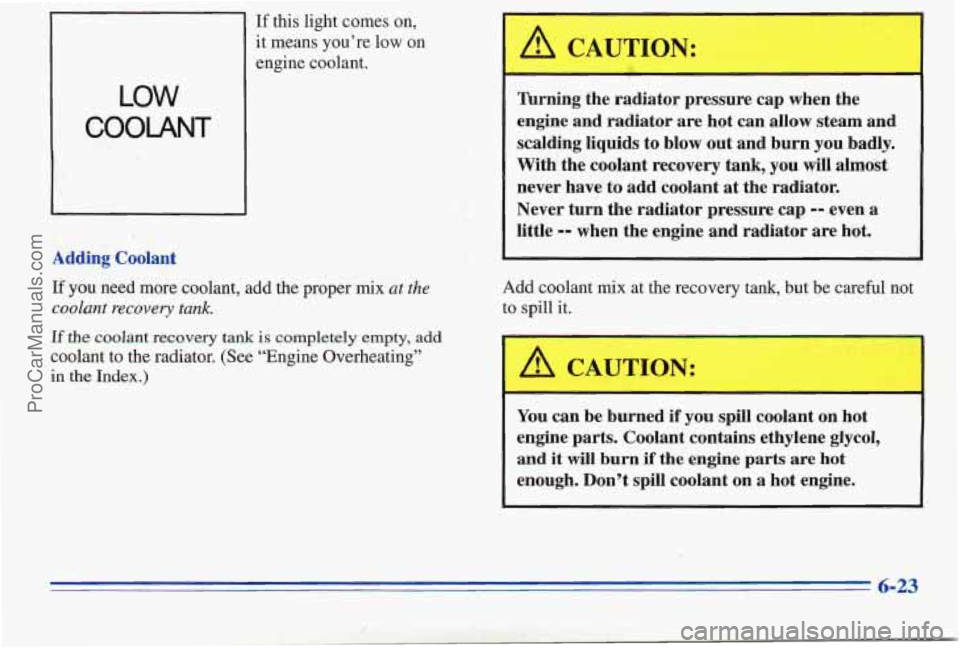
If this light comes on,
it means you’re low on
engine coolant.
LOW
COOLANT
L
Adding Coolant
A CAUTION:
lhrning the radiator pressure cap when the
engine and radiator are hot can allow steam and
scalding liquids to blow out and burn you badly.
With the coolant recovery tank, you will almost
never have.to add coolant
at the radiator.
Never turn the radiator pressure cap
-- even a
little -- when the engine and radiator are hot.
If you need more coolant, add the proper mix at the Add
coolant mix at the recovery tank, but be careful not
coolant recovery tank. to
spill it.
If the coolant recovery tank is completely empty, add
coolant to the radiator. (See “Engine Overheating”
in the Index.) ’ A CAUTION:
You can be burned if you spill coolant on hot
engine parts. Coolant contains ethylene glycol,
and it
will burn if the engine parts are hot
, enough. Don’t spill coolant on a hot engine.
ProCarManuals.com
Page 254 of 370
There are only two reasons why the brake fluid level in the
reservoir might go down. The first is that the brake fluid
goes down to an acceptable level during normal brake
lining wear. When new linings are put
in, the fluid level
goes back
up. The other reason is that fluid is leaking out
of the brake system. If it is, you should have your brake
system fixed, since
a leak means that sooner or later your
brakes
won’t work well, or won’t work at all.
So, it isn’t a good idea to “top off’ your brake fluid.
Adding brake fluid won’t correct a leak. If you add ‘fluid
when your linings are worn, then you’ll have too much
fluid when you get new brake linings. You should add
(or remove) brake fluid, as necessary,
only when work is
done on the brake hydraulic system.
’ A CAUT-ON:
I
- I
If you have too much brake fluid, it can spill on
the engine. The fluid will burn if the engine is
hot enough. You or others could be burned, and your vehicle could be damaged. Add brake
fluid only when work is done on the brake
hydraulic system.
When your brake fluid falls to a low level, your brake
warning light will come on. See “Brake System
Warning
Light” in the Index.
6-27
i _. ProCarManuals.com
Page 256 of 370
Brake Wear
Your Pontiac has four-wheel disc brakes.
Disc brake pads have built-in wear indicators that make a
high-pitched warning sound when the brake pads
are worn
and new pads
are needed. The sound may come and go or
be heard all the time your vehicle is moving (except when
you are pushing on the brake pedal
fldy).
The brake wear warning sound means that sooner
or later
your brakes won't work well. That could
lead to an accident. When you hear the brake wear
warning sound, have
your vehicle serviced.
I NOTICE:
Continuing to drive with worn-out brake pads
could
result in costly brake repair.
Some driving conditions or climates may cause a brake
squeal when the brakes are first applied or lightly
applied. This does not mean something
is wrong with
your brakes.
Free movement
of brake calipers and properly torqued
wheel nuts are necessary to help prevent brake
pulsation. When tires are rotated, inspect brake calipers
for movement, brake pads for wear, and evenly torque
wheel nuts in the proper sequence to
GM specifications.
Brake linings should always be replaced as complete
axle sets.
Brake Pedal navel
See your dealer if the brake pedal does not return to
normal height,
or if there is a rapid increase in pedal
travel. This could be a sign
of brake trouble.
Brake Adjustment
Every time you apply the brakes, with or without the
vehicle moving, your brakes adjust for wear.
6-29
ProCarManuals.com
Page 280 of 370
Uniform Tire Quality Grading
The following information relates to the system developed by the United States National Highway
Traffic Safety Administration, which grades tires by
treadwear, traction and temperature performance. (This
applies only to vehicles sold in the United States.) The
grades are molded on the sidewalls of most passenger
car tires. The Uniform Tire Quality Grading system does
not apply to deep tread, winter-type snow tires,
space-saver or temporary use spare tires, tires with
nominal rim diameters of
10 to 12 inches (25 to 30 cm),
Treadwear
The treadwear grade is a comparative rating based on
the wear rate
of the tire when tested under controlled
conditions
on a specified government test course. For
example, a tire graded
150 would wear one and a half 1
(1 1/2) times as well on the-government course as a tire
graded 100. The relative performance of tires depends
upon the actual conditions of their use, however, and
may depart significantly from the norm due to variations
in driving habits, service practices and differences in
road characteristics and climate.
I.
or to some limited-production tires. ;,*?;;x.,< .
. .'-I '.'Traction -- A, B, C
While the tires available on General Motors passenger 1
cars and light trucks may vary with respect to these The traction grades, from highest to lowest, are A, B, and
grades,, they must also conform to Federal safety
C, and they represent the tire's' ability to stop on wet
requirements and additional General Motors Tire pavement as measured under controlled conditioa
on
Peiformance Criteria (TPC) standards. specified government test surfaces of asphalt and concrete. A tire marked C may have poor traction performance.
Warning: The traction grade assigned
to this tire is based
on braking (straightahead) traction tests and does not
include cornering (turning) traction.
6-53
ProCarManuals.com
Page 284 of 370
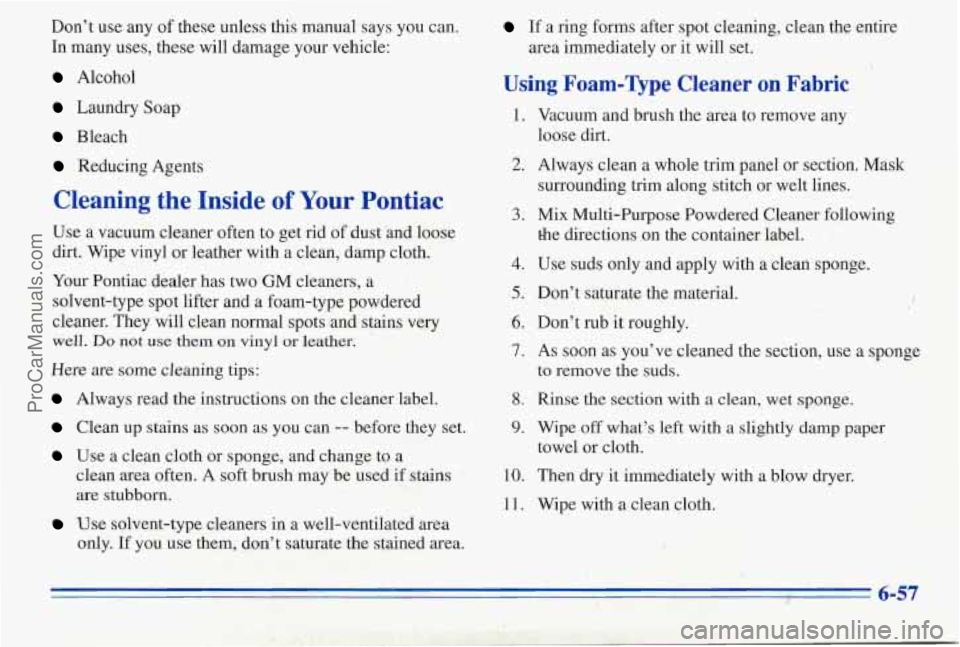
Don't use any of these unless this manual says you can.
In many uses, these will damage your vehicle:
Alcohol
Laundry Soap
Bleach
If a ring forms after spot cleaning, clean the entire
area immediately or it will set.
Using Foam-Type Cleaner on Fabric
..
1. Vacuum and brush the area to remove any
loose dirt.
Reducing Agents 2. Always clean a whole trim panel or section. Mask
Cleaning the Inside of Your Pontiac
surrounding trim along stitch or welt lines.
3. Mix Multi-Purpose Powdered Cleaner following
4. Use suds only and apply with a clean sponge.
5. Don't saturate the material.
Use a vacuum cleaner often
to get
.rid of dust and loose the directions on the container label.
dirt. Wipe vinyl or leather with a clean, damp cloth.
Your Pontiac dealer has
two GM cleaners, a
solvent-type spot lifter and
a foam-type powdered
cleaner. They will clean normal spots and stains very
6. Don't rub it roughly. I , ,, ' . - ,;,: ~ .-.,<~, . ., ', 1 . ',-'.: ;,I>< ' y. +?;= :=
well. Do not use them on vinyl or leather.
Here are some cleaning tips:
to remove the suds.
Always read the'instructions on the cleaner label.' 8. Rinse the section with a clean, wet sponge.
~ - ; :i e,, '9 I ;i' I . -~ - . . -7 ..
7. As soon as you've cleaned the section, use a sponge ,< . .. .h
Clean up stains as soon as you can -- before they set. 9. Wipe off what's left with a slightly damp paper
Use a clean cloth or sponge, and change to a
clean area often.
A soft brush may be used if stains 10. Then dry it immediately with a blow dryer.
are stubborn. towel
or cloth.
11. Wipe with
a clean cloth.
Use solvent-type cleaners in a well-ventilated area
only. If you use them, don't saturate the stained area. ." , 7 I. ... : * -4..y> .
, ,.it. i , ' I: :.I ..' k.,
c57
ProCarManuals.com
Page 285 of 370
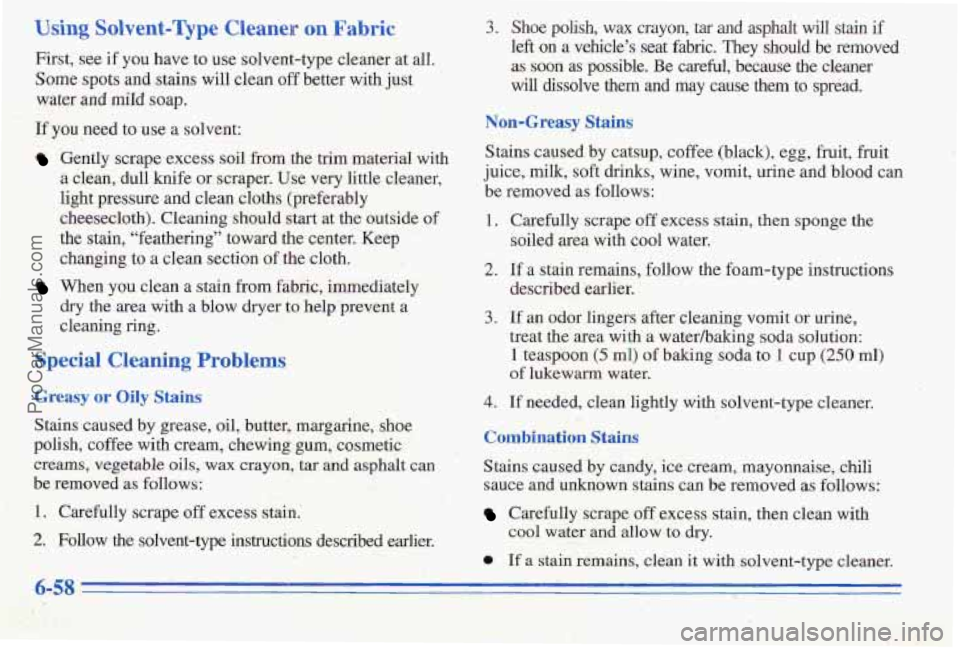
Using Solvent-Qpe Cleaner on Fabric
First, see if you have to use solvent-type cleaner at all.
Some.spots
and stains will clean off better with just
water
and miId soap.
If you need to use a solvent:
Gently scrape excess soil from.the trim material with
a clean, dull knife or scraper. Use very little 'cleaner,
light pressure and clean cloths (preferably
cheesecloth). Cleaning should start at the outside of
the stain, "feathering" toward the center. Keep
changing,to
a ,. clean section of the cloth.
When you clean a stain from fabric, immediately
dry the area with a blow dryer to help prevent a
cleaning ring.
SpeciaI Cleaning Problem
Greasy ar Oily Stab
Stains caused by grease, oil, butter, margarine, shoe
polish, coffee with cream, chewing gum,-cosmetic
I
creams, vegetable oils, wax crayon, tar and asphalt can
be removed
as follows:
1. Carefully scrape off excess stain.'
2., Follow the solvent-type instructions described earlier.
3. Shoe polish, wax crayon, tar and asphalt will stain if
left on a vehicle's seat fabric. They should be removed
as soon as possible. Be careful, because the cleaner
will dissolve them and may cause ,them to spread.
Non-Greasy Stains
Stains caused by catsup, coffee (black), egg, fruit, fruit
juice,
milk, soft drinks, wine, vomit, urine and blood can
be removed as follows:
1. Carefully scrape off excess stain, then sponge the
2. If a stain remains, follow the foam-type instructions
described earlier.
3. If an odor lingers after cleaning vomit or urine,
treat
the area with a waterhaking soda solution:
1 teaspoon (5 ml) of baking soda to 1 cup (250 ml)
soiled
area with cool water. of lukewarm wate~:~,.'-~~"':~-r-'~!,: - .C \ . ...' E% 7:- 3-b: .-,3-. , . .' *'
4. Lf needed, clean lightly with solvent-type cleaner.
Combination. Stains
Stains caused by candy,'ice,cream, mayonnaise, chili
sauce and unknown stains can be removed as follows:
Carefully scrape off excess stain, then clean with
0 If a stain remains, clean it with solvent-type cleaner.
cool water and allow to dry.
6-58
ProCarManuals.com
Page 293 of 370

Circuit Description
Breaker
c Power Windows
D Power Seats
Fuse
1
3
4
5
6
7
10
11
12
13
14
Description
CIGARETTE LIGHTER --' Instrument
Panel Cigarette Lighter
DRL MDL
HVAC
#2 -- €WAC Control Assembly
Solenoid
Box
HAZARD FLASHER
POWER ACCESSORY
#2 -- Sunroof Control Unit
LOCK CONTROL
-- Door
Lock Relay
I/P ELECTRONICS BATTERY
FEED -- Chime Module, Ele'ctronic ,
Brake Control Module (EBCM),
Theft-Deterrent Module, Radio,
Radio Amplifier, Trip Computer
STARTER RELAY
ANTI-THEFT -- Theft-Deterrent
Module
ABS -- Electronic Brake Control
Module
(EBCM), ABS Relay
HVAC
BLOWER MOTOR -- Blower
Motor Relay
-. . 2. , . ,I .. .- , 7.2: ' I- ...,.
ProCarManuals.com
Page 294 of 370

Fuse
15
Description
HVAC #I -- Air Temperature Valve
Motor, Trip Computer, Daytime Running
Lamps (DRL) Module, HVAC Control
Assembly, Multifunction Lever Cruise
Control Switch
16 REAR DEFOG. -- HVAC Control
Assembly Rear Window
Defogger Switch
19 POWER ACCESSORY
#1 -- Antenna Relay, Power Mirror
Switch, Door Lock Switches, Door
Handle Switches
21 AIR BAG
-- Air Bag System
23 STOPLAMPS
-- TCCBrake Switch
, 24 CRUISE CONTROL
I 28 CTSY LAMPS -- Vanity Mirrors,
I/P Courtesy Lamps, UP Compartment
Lamp, Trunk Courtesy Lamp, Header Courtesy and Reading Lamp,
US Lighted
Rearview Mirror, Dome and Reading
Lamp, Quarter Courtesy Lamps
Fuse Description
29 WIPER -- Wiper Switch
30 TURN SIGNAL -- Turn Signal Flasher
32 POWER LOCKS -- Door Lock Relay
38 RADIO -- Radio, Steering Wheel
39 I/P ELECTRONICS IGNITION
37 ' AUXILIARY POWER
Radio Switches
FEED
-- Headlamp Switch, Cruise
Control Cut-Out Switch, Air Bag System, TCC/Brake Switch, Instrument
Cluster, Chime. Module, Second-Gear
Start Switch, Head-Up Display (HUD)
Switch, Daytime Running
Lamps (Dm) Module
ProCarManuals.com