Page 17 of 191
To defog the rear window glass, start the
engine and push the rear window defogger
switch on. (The indicator light comes on.)
Push the switch again to turn the defogger
off.
The rear window defogger switch automati-
cally turns off in approximately 15 minutes.
CAUTION
When cleaning the inner side of the
rear window, be careful not to scratch
or damage the electrical conductors.
AIC0611
REAR WINDOW DEFOGGER
SWITCH
1-10
ZX
Page 18 of 191

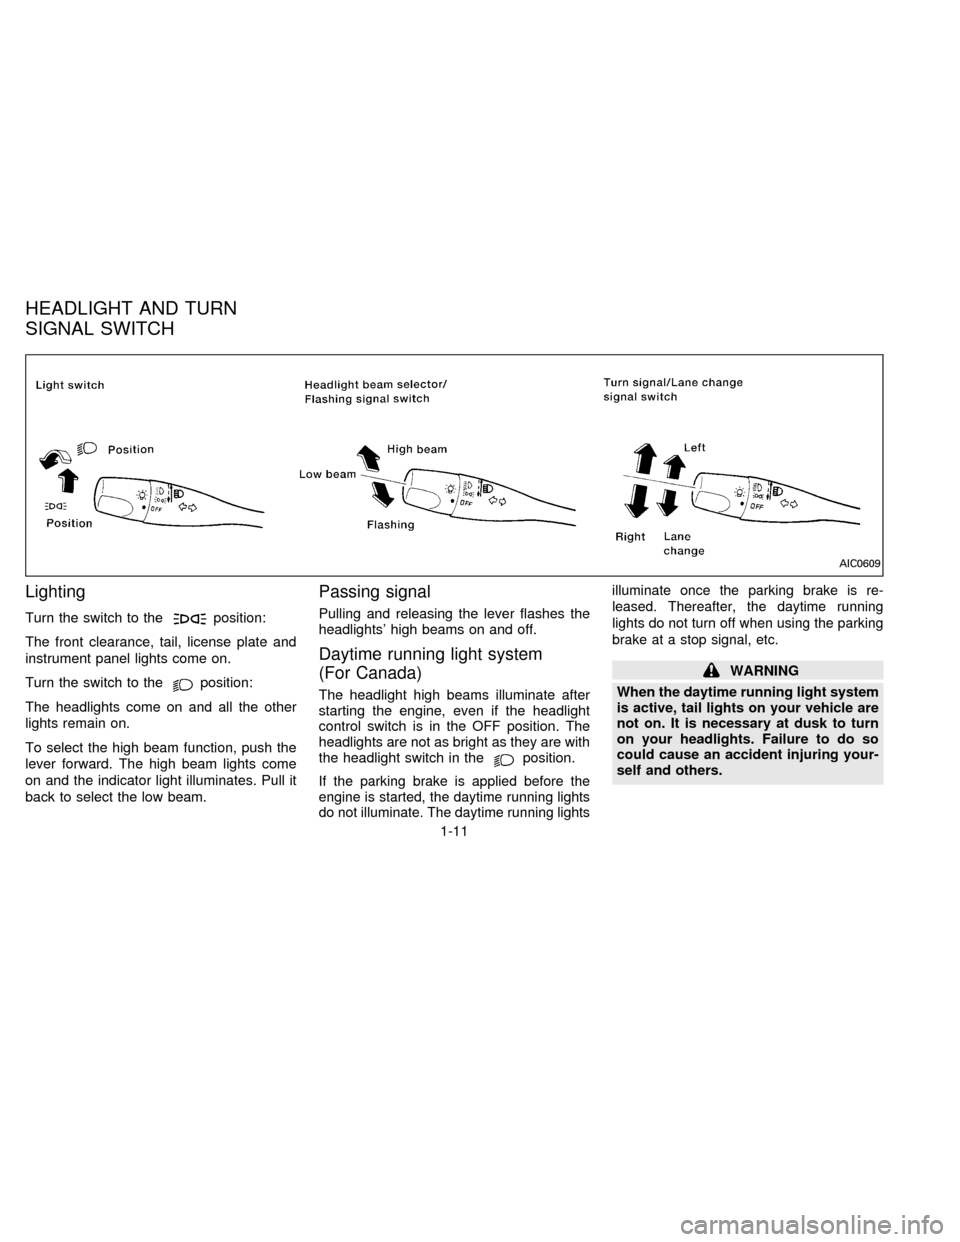
Lighting
Turn the switch to theposition:
The front clearance, tail, license plate and
instrument panel lights come on.
Turn the switch to the
position:
The headlights come on and all the other
lights remain on.
To select the high beam function, push the
lever forward. The high beam lights come
on and the indicator light illuminates. Pull it
back to select the low beam.
Passing signal
Pulling and releasing the lever flashes the
headlights' high beams on and off.
Daytime running light system
(For Canada)
The headlight high beams illuminate after
starting the engine, even if the headlight
control switch is in the OFF position. The
headlights are not as bright as they are with
the headlight switch in the
position.
If the parking brake is applied before the
engine is started, the daytime running lights
do not illuminate. The daytime running lightsilluminate once the parking brake is re-
leased. Thereafter, the daytime running
lights do not turn off when using the parking
brake at a stop signal, etc.
WARNING
When the daytime running light system
is active, tail lights on your vehicle are
not on. It is necessary at dusk to turn
on your headlights. Failure to do so
could cause an accident injuring your-
self and others.
AIC0609
HEADLIGHT AND TURN
SIGNAL SWITCH
1-11
ZX
Page 36 of 191
Opener lever (If so equipped)
To open the fuel filler lid, push the opener
lever down. To lock, close the fuel filler lid
securely.
Manual Fuel Filler Lid
Open the fuel filler lid by lifting the raised
portion of the fuel filler lid.
FUEL FILLER CAP
The fuel filler cap is a screw-on ratcheting
type. Tighten the cap clockwise until ratch-
eting clicks are heard.
WARNING
cGasoline is extremely flammable and
highly explosive under certain condi-
tions. Always stop the engine and do
not smoke or allow open flames or
sparks near the vehicle when
refueling.
APD0606APD0620
FUEL FILLER LID LOCK
OPERATION
2-11
ZX
Page 65 of 191

WARNING
Do not use the recirculation mode (if so
equipped) for long periods of time. It
may cause the interior air to become
stale and the windows to fog up.
Air conditioner button
This button is provided only on those ve-
hicles equipped with air conditioning.
Start the engine, move the fan control dial to
the desired (1 to 4) position, and push the
air conditioner button to turn on the air
conditioner. The indicator light comes on
when the air conditioner is on. To turn off the
air conditioner, push the button again.
The air conditioner cooling function op-
erates only when the engine is running.
WARNING
Positioning of the heating or air condi-
tioning controls should not be done
while driving, in order that full attention
may be given to the driving operation.
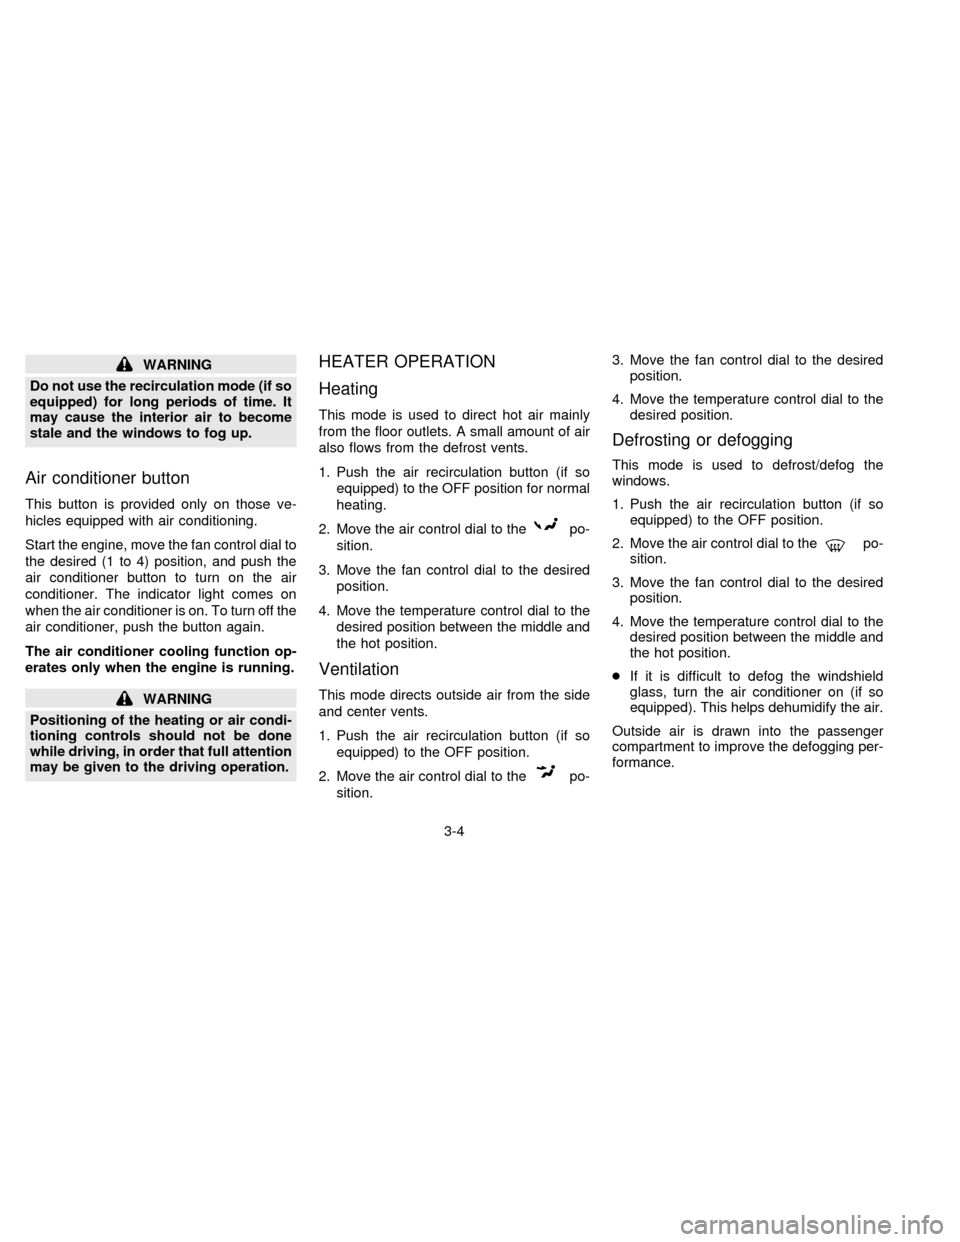
HEATER OPERATION
Heating
This mode is used to direct hot air mainly
from the floor outlets. A small amount of air
also flows from the defrost vents.
1. Push the air recirculation button (if so
equipped) to the OFF position for normal
heating.
2. Move the air control dial to the
po-
sition.
3. Move the fan control dial to the desired
position.
4. Move the temperature control dial to the
desired position between the middle and
the hot position.
Ventilation
This mode directs outside air from the side
and center vents.
1. Push the air recirculation button (if so
equipped) to the OFF position.
2. Move the air control dial to the
po-
sition.3. Move the fan control dial to the desired
position.
4. Move the temperature control dial to the
desired position.
Defrosting or defogging
This mode is used to defrost/defog the
windows.
1. Push the air recirculation button (if so
equipped) to the OFF position.
2. Move the air control dial to the
po-
sition.
3. Move the fan control dial to the desired
position.
4. Move the temperature control dial to the
desired position between the middle and
the hot position.
cIf it is difficult to defog the windshield
glass, turn the air conditioner on (if so
equipped). This helps dehumidify the air.
Outside air is drawn into the passenger
compartment to improve the defogging per-
formance.
3-4
ZX
Page 66 of 191

Bi-level heating
This mode directs cooler air from the side
and center vents and warmer air from the
floor outlets. When the temperature control
dial is moved to the full hot or full cool
position, the air between the vents and the
floor outlets is the same temperature.
1. Push the air recirculation button (if so
equipped) to the OFF position.
2. Move the air control dial to the
po-
sition.
3. Move the fan control dial to the desired
position.
4. Move the temperature control dial to the
the desired position.
Heating and defogging
This mode heats the interior and defogs the
windshield.
1. Push the air recirculation button (if so
equipped) to the OFF position.
2. Move the air control dial to the
po-
sition.
3. Move the fan control dial to the desired
position.4. Move the temperature control dial to the
desired position between the middle and
the hot position.
Operating tips
cClear snow and ice from the wiper
blades and air inlet in front of the
windshield. This improves heater op-
eration.
AIR CONDITIONER OPERATION
(If so equipped)
Start the engine, move the fan control dial to
the desired (1 to 4) position, and push in the
air conditioner button to activate the air
conditioner. When the air conditioner is on,
cooling and dehumidifying functions are
added to the heater operation.
The air conditioner cooling function op-
erates only when the engine is running.
Cooling
This mode is used to cool and dehumidify.
1. Push the air recirculation button to the
OFF position.
2. Move the air control dial to
posi-
tion.3. Move the fan control dial to the desired
position.
4. Push on the air conditioner button. The
indicator light comes on.
5. Move the temperature control dial to the
desired position.
cFor quick cooling when the outside tem-
perature is high, push the air recirculation
button (if so equipped) to the ON posi-
tion. Be sure to return the air recirculation
button to the OFF position for normal
cooling.
Dehumidified heating
This mode is used to heat and dehumidify
the air.
1. Push the air recirculation button to the
OFF position.
2. Move the air control dial to the
po-
sition.
3. Move the fan control dial to the desired
position.
4. Push on the air conditioner button. The
indicator light comes on.
3-5
ZX
Page 67 of 191

5. Move the temperature control dial to the
desired position.
Dehumidified defogging
This mode is used to defog the windows
and dehumidify.
1. Push the air recirculation button to the
OFF position.
2. Move the air control dial to the
po-
sition.
3. Move the fan control dial to the desired
position.
4. Push on the air conditioner button. The
indicator light comes on.
5. Move the temperature control dial to the
desired position.
Operating tips
cKeep windows and sun roof closed while
the air conditioner is in operation.
cAfter parking in the sun, drive for two or
three minutes with the windows open to
vent hot air from the passenger compart-
ment. Then, close the windows. This
allows the air conditioner to cool the
interior more quickly.cThe air conditioning system should be
operated for about ten minutes at
least once a month. This helps pre-
vent damage to the system due to lack
of lubrication.
cIf the engine coolant temperature
gauge indicates engine coolant tem-
perature over the normal range, turn
the air conditioner off. See ``If your
vehicle overheats'' in the ``In case of
emergency'' section for additional in-
formation.
AIR FLOW CHARTS
The following charts show the button and
dial positions forMAXIMUM AND QUICK
heating, cooling or defrosting.The air recir-
culation switch should always be in the
OFF position for heating and defrosting.
3-6
ZX
Page 71 of 191
To turn the radio on, turn the ignition key to
ACC or ON. If you listen to the radio with the
engine not running, turn the key to the ACC
position.
Radio reception is affected by station signal
strength, distance from radio transmitter,
buildings, bridges, mountains and other ex-
ternal influences. Intermittent changes in
reception quality normally are caused by
these external influences.
CLOCK-RADIO (If so equipped)
On vehicles equipped with an AM-FM radio
and cassette player, a clock is integrated
into the audio system. For further details,
refer to Clock Operation later in this section.
AHA0603
RADIO
3-10
ZX
Page 79 of 191
When installing a CB ham radio or a car
phone in your NISSAN, be sure to observe
the following cautions, otherwise the new
equipment may adversely affect the Multi-
port Fuel Injection (MFI) system and other
electronic parts.
CAUTION
cKeep the antenna as far as possible
away from the Engine Control Module
(ECM).
cAlso keep the antenna wire more than
8 inches (20 cm) away from the en-
gine control harness. Do not route
the antenna wire next to any harness.
cAdjust the antenna standing-wave ra-
tio as recommended by the
manufacturer.
cConnect the ground wire from the CB
radio chassis to the body.
cFor details, consult a NISSAN dealer.
CB RADIO OR CAR PHONE
3-18
ZX