1996 NISSAN FRONTIER oil level
[x] Cancel search: oil levelPage 12 of 198
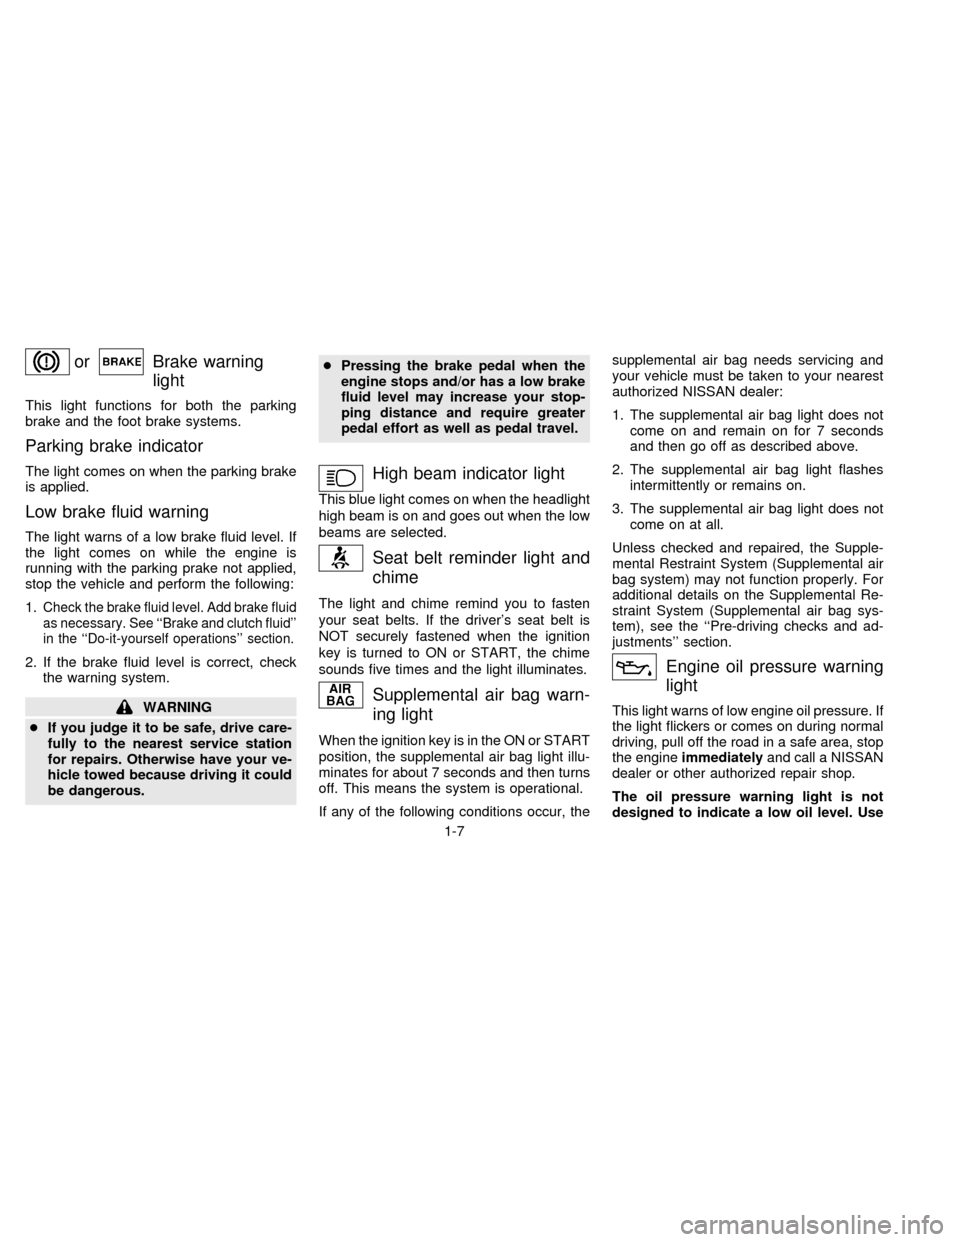
orBrake warning
light
This light functions for both the parking
brake and the foot brake systems.
Parking brake indicator
The light comes on when the parking brake
is applied.
Low brake fluid warning
The light warns of a low brake fluid level. If
the light comes on while the engine is
running with the parking prake not applied,
stop the vehicle and perform the following:
1.
Check the brake fluid level. Add brake fluid
as necessary. See ``Brake and clutch fluid''
in the ``Do-it-yourself operations'' section.
2. If the brake fluid level is correct, check
the warning system.
WARNING
cIf you judge it to be safe, drive care-
fully to the nearest service station
for repairs. Otherwise have your ve-
hicle towed because driving it could
be dangerous.cPressing the brake pedal when the
engine stops and/or has a low brake
fluid level may increase your stop-
ping distance and require greater
pedal effort as well as pedal travel.
High beam indicator light
This blue light comes on when the headlight
high beam is on and goes out when the low
beams are selected.
Seat belt reminder light and
chime
The light and chime remind you to fasten
your seat belts. If the driver's seat belt is
NOT securely fastened when the ignition
key is turned to ON or START, the chime
sounds five times and the light illuminates.
Supplemental air bag warn-
ing light
When the ignition key is in the ON or START
position, the supplemental air bag light illu-
minates for about 7 seconds and then turns
off. This means the system is operational.
If any of the following conditions occur, thesupplemental air bag needs servicing and
your vehicle must be taken to your nearest
authorized NISSAN dealer:
1. The supplemental air bag light does not
come on and remain on for 7 seconds
and then go off as described above.
2. The supplemental air bag light flashes
intermittently or remains on.
3. The supplemental air bag light does not
come on at all.
Unless checked and repaired, the Supple-
mental Restraint System (Supplemental air
bag system) may not function properly. For
additional details on the Supplemental Re-
straint System (Supplemental air bag sys-
tem), see the ``Pre-driving checks and ad-
justments'' section.
Engine oil pressure warning
light
This light warns of low engine oil pressure. If
the light flickers or comes on during normal
driving, pull off the road in a safe area, stop
the engineimmediatelyand call a NISSAN
dealer or other authorized repair shop.
The oil pressure warning light is not
designed to indicate a low oil level. Use
1-7
ZX
Page 13 of 198
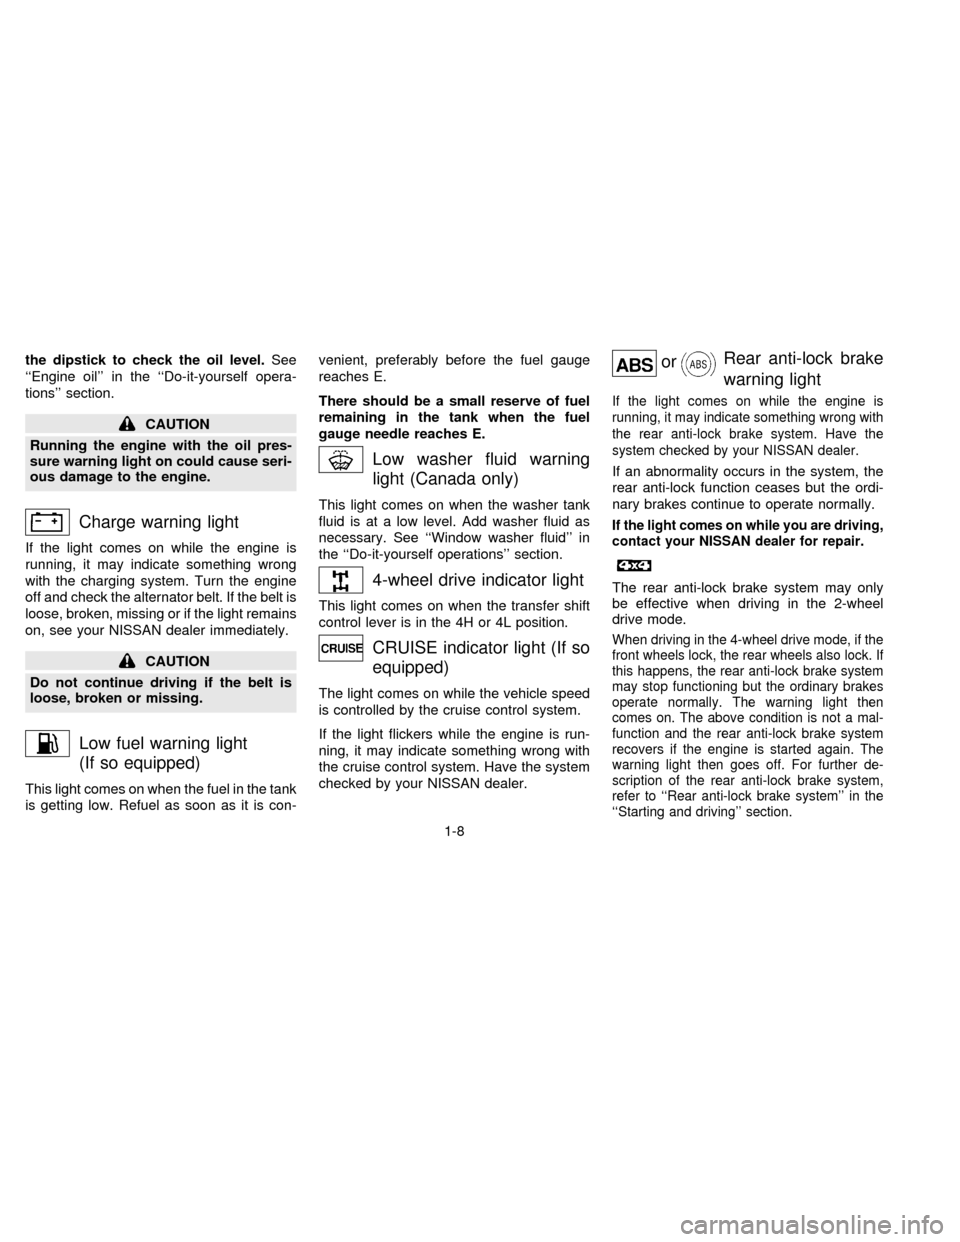
the dipstick to check the oil level.See
``Engine oil'' in the ``Do-it-yourself opera-
tions'' section.
CAUTION
Running the engine with the oil pres-
sure warning light on could cause seri-
ous damage to the engine.
Charge warning light
If the light comes on while the engine is
running, it may indicate something wrong
with the charging system. Turn the engine
off and check the alternator belt. If the belt is
loose, broken, missing or if the light remains
on, see your NISSAN dealer immediately.
CAUTION
Do not continue driving if the belt is
loose, broken or missing.
Low fuel warning light
(If so equipped)
This light comes on when the fuel in the tank
is getting low. Refuel as soon as it is con-venient, preferably before the fuel gauge
reaches E.
There should be a small reserve of fuel
remaining in the tank when the fuel
gauge needle reaches E.
Low washer fluid warning
light (Canada only)
This light comes on when the washer tank
fluid is at a low level. Add washer fluid as
necessary. See ``Window washer fluid'' in
the ``Do-it-yourself operations'' section.
4-wheel drive indicator light
This light comes on when the transfer shift
control lever is in the 4H or 4L position.
CRUISE indicator light (If so
equipped)
The light comes on while the vehicle speed
is controlled by the cruise control system.
If the light flickers while the engine is run-
ning, it may indicate something wrong with
the cruise control system. Have the system
checked by your NISSAN dealer.
orRear anti-lock brake
warning light
If the light comes on while the engine is
running, it may indicate something wrong with
the rear anti-lock brake system. Have the
system checked by your NISSAN dealer.
If an abnormality occurs in the system, the
rear anti-lock function ceases but the ordi-
nary brakes continue to operate normally.
If the light comes on while you are driving,
contact your NISSAN dealer for repair.
The rear anti-lock brake system may only
be effective when driving in the 2-wheel
drive mode.
When driving in the 4-wheel drive mode, if the
front wheels lock, the rear wheels also lock. If
this happens, the rear anti-lock brake system
may stop functioning but the ordinary brakes
operate normally. The warning light then
comes on. The above condition is not a mal-
function and the rear anti-lock brake system
recovers if the engine is started again. The
warning light then goes off. For further de-
scription of the rear anti-lock brake system,
refer to ``Rear anti-lock brake system'' in the
``Starting and driving'' section.
1-8
ZX
Page 80 of 198
2) Turn the ignition key slightly in the ON
direction.
3) Turn the key toward the LOCK position.
4) Remove the key.
The shift lever is designed so it cannot be
moved out of P and into any of the other
gear positions if the ignition key is turned to
OFF or if the key is removed from the
switch.The shift lever can be moved if the
ignition switch is in the ACC position.
The shift lever can also be moved if the
ignition switch is in the ON position and
the foot brake pedal is depressed.
WARNING
cTo lock the steering wheel, remove
the key. To unlock the steering
wheel, insert the key and turn it gen-
tly while rotating the steering wheel
slightly right and left.
cNever remove the key while driving.
If the key is removed, the steering
wheel will lock. This may cause the
driver to lose control of the vehicle
and could result in serious vehicle
damage or personal injury.
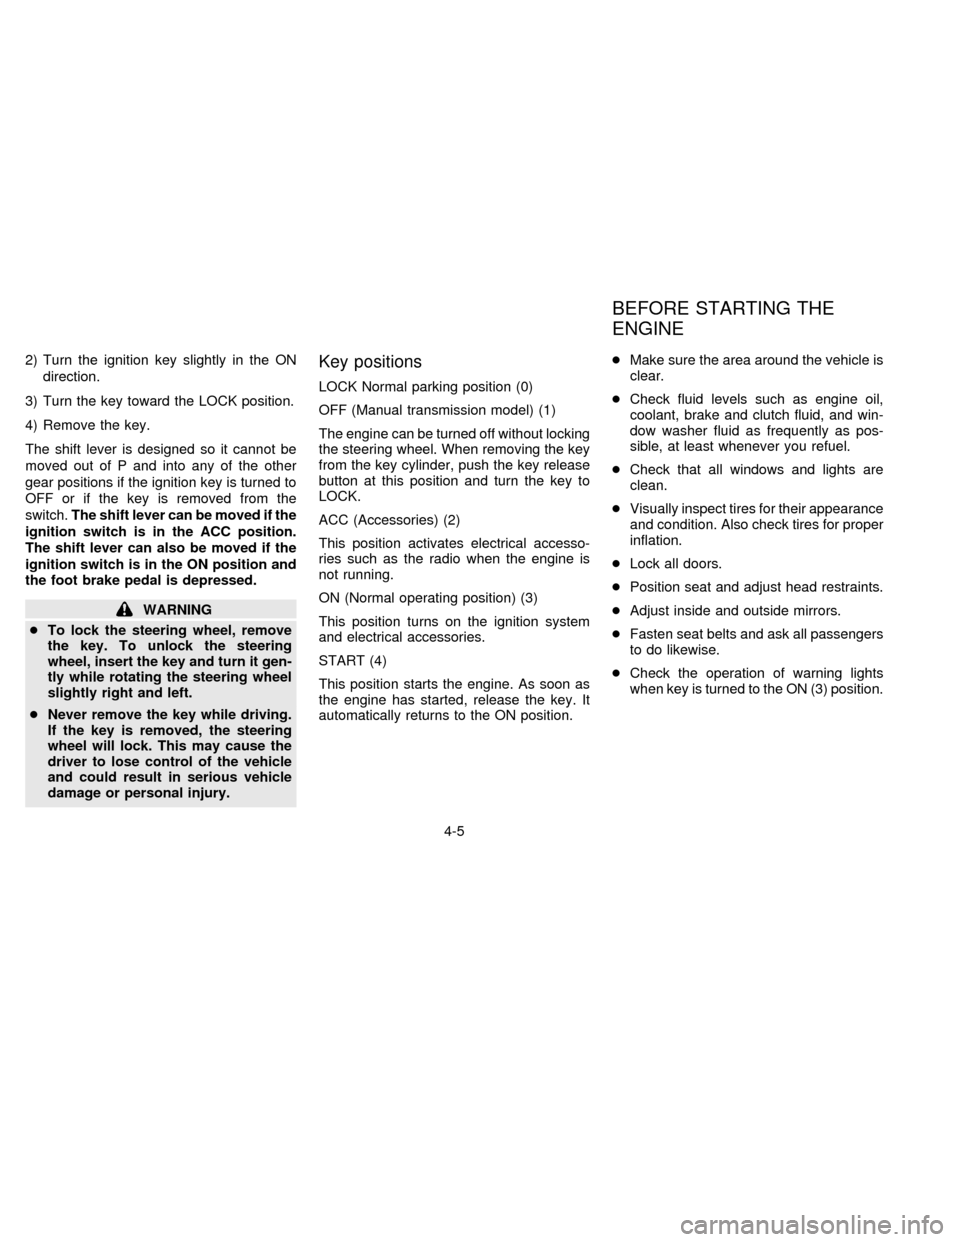
Key positions
LOCK Normal parking position (0)
OFF (Manual transmission model) (1)
The engine can be turned off without locking
the steering wheel. When removing the key
from the key cylinder, push the key release
button at this position and turn the key to
LOCK.
ACC (Accessories) (2)
This position activates electrical accesso-
ries such as the radio when the engine is
not running.
ON (Normal operating position) (3)
This position turns on the ignition system
and electrical accessories.
START (4)
This position starts the engine. As soon as
the engine has started, release the key. It
automatically returns to the ON position.cMake sure the area around the vehicle is
clear.
cCheck fluid levels such as engine oil,
coolant, brake and clutch fluid, and win-
dow washer fluid as frequently as pos-
sible, at least whenever you refuel.
cCheck that all windows and lights are
clean.
cVisually inspect tires for their appearance
and condition. Also check tires for proper
inflation.
cLock all doors.
cPosition seat and adjust head restraints.
cAdjust inside and outside mirrors.
cFasten seat belts and ask all passengers
to do likewise.
cCheck the operation of warning lights
when key is turned to the ON (3) position.
BEFORE STARTING THE
ENGINE
4-5
ZX
Page 125 of 198

When performing any inspection or mainte-
nance work on your vehicle, always take
care to prevent serious accidental injury to
yourself or damage to the vehicle. The
following are general precautions which
should be closely observed.
cPark the vehicle on a level surface,
apply the parking brake securely and
block the wheels to prevent the ve-
hicle from moving. For a manual
transmission, move the shift lever to
Neutral. For an automatic transmis-
sion, move the shift lever to P (Park).
cBe sure the ignition key is OFF when
performing any parts replacement or
repairs.
cDo not work under the hood while the
engine is hot. Turn the engine off and
wait until it cools down.
cIf you must work with the engine run-
ning, keep your hands, clothing, hair
and tools away from moving fans,
belts, and any other moving parts.
cIt is advisable to remove ties and any
jewelry, such as rings, watches, etc.,
before working on your vehicle.cIf you must run the engine in an en-
closed space such as a garage, be
sure there is proper ventilation for
exhaust gases.
cNever get under the vehicle while it is
supported only by a jack. If it is nec-
essary to work under the vehicle, sup-
port it with safety stands.
cKeep smoking materials, flame and
sparks away from fuel and battery.
cNever connect or disconnect either
the battery or any transistorized com-
ponent connector while the ignition is
on.
cOn gasoline engine models with the
Multiport Fuel Injection (MFI) system,
the fuel filter or fuel lines should be
serviced by a NISSAN dealer because
the fuel lines are under high pressure
even when the engine is off.
cFailure to follow these or other com-
mon sense guidelines may lead to
serious injury or vehicle damage.
cImproperly disposed motor oil and/or
other vehicle fluids can hurt the envi-
ronment. Always conform to localregulations for disposal of vehicle
fluid. Avoid contact with used motor
oil.
This ``Do-it-yourself operations'' section
gives instructions regarding only those
items which are relatively easy for an owner
to perform.
You should be aware that incomplete or
improper servicing may result in operating
difficulties or excessive emissions, and
could affect your warranty coverage.If in
doubt about any servicing, have it done
by your NISSAN dealer.
MAINTENANCE
PRECAUTIONS
7-2
ZX
Page 129 of 198

7. Open and close the air release plug to
release air. Then fill the radiator again
and install the radiator cap.
8. Start the engine and warm it up until it
reaches normal operating temperature.
Then race the engine 2 or 3 times under
no load. Watch the coolant temperature
gauge for signs of overheating.
9. Stop the engine. After it completely cools
down, refill the radiator up to the filler
opening. Fill the reservoir tank up the
MAX level.10. Open and close the air release plug to
release air. Then fill the radiator again
and install the radiator cap.
11. Check the drain valve on the radiator
and drain plug on the engine block for
any sign of leakage.CHECKING ENGINE OIL LEVEL
1. Park the vehicle on a level surface and
apply the parking brake.
2. Run the engine until it reaches operating
temperature.
3. Turn off the engine.Wait a few minutes
for the oil to drain back into the oil
pan.
4. Remove the dipstick and wipe it clean.
Reinsert it all the way.
5. Remove the dipstick again and check the
oil level. It should be between the H and
SDI0030DI1163MDI1164M
ENGINE OIL
7-6
ZX
Page 130 of 198
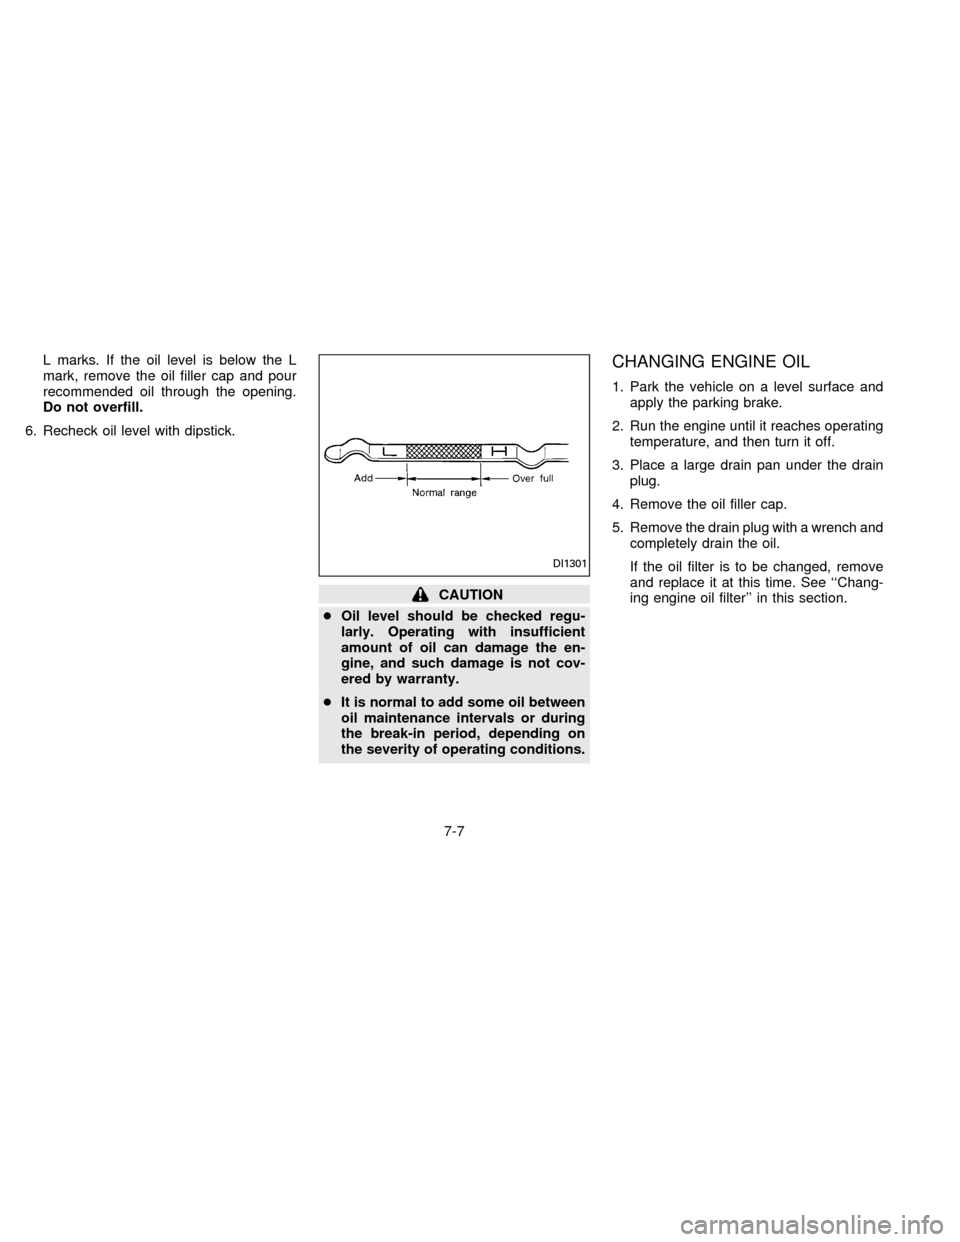
L marks. If the oil level is below the L
mark, remove the oil filler cap and pour
recommended oil through the opening.
Do not overfill.
6. Recheck oil level with dipstick.
CAUTION
cOil level should be checked regu-
larly. Operating with insufficient
amount of oil can damage the en-
gine, and such damage is not cov-
ered by warranty.
cIt is normal to add some oil between
oil maintenance intervals or during
the break-in period, depending on
the severity of operating conditions.
CHANGING ENGINE OIL
1. Park the vehicle on a level surface and
apply the parking brake.
2. Run the engine until it reaches operating
temperature, and then turn it off.
3. Place a large drain pan under the drain
plug.
4. Remove the oil filler cap.
5. Remove the drain plug with a wrench and
completely drain the oil.
If the oil filter is to be changed, remove
and replace it at this time. See ``Chang-
ing engine oil filter'' in this section.
DI1301
7-7
ZX
Page 131 of 198
WARNING
cProlonged and repeated contact with
used engine oil may cause skin
cancer.
cTry to avoid direct skin contact with
used oil. If skin contact is made,
wash thoroughly with soap or hand
cleaner as soon as possible.
cKeep used engine oil out of reach of
children.
cBe careful not to burn yourself, as
the engine oil is hot.
CAUTION
Waste oil must be disposed of prop-
erly. Check your local regulations.
6. Clean and re-install the drain plug and
washer. Securely tighten the drain plug
with a wrench. Do not use excessive
force.
Drain plug tightening torque:
22 to 29 ft-lb (29 to 39 Nzm)
7. Refill engine with recommended oil and
install the cap securely.
See ``Capacities and recommended
fuel/lubricants'' in the ``Technical and
consumer information'' section for refill
capacity.
8. Start the engine.
Check for leakage around the drain plug
and oil filter. Correct as required.
9. Turn the engine off and wait several
minutes. Check the oil level with the
dipstick. Add engine oil if necessary.CHANGING ENGINE OIL FILTER
1. Park the vehicle on a level surface and
apply the parking brake.
2. Turn the engine off.
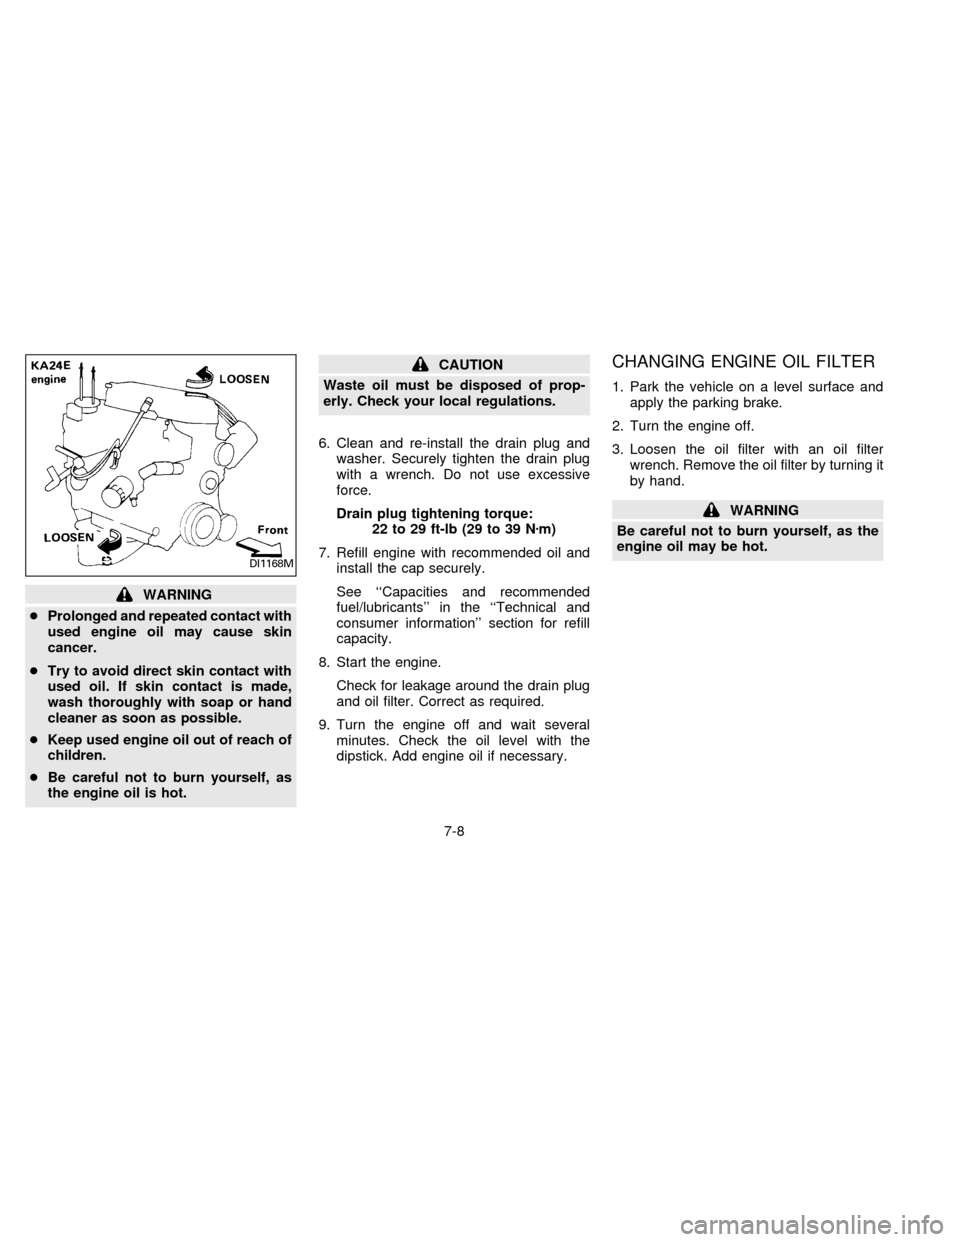
3. Loosen the oil filter with an oil filter
wrench. Remove the oil filter by turning it
by hand.
WARNING
Be careful not to burn yourself, as the
engine oil may be hot.
DI1168M
7-8
ZX
Page 132 of 198
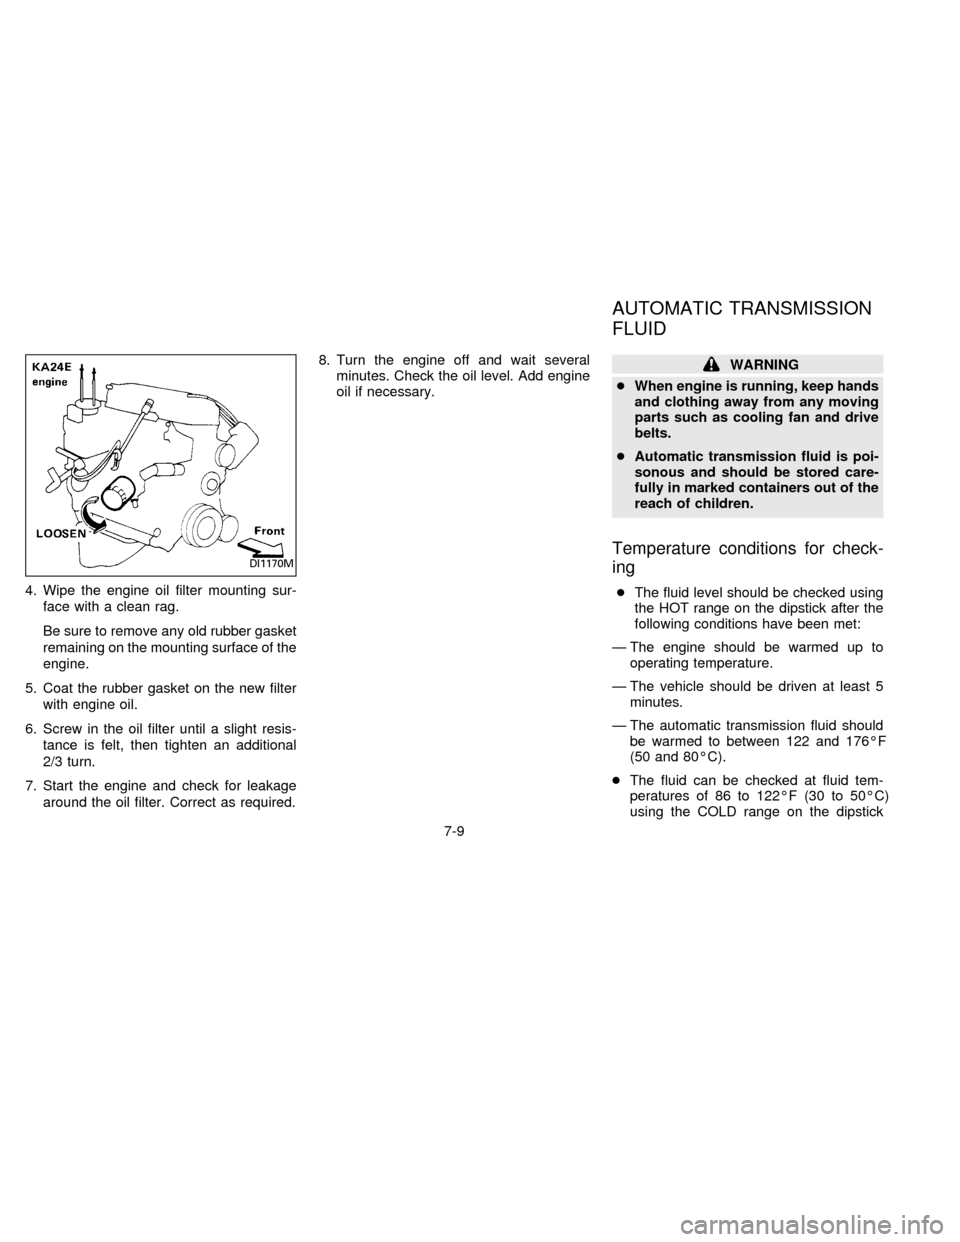
4. Wipe the engine oil filter mounting sur-
face with a clean rag.
Be sure to remove any old rubber gasket
remaining on the mounting surface of the
engine.
5. Coat the rubber gasket on the new filter
with engine oil.
6. Screw in the oil filter until a slight resis-
tance is felt, then tighten an additional
2/3 turn.
7. Start the engine and check for leakage
around the oil filter. Correct as required.8. Turn the engine off and wait several
minutes. Check the oil level. Add engine
oil if necessary.
WARNING
cWhen engine is running, keep hands
and clothing away from any moving
parts such as cooling fan and drive
belts.
cAutomatic transmission fluid is poi-
sonous and should be stored care-
fully in marked containers out of the
reach of children.
Temperature conditions for check-
ing
cThe fluid level should be checked using
the HOT range on the dipstick after the
following conditions have been met:
Ð The engine should be warmed up to
operating temperature.
Ð The vehicle should be driven at least 5
minutes.
Ð The automatic transmission fluid should
be warmed to between 122 and 176ÉF
(50 and 80ÉC).
cThe fluid can be checked at fluid tem-
peratures of 86 to 122ÉF (30 to 50ÉC)
using the COLD range on the dipstick
DI1170M
AUTOMATIC TRANSMISSION
FLUID
7-9
ZX