1996 NISSAN ALTIMA ECU
[x] Cancel search: ECUPage 11 of 183
CAUTION
Do not continue driving if the belt is
loose, broken or missing.
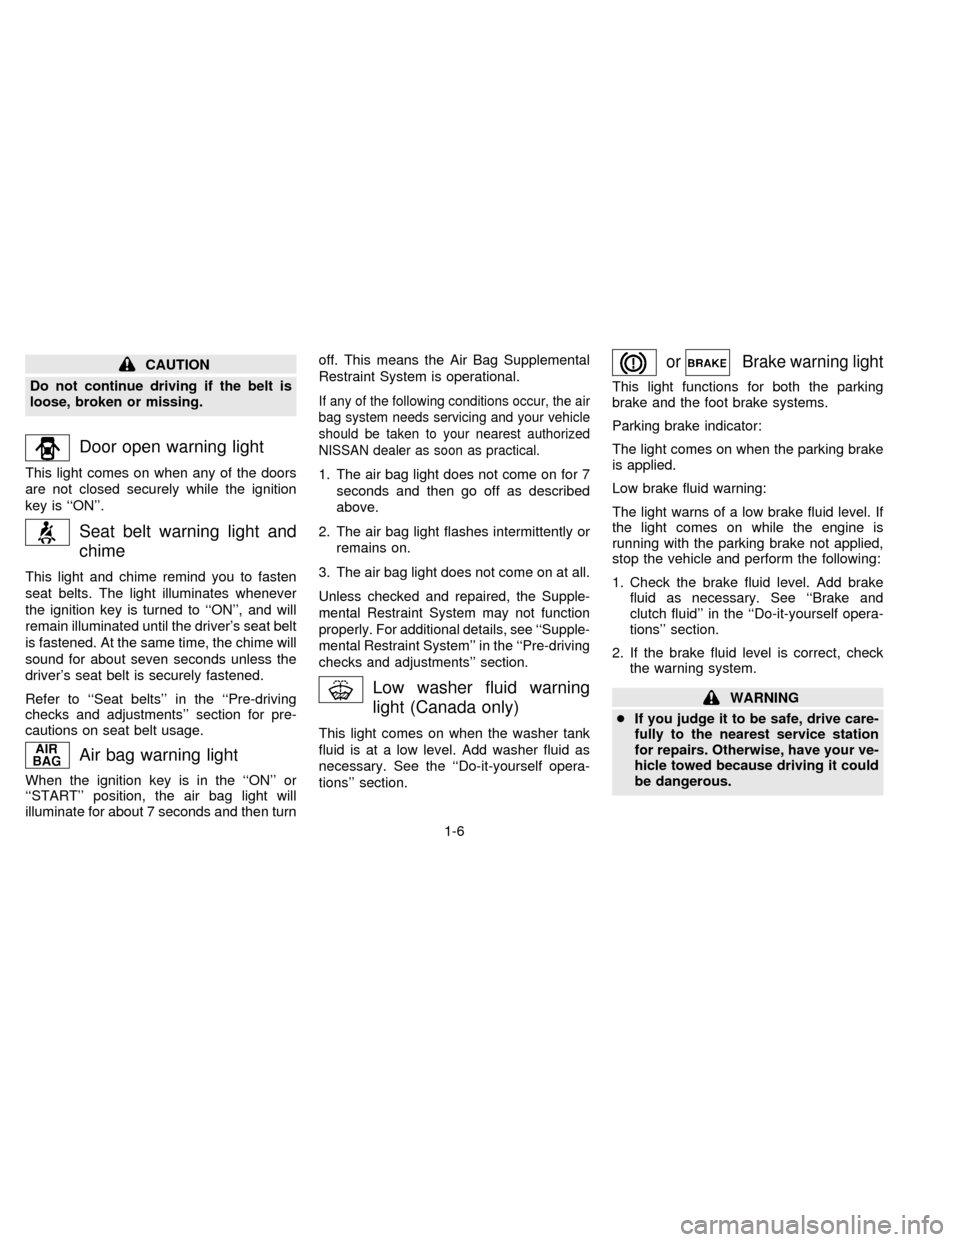
Door open warning light
This light comes on when any of the doors
are not closed securely while the ignition
key is ``ON''.
Seat belt warning light and
chime
This light and chime remind you to fasten
seat belts. The light illuminates whenever
the ignition key is turned to ``ON'', and will
remain illuminated until the driver's seat belt
is fastened. At the same time, the chime will
sound for about seven seconds unless the
driver's seat belt is securely fastened.
Refer to ``Seat belts'' in the ``Pre-driving
checks and adjustments'' section for pre-
cautions on seat belt usage.
Air bag warning light
When the ignition key is in the ``ON'' or
``START'' position, the air bag light will
illuminate for about 7 seconds and then turnoff. This means the Air Bag Supplemental
Restraint System is operational.
If any of the following conditions occur, the air
bag system needs servicing and your vehicle
should be taken to your nearest authorized
NISSAN dealer as soon as practical.
1. The air bag light does not come on for 7
seconds and then go off as described
above.
2. The air bag light flashes intermittently or
remains on.
3. The air bag light does not come on at all.
Unless checked and repaired, the Supple-
mental Restraint System may not function
properly. For additional details, see ``Supple-
mental Restraint System'' in the ``Pre-driving
checks and adjustments'' section.
Low washer fluid warning
light (Canada only)
This light comes on when the washer tank
fluid is at a low level. Add washer fluid as
necessary. See the ``Do-it-yourself opera-
tions'' section.
orBrake warning light
This light functions for both the parking
brake and the foot brake systems.
Parking brake indicator:
The light comes on when the parking brake
is applied.
Low brake fluid warning:
The light warns of a low brake fluid level. If
the light comes on while the engine is
running with the parking brake not applied,
stop the vehicle and perform the following:
1. Check the brake fluid level. Add brake
fluid as necessary. See ``Brake and
clutch fluid'' in the ``Do-it-yourself opera-
tions'' section.
2. If the brake fluid level is correct, check
the warning system.
WARNING
cIf you judge it to be safe, drive care-
fully to the nearest service station
for repairs. Otherwise, have your ve-
hicle towed because driving it could
be dangerous.
1-6
ZX
Page 13 of 183
CAUTION
cContinued operation without having
the emission control system
checked and repaired as necessary
could lead to poor driveability, re-
duced fuel economy, and possible
damage to the emission control sys-
tem which may affect your warranty
coverage.
cAlthough the vehicle is still drive-
able, see your nearest NISSAN
dealer as soon as possible. To avoid
system damage, do not drive at
speeds above 45 MPH (72 km/h). If
possible, avoid hard acceleration or
deceleration.
If the fuel filler cap is not tightened properly,
the MIL may come on. Check and securely
tighten the fuel filler cap, and have your
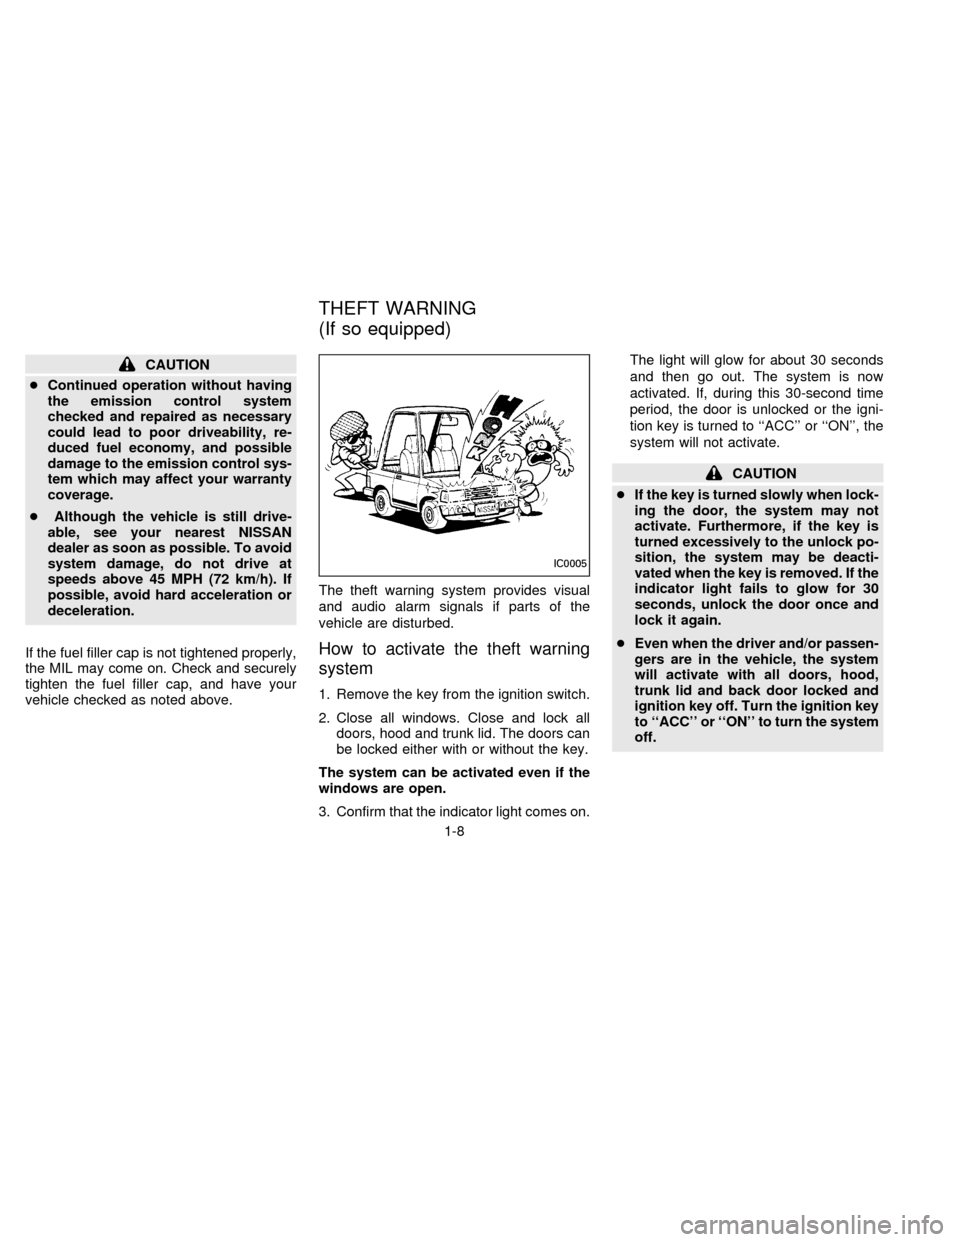
vehicle checked as noted above.The theft warning system provides visual
and audio alarm signals if parts of the
vehicle are disturbed.
How to activate the theft warning
system
1. Remove the key from the ignition switch.
2. Close all windows. Close and lock all
doors, hood and trunk lid. The doors can
be locked either with or without the key.
The system can be activated even if the
windows are open.
3. Confirm that the indicator light comes on.The light will glow for about 30 seconds
and then go out. The system is now
activated. If, during this 30-second time
period, the door is unlocked or the igni-
tion key is turned to ``ACC'' or ``ON'', the
system will not activate.
CAUTION
cIf the key is turned slowly when lock-
ing the door, the system may not
activate. Furthermore, if the key is
turned excessively to the unlock po-
sition, the system may be deacti-
vated when the key is removed. If the
indicator light fails to glow for 30
seconds, unlock the door once and
lock it again.
cEven when the driver and/or passen-
gers are in the vehicle, the system
will activate with all doors, hood,
trunk lid and back door locked and
ignition key off. Turn the ignition key
to ``ACC'' or ``ON'' to turn the system
off.
IC0005
THEFT WARNING
(If so equipped)
1-8
ZX
Page 31 of 183
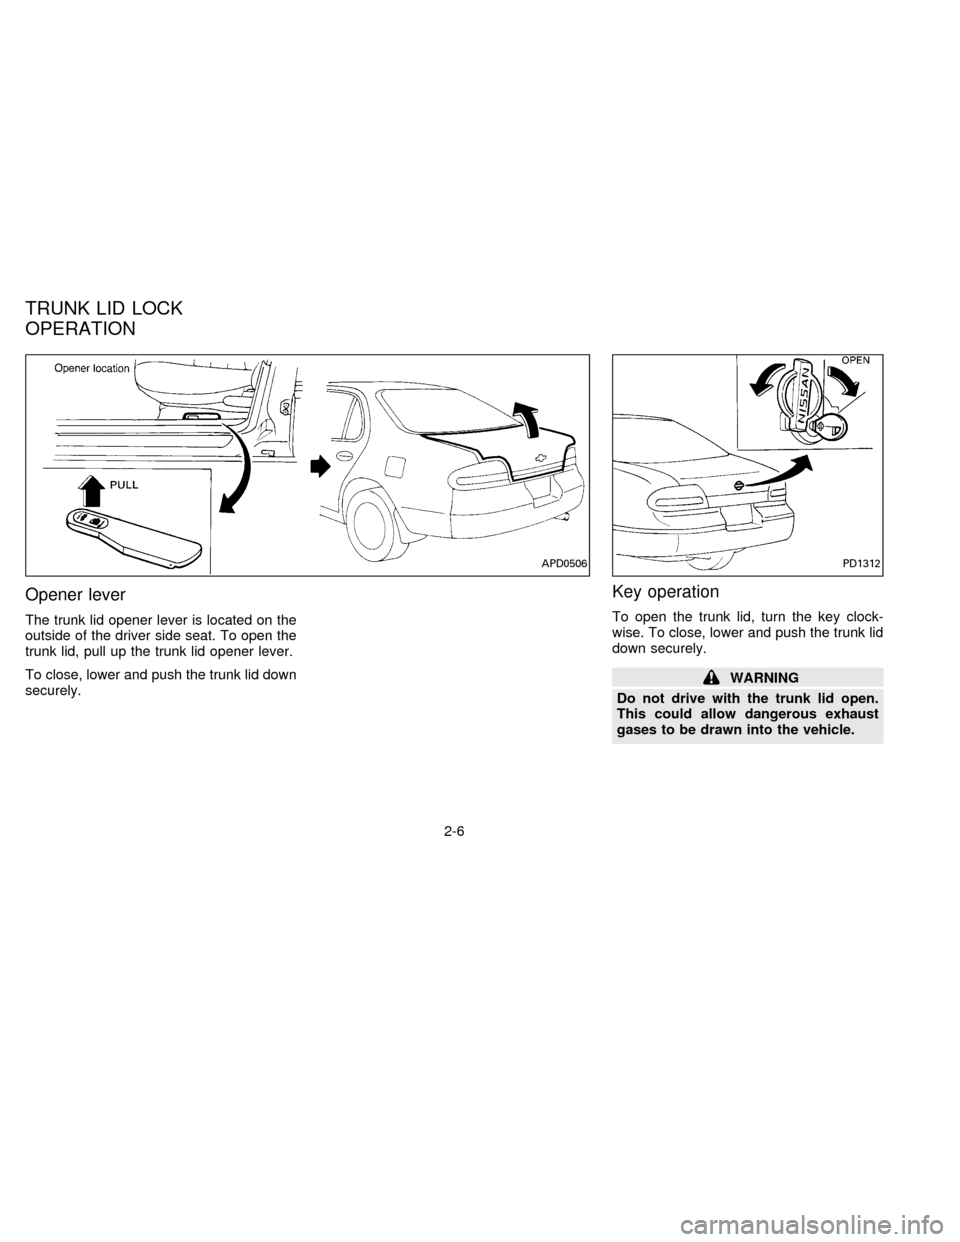
Opener lever
The trunk lid opener lever is located on the
outside of the driver side seat. To open the
trunk lid, pull up the trunk lid opener lever.
To close, lower and push the trunk lid down
securely.
Key operation
To open the trunk lid, turn the key clock-
wise. To close, lower and push the trunk lid
down securely.
WARNING
Do not drive with the trunk lid open.
This could allow dangerous exhaust
gases to be drawn into the vehicle.
APD0506PD1312
TRUNK LID LOCK
OPERATION
2-6
ZX
Page 34 of 183
SEAT ADJUSTMENT
WARNING
cDo not adjust the driver's seat while
driving. The seat may move sud-
denly and could cause loss of con-
trol of the vehicle.
cAfter adjustment, gently rock in the
seat to make sure it is securely
locked.
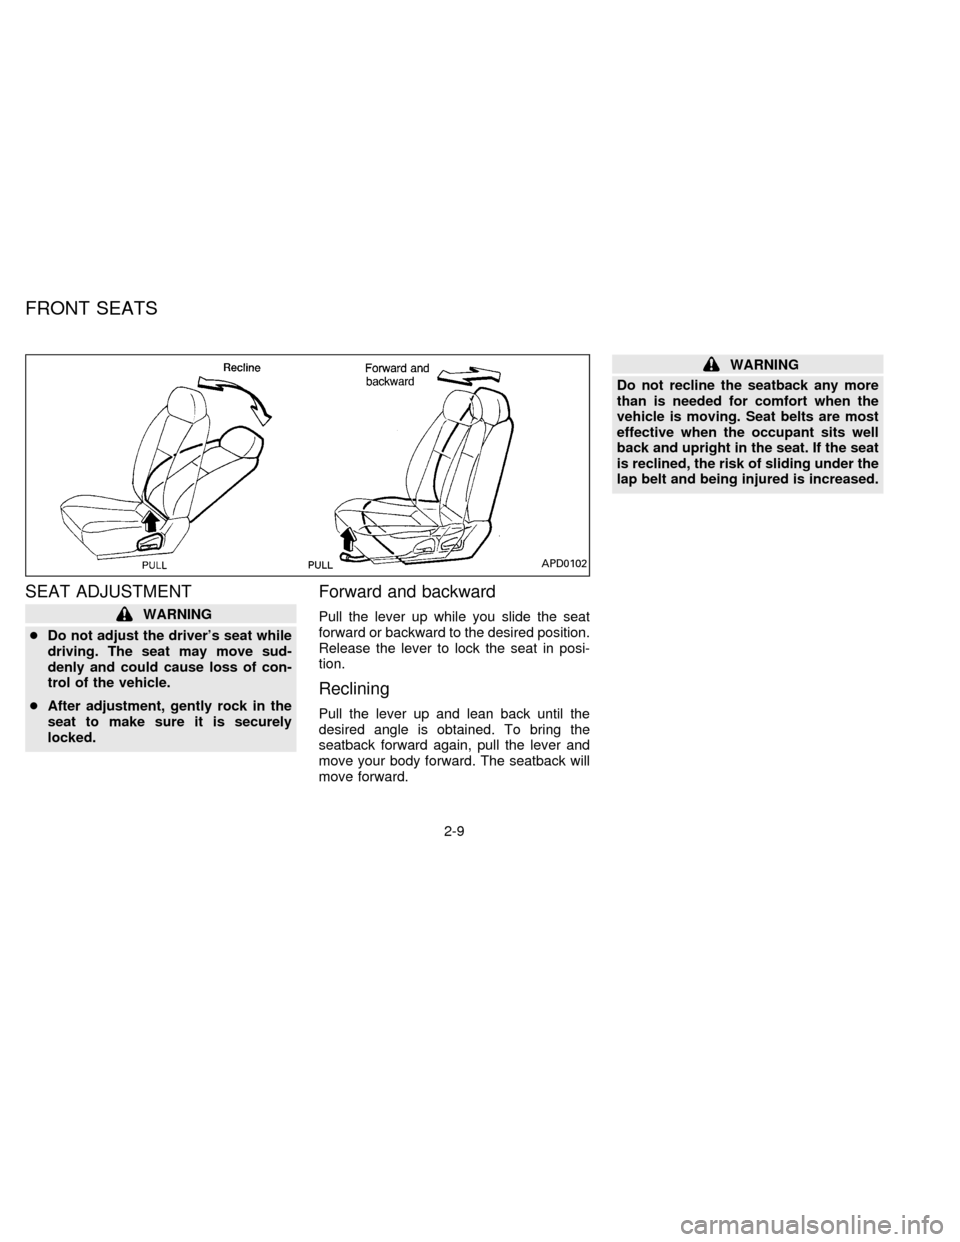
Forward and backward
Pull the lever up while you slide the seat
forward or backward to the desired position.
Release the lever to lock the seat in posi-
tion.
Reclining
Pull the lever up and lean back until the
desired angle is obtained. To bring the
seatback forward again, pull the lever and
move your body forward. The seatback will
move forward.
WARNING
Do not recline the seatback any more
than is needed for comfort when the
vehicle is moving. Seat belts are most
effective when the occupant sits well
back and upright in the seat. If the seat
is reclined, the risk of sliding under the
lap belt and being injured is increased.
APD0102
FRONT SEATS
2-9
ZX
Page 42 of 183
cIf you need to dispose of a supple-
mental air bag or scrap the vehicle,
contact an authorized NISSAN dealer.
Correct supplemental air bag dis-
posal procedures are set forth in the
appropriate NISSAN Service Manual.
Incorrect disposal procedures could
cause personal injury.PRECAUTIONS ON SEAT BELT
USAGE
If you are wearing your seat belt properly
adjusted, your chances of being injured or
killed in an accident and/or the severity of
injury may be greatly reduced. NISSAN
strongly encourages you and all of your
passengers to buckle up every time you
drive, even if your seating position includes
an air bag.
Some states, provinces or territories re-
quire that seat belts be worn at all times
when a vehicle is being driven.
WARNING
cEvery person who drives or rides in
this vehicle should use a seat belt at
all times. Children should be in ap-
propriate child restraints.
cThe belt should be properly adjusted
to a snug fit. Failure to do so will
reduce the effectiveness of the en-
tire restraint system and increases
the chance or severity of injury in an
accident.cDo not wear the belt inside out or
twisted. Be sure the seat belt tongue
is securely fastened to the proper
buckle.
cDo not allow more than one person
to use the same belt.
cAll seat belt assemblies including
retractors and attaching hardware
should be inspected after any colli-
sion at your NISSAN dealer. NISSAN
recommends that all seat belt as-
semblies in use during a collision be
replaced unless the collision was
minor and the belts show no damage
and continue to operate properly.
Seat belt assemblies not in use dur-
ing a collision should also be in-
spected and replaced if either dam-
age or improper operation is noted.
cNever carry more people in the ve-
hicle than there are seat belts.
If the seat belt warning light glows con-
tinuously while the ignition is turned
``ON'' with all doors closed and all seat
belts fastened, it may indicate a mal-
function in the system. Have the system
checked by your NISSAN dealer.
SEAT BELTS
2-17
ZX
Page 49 of 183
Child restraints specially designed for in-
fants and small children are offered by
several manufacturers. When selecting any
child restraint, keep the following points in
mind:
1) Choose only a restraint with a label cer-
tifying that it complies with Federal Motor
Vehicle Safety Standard 213 or Cana-
dian Motor Vehicle Safety Standard 213.
2) Check the child restraint in your vehicle
to be sure it is compatible with the vehi-
cle's seat belt system.
3) If the child restraint is compatible with
your vehicle, place your child in the child
restraint and check the various adjust-
ments to be sure the child restraint is
compatible with your child. Always follow
all recommended procedures.
WARNING
cNever install a rear-facing child re-
straint in the front seat. A rear-facing
child restraint must only be used in
the rear seat. See ``Installation on
front passenger seat'' for details.cFollow all of the child restraint manu-
facturer's instructions for installa-
tion and use. When purchasing a
child restraint, be sure to select one
which will fit your child and vehicle.
It may not be possible to properly
install some types of child restraints
in your vehicle.
cImproper use of a child restraint can
result in increased injuries for both
the infant or child and other occu-
pants in the vehicle.
cWhen your child restraint is not in
use, keep it secured with a seat belt
to prevent it from being thrown for-
ward in case of a sudden stop or
accident.
cAfter attaching the child restraint,
test it before you place the child in it.
Tilt it from side to side. Try to tug it
forward and check to see if the belt
holds the restraint in place. If the
restraint is not secure, tighten the
belt as necessary, or put the re-
straint in another seat and test it
again.cIf the child restraint is not anchored
properly, the risk of a child being
injured in a collision or a sudden
stop greatly increases.
cAdjustable seatbacks should be po-
sitioned to fit the child restraint, but
as upright as possible.
cRemember that a child restraint left
in a closed vehicle can become very
hot. Check the seating surface and
buckles before placing your child in
the child restraint.
cAll U.S. states and provinces of
Canada require that infants and
small children be restrained in ap-
proved child restraints at all times
while the vehicle is being operated.
cFor a front-facing child restraint, if
the seat position where it is installed
has a 3-point type lap/shoulder belt,
check to make sure the shoulder belt
does not go in front of the child's
face or neck. If it does, put the shoul-
der belt behind the child restraint.
2-24
ZX
Page 50 of 183
cIf the seat belt in the position where
the child restraint is installed re-
quires a locking clip and it is not
used, injuries could result from the
child restraint tipping over during
normal vehicle braking or cornering.
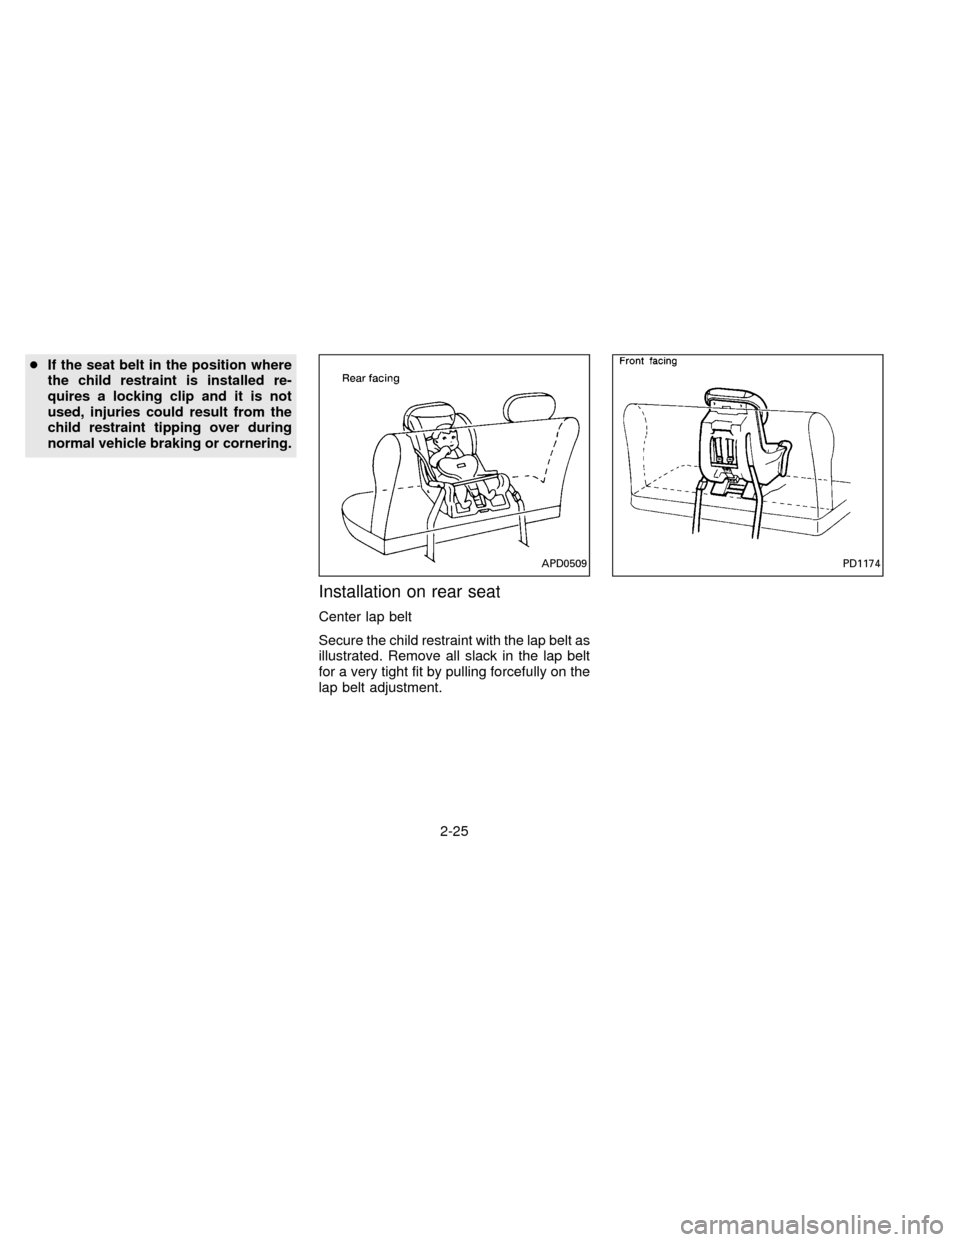
Installation on rear seat
Center lap belt
Secure the child restraint with the lap belt as
illustrated. Remove all slack in the lap belt
for a very tight fit by pulling forcefully on the
lap belt adjustment.
APD0509PD1174
2-25
ZX
Page 51 of 183
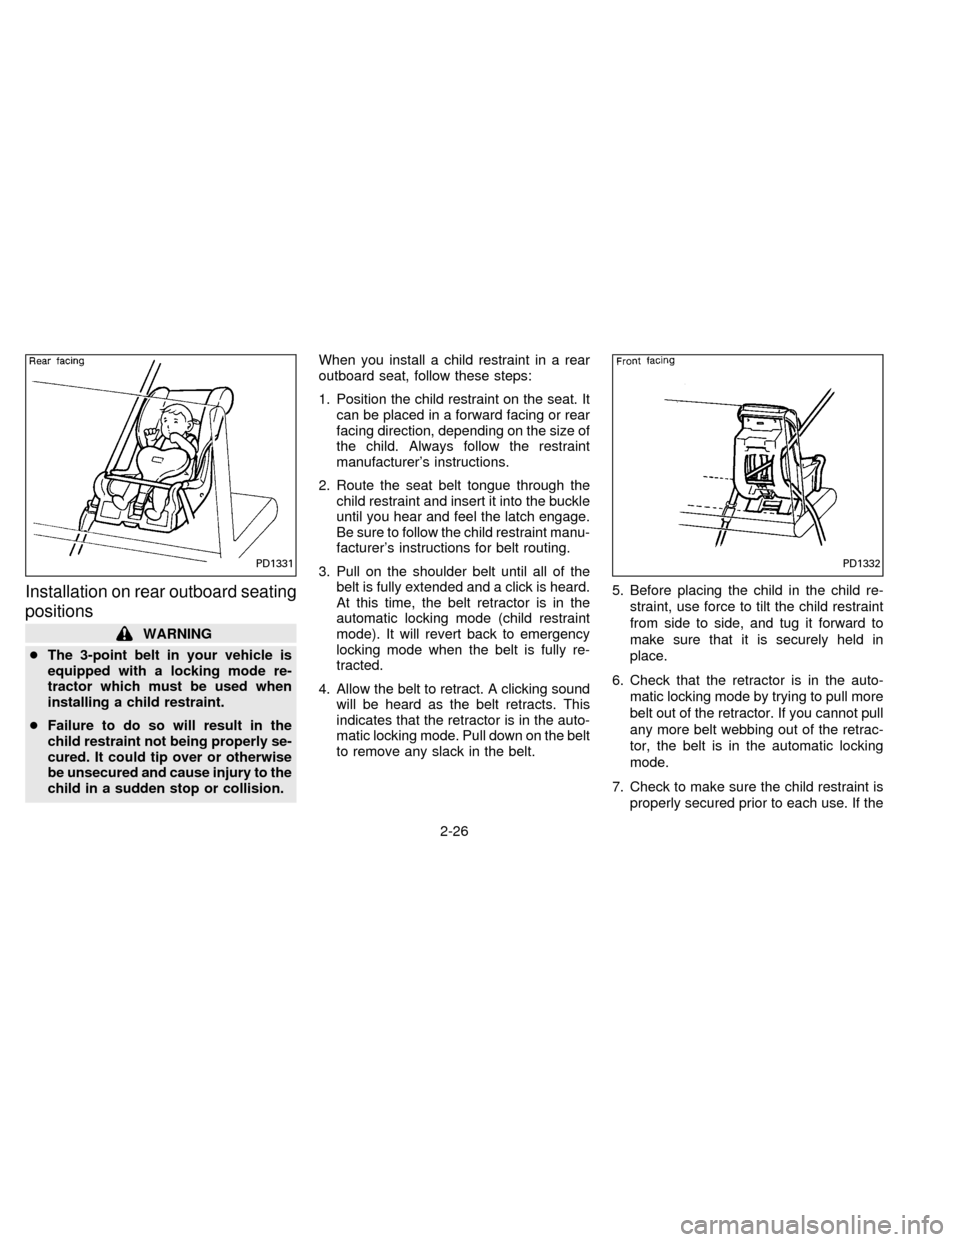
Installation on rear outboard seating
positions
WARNING
cThe 3-point belt in your vehicle is
equipped with a locking mode re-
tractor which must be used when
installing a child restraint.
cFailure to do so will result in the
child restraint not being properly se-
cured. It could tip over or otherwise
be unsecured and cause injury to the
child in a sudden stop or collision.When you install a child restraint in a rear
outboard seat, follow these steps:
1. Position the child restraint on the seat. It
can be placed in a forward facing or rear
facing direction, depending on the size of
the child. Always follow the restraint
manufacturer's instructions.
2. Route the seat belt tongue through the
child restraint and insert it into the buckle
until you hear and feel the latch engage.
Be sure to follow the child restraint manu-
facturer's instructions for belt routing.
3. Pull on the shoulder belt until all of the
belt is fully extended and a click is heard.
At this time, the belt retractor is in the
automatic locking mode (child restraint
mode). It will revert back to emergency
locking mode when the belt is fully re-
tracted.
4. Allow the belt to retract. A clicking sound
will be heard as the belt retracts. This
indicates that the retractor is in the auto-
matic locking mode. Pull down on the belt
to remove any slack in the belt.5. Before placing the child in the child re-
straint, use force to tilt the child restraint
from side to side, and tug it forward to
make sure that it is securely held in
place.
6. Check that the retractor is in the auto-
matic locking mode by trying to pull more
belt out of the retractor. If you cannot pull
any more belt webbing out of the retrac-
tor, the belt is in the automatic locking
mode.
7. Check to make sure the child restraint is
properly secured prior to each use. If the
PD1331PD1332
2-26
ZX