Page 204 of 486
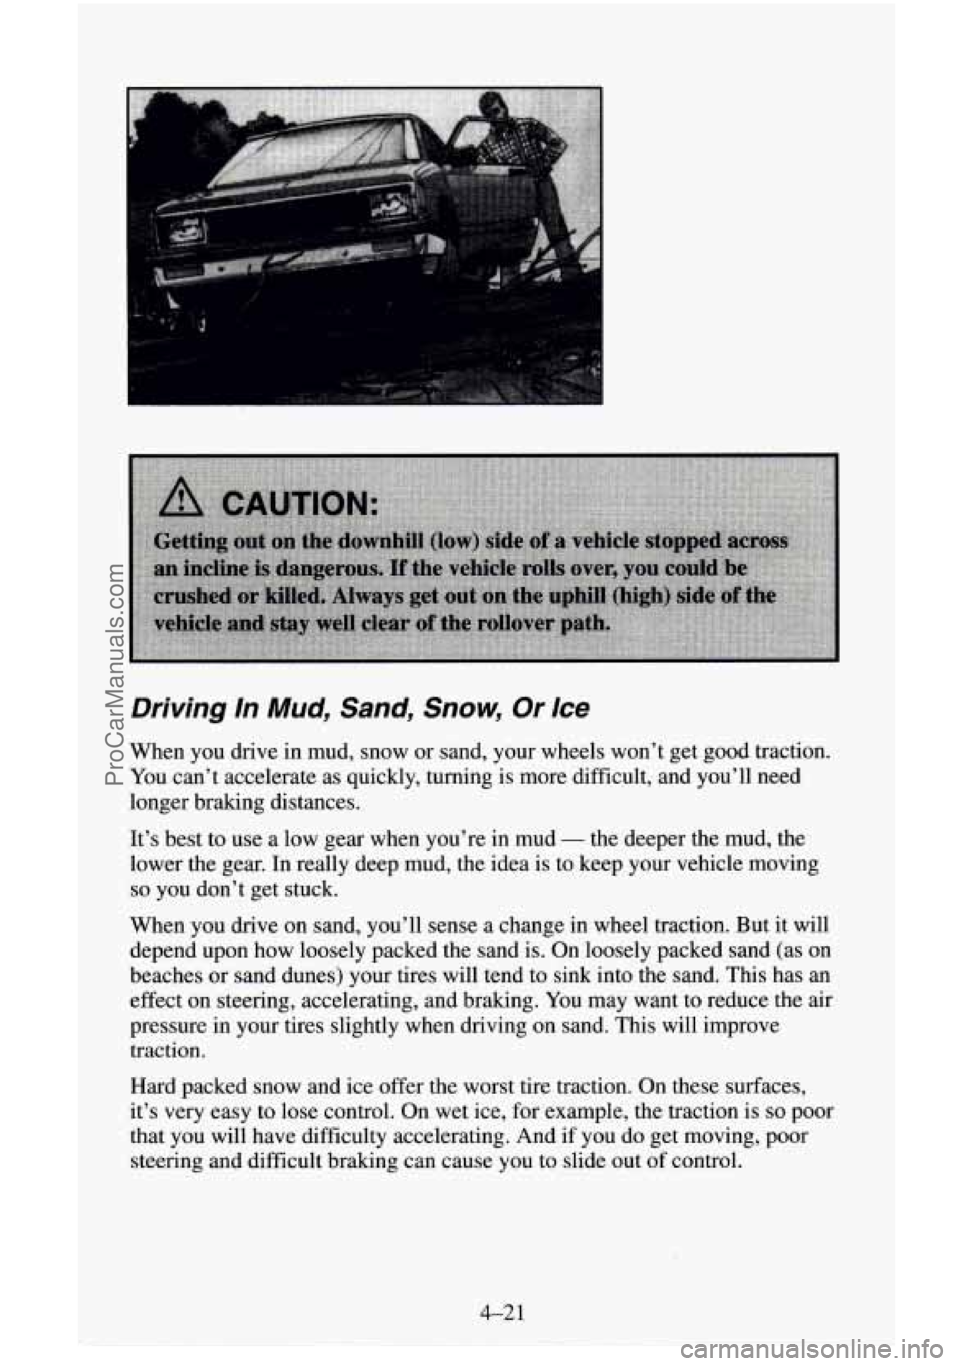
Driving In Mud, Sand, Snow, Or Ice
When you drive in mud, snow or sand, your wheels won’t get good traction.
You can’t accelerate as quickly, turning is more difficult, and you’ll need
longer braking distances.
It’s best to
use a low gear when you’re in mud - the deeper the mud, the
lower the gear.
In really deep mud, the idea is to keep your vehicle moving
so you don’t get stuck.
When you drive on sand, you’ll sense a change in wheel traction. But it will
depend upon how loosely packed the sand is. On loosely packed sand (as on
beaches or sand dunes) your tires will tend to sink into the sand.
This has an
effect on steering, accelerating, and braking.
You may want to reduce the air
pressure in your tires slightly when driving
on sand. This will improve
traction.
Hard packed snow and ice offer the worst tire traction. On these surfaces,
it’s very easy to lose control. On wet ice, for example, the traction is
so poor
that you will have difficulty accelerating. And if you do get moving, poor
steering and difficult braking can cause
you to slide out of control.
4-21
ProCarManuals.com
Page 209 of 486
Hydroplaning doesn’t happen often. But it can if your tires haven’t much
tread or if the pressure in one or more is low. It can happen if a lot of water
is standing on the road. If you can see reflections from trees, telephone
poles, or other vehicles, and raindrops “dimple” the water’s surface, there
could be hydroplaning.
Hydroplaning usually happens at higher speeds. There just isn’t
a hard and
fast rule about hydroplaning. The best advice is
to slow down when it is
raining.
Some Other Rainy Weather Tips
Turn on your low-beam headlights - not just your parking lights - to
Besides slowing down, allow some extra following distance. And be
help
make you more visible
to others.
especially careful when
you pass another vehicle. Allow yourself more
clear room ahead, and be prepared to have your view restricted by road
spray.
Have good tires with proper tread depth. (See “Tires” in the Index.)
City Driving
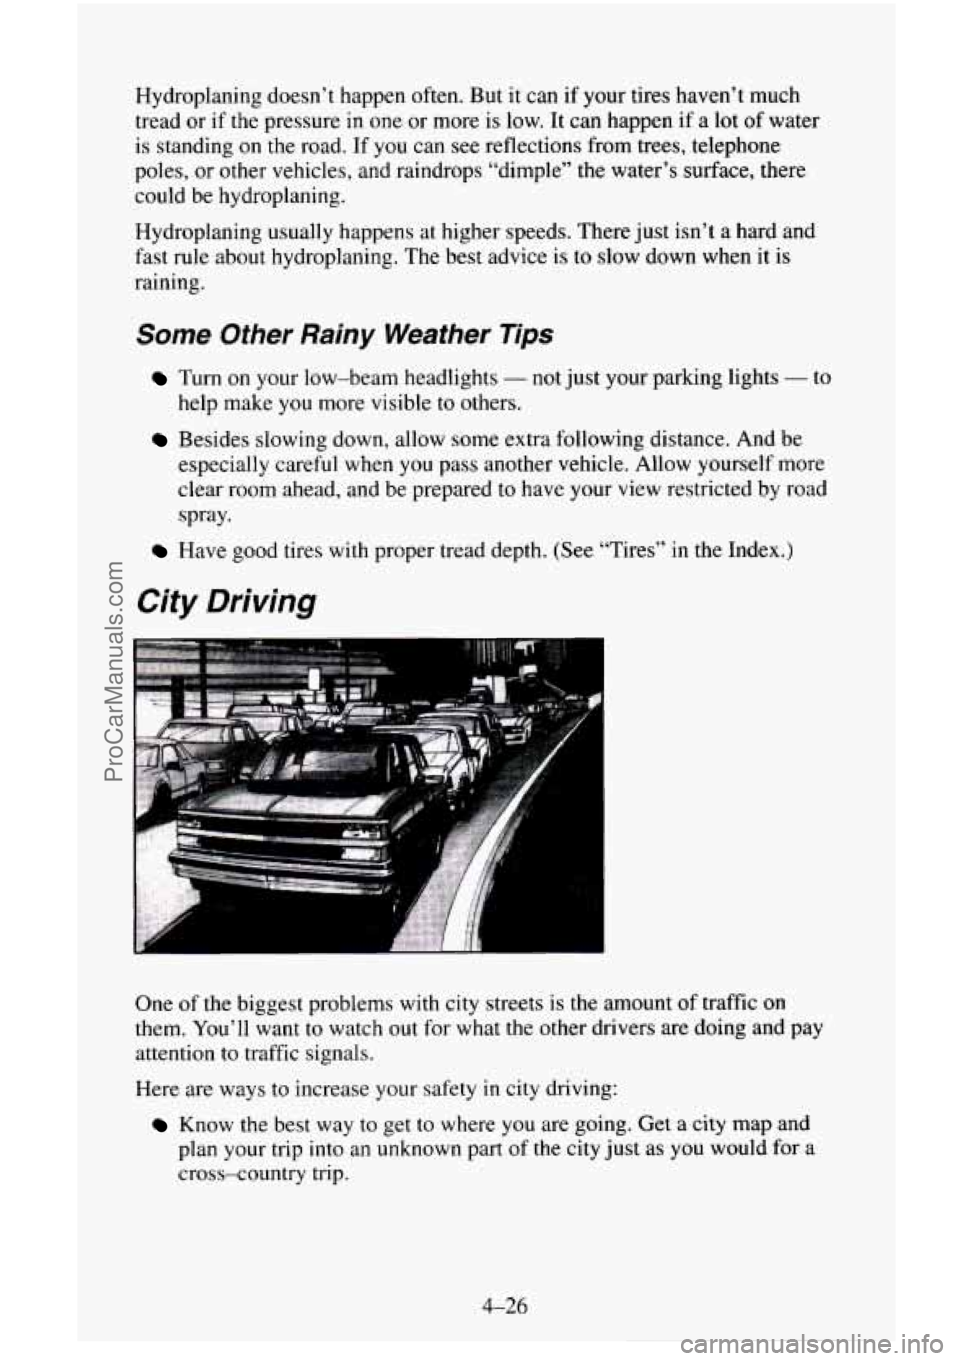
One of the biggest problems with city streets is the amount of traffic on
them. You’ll want to watch out for what the other drivers are doing and pay
attention to traffic signals.
Here are ways to increase your safety in city driving:
Know the best way to get to where you are going. Get a city map and
plan your trip into an unknown part
of the city just as you would for a
cross-country trip.
4-26
ProCarManuals.com
Page 211 of 486
When you want to leave the freeway, move to the proper lane well in
advance. If you miss your exit do not, under any circumstances, stop and
back up. Drive on to the next exit.
The exit ramp
can be curved, sometimes quite sharply.
The exit speed
is usually posted.
Reduce your speed according to your speedometer, not to your sense of
motion. After driving for any distance at higher speeds, you may tend
to
think you are going slower than you actually are.
Before Leaving on a Long Trip
Make sure you’re ready. Try to be well rested. If you must start when you’re
not fresh
- such as after a day’s work - don’t plan to make too many
miles that first part of the journey. Wear comfortable clothing and
shoes you
can easily drive in.
Is your vehicle ready for a long trip? If you keep it serviced and maintained,
it’s ready to go. If
it needs service, have it done before starting out. Of
course, you’ll find experienced and able service experts in
GM dealers all
across
North America. They’ll be ready and willing to help if you need it.
Here are some things you can check before
a trip:
0 Windshield Washer Fluid: Is the reservoir full? Are all windows clean
inside and outside?
Wiper Blades: Are they in good shape?
Fuel, Engine Oil, Other Fluids: Have you checked all levels?
Lamps: Are they all working? Are the lenses clean?
Tires: They are vitally important to a safe, trouble-free trip. Is the tread
good enough for long-distance driving? Are the tires all inflated to the
recommended pressure?
Should you delay your trip a short time to avoid a major
storm system?
Weather Forecasts: What’s the weather outlook along your route?
Maps: Do you have up-to-date maps?
Highway Hypnosis
Is there actually such a condition as “highway hypnosis”? Or is it just plain
falling asleep
at the wheel? Call it highway hypnosis, lack of awareness, or
whatever.
ProCarManuals.com
Page 220 of 486
Loading Your Vehicle
I
PSI/KPA (COLD)
~ SEE OWNER'S MANUAL FOR ADDITIONAL INFORMATION
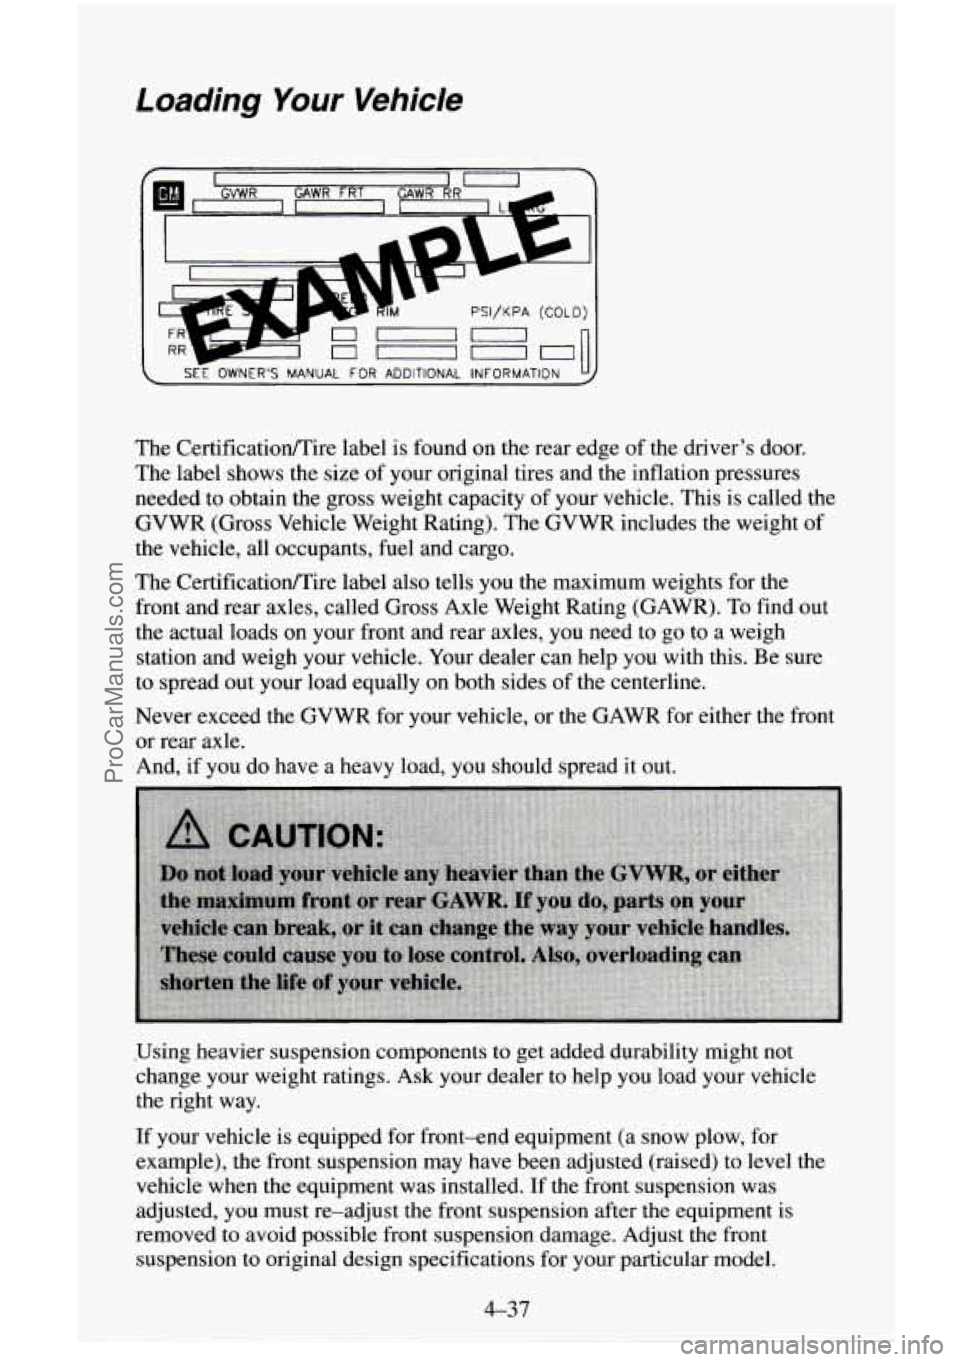
The CertificatiodTire label is found on the rear edge of the driver's door.
The label shows the size
of your original tires and the inflation pressures
needed to obtain the gross weight capacity of your vehicle. This is called the
GVWR (Gross Vehicle Weight Rating). The GVWR includes the weight of
the vehicle, all occupants, fuel and cargo.
The Certificatiodl'ire label
also tells you the maximum weights for the
front and rear axles, called Gross Axle Weight Rating (GAWR). To find
out
the actual loads on your front and rear axles, you need to go to a weigh
station and weigh your vehicle. Your dealer can help you with this. Be sure
to spread out your load equally on both sides
of the centerline.
Never exceed the GVWR
for your vehicle, or the GAWR for either the front
or rear axle.
And, if you do have a heavy load, you should spread it out.
.Using heavier suspension components to get added durability might not
change your weight ratings. Ask your dealer to help you load your vehicle
the right way.
If your vehicle is equipped for front-end equipment (a snow plow, for
example), the front suspension may have been adjusted (raised) to level the
vehicle when the equipment was installed. If the front suspension was
adjusted, you must re-adjust the front suspension after the equipment is
removed to avoid possible front suspension damage. Adjust the front
suspension
to original design specifications for your particular model.
4-37
ProCarManuals.com
Page 226 of 486
Trailer Brakes
If your trailer weighs more than 1,000 pounds (450 kg) loaded, then it needs
its own brakes
- and they must be adequate. Be sure to read and follow the
instructions for the trailer brakes
so you’ll be able to install, adjust and
maintain them properly.
Your trailer brake system can tap into your vehicle’s hydraulic brake system,
but consider the following:
Don’t tap into your vehicle’s brake system if the trailer’s brake system
will use more than
0.02 cubic inch (0.3~~) of fluid from your vehicle’s
master cylinder. If it
does, both braking systems won’t work well. You
could even lose your brakes.
0 Will the trailer brake parts take 3,000 psi (20 650 kPa) of pressure? If
not, the trailer brake system must not be used with your
vehicle.
If everything checks out this far, make the brake tap at the port on the
master cylinder that sends the fluid to the rear brakes. But don’t
use copper
tubing for this. If you do, it will bend and finally break off. Use steel brake
tubing.
Driving with a Trailer
4-43
ProCarManuals.com
Page 244 of 486
If the warning continues, pull over, stop, and park your vehicle right away.
If there’s still no sign of steam, push the accelerator until the engine speed is
about twice as fast as normal idle speed. Bring the engine speed back
to
normal idle speed after two or three minutes. Now see if the warning stops.
But then, if you still have the warning,
turn ofthe engine and get everyone
out
of the vehicle until it cools down.
You may decide not to lift the hood but to get service help right away.
Cooling System - Gasoline Engines
When you decide it’s safe to lift the hood, here’s what you’ll see:
A. Coolant recovery tank
B . Engine fan( s)
C. Radiator pressure cap
If the coolant inside the coolant recovery tank is boiling, don’t do anything
else until
it cools down.
5-1 1
ProCarManuals.com
Page 248 of 486
How to Add Coolant to the Radiator
1. You can remove the radiator pressure cap when the cooling system,
including the radiator pressure cap and upper radiator hose,
is no longer
hot. Turn the pressure cap slowly to the left until
it first stops. (Don’t
press down while turning the pressure cap.)
If you hear a hiss, wait for that to stop.
A hiss means there is still some
pressure left.
2. Then keep turning the
pressure cap, but
now push down
as you turn it.
Remove the
pressure cap.
5-15
ProCarManuals.com
Page 249 of 486
3. Fill the radiator with the proper
mix, up to the
base
of the filler
neck.
4. Then fill the
coolant recovery
tank to the
COLD
mark.
5. Put the cap back
on the coolant
recovery tank,
but leave the
radiator pressure
cap
off.
5-1 6
ProCarManuals.com