1996 CHEVROLET S10 stop start
[x] Cancel search: stop startPage 123 of 375
Downloaded from www.Manualslib.com manuals search engine SCAN: Press this button to listen to each station for a
few seconds. The radio will go to the next station, stop
for
a few seconds, then go to the next station. SCAN will
appear
on the display. Press SCAN again to stop scanning.
PUSHBUTTONS: The four numbered pushbuttons let
you return to your favorite stations. You can set up to
14 stations (seven AM and seven FM).
1. Tune in the desired station.
2. Press SET.
3. Press one of the four pushbuttons, within five seconds,
to store the station. Whenever you press that numbered
button,
the station you set will return.
4. Repeat the steps for each pushbutton.
In addition to the four stations set as above, up to
three additional stations may be preset on each band by
pressing two adjoining buttons at the same time. Just:
1. Tune in the desired station.
2. Press SET. (SET will appear on the display.)
3. Press two adjoining pushbuttons at the same time,
within five seconds. Whenever you press the same
two buttons, the station you set will return.
4. Repeat these steps for each pair of buttons.
AM-ST Press this button to tune an AM station that
broadcasts in stereo. Your STEREO light will come on
when you’re receiving
AM stereo. If you press AM-ST
and there is no more noise, it means the station is weak.
You’ll hear the station better if you do not use
AM-ST.
Press the button again to delete stereo.
Setting the Tone
TONE ADJUSTMENT
Set the bass, midrange and
treble
by using the levers in the upper middle left corner to
get the sound you
want. The 60 and 250 levers adjust the
bass,
1K is midrange, and 3.5K and 10K control the treble.
We suggest you start with
1K in the midpoint position.
Then move
the other levers up until you get the amount
of bass and treble you like.
Adjusting the Speakers
BAL:
This control ring behind the PWR-VOL-PROG-RCL
knob adjusts the balance between the left and right speakers.
FADE: This control ring behind the TUNE-AM-FM knob
adjusts the balance between the front
and rear speakers.
3-10
Page 127 of 375
Downloaded from www.Manualslib.com manuals search engine RCL: Press this button to see what track is playing.
Press
it again within five seconds to see how long it has
been playing. The track number also appears when you
change the volume or when a new track starts to play.
COMP (2): Press this button to make loud and soft
passages more nearly equal in volume. COMP
will
appear on the display while using this control.
RDM (3): Press this button to play tracks in a random,
rather than sequential, order. RDM will appear on the
display while using this control. Press the button again
to return to normal sequence.
REV (4): Press and hold this button to return to a
passage quickly. Release
it to play the passage. The
counter reading will appear on
the display while using
this control.
FWD (5): Press and hold this button to advance to a
passage quickly. Release it to resume playing. Watch the
display
to stop at a specific passage.
SCAN: Press this button to listen to each selection for
about six seconds. The disc will go to the next selection,
stop for a few seconds, then go to the next selection.
Press
RDM, SCAN or any other motion button again to
stop scanning.
PREV: Hold the backward arrow or press it more than
once to return the disc to previous tracks.
NEXT Press the forward arrow to hear the next track
now instead of waiting
until the current track is finished.
If you hold this button or press it more than once, the
disc will advance further.
ST-PL: Press this button to stop the disc and play the
radio. Press
it again to restart the disc at the point where
it stopped.
Press the POWER-VOL knob or turn the ignition key
off to stop the disc player. The disc stays in the player
and will resume playing at the point where it stopped.
E JCT Press this button to eject the disc and play the
radio. The disc
will start at track one when you reinsert it.
Theft-Deterrent Feature
Delco LOC II@ is a theft-deterrent feature for the
compact disc player. It can be used or ignored.
If ignored,
the system plays normally. If used, your player won’t be
usable
if it is ever stolen, because it won’t turn on.
The instructions below tell you how to enter a secret code
into the system. It is recommended that you read through
all 11 steps before starting the procedure. If your vehicle
loses battery power for any reason, you must unlock the system with your secret code before the radio will
turn on.
NOTE: If you allow more than 15 seconds to elapse
between
any steps, the radio automatically .reverts to
time and you must start the procedure over at Step
4.
3-14
Page 137 of 375
Downloaded from www.Manualslib.com manuals search engine Avoid needless heavy braking. Some people drive in
spurts -- heavy acceleration followed by heavy
braking
-- rather than keeping pace with traffic. This
is a mistake. Your brakes may not have time to cool
between hard stops. Your brakes will wear out much
faster if you
do a lot of heavy braking. If you keep pace
with the traffic and allow realistic following distances,
you will eliminate a lot
of unnecessary braking. That
means better braking and longer brake life.
If your engine ever stops while you’re driving, brake
normally but don’t pump your brakes. If you do,
the
pedal may get harder to push down. If your engine
stops,
you will still have some power brake assist. But
you will use it when you brake. Once the power assist is
used up,
it may take longer to stop and the brake pedal
will be harder to push.
Anti-Lock Brakes
Your vehicle has anti-lock brakes (ABS). ABS is an
advanced electronic braking system that will help
prevent
a braking skid.
When you start your engine and begin to drive away,
your anti-lock brake system will check itself.
You may
hear a momentary motor or clicking noise while this test
is going on. This is normal.
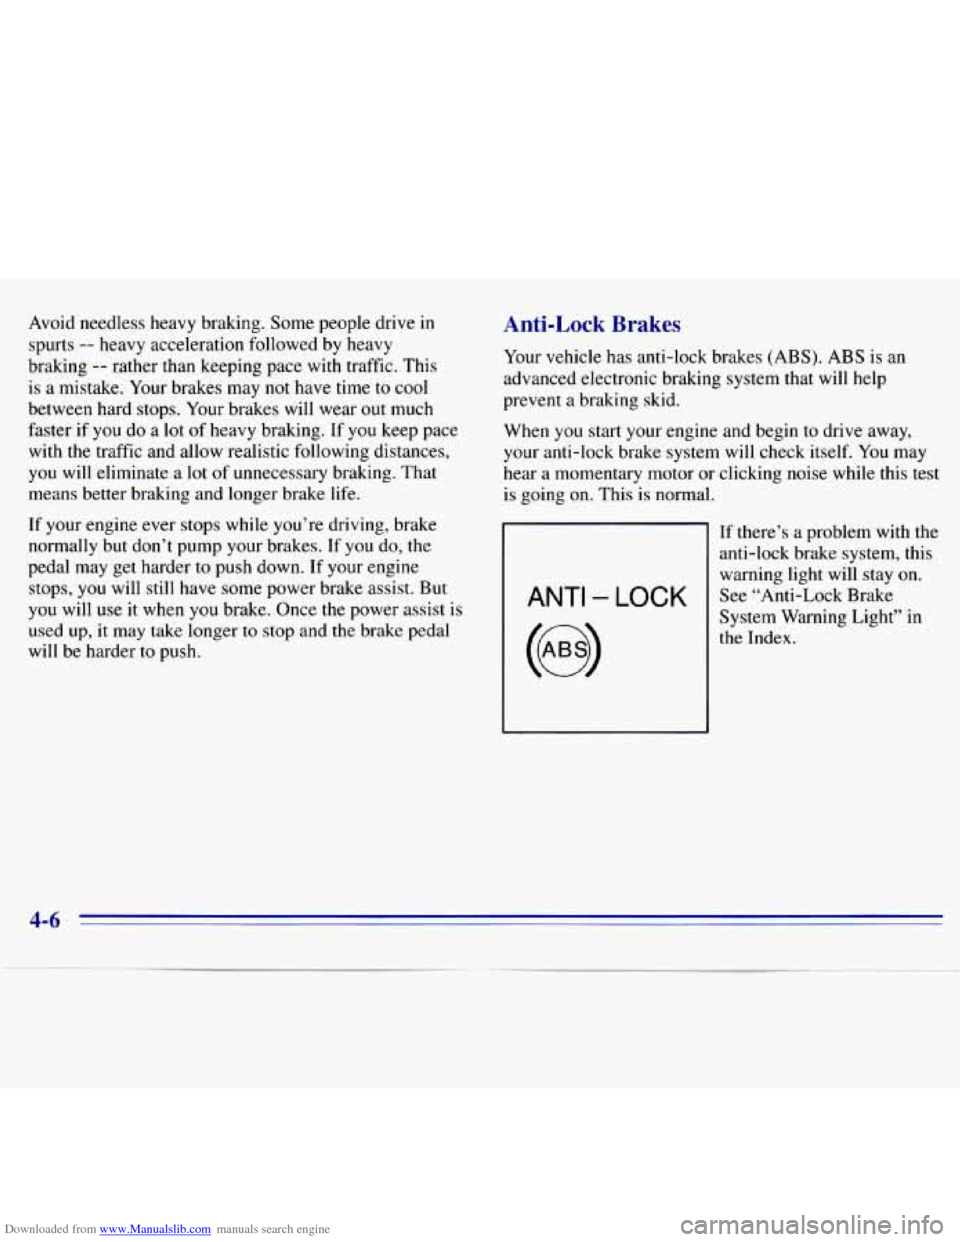
If there’s a problem with the
anti-lock brake system, this
warning light will stay
on.
See “Anti-Lock Brake
System Warning Light” in
the Index.
4-6
Page 142 of 375
Downloaded from www.Manualslib.com manuals search engine The driver of a vehicle about to pass another on a
two-lane highway waits for just the right moment,
accelerates, moves around the vehicle ahead, then goes
back into the right lane again. A simple maneuver?
Not necessarily! Passing
another vehicle on a two-lane
highway is a potentially dangerous move, since
the
passing vehicle occupies the same lane as oncoming
traffic for several seconds. A miscalculation, an error in
judgment, or a brief surrender to frustration or anger can
suddenly put the passing driver face to face with the
worst of all traffic accidents
-- the head-on collision.
So here are some tips for passing:
0 “Drive ahead.” Look down the road, to the sides and
to crossroads for situations that might affect your
passing patterns. If
you have any doubt whatsoever
about making a successful pass,
wait for a better time.
Watch for traffic signs, pavement markings and lines.
If you
can see a sign up ahead that might indicate a
turn or an intersection, delay your pass. A broken
center line usually indicates it’s all right to pass
(providing the road ahead is clear). Never cross a solid
line on your side of the lane or a double solid line,
even
if the road seems empty of approaching traffic.
0
0
0
Do not get too close to the vehicle you want to pass
while you’re awaiting
an opportunity. For one thing,
following too closely reduces your area of vision,
especially
if you’re following a larger vehicle. Also, you
won’t have adequate space
if the vehicle ahead suddenly
slows or stops. Keep back a reasonable distance.
When it looks like a chance to pass
is coming up,
start to accelerate but stay in the right lane and don’t
get too close. Time your move
so you will be
increasing speed as the time comes to move into the
other lane.
If the way is clear to pass, you will have a
“running start” that more than makes up for the
distance you would lose by dropping back. And if
something happens to cause
you to cancel your pass,
you need only slow down and drop back again and
wait for another opportunity.
If other cars are lined up to pass a slow vehicle, wait
your turn. But take care that someone isn’t trying to
pass you as you pull out to pass the slow vehicle.
Remember to glance over your shoulder and check
the blind spot.
4-11
Page 144 of 375
Downloaded from www.Manualslib.com manuals search engine If your vehicle starts to slide, ease your foot off the
accelerator pedal and quickly steer the way you want the
vehicle to go. If
you start steering quickly enough, your
vehicle may straighten out. Always be ready for a
second skid if it occurs.
Of course, traction is reduced when water, snow, ice,
gravel or other material is on the road. For safety, you’ll
want
to slow down and adjust your driving to these
conditions. It is important to slow down
on slippery
surfaces because stopping distance will be longer and
vehicle control more limited.
While driving
on a surface with reduced traction, try your
best to avoid sudden steering, acceleration or braking
(including engine braking by shifting
to a lower gear).
Any sudden changes could cause
the tires to slide. You
may
not realize the surface is slippery until your vehicle
is skidding. Learn to recognize warning clues
-- such as
enough water, ice or packed snow
on the road to make a
“mirrored surface”
-- and slow down when you have
any doubt.
Remember: Any anti-lock brake system (ABS) helps
avoid only the braking skid.
Driving Guidelines
Off-Road Driving with Your
Four-Wheel-Drive Vehicle
This off-road guide is for vehicles that have
four-wheel drive.
Also, see “Anti-Lock Brakes”
in the Index.
If your vehicle doesn’t have four-wheel drive, you
shouldn’t drive off-road unless you’re on a level,
solid surface.
Off-road driving can be great fun. But it does have some
definite hazards.
The greatest of these is the terrain itself.
“Off-roading” means you’ve left
the great North
American road system behind. Traffic lanes aren’t
marked. Curves aren’t banked. There are no road signs.
Surfaces can be slippery, rough, uphill or downhill. In
short, you’ve gone right back to nature.
Off-road driving involves some new skills. And that’s
why it’s very important that you read this guide. You’ll
find many driving tips and suggestions. These will help
make your off-road driving safer and more enjoyable.
4-13
Page 147 of 375
Downloaded from www.Manualslib.com manuals search engine Controlling your vehicle is the key to successful
off-road driving. One
of the best ways to control your
vehicle is to control your speed. Here are some things
to
keep in mind. At higher speeds:
you approach things faster and you have less time to
scan the terrain for obstacles.
0 you have less time to react.
you have more vehicle bounce when you drive
over obstacles.
0 you’ll need more distance for braking, especially
since you’re on an unpaved surface.
When you’re driving off-road, bouncing and
quick changes in direction can easily throw you
out of position. This could cause you to lose
control and crash.
So, whether you’re driving on
or
off the road, you and your passengers should
wear safety belts.
Scanning the Terrain
Off-road driving can take you over many different kinds
of terrain. You need to be familiar with
the terrain and its
many different features. Here are some things to consider.
Su$ace Conditions. Off-roading can take you over
hard-packed dirt, gravel, rocks, grass, sand, mud, snow or
ice. Each of these surfaces
affects the steering, acceleration
and braking
of your vehicle in different ways. Depending
upon the kind
of surface you are on, you may experience
slipping, sliding, wheel spinning, delayed acceleration,
poor traction and longer braking distances.
Surface Obstacles. Unseen or hidden obstacles can be
hazardous. A rock, log, hole, rut or bump can startle you
if you’re not prepared for them. Often these obstacles are
hidden by grass, bushes, snow or even the rise and fall
of
the terrain itself. Here are some things to consider:
Is the path ahead clear?
0 Will the surface texture change abruptly up ahead?
0 Does the travel take you uphill or downhill?
(There’s more discussion
of these subjects later.)
0 Will you have to stop suddenly or change direction
quickly?
4-16
Page 151 of 375
Downloaded from www.Manualslib.com manuals search engine &.’ What should I do if my vehicle stalls, or is about
to stall, and I can’t make it up the hill?
A: If this happens, there are some things you should
0
0
0
do, and there are some things you must not do.
First, here’s what you
should do:
Push the brake pedal to stop the vehicle and
keep it from rolling backwards. Also, apply the
parking brake.
If your engine is still running, shift the transmission
to REVERSE (R), release the parking brake, and
slowly back down the hill
in REVERSE (R).
If your engine has stopped running, you’ll need to
restart it. With the brake pedal depressed and
the
parking brake still applied, shift the transmission to
PARK
(P) (or, shift to NEUTRAL (N) if your
vehicle has a manual transmission) and restart the
engine. Then, shift to REVERSE (R), release the
parking brake, and slowly back down the hill as
straight as possible in REVERSE (R).
0 As you are backing down the hill, put your left hand
on the steering wheel at the 12 o’clock position. This
way, you’ll be able to tell if your wheels are straight
and maneuver as you back down. It’s best that you
back down the hill with your wheels straight rather
than
in the left or right direction. Turning the wheel
too far
to the left or right will increase the possibility
of a rollover.
Here are some things you
must not do if you stall, or are
about to stall, when going up a hill.
0 Never attempt to prevent a stall by shifting into
NEUTRAL
(N) (or depressing the clutch, if you
have a manual transmission)
to “rev-up” the engine
and regain forward momentum. This won’t work.
Your vehicle will roll backwards very quickly and
you could go out of control.
Instead, apply the regular brake
to stop the
vehicle. Then apply the parking brake. Shift to
REVERSE
(R), release the parking brake, and
slowly back straight down.
0 Never attempt to turn around if you are about to stall
when going up a hill.
If the hill is steep enough to
stall your vehicle, it’s steep enough to cause you to
roll over if you turn around. If you can’t make it up
the
hill, you must back straight down the hill.
4-20
Page 154 of 375
Downloaded from www.Manualslib.com manuals search engine Are there some things I should not do when
driving down a hill?
A: Yes! These are important because if you ignore them
a
a
you could lose control and have a serious accident.
When driving downhill, avoid turns that take you
across the incline of the hill.
A hill that’s not too
steep to drive down may be too steep to drive across.
You could roll over if you don’t drive straight down.
Never
go downhill with the transmission in
NEUTRAL
(N), or with the clutch pedal depressed
in a manual shift. This is called “free-wheeling.”
Your brakes will have to do all the work and could
overheat and fade.
Am I likely to stall when going downhill?
A: It’s much more likely to happen going uphill.
But
if it happens going downhill, here’s what to do.
Stop your vehicle by applying the regular brakes.
Shift to PARK (P) (or to NEUTRAL (N) with the
Apply the parking brake.
manual transmission) and, while still braking, restart the engine.
Shift back to a low gear, release the parking brake,
and drive straight down.
If the engine won’t start, get out and get help.
4-23