1996 CHEVROLET EXPRESS parking brake
[x] Cancel search: parking brakePage 188 of 376

Downloaded from www.Manualslib.com manuals search engine Driving On Grades
Reduce speed and shift to a lower gear before you start
down
a long or steep downgrade. If you don’t shift
down, you might have to use your brakes
so much that
they would get hot and
no longer work well.
On a long uphill grade, shift down and reduce
your
speed to around 45 mph (70 kdh) to reduce the
possibility
of engine and transmission overheating.
When towing at high altitude
on steep uphill grades,
consider the following: Engine coolant will boil
at a
lower temperature than at normal altitudes.
If you turn
your engine off immediately after towing at high altitude
on steep uphill grades, your vehicle may show signs
similar
to engine overheating. To avoid this, let the
engine run while parked (preferably on level ground)
with the automatic transmission
in PARK (P) for a few
minutes before turning the engine off. If you do get the
overheat warning, see “Engine Overheating”
in the Index.
Parking on Hills
You really should not park your vehicle, with a trailer
attached, on a hill. If something goes wrong, your rig
could start to move. People can be injured, and both
your vehicle and the trailer can be damaged.
But if you ever have to park your rig
on a hill, here’s
how to do it:
1. ’ Apply your regular brakes, but don’t shift into
PARK (P) yet. Then turn your wheels into the curb
if facing downhill or into traffic if facing uphill.
2. Have someone place chocks under the trailer wheels.
3. When the wheel chocks are in place, release the
regular brakes until the chocks absorb the load.
4. Re-apply the regular brakes. Then apply your
parking brake and then shift
to PARK (P).
5. Release the regular brakes.
4-36
Page 189 of 376

Downloaded from www.Manualslib.com manuals search engine When You Are Ready to Leave After
Parking on a
Hill
1. Apply your regular brakes and hold the pedal down
while you:
Start your engine;
Shift into a gear; and
Release the parking brake.
2. Let up on the brake pedal.
3. Drive slowly until the trailer is clear of the chocks.
4. Stop and have someone pick up and store the chocks.
Main ~ mr ~ ce When Trailer Towing
Your vehicle will need service more often when you’re
pulling a trailer. See the Maintenance Schedule for more
on this. Things that are especially important in trailer
operation are automatic transmission fluid (don’t
overfill), engine oil, axle lubricant, belt, cooling system
and brake adjustment. Each
of these is covered in this
manual, and the Index will help you find them quickly.
If you’re trailering, it’s a good idea
to review these
sections before
you start your trip.
Check periodically to see that all hitch nuts and bolts
are tight.
Trailer Wiring Harness
The eight-wire harness, if you have one, is stored under
your vehicle along the rear frame crossmember. It is
wrapped and bound with a plastic strap. The harness has
a 30-amp battery feed and no connector, and
you should
have a qualified electrical service person wire your
harness for
you. Attach the harness to the trailer, then
tape or strap
it to your vehicle’s frame rail. Be sure you
leave it loose enough so the wiring doesn’t bend or
break, but not
so loose that it drags on the ground.
Store the harness in its original place. Wrap the harness
together and tie it neatly
so it won’t be damaged.
The five-wire harness, if you have one, is stored inside
the vehicle at
the passenger side rear corner, behind the
jack. This should be wired by a qualified electrical
service person.
It must be routed out of your vehicle
between the rear door and the floor, with enough of the
harness left on both sides
so that the trailer or the body
won’t pull
it.
Store the harness in its original place. Wrap the harness
together and tie it neatly
so it won’t be damaged.
4-37
Page 195 of 376

Downloaded from www.Manualslib.com manuals search engine If your vehicle has more than one battery, use the
battery that is under the hood
of the vehicle -- this
will reduce the electrical resistance.
2. Get the vehicles close enough so the jumper cables
can reach, but be sure the vehicles aren’t touching
each other.
If they are, it could cause a ground
connection you don’t want. You wouldn’t be able to
start your vehicle, and the bad grounding could
damage the electrical systems.
Set the parking brake firmly
on each vehicle. Put an
automatic transmission in
PARK (P) or a manual
transmission
in NEUTRAL (N).
3. Turn off the ignition on both vehicles. Turn off all
lamps that aren’t needed, and radios. This will avoid
sparks and help save both batteries, and could save
your radio!
NOTICE:
If you leave your radio on, it could be badly
damaged. The repairs would not be covered by
your warranty.
4. Open the hoods and locate the batteries. Find
the positive
(+) and negative (-) terminals on
each battery.
A CAUTION:
Using a match near a battery can cause battery
gas to explode. People have been hurt doing this,
and some have been blinded. Use a flashlight if
you need more light.
Be sure the battery (or batteries) has enough
water. You don’t need to add water to the Delco
Freedom@ battery (or batteries) installed in
every new
GM vehicle. But if a battery has filler
caps, be sure the right amount of fluid is there.
If
it is low, add water to take care of that first. If
you don’t, explosive gas could be present.
Battery fluid contains acid that can burn you.
Don’t get it on you.
If you accidentally get it in
your eyes or on your skin, flush the place with
water and get medical help immediately.
Page 199 of 376

Downloaded from www.Manualslib.com manuals search engine I A CAUTION:
I I To help avoid injury to you or others:
0 Never let passengers ride in a vehicle that is
Never tow faster than safe or posted speeds.
0 Never tow with damaged parts not
0 Never get under your vehicle after it has
Always use separate safety chains on each
being
towed.
fully secured.
been lifted by the tow truck.
side when towing
a vehicle.
When your vehicle is being towed, have the ignition
key
off. The steering wheel should be clamped in a
straight-ahead position, with
a clamping device
designed for towing service.
Do not use the vehicle’s
steering column lock for this. The transmission should
be in NEUTRAL
(N) and the parking brake should
be released.
A CAUTION:
I
A vehicle can fall from a car carrier if it isn’t
adequately secured. This can cause
a collision,
serious personal injury and vehicle damage. The
vehicle should be tightly secured with chains or
steel cables before
it is transported.
Don’t use substitutes (ropes, leather straps,
canvas webbing, etc.) that can be cut by sharp
edges underneath the towed vehicle.
5-7
Page 212 of 376

Downloaded from www.Manualslib.com manuals search engine If a Tire Goes Flat
It’s unusual for a tire to “blow out” while you’re driving,
especially if you maintain your tires properly. If air goes
out of a tire, it’s much more likely to leak out slowly.
But
if you should ever have a “blowout,” here are a few
tips about what
to expect and what to do:
If a front tire fails, the flat tire will create a drag that
pulls the vehicle toward that side. Take your foot off the
accelerator pedal and grip the steering wheel firmly.
Steer to maintain lane position, and then gently brake to
a stop well out of the traffic lane.
A rear blowout, particularly on a curve, acts much like a
skid and may require the same correction you’d use in a
skid. In any rear blowout, remove your foot from
the
accelerator pedal. Get the vehicle under control by
steering the way
you want the vehicle to go. It may be
very bumpy and noisy, but you can still steer. Gently
brake
to a stop -- well off the road if possible.
If a tire goes flat, the next part shows how to use your
jacking equipment
to change a flat tire safely.
Changing a Flat Tire
If a tire goes flat, avoid further tire and wheel damage
by driving slowly to a level place. Turn
on your hazard
warning flashers.
I
Changing a tire can cause an injury. The vehicle
can slip
off the jack and roll over you or other
people. You and they could be badly injured.
Find a level place to change your tire.
To help
prevent the vehicle from moving:
1. Set the parking brake firmly.
2. Put the shift lever in PARK (P).
3. ”urn off the engine.
To be even more certain the vehicle won’t move,
you can put blocks at the front and rear
of the
tire farthest away from the one being changed.
That would be the tire on the other side of the
vehicle, at the opposite end.
5-20
Page 245 of 376

Downloaded from www.Manualslib.com manuals search engine Wait at least 30 minutes before checking the
transmission fluid level if you have been driving:
0 When outside temperatures are above 90°F (32°C).
At high speed for quite a while.
0 In heavy traffic -- especially in hot weather.
0 While pulling a trailer.
To get the right reading, the fluid should be at normal
operating temperature, which is
180°F to 200°F
(82°C to 93°C).
Checking Transmission Fluid Hot
Get the vehicle warmed up by driving about 15 miles
(24 km) when outside temperatures are above 50°F
(10°C). If it's colder than 50°F (lO"C), drive the
vehicle in
DRIVE (D) until the engine temperature
gage moves and then remains steady for
10 minutes.
Then follow the hot check procedures.
Checking Transmission Fluid Cold
A cold check is made after the vehicle has been sitting
for eight hours or more with the engine
off and is
used only as
a reference. Let the engine run at idle for
five minutes if outside temperatures are
50°F (10°C) or
more. If it's colder than
50°F ( 10°C), you may have to
idle the engine longer. Should the fluid level be low
during a cold check, you
must perform a hot check
before adding fluid. This will give you
a more accurate
reading of the fluid level.
Checking the Fluid Hot or Cold
Park your vehicle on a level place. Keep the
engine running.
With the parking brake applied, place the shift lever
0 With your foot on the brake pedal, move the shift
in PARK (P).
lever through each gear range, pausing for about
three seconds
in each range. Then, position the shift
lever in
PARK (P).
Let the engine run at idle for three minutes or more.
- 6-17
Page 345 of 376
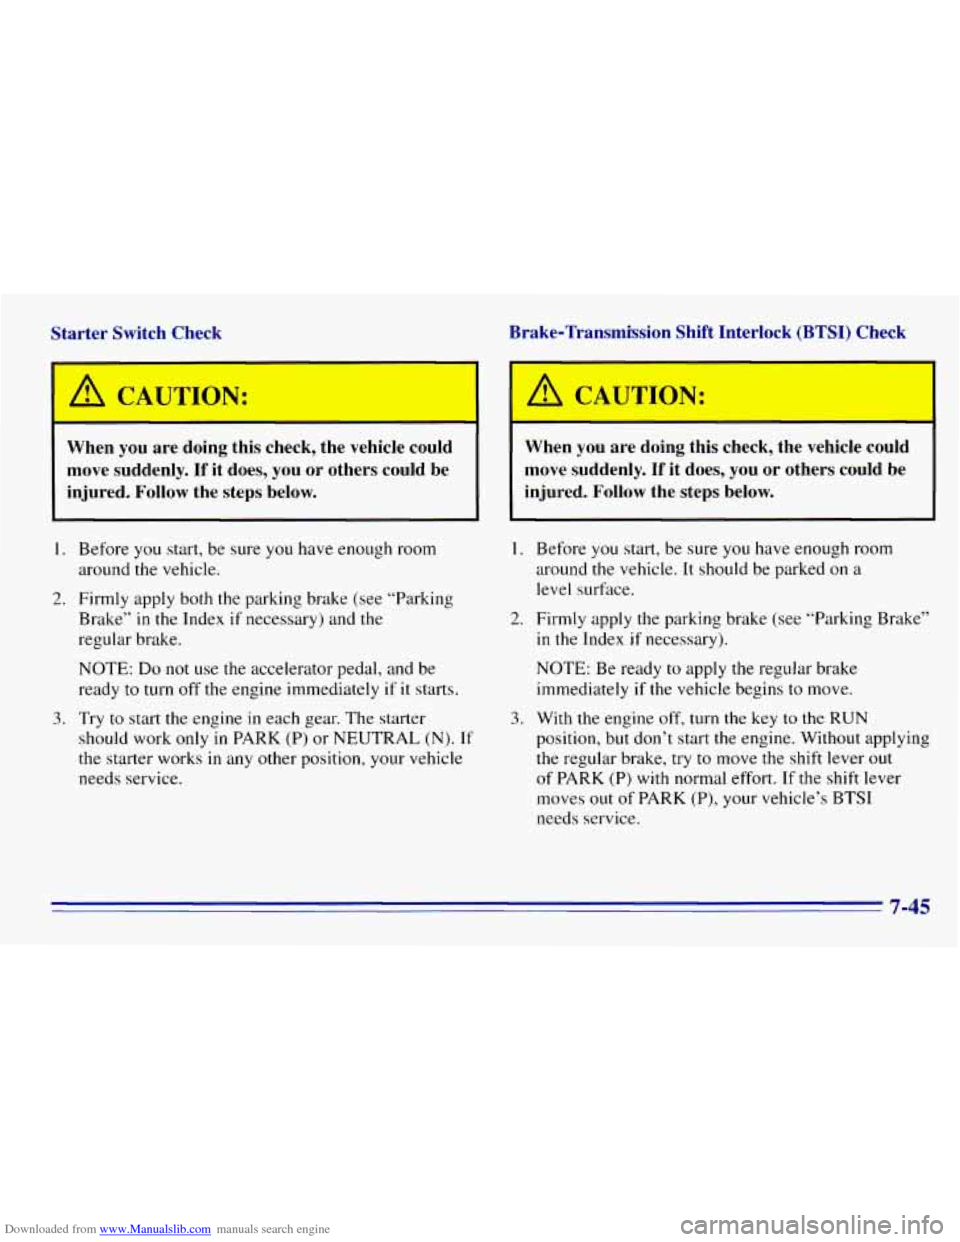
Downloaded from www.Manualslib.com manuals search engine Starter Switch Check Brake-Transmission Shift Interlock (BTSI) Check
’ A CAUTION:
When you are doing this
check, the vehicle could
move suddenly.
If it does, you or others could be
injured. Follow the steps below.
1
1. Before you start, be sure you have enough room
around the vehicle.
2. Firmly apply both the parking brake (see “Parking
Brake”
in the Index if necessary) and the
regular brake.
NOTE: Do not use the accelerator pedal, and be
ready to turn off the engine immediately
if it starts.
3. Try to start the engine in each gear. The starter
should work only
in PARK (P) or NEUTRAL (N). If
the starter works in any other position, your vehicle
needs service.
A CAUTION:
-
When you are doing this check, the vehicle could
move suddenly.
If it does, you or others could be
injured. Follow the steps below.
I. Before you start, be sure you have enough room
around
the vehicle. It should be parked on a
level surface.
2. Firmly apply the parking brake (see “Parking Brake”
in the Index if necessary).
NOTE: Be ready to apply the regular brake
immediately if the vehicle begins to move.
3. With the engine off, turn the key to the RUN
position, but don’t start the engine. Without applying
the regular brake, try to move
the shift lever out
of PARK (P) with normal effort. If the shift lever
moves
out of PARK (P), your vehicle’s BTSI
needs service.
7-45
Page 346 of 376

Downloaded from www.Manualslib.com manuals search engine Steering Column Lock Check
While parked, and with the parking brake set, try to turn
the key to LOCK in each shift lever position.
The key should turn to LOCK only when the shift
lever
is in PARK (P).
0 The key should come out only in LOCK.
Parking Brake and Automatic Transmission
PARK (P) Mechanism Check
When
you are doing this check, your vehicle
could begin to move. You
or others could be
injured and property could be damaged. Make
sure there is room in front
of your vehicle in case
it begins to
roll. Be ready to apply the regular
brake at once should the vehicle begin to move.
Park on a fairly steep hill, with the vehicle facing
downhill. Keeping your foot
on the regular brake,
set the parking brake.
0 To check the parking brake: With the engine running
and transmission
in NEUTRAL (N), slowly remove
foot pressure from the regular brake pedal.
Do this
until the vehicle is held by the parking brake only.
0 To check the PARK (P) mechanism’s holding ability:
With the engine running, shift to PARK
(P). Then
release all brakes.
7-46