Page 75 of 386
Downloaded from www.Manualslib.com manuals search engine Parking Over Things That Burn
Engine Exhaust
-
Things that can burn could touch hot exhaust
parts under yOur vehicle and ignite. Don’t park
over papers, leaves,
dry grass or other things -1 that Engine
exhaust can kill.
It contains the gas
carbon monoxide
(CO), which you can’t see or
smell.
It can cause unconsciousness and death.
You might have exhaust coming in if:
0
0
0
0
0
0
Your exhaust system sounds strange or
different.
Your vehicle gets rusty underneath.
Yqur vehicle was damaged in
a collision.
Your vehicle was damaged when driving
over high points on the road
or over road
debris.
Repairs weren’t done correctly.
Your vehicle or exhaust system had been
modified improperly.
If you ever suspect exhaust is coming into your
vehicle:
Drive it only with all the windows down to
0 Have your vehicle fixed immediately.
blow
out any
CO; and
can burn.
2-32
Page 77 of 386
Downloaded from www.Manualslib.com manuals search engine Windows
Power Windows
With power windows, switches on the door control each
window when the ignition is on or when DAB is
present. (See “Delayed Accessory
Bus” in the Index.)
Express-Down Window
The switch for the driver’s window has an express-down
feature. Press the switch for at least one third of
a
second, and the window will lower completely. To stop
express-down, press the switch again.
You can also open this window any amount by quickly
pressing and releasing the switch.
Horn
To sound the horn, press either horn symbol on your
steering wheel.
Page 81 of 386

Downloaded from www.Manualslib.com manuals search engine Windshield Washer
At the top of the turn signal lever there’s a paddle with
the word
PUSH on it. To spray washer fluid on the
windshield, just push the paddle for less than a second.
If you hold the paddle for more than a second, the
washer will spray until you release the paddle. The
wipers will clear the window and stop
or return to the
previous setting.
c
In freezing weather, don’t use your washer until
the windshield is warmed. Otherwise the washer
fluid can form ice on the windshield, blocking
your vision.
For information on the correct washer fluid mixture to
use, see “Windshield Washer Fluid” in the Index.
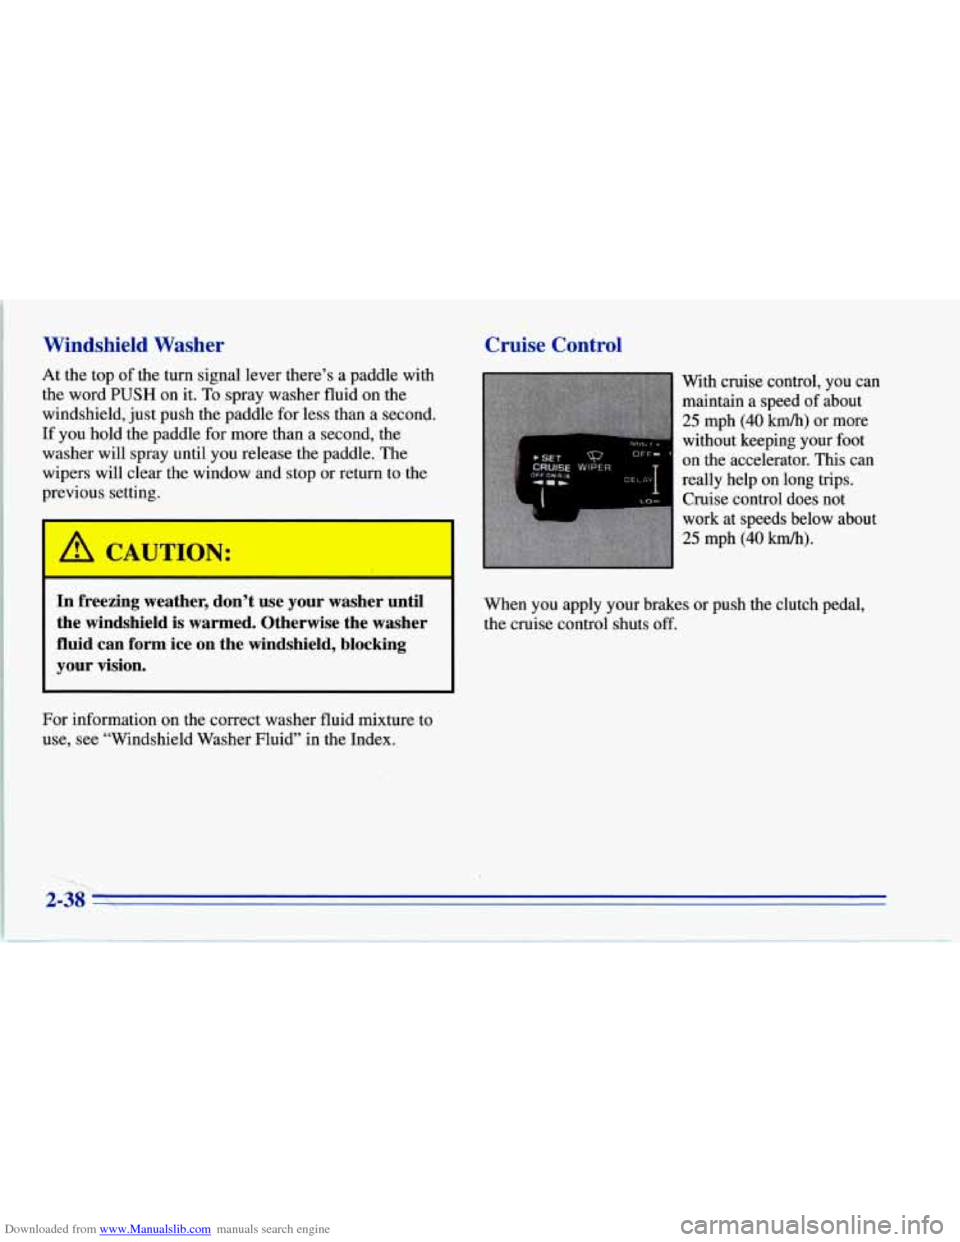
Cruise Control
t LU-
With cruise control, you can
maintain a speed of about
25 mph (40 km/h) or more
without keeping your foot
on the accelerator. This can
really help on long trips.
Cruise control does not
work at speeds below about
25 mph (40 km/h).
When you apply your brakes or push the clutch pedal,
the cruise control shuts
off.
Page 96 of 386

Downloaded from www.Manualslib.com manuals search engine The pink wire connects to the ignition. Power is only
available in the RUN position.
The black wire connects to the ground.
NOTICE:
When using the accessory plug:
Don’t splice wires directly into the accessory
plug
wire. If done incorrectly, splicing might
cause damage to your electrical system.
The maximum load of any electrical
equipment should not exceed
10 amps.
0 Be sure to turn off any electrical equipment
when not in use. Leaving electrical
equipment on for extended periods can
drain your battery.
0 Do not use this plug if the electrical
equipment requires frequent connecting
and disconnecting. This may cause
excessive wear on the accessory plug and
damage your electrical system.
After you’ve installed the electrical equipment, put the trim
panel and console lid back in place and install the screws.
Roof Panel (Coupe)
Until you are sure you can remove the panel alone, have
someone help you.
Removing the Roof Panel
A CAUTION:
Don’t try to remove the roof panel while the
vehicle is moving. Trying to remove the roof
panel while the vehicle
is moving could cause an
accident. The panel could fall into the vehicle and
cause you to lose control, or it could
fly off and
strike another vehicle. You or others could be
injured. Remove the roof panel only when the
vehicle is parked.
1. Park on a level surface, set the parking brake firmly
and shift an automatic transmission into PARK (P).
Shift a manual transmission into REVERSE
(R).
Lower both windows, turn the ignition key to LOCK
and move both sunshades to the side.
2-53
Page 100 of 386

Downloaded from www.Manualslib.com manuals search engine NOTICE:
Don’t lift the front edge of the roof panel higher
than
8 inches (200 mm) when the corners are in
the brackets.
If you do, you could damage the
roof panel.
3.
4.
5.
6.
Lower the front of the roof panel, centering it over
the latch pin.
Pull the release toward you and press down on the
roof panel.
Push the release forward until it latches.
Gently lift up on the roof panel to be sure it is locked
in place.
Installing the Roof Panel
” * IJTION :
An improperly attached roof panel may fall into
or
fly off the vehicle. You or others could be
injured. After installing the roof panel, always
check that
it is firmly attached by pushing up on
the underside of the panel near the bolts. Check
now and then to be sure the roof panel is firmly
in place.
I
1. Park on a level surface, set the parking brake firmly
and shift an automatic transmission into PARK (P).
Shift a manual transmission into
REVERSE (R).
Lower both windows, turn the ignition key to
LOCK
and move both sunshades to the side.
2. If the roof panel is stored in the rear area, remove it
by reversing the steps described previously under
“Storing the Roof Panel.”
2-57
Page 101 of 386

Downloaded from www.Manualslib.com manuals search engine 3. Lower the roof panel onto the vehicle, rear edge first,
and place the rear guide pins into the holes in the
roof opening.
4. Lower the front of the roof panel, and align the front
guide pins.
5. Tighten the rear bolts part way.
NOTICE:
If you tighten bolts that are improperly started,
the threads can become stripped. Be sure all bolts
are properly started before you tighten them.
6. Use the ratchet to start the front bolts. If the bolts are
hard to start, tighten the rear bolts some more.
Holding down the panel on the outside will also
help.
7. Fully tighten the rear bolts, then the front bolts.
If you hear a popping noise when you drive, the
bolts may not be tight enough. Be sure to tighten
them securely.
Convertible Top (Option)
The following procedures explain the proper operation
of your convertible top.
Lowering Your Convertible Top
NOTICE:
Don’t leave your convertible out with the top
down for any long periods of time. The sun and
the rain can damage your seat material and other
things inside your vehicle.
1. Park on a level surface, set the parking brake firmly
and shift an automatic transmission into
PARK (P).
Shift a manual transmission into REVERSE (R).
Lower both windows and sunshades and turn the
ignition
key to LOCK.
Page 102 of 386
Downloaded from www.Manualslib.com manuals search engine I I
NOTICE:
Before lowering the convertible top into the storage area, be sure there are
no objects in the
way of the folded, stored top. The weight of a
~ stored top on items in the storage area may cause
the convertible top back glass to break.
.
2. Unlock the front of the convertible top by turning the
latch handles outward. Then lift the top
off the
windshield slightly.
3. Unfasten the strips at the rear of each window
opening.
2-59
Page 105 of 386

Downloaded from www.Manualslib.com manuals search engine 8. After the top is completely folded into the
compartment, turn the latch handles toward the
center of the vehicle. Close the storage compartment
lid by pushing the front edge down on each side. Try
to lift the lid to make sure it’s latched.
NOTICE:
When closing the storage compartment lid, make
sure the latch handles are turned back toward
the center
of the vehicle. If they aren’t, you may
damage the paint on the lid inner panel.
I
Raising Your Convertible Top
1.
2.
Park on a level surface, set the parking brake firmly
and shift an automatic transmission into PARK (P).
Shift a manual transmission into REVERSE
(R).
Lower both windows and sunshades and turn the
ignition key to LOCK.
Press either the storage compartment lid
release button behind the driver’s seat
or in the
center console.
3.
4.
5.
Turn the latch handles outward. Pull the top up and
forward until it lines up with the windshield.
Latch the top by turning the handles toward the
center of the vehicle. If needed, push down on the
outside corners.
Lift the rear
of the top and close the compartment
lid firmly.
2-62