1996 CHEVROLET CORVETTE check engine
[x] Cancel search: check enginePage 62 of 386
Downloaded from www.Manualslib.com manuals search engine START for about three seconds. If the vehicle starts
briefly but then stops again, do the same thing, but
this time keep the pedal down for five or six seconds.
This clears the extra gasoline from the engine.
I NOTICE:
Your engine is designed to work with the
electronics in your vehicle.
If you add electrical
parts or accessories, you could change the
way
the engine operates. Before adding electrical
equipment, check with your dealer.
If you don’t,
your engine might not perform properly.
If you ever have to have your vehicle towed, see
the part of this manual that tells how to do it
without damaging your vehicle. See “Towing
Your Vehicle” in the Index.
Racing or Other Competitive Driving
See your Warranty Book before using your Corvette for
racing or other competitive driving.
NOTICE:
If you use your Corvette for racing or other
competitive driving, your engine may use more
oil than it would with normal use. Low oil levels
can damage the engine. Be sure to check the oil
level often during racing or other competitive
driving and keep the level at or near the upper
mark on the engine oil dipstick.
You may need to
add oil. See “Engine Oil” in the Index.
2-19
Page 79 of 386
Downloaded from www.Manualslib.com manuals search engine nrn and Lane Change Signals
The turn signal has two upward (for right) and two
downward (for left) positions. These positions allow you
to signal a turn or a lane change.
To signal a turn, move the multifunction lever all the
way up or down. When the turn is finished,
the lever
will return automatically.
A chime will remind you if you leave your turn signal
on for more than
1 mile (1.6 km) of driving.
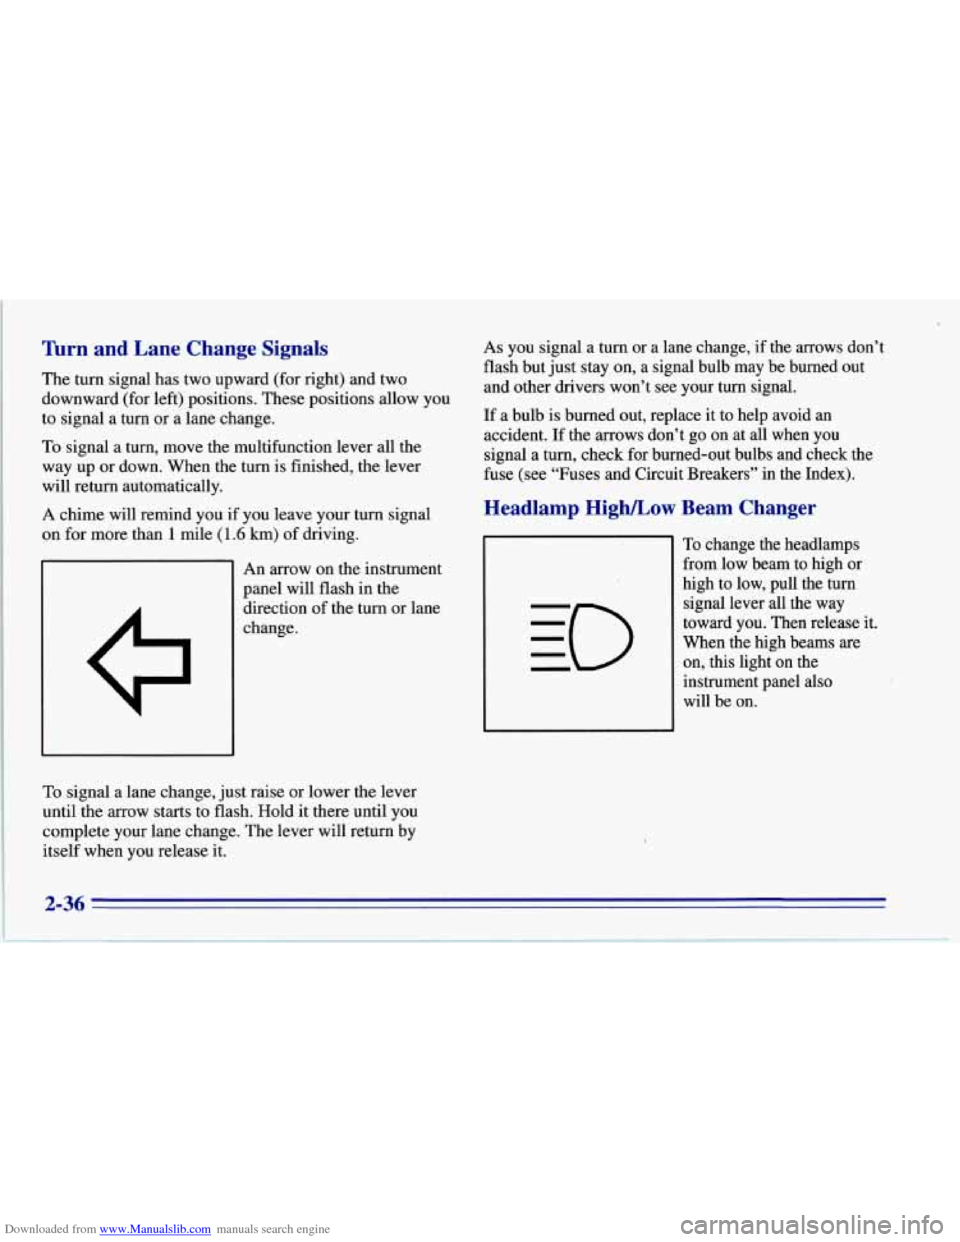
An arrow on the instrument
panel will flash in the
direction of the turn or lane
change.
To signal a lane change, just raise or lower the lever
until the
arrow starts to flash. Hold it there until you
complete your lane change. The lever will return by
itself when you release it.
As you signal a turn or a lane change, if the arrows don’t
flash but just stay on, a signal bulb may be burned out
and other drivers won’t see your turn signal.
If a bulb is burned out, replace it to help avoid an
accident.
If the arrows don’t go on at all when you
signal a turn, check for burned-out bulbs and check the
fuse (see “Fuses and Circuit Breakers” in the Index).
Headlamp High/Low Beam Changer
To change the headlamps
from low beam to high or
high to low, pull the turn
signal lever all the way
toward you. Then release it.
When the high beams
are
on, this light on the
instrument panel also
will be on.
Page 90 of 386
Downloaded from www.Manualslib.com manuals search engine Convex Outside Mirror
Your passenger’s side mirror is convex. A convex
mirror’s surface is curved
so you can see more from the
driver’s seat.
A CAUTION:
A convex mirror can make things (like other
vehicles) look farther away than they really are.
If you cut
too sharply into the right lane, you
could hit a vehicle on your right. Check your
inside mirror or glance over your shoulder before
changing lanes.
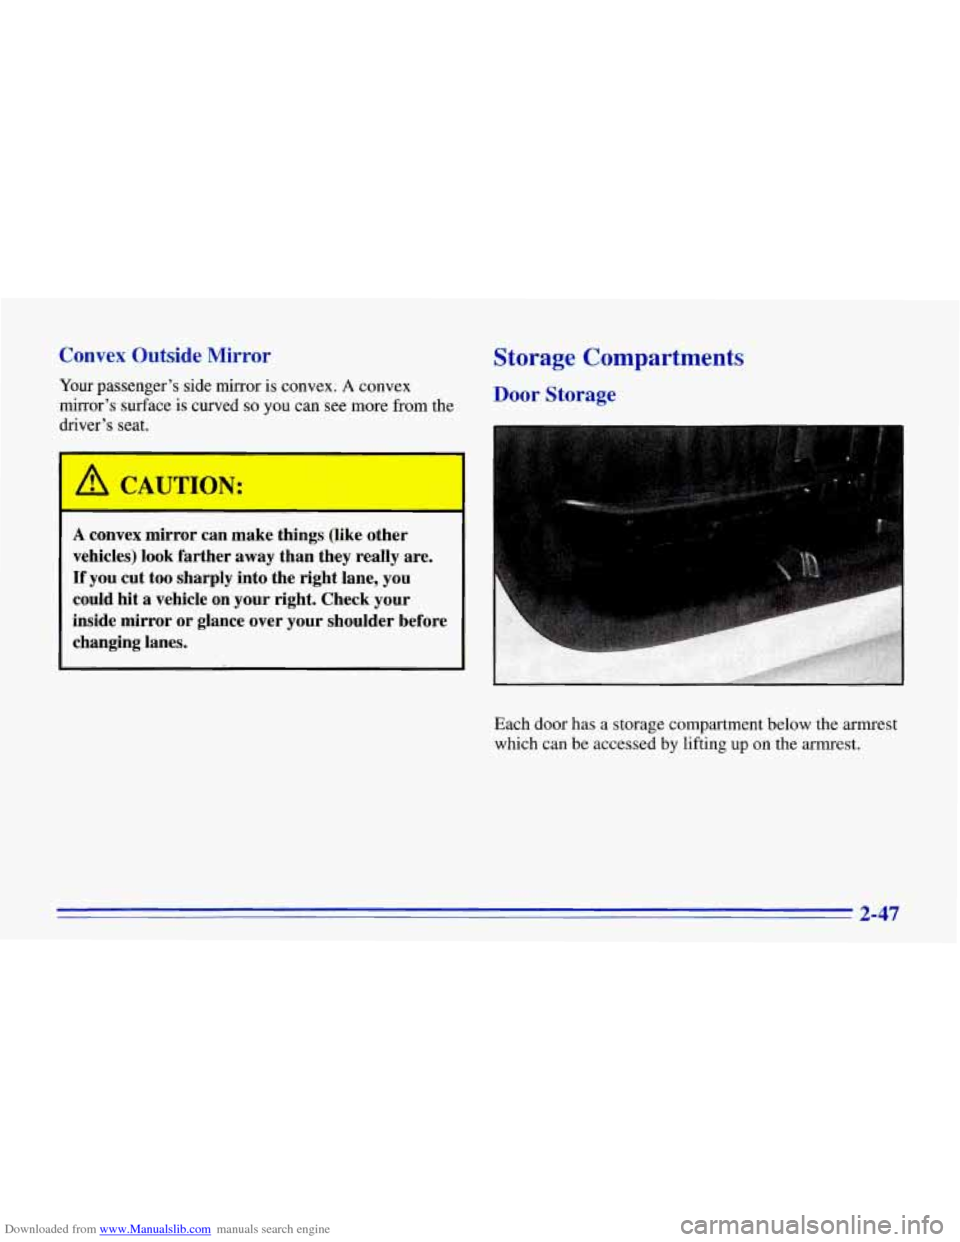
Each door has a storage compartment below the armrest
which can be accessed
by lifting up on the armrest.
2-47
Page 100 of 386
Downloaded from www.Manualslib.com manuals search engine NOTICE:
Don’t lift the front edge of the roof panel higher
than
8 inches (200 mm) when the corners are in
the brackets.
If you do, you could damage the
roof panel.
3.
4.
5.
6.
Lower the front of the roof panel, centering it over
the latch pin.
Pull the release toward you and press down on the
roof panel.
Push the release forward until it latches.
Gently lift up on the roof panel to be sure it is locked
in place.
Installing the Roof Panel
” * IJTION :
An improperly attached roof panel may fall into
or
fly off the vehicle. You or others could be
injured. After installing the roof panel, always
check that
it is firmly attached by pushing up on
the underside of the panel near the bolts. Check
now and then to be sure the roof panel is firmly
in place.
I
1. Park on a level surface, set the parking brake firmly
and shift an automatic transmission into PARK (P).
Shift a manual transmission into
REVERSE (R).
Lower both windows, turn the ignition key to
LOCK
and move both sunshades to the side.
2. If the roof panel is stored in the rear area, remove it
by reversing the steps described previously under
“Storing the Roof Panel.”
2-57
Page 118 of 386
Downloaded from www.Manualslib.com manuals search engine Warning lights come on when there may be or is a
problem with one of your vehicle’s functions.
As you will
see in the details on the next few pages, some warning
lights come on briefly when you
start the engine just to let
you know they’re working.
If you are farniliar with this
section, you should not be alarmed when this happens.
Gauges can indicate when there may be or
is a problem
with one of your vehicle’s functions. Often gauges and
warning lights work together to let
you know when
there’s a problem with your vehicle.
When one of the warning lights comes on and stays
on
when you are driving, or when one of the gauges shows
there may be a problem, check the section that tells you
what to do about it. Please follow this manual’s advice.
Waiting to do repairs can be costly
-- and even
dangerous.
So please get to know your warning lights
and gauges. They’re a big help.
Your vehicle also has a Driver Information Center that
works along with the warning lights and gauges. See
“Driver Information Center” in the Index.
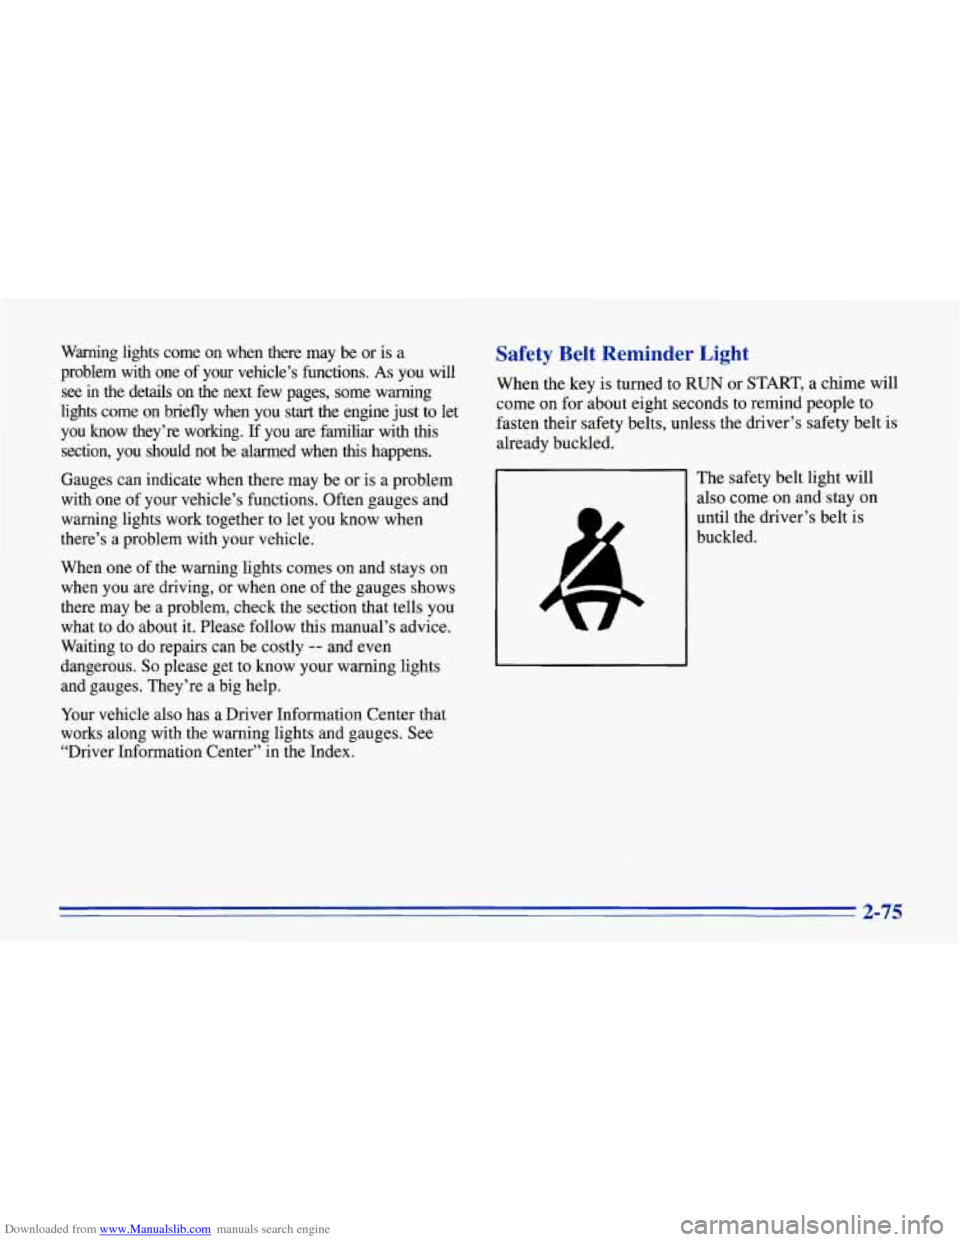
Safety Belt Reminder Light
When the key is turned to RUN or START, a chime will
come on for about eight seconds to remind people to
fasten their safety belts, unless the driver’s safety belt is
already buckled.
The safety belt light will
also come on and stay on
until the driver’s belt is
buckled.
2-75
Page 119 of 386
Downloaded from www.Manualslib.com manuals search engine Air Bag Readiness Light
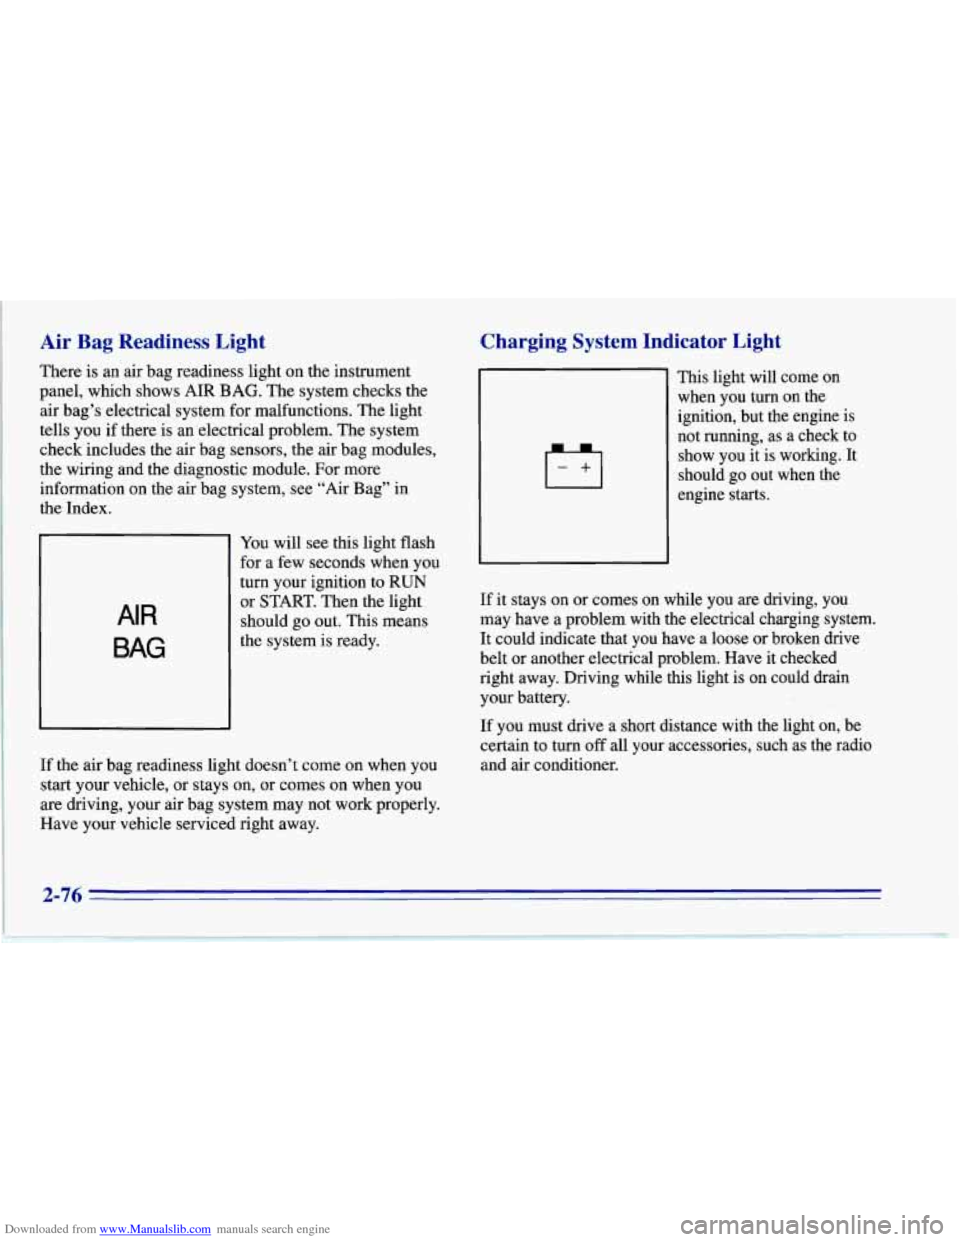
There is an air bag readiness light on the instrument
panel, which shows AIR BAG. The system checks the
air bag’s electrical system for malfunctions. The light
tells you if there is an electrical problem. The system
check includes the air bag sensors, the air bag modules,
the wiring
and the diagnostic module. For more
information on the air bag system, see “Air Bag” in
the Index.
AIR
BAG
You will see this light flash
for a few seconds when you
turn your ignition to RUN
or START. Then the light
should go out. This means
the system is ready.
If the air bag readiness light doesn’t come on when you
start your vehicle, or stays on,
or comes on when you
are driving, your air bag system may not work properly.
Have your vehicle serviced right away.
Charging System Indicator Light
-+I
This light will come on
when you turn on the
ignition, but the engine is
not running, as a check to
show you it is working. It
should go out when the
engine starts.
If it stays on or comes on while you are driving, you
may have a problem with the electrical charging system.
It could indicate that you have a loose or broken drive
belt or another electrical problem. Have it checked
right away. Driving while this light is on could drain
your battery.
If you must drive a short distance with the light on, be
certain to turn
off all your accessories, such as the radio
and air conditioner.
2-76
Page 120 of 386
Downloaded from www.Manualslib.com manuals search engine Voltmeter
El
VOLTS
18
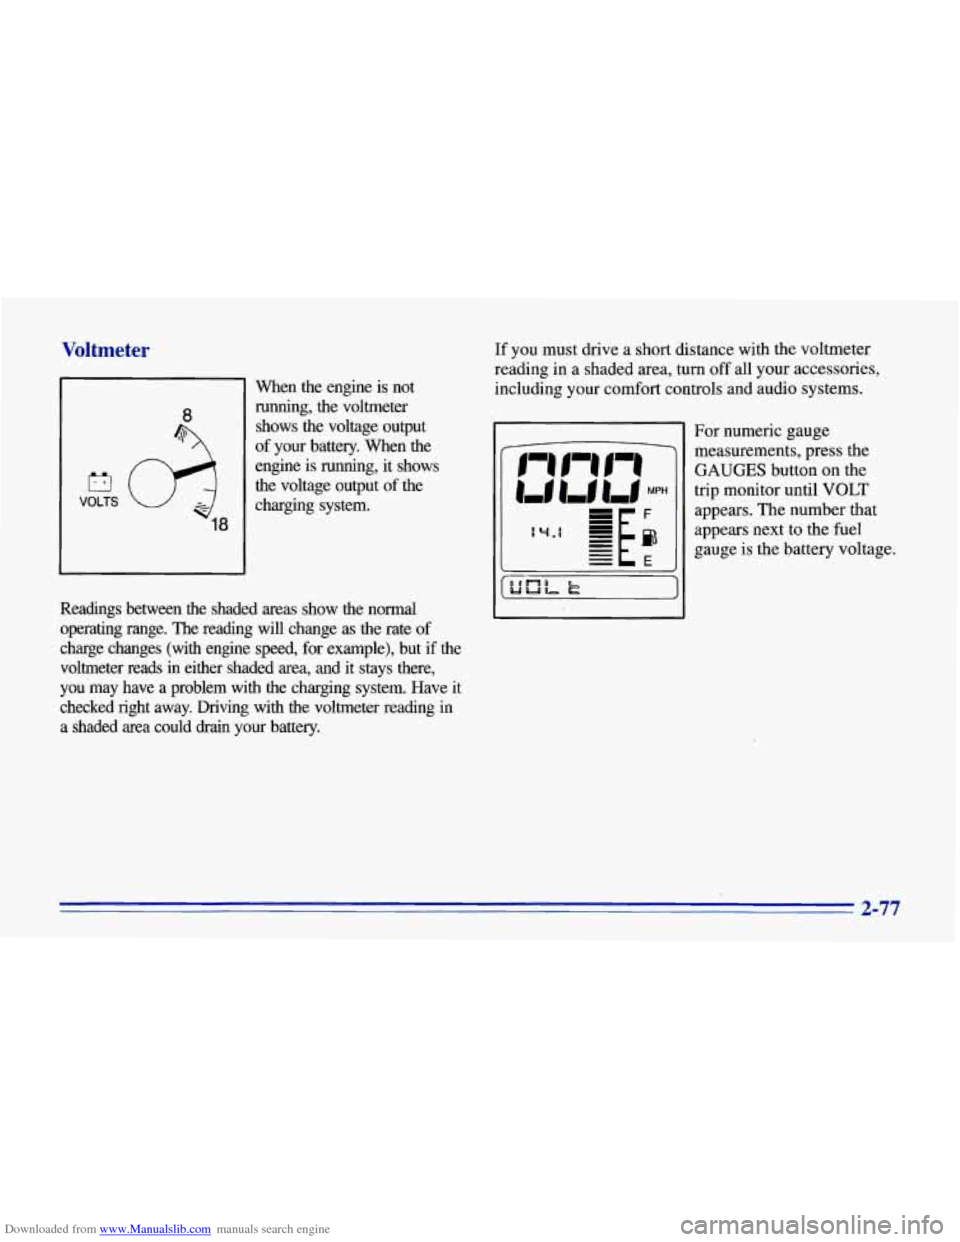
When the engine is not running, the voltmeter
shows the voltage output
of your battery.
When the
engine is running, it shows
the voltage output of the
charging system.
Readings between the shaded areas show the normal
operating range. The reading will change as the rate of
charge changes (with engine speed, for example), but
if the
voltmeter reads in either shaded area, and it stays there,
you may have a problem with the charging system. Have it
checked right away. Driving with the voltmeter reading
in
a shaded area could drain your battery. If you
must drive a short distance with the voltmeter
reading in a shaded area, turn
off all your accessories,
including your comfort controls and audio systems.
For numeric gauge
measurements, press the
GAUGES button on the
trip monitor until
VOLT
appears. The number that
appears next to the fuel
gauge is the battery voltage.
2-77
Page 127 of 386
Downloaded from www.Manualslib.com manuals search engine The light may come on if any LTPWS parts aren’t
working properly.
For LTPWS to work properly, you must drive your
Corvette faster than
25 mph (40 km/h) and for more
than
2 miles (4 km). The system will not warn you
before you begin to drive that a tire
is flat.
When the LOWELAT TIRE light comes on, check the
tire pressure in all four road tires as soon
as you can.
Adjust the tire pressure as needed to those shown on the
Tire-Loading Information label on the driver’s door. If
the light stays on after the tire pressure is adjusted, see
your dealer.
I
When the LOWELAT TIRE warning light is on,
your vehicle’s handling capabilities will be
reduced during severe maneuvers.
If you drive
too fast, you could lose control of your vehicle.
You or others could be injured. Don”t drive over
55 mph (90 km/h) when the LOWWLAT TIRE
warning light is on. Drive cautiously, and check
your tire pressures as soon
as you can.
NOTICE:
Driving with a flat tire may damage the tire, the
wheel or the tire pressure sensor installed inside
the tire
on the wheel rim. Using tire sealants may
also damage the sensor.
If you have EMTs, see “Extended Mobility Tires”
in the Index.
The LTPWS sensor is directly opposite the valve stem
on the tire. Take care when servicing or having your
tires serviced. The sensors may not work properly
if
damaged. To prevent damage to the sensors, see the
1996 Corvette Service Manual for correct tire mounting
and dismounting procedures.
The LOW/FLAT TIRE light may come on if your
vehicle
is close to another vehicle that has LTPWS and
has a tire with low pressure.
LTPWS can warn you about a low tire, but it does
not replace normal tire maintenance. See “Tires” in
the Index.