1996 CHEVROLET CAVALIER fuel
[x] Cancel search: fuelPage 248 of 372
Downloaded from www.Manualslib.com manuals search engine Engine Oil
CHECK
OIL
If the CHECK OIL light on
the instrument panel comes
on, it means you need to
check your engine oil level
right away.
For more
information,
see “Check Oil
Light” in the Index. You
should check your engine
oil level regularly; this is an
added reminder.
It’s a good idea to check your engine oil every time you
get fuel. In order to get an accurate reading, the oil must
be warm and the vehicle must be on level ground.
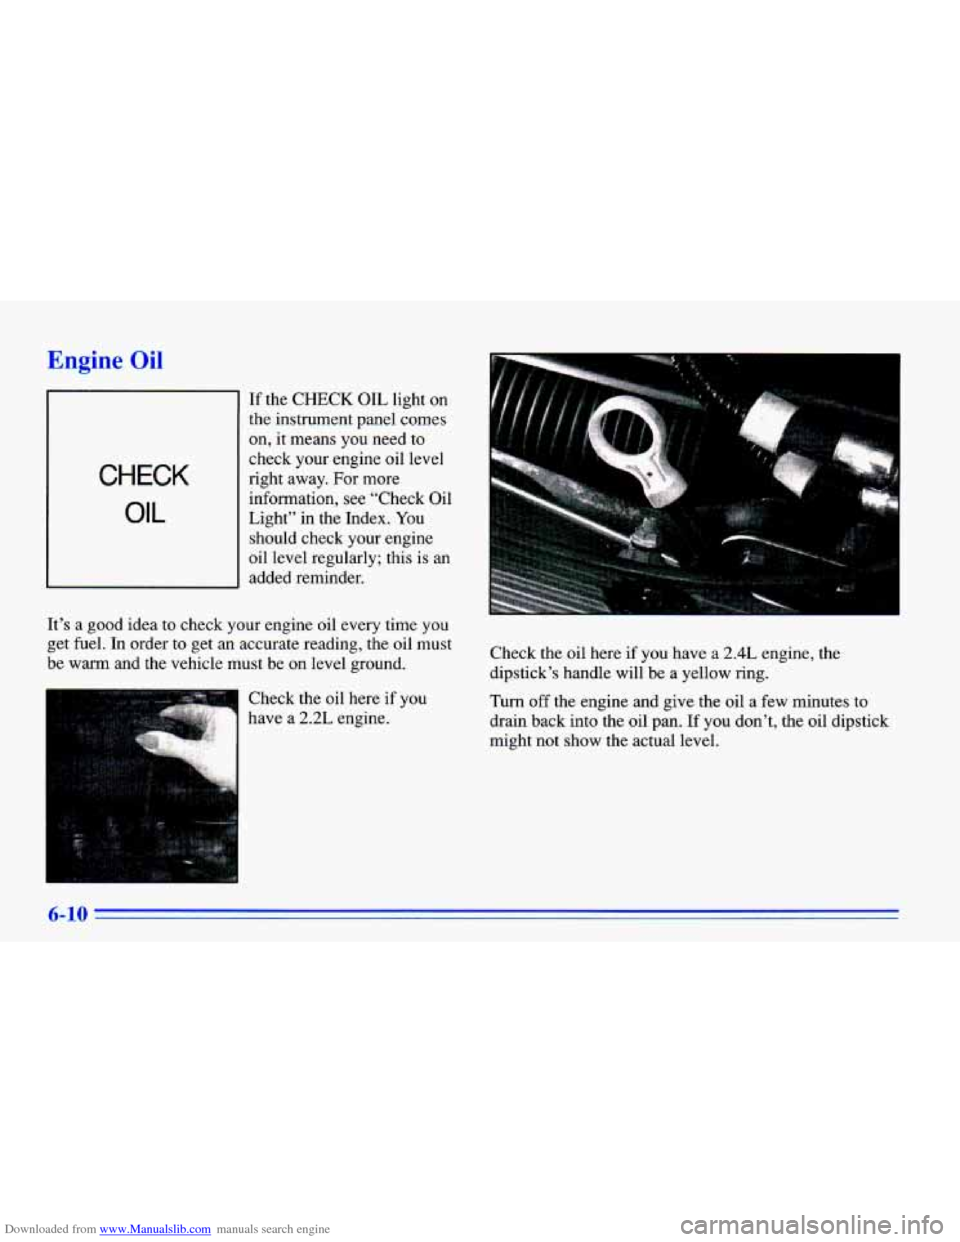
Check the
oil here if you
have a 2.2L engine. Check the
oil here if you have a
2.4L engine, the
dipstick’s handle will be a yellow ring.
Turn off the engine and give the oil a few minutes to
drain back into the oil pan. If you don’t, the oil dipstick
might not show the actual level.
Page 251 of 372
Downloaded from www.Manualslib.com manuals search engine What Kind of Oil to Use
Oils recommended for your vehicle can be identified by
looking for the “Starburst” symbol. This symbol
indicates that the oil has been certified by the American
Petroleum Institute (API).
Do not use any oil which
does not carry this Starburst symbol.
If
you change your own oil,
be sure you use oil that has
the Starburst symbol on the
front
of the oil container. If
you have your oil changed
for you, be sure the oil put
into your engine is
American Petroleum
Institute certified for
gasoline engines.
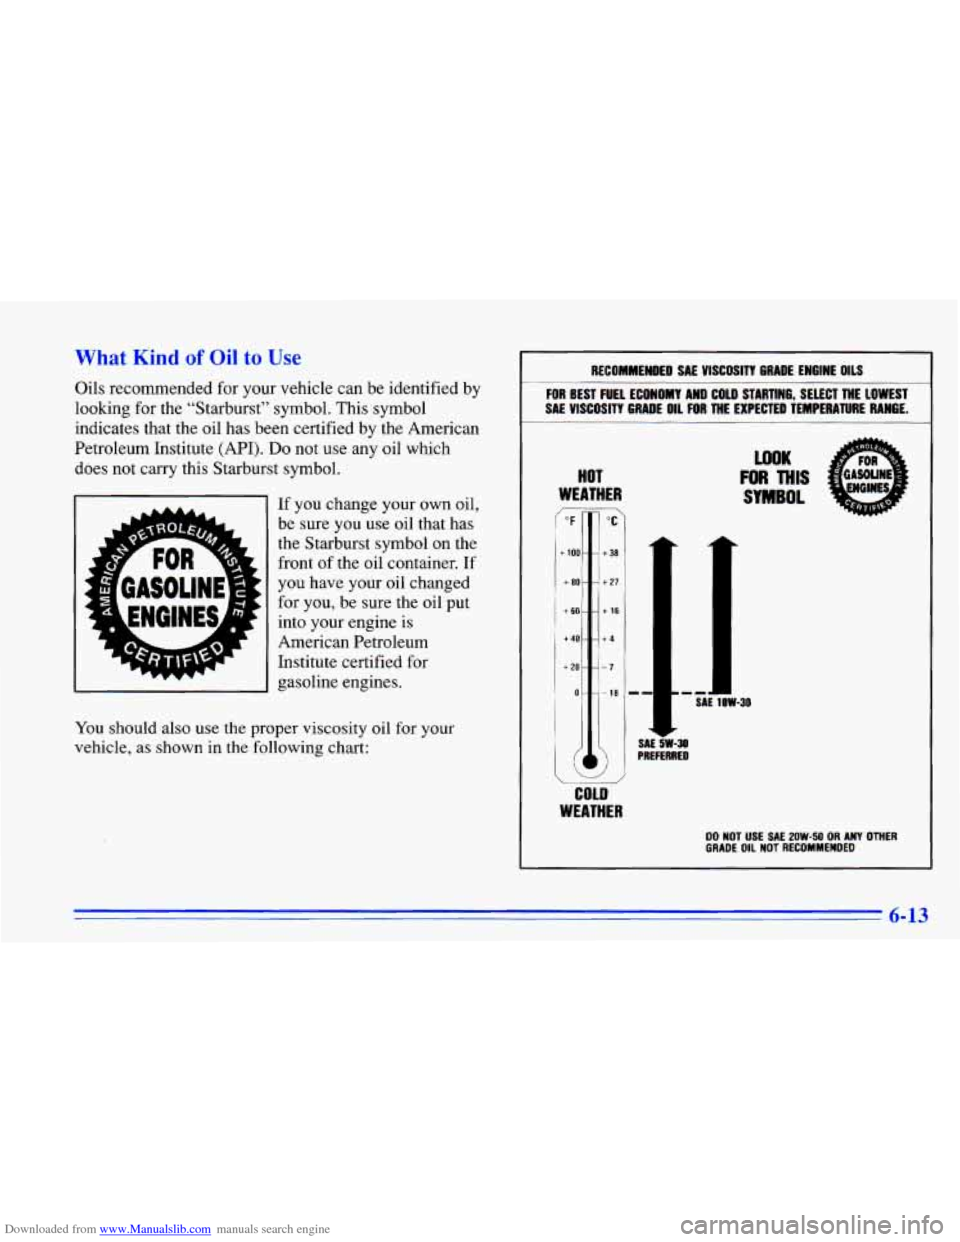
You should also
use the proper viscosity oil for your
vehicle, as shown in the following chart:
RECOMMENDED SAE VISCOSITY GRADE ENGINE OILS
FOR BEST FUEL ECONOMY AND COLD STARTING, SELECT THE LOWEST
SAE VISCOSITY GRADE OIL FOR THE EXPECTED TEMPERATURE RANGE. -
HOT
WEATHER
f°F
-
+ 100-
+ BO -
I-
WOK
FOR THIS
SYMBOL
‘I 111 SAE 1UW-30
SAE&-~ PREFERRED
WEATHER
DO NOT USE SAE 2OW-50 OR ANY OTHER GRADE OIL NOT RECOMMENDED
6-13
Page 275 of 372
Downloaded from www.Manualslib.com manuals search engine Inflation -- Tire Pressure
The Tire-Loading Information label which is on the rear
edge
of the driver’s door shows the correct inflation
pressures for your tires when they’re cold. “Cold”
means your
vehicle has been sitting for at least three
hours or driven no more than
1 mile (1.6 km).
NOTICE:
Don’t let anyone tell you that underinflation or
overinflation is
all right. It’s not. If your tires
don’t have enough air (underinflation), you can
get the following:
Too much flexing
Too much heat
Tire overloading
Bad wear
Bad handling
Bad fuel economy.
NOTICE: (Continued) NOTICE:
(Continued)
If your tires have too much air (overinflation),
you can get the following:
Unusual wear
Bad handling
Rough ride
Needless damage from road hazards.
When to Check
Check your tires once a month or more.
Don’t forget your compact spare tire.
It should be at
60 psi (420 Pa).
How to Check
Use a good quality pocket-type gage to check tire
pressure. You can’t tell
if your tires are properly inflated
simply by looking at them. Radial tires may look
properly inflated even when they’re underinflated.
Be sure
to put the valve caps back on the valve stems.
They help prevent leaks by keeping out dirt and
moisture.
6-37
Page 288 of 372
Downloaded from www.Manualslib.com manuals search engine Finish Damage
Any stone chips, fractures or deep scratches in the finish
should be repaired right away. Bare metal will corrode
quickly and may develop into a major repair expense.
Minor chips and scratches can be repaired with touch-up
materials available from your dealer or other service
outlets. Larger areas
of finish damage can be corrected
in your dealer’s body and paint shop.
Underbody Maintenance
Chemicals used for ice and snow removal and dust control
can collect on the underbody.
If these are not removed,
accelerated corrosion (rust) can occur on the underbody
parts such as fuel lines, frame, floor pan, and exhaust
system even though they have corrosion protection.
At least
every spring, flush these materials from the
underbody with plain water. Clean any areas where mud and other debris can collect. Dirt packed in closed areas
of the frame should be loosened before being flushed.
Your dealer
or an underbody vehicle washing system
can do this for you.
Chemical Paint Spotting
Some weather and atmospheric conditions can create a
chemical fallout. Airborne pollutants can fall upon and
attack painted surfaces on your vehicle. This damage
can take two forms: blotchy, ringlet-shaped
discolorations, and small irregular dark spots etched into
the paint surface.
Although
no defect in the paint job causes this,
Chevrolet will repair,
at no charge to the owner, the
surfaces
of new vehicles damaged by this fallout
condition within
12 months or 12,000 miles (20 000 km)
of purchase, whichever occurs first.
6-50
Page 292 of 372
Downloaded from www.Manualslib.com manuals search engine Instrument Panel Fuse Block
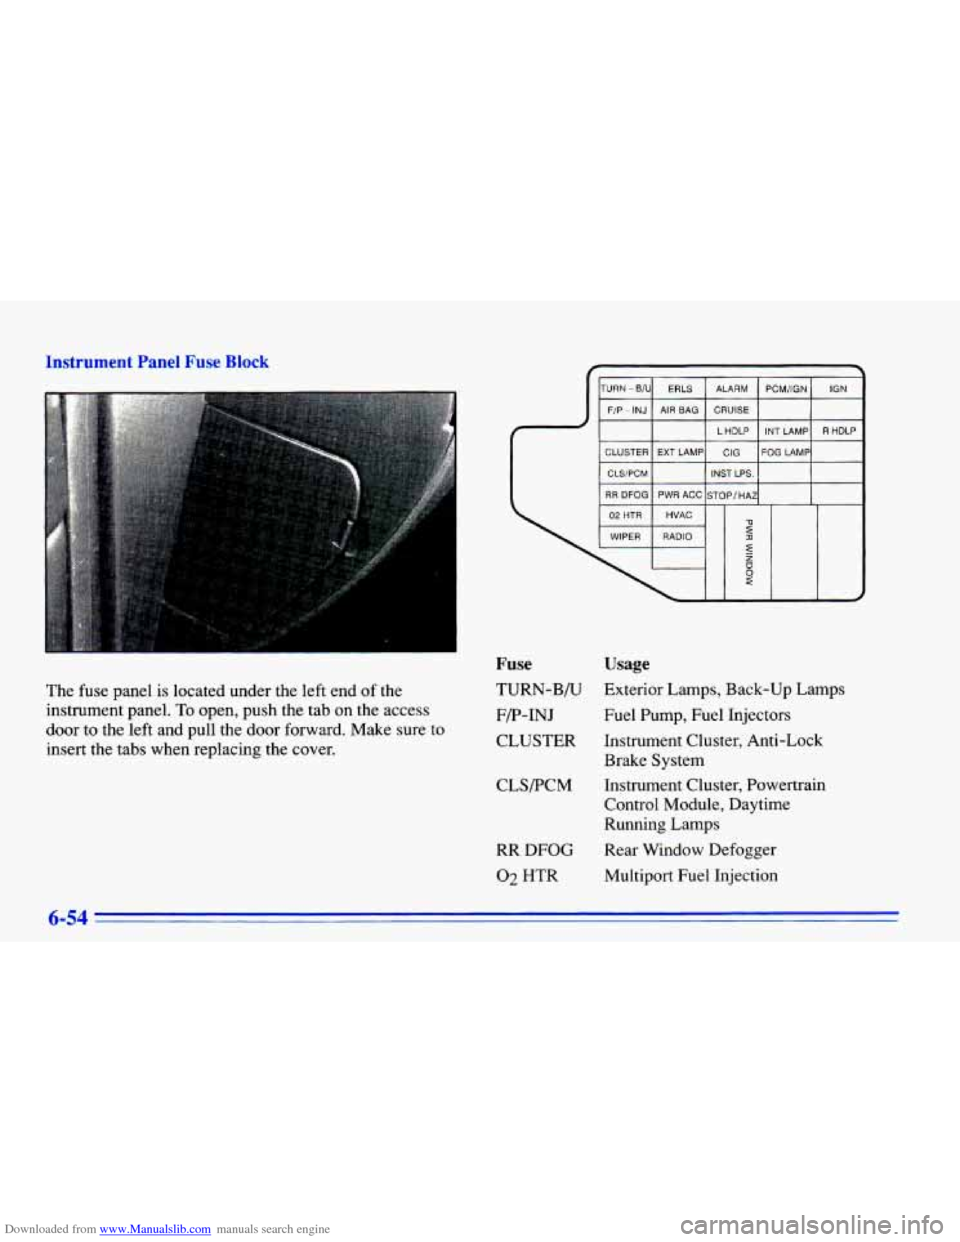
The fuse panel is located under the left end of the
instrument panel.
To open, push the tab on the access
door to the left and pull the door forward. Make sure
to
insert the tabs when replacing the cover.
TURN -B/U ERLS ALARM PCM/IGN IGN
F/P - INJ AIR BAG CRUISE
Fuse Usage
TURN-B/U Exterior Lamps, Back-up Lamps
F/P-INJ Fuel Pump,
Fuel Injectors
CLUSTER Instrument Cluster, Anti-Lock Brake System
CLS/PCM
RR
DFOG
02 HTR Instrument Cluster, Powertrain
Control Module, Daytime
Running Lamps
Rear Window Defogger Multiport Fuel Injection
6-54
Page 293 of 372
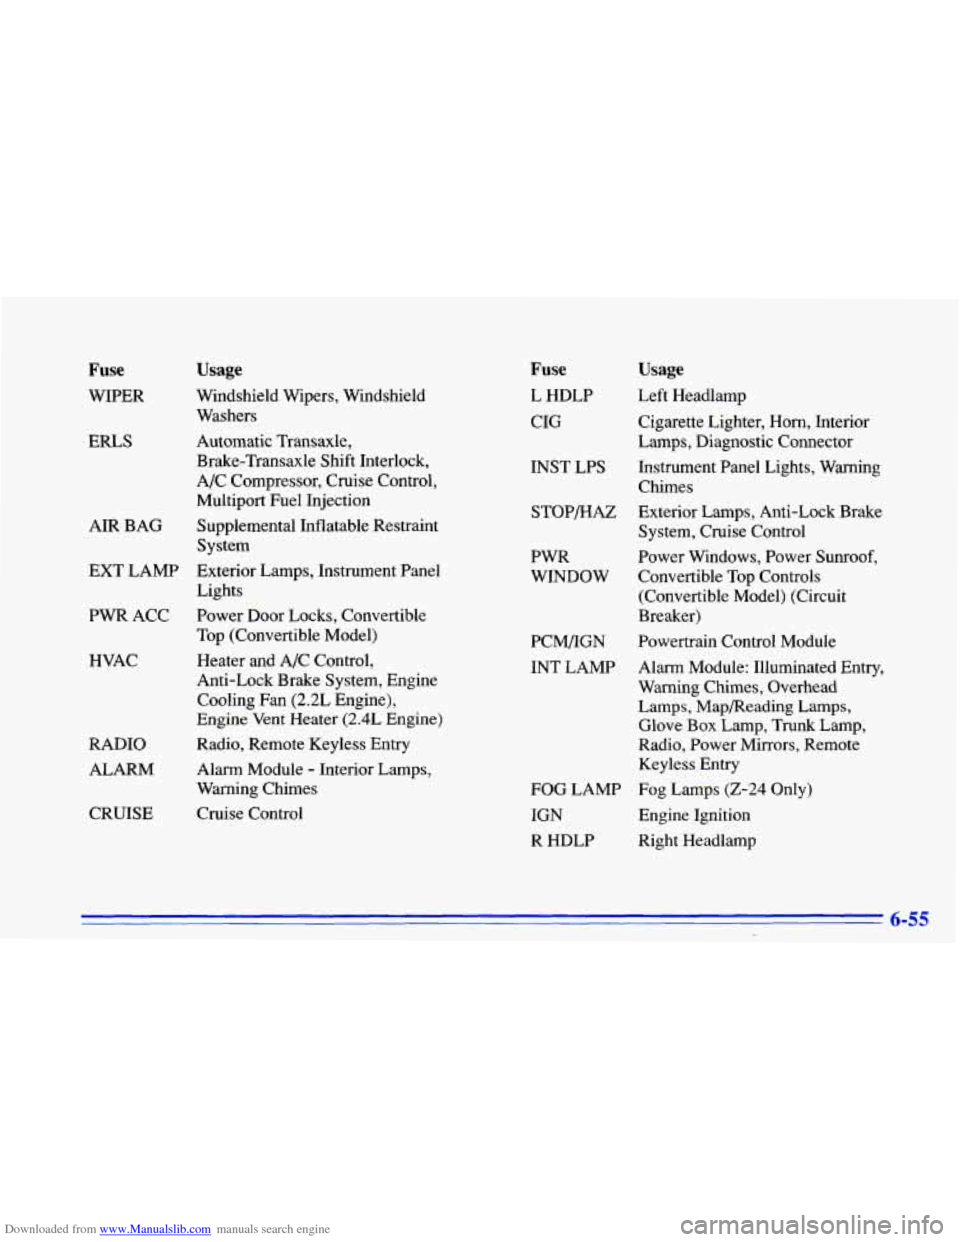
Downloaded from www.Manualslib.com manuals search engine Fuse Usage
WIPER Windshield Wipers, Windshield Washers
ERLS Automatic Transaxle,
Brake-Transaxle Shift Interlock,
A/C Compressor, Cruise Control, Multiport Fuel Injection
AIR BAG Supplemental Inflatable Restraint
EXT LAMP Exterior Lamps, Instrument Panel
PWR ACC Power Door Locks, Convertible System
Lights
Top (Convertible Model)
HVAC
RADIO ALARM
CRUISE Heater and
A/C Control,
Anti-Lock Brake System, Engine Cooling Fan (2.2L Engine),
Engine Vent Heater
(2.4L Engine)
Radio, Remote Keyless Entry
Alarm Module
- Interior Lamps,
Warning Chimes
Cruise Control
Fuse
L HDLP
CIG
INST LPS
STOP/HAZ
PWR
WINDOW
PCM/IGN
INT LAMP
FOG LAMP
IGN
R HDLP
Usage
Left Headlamp
Cigarette Lighter,
Horn, Interior
Lamps, Diagnostic Connector
Instrument Panel Lights, Warning Chimes
Exterior Lamps, Anti-Lock Brake
System, Cruise Control
Power Windows, Power
Sunroof,
Convertible Top Controls (Convertible Model) (Circuit
Breaker)
Powertrain Control Module
Alarm Module: Illuminated Entry,
Warning Chimes, Overhead
Lamps, Mapmeading Lamps,
Glove Box Lamp,
Trunk Lamp,
Radio, Power Mirrors, Remote
Keyless Entry
Fog Lamps (2-24 Only)
Engine Ignition
Right Headlamp
6-55
Page 296 of 372
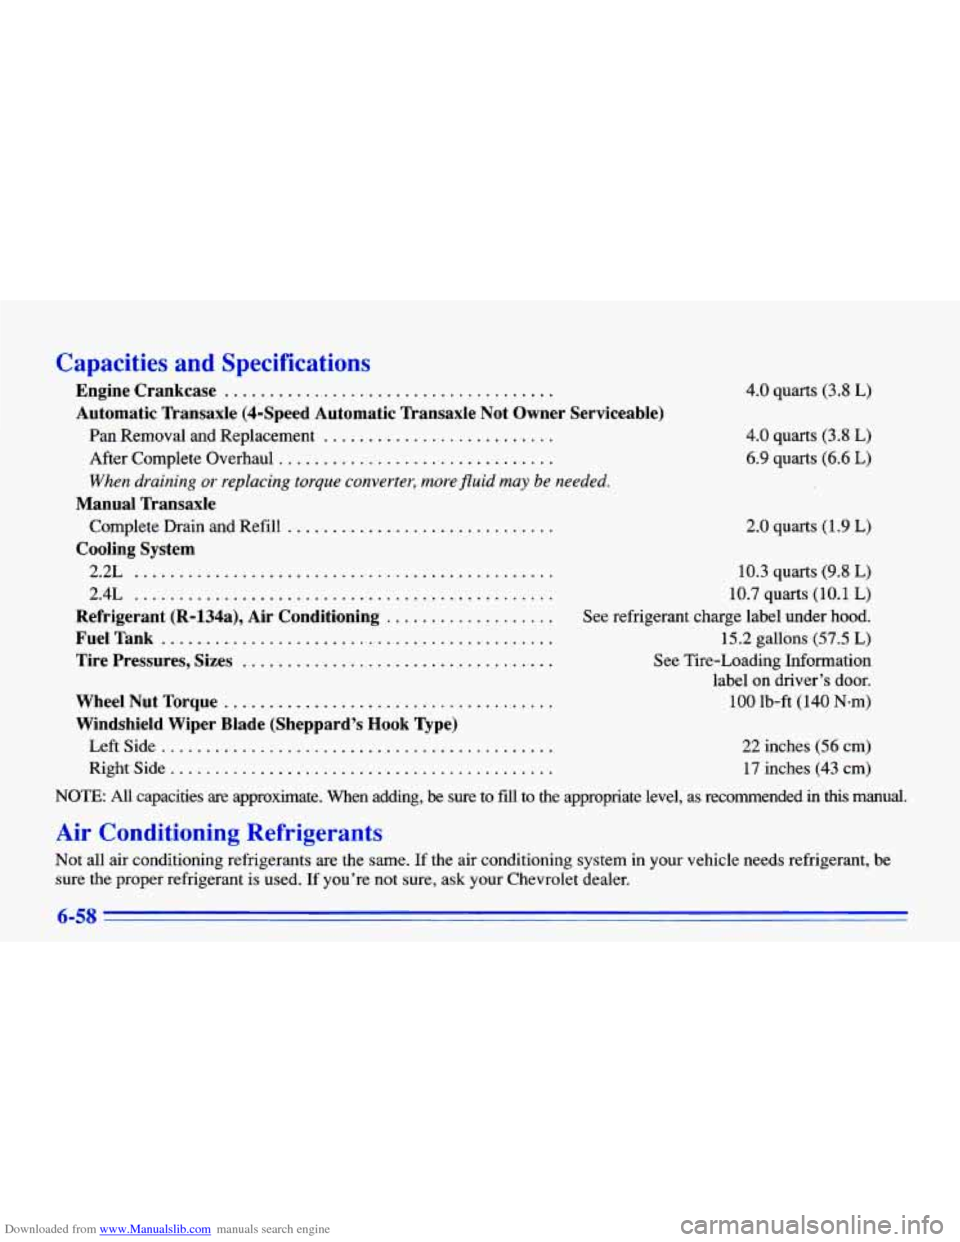
Downloaded from www.Manualslib.com manuals search engine Capacities and Specifications
Engine Crankcase .....................................
Automatic Transaxle (4-Speed Automatic Transaxle Not Owner Serviceable)
Pan Removal and Replacement ..........................
After Complete Overhaul ...............................
When draining or replacing torque converter, more fluid may be needed.
Complete Drain and Refill ..............................
2.2L ...............................................
Manual Transaxle
Cooling System
2.4L ...............................................
Refrigerant (R-l34a), Air Conditioning ...................
FuelTank ............................................
Tire Pressures, Sizes ...................................
WheelNutTorque .....................................
Windshield Wiper Blade (Sheppard’s Hook Type)
LeftSide ............................................
Rightside ...........................................
4.0 quarts (3.8 L)
4.0 quarts (3.8 L)
6.9 quarts (6.6 L)
2.0 quarts (1.9 L)
10.3 quarts (9.8 L)
10.7 quarts (10.1 L)
See refrigerant charge label under hood.
15.2 gallons (57.5 L)
See Tire-Loading Information
label on driver’s door.
100 lb-ft
(140 N-m)
22 inches (56 cm)
17 inches (43 cm)
NOTE: AU capacities are approximate. When adding, be sure to fiil to the appropriate level, as recommended in this manual.
Air Conditioning Refrigerants
Not all air conditioning refrigerants are the same. If the air\
conditioning system in your vehicle needs refrigerant, be sure the proper refrigerant is used. If you’re not sure, ask your Chevrolet dealer.
6-58
Page 300 of 372
Downloaded from www.Manualslib.com manuals search engine How This Section is Organized
The remainder of this section is divided into five parts:
‘(Part A: Scheduled Maintenance Services” shows
what to have done and how often. Some of these
services can be complex,
so unless you are technically
qualified and have the necessary equipment,
you should
let your dealer’s service department
or another qualified
service center do these jobs.
I
Performing maintenance work on a vehicle can
be dangerous. In trying to do some jobs, you can
be seriously injured.
Do your own maintenance
work only if you have the required know-how
and the proper tools and equipment
for the job.
If you have any doubt, have a qualified
technician
do the work.
If you are skilled enough to do some work on your
vehicle, you will probably want to get the service
information
GM publishes. See “Service and Owner
Publications” in the Index.
“Part B: Owner Checks and Services” tells you what
should be checked whenever
you stop for fuel. It also
explains what you can easily do
to help keep your
vehicle in good condition.
“Part C: Periodic Maintenance Inspections” explains
important inspections that your Chevrolet dealer’s
service department or another qualified service center
should perform.
“Part D: Recommended Fluids and Lubricants” lists
some products
GM recommends to help keep your
vehicle properly maintained. These products, or their
equivalents, should be used whether you do the work
yourself or have it done.
“Part E: Maintenance Record” provides a place
for you to record the maintenance performed
on your
vehicle. Whenever any maintenance is performed, be
sure to write it down in this part. This will help
you
determine when your next maintenance should be done.
In addition, it is a good idea to keep your maintenance
receipts. They may be needed
to qualify your vehicle for
warranty repairs.