1996 CHEVROLET CAVALIER check engine light
[x] Cancel search: check engine lightPage 132 of 372
Downloaded from www.Manualslib.com manuals search engine If you’re idling at a stop sign, the light may blink on
If you make a hard stop, the light may come on for a
and then off.
moment. This is normal.
Don’t keep driving if the oil pressure is low. If
you do, your engine can become
so hot that it
catches fire.
You or others could be burned.
Check your
oil as soon as possible and have your
vehicle serviced.
I NOTICE:
Damage to your engine from neglected oil
problems can be costly and
is not covered by your
warranty.
Check Oil Light
CHECK
OIL
Prior to checking your oil le! This light should come
on
briefly while you are
starting your engine. If the
light doesn’t come on, have
it repaired.
‘If the light
comes on while starting and
stays on, your engine oil
level should be checked.
,el, be sure
yo bur vehicle has
been shut
off for several minutes and is on a level
surface. Check your oil level and bring it to the proper
level. See “Engine Oil” in the Index.
Note: A false CHECK
OIL light may. be generated when
parking on steep grades.
The oil level monitoring system only checks the oil
during the brief period between turning the key on and
engine start. It does not monitor the engine oil level
while the engine
is running. Additionally, an oil level
check is only performed
if the engine has been turned
off for a considerable period of time allowing the oil
normally in circulation to drain back into the oil pan.
Page 133 of 372
Downloaded from www.Manualslib.com manuals search engine Passlock Warning Light
THEFT
SYSTEM
This light will come on
when you turn the key
towards the START
position.
If the light flashes, the Passlock system has entered a
tamper mode.
If the vehicle fails to start, see “Passlock”
in the Index.
If the light comes on continuously while driving and
stays on, there may be
a problem with the Passlock
system. Your vehicle will not be protected by Passlock,
and you should see your dealer.
Up-Shift Light (Manual Transaxle)
This light comes on when
you need
to shift to the next
higher gear. See “Manual
Transaxle” in the Index.
SHIFT
Check Gages Light
CHECK
GAGES
This light will come on
briefly when
you are
starting the engine. If the
light comes on and stays on
while you are driving, check
your various gages to see if
they are in the warning
zones.
2-75
Page 150 of 372
Downloaded from www.Manualslib.com manuals search engine PUSHBUTTONS: The six numbered pushbuttons
let you return to your favorite stations. You can set up
to
1.
2.
3.
4.
5.
18 stations (six AM, six FM1 and six FM2).
Press AM-FM to select the band.
Find the station
you want by using TUNE or SEEK.
Press AUTO TONE
to select the graph that best suits
the type
of station selected.
Press and hold one
of the six numbered buttons.
The sound will mute. When
it returns, release the
button. Whenever you press that numbered button,
the station you set will return and the AUTO TONE equalization that you selected will also be
automatically selected for that button.
If you manually tune or use SEEK or SCAN to find
a frequency stored
in a preset, the AUTO TONE
equalization stored for that frequency will be recalled.
Always check the display first
to make sure you have
the correct band.
Setting the Tone
AUTO TONE: This feature allows you to choose
preset treble
and bass equalization settings designed for
classical, news, rock, pop and jazz stations. CLASSIC
will appear on the display when you first press AUTO
TONE. Each time you press it, another setting will appear on
the display. Press it again after JAZZ appears and
MAN will appear. Tone control will return to the
TREB
and BASS knobs. Also, if you use the TREB and BASS
knobs, control will return to them
and MAN will appear.
BASS: Press this knob lightly so it extends.
Turn the knob clockwise to increase bass. Turn it
counterclockwise to decrease bass. The middle position
is a detent. When you use this control,
the radio’s
AUTO TONE setting.wil1 switch to manual.
TREB: Press this knob lightly so it extends. Turn the
knob clockwise to increase treble. Turn it
counterclockwise to decrease treble. The middle
position is a detent. When you use
this control, the
radio’s AUTO TONE setting will switch to manual.
Push the knobs back
in when you’re not using them.
3-14
Page 154 of 372
Downloaded from www.Manualslib.com manuals search engine PUSHBUTTONS: The six numbered pushbuttons
let you
return to your favorite stations. You can set up to
18 stations (six AM, six FM1 and six FM2).
1. Press AM-FM to select the band.
2. Find the station you want by using TUNE or SEEK.
3. Press AUTO TONE to select the graph that best suits
4. Press and hold one of the six numbered buttons.
the
type of station selected.
5. The
sound will mute. When it returns, release the
button. Whenever you press that numbered button, the station you set will return and the AUTO TONE
equalization that you selected will also be
automatically selected for that button.
If 70 fnmually tune or use SEEK or SCAN to find a
frequency stored in a preset, the AUTO TONE
equalization stored for that frequency will be recalled.
Always check the display first to make sure you have
the correct band.
Setting the Tone
AUTO TONE: This feature allows you to choose
preset treble and bass equalization settings designed for
classical, news, rock, pop and jazz stations.
CLASSIC
will appear on the display when you first press AUTO
TONE. Each time you press
it, another setting will appear
on
the display. Press it again after JAZZ appears and
MAN will appear. Tone control will return
to the TFEB
and BASS knobs. Also, if you use the TREB and BASS
knobs, control will return to them and
MAN will appear.
BASS: Press this knob lightly so it extends.
Turn
the knob clockwise to increase bass. Turn it
counterclockwise to decrease bass. The middle position is a detent. When you use this control, the radio’s
AUTO
TONE setting will switch to manual.
TREB: Press this knob lightly so it extends.
Turn
the knob clockwise to increase treble. Turn it
counterclockwise to decrease treble. The middle
position is a detent. When you use this control, the
radio’s AUTO TONE setting
will switch to manual.
Push the knobs back
in when you’re not using them.
3-18
Page 160 of 372
Downloaded from www.Manualslib.com manuals search engine Care of Your Cassette Tape Player
A tape player that is not cleaned regularly can cause
reduced sound quality, ruined cassettes or a damaged
mechanism. Cassette tapes should be stored in their
cases away from contaminants, direct sunlight and
extreme heat. If they aren’t, they may not operate
properly or may cause failure of the tape player.
Your tape player should be cleaned regularly after every
50 hours of use. Your radio may display CLN to indicate
that you have used
your tape player for 50 hours without
resetting the tape clean timer.
If you notice a reduction in
sound quality, try a known good cassette to see if the tape
or the tape player is at fault. If this other cassette has n\
o
improvement
in sound quality, clean the tape player.
Cleaning may be done with a scrubbing action,
non-abrasive cleaning cassette with pads which scrub
the tape head as the hubs
of the cleaner cassette turn.
It is normal for the cassette to eject while cleaning
because your unit is equipped with a cut tape feature.
To temporarily override this feature (for one insertion),
turn the radio
off and press and hold TAPE AUX until
the tape symbol flashes on the display, then insert the
cassette again. Insert the cassette at least three times to
ensure thorough cleaning. A scrubbing action cleaning cassette is available through your Chevrolet dealer.
You may also choose a non-scrubbing action, wet-type
cleaner which uses a cassette with
a fabric belt to clean the
tape head. This type of cleaning cassette will not eject. It
may not clean as thoroughly as the scrubbing
type cleaner.
Cassettes are subject to wear and the sound quality may
degrade over time. Always make sure that the cassette
tape is in good condition before you have your tape
player serviced.
Care of Your Compact Discs
Handle discs carefully. Store them in their original cases
or other protective cases and away from direct sunlight
and dust.
If the surface of a disc is soiled, dampen a
clean, soft cloth in a mild, neutral detergent solution and
clean it, wiping from the center to the edge.
Be sure never to touch the signal surface when handling
discs. Pick
up discs by grasping the outer edges or the
edge of the hole and the outer edge.
Fixed Mast Antenna
The fixed mast antenna can withstand most car washes
without being damaged.
If the mast should ever become
slightly bent, you can straighten it out by hand.
If the
mast is badly bent, as
it might be by vandals, you should
replace
it.
Check every once in a while to be sure the mast is still
tightened to the fender.
3-24
Page 168 of 372
Downloaded from www.Manualslib.com manuals search engine Avoid needless heavy braking. Some people drive
in spurts
-- heavy acceleration followed by heavy
braking
-- rather than keeping pace with traffic. This
is a mistake. Your brakes may not have time to cool
between hard stops. Your brakes will wear out much
faster if you do a lot of heavy braking. If you keep pace
with the traffic and allow realistic following distances,
you will eliminate a lot of unnecessary braking. That means better braking and longer brake life.
If your engine ever stops while you’re driving, brake
normally
but don’t pump your brakes. If you do, the
pedal may get harder to push down. If your engine
stops, you will still have some power brake assist. But
you will use it when you brake. Once the power assist
is
used up, it may take longer to stop and the brake pedal
will be harder to push,
Anti-Lock Brakes
Your vehicle has anti-lock brakes (ABS). ABS is an
advanced electronic braking system that will help
prevent a braking skid.
When you start your engine, or when you begin to drive
away, your anti-lock brake system will check itself. You
may hear a momentary motor or clicking noise while
this test is going on, and you may even notice that your
brake pedal moves a little. This is normal.
If there’s a problem with the anti-lock brake system, this
warning light will stay
on.
See “Anti-Lock Brake
System Warning Light” in
the Index.
4-6
Page 178 of 372
Downloaded from www.Manualslib.com manuals search engine Night Vision
No one can see as well at night as in the daytime. But as
we get older these differences increase.
A 50-year-old
driver may require at least twice as much light to see the
same thing
at night as a 20-year-old.
What you
do in the daytime can also affect your night
vision. For example, if you spend the day in bright
sunshine you are wise to wear sunglasses. Your eyes will
have less trouble adjusting to night. But if you’re
driving, don’t wear sunglasses at night. They may cut
down on glare from headlamps, but they also make a lot
of things invisible.
You can be temporarily blinded by approaching
headlamps.
It can take a second or two, or even several
seconds, for your eyes to readjust to the dark. When you
are faced with severe glare (as from a driver who
doesn’t lower the high beams, or
a vehicle with
misaimed headlamps), slow down a little. Avoid staring
directly into the approaching headlamps. K&@
Y6ur windshield and all the glass on your vehicle
clean
-- inside and out. Glare at night is made much
worse by dirt
on the glass. Even the inside of the glass
can build up
a film caused by dust. Dirty glass makes
lights dazzle and flash more than clean glass would,
making the pupils of your eyes contract repeatedly.
Remember that your headlamps light up far less of
a
roadway when you are in a turn or curve. Keep your
eyes moving; that way, it’s easier to pick out dimly
lighted objects. Just as your headlamps should be
checked regularly for proper aim,
so should your eyes
be examined regularly. Some drivers suffer from night
blindness
-- the inability to see in dim light -- and
aren’t even aware
of it.
4-16
Page 182 of 372
Downloaded from www.Manualslib.com manuals search engine City Driving
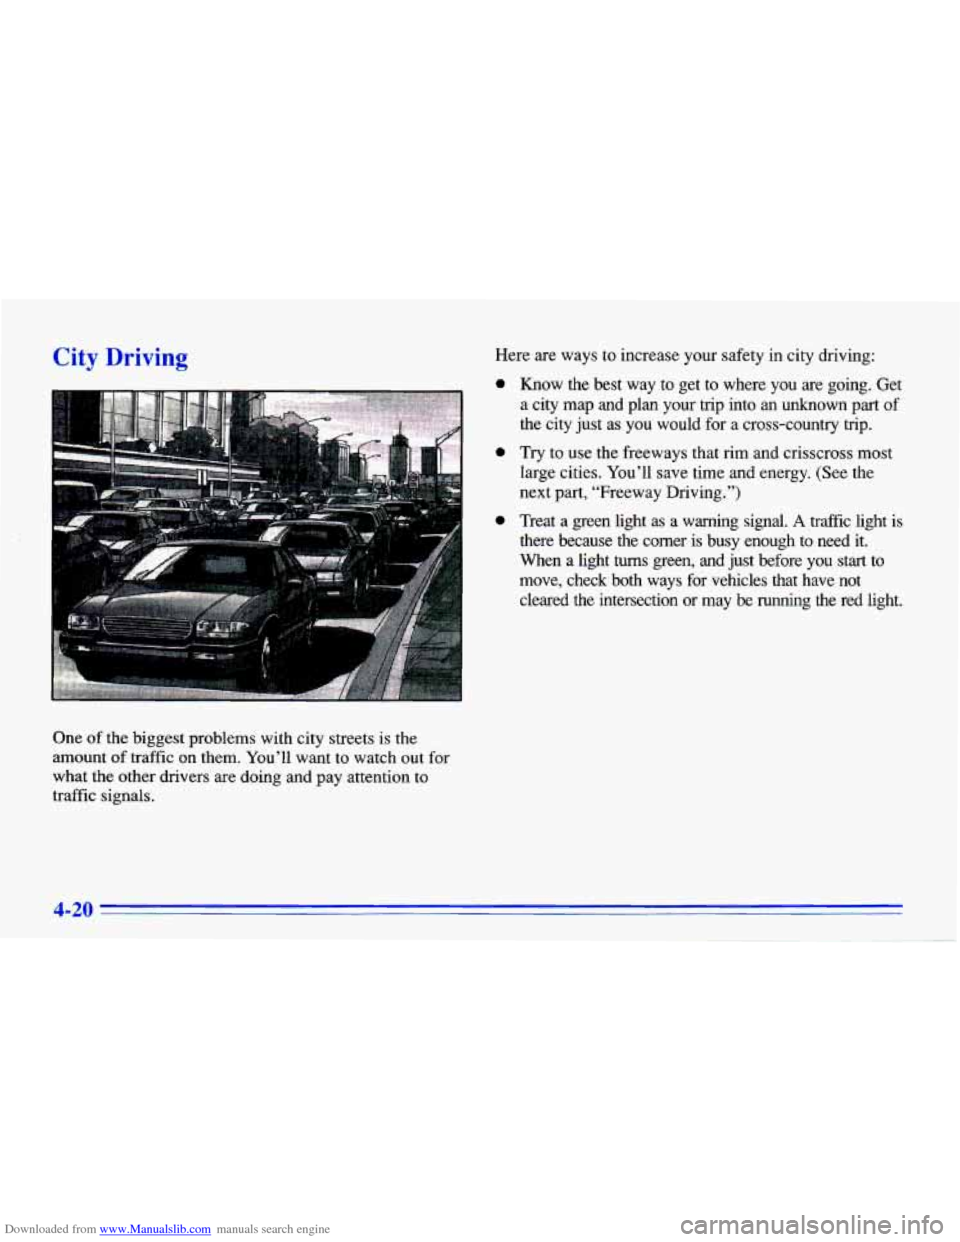
One of the biggest problems with city streets is the
amount
of traffic on them. You’ll want to watch out for
what the other drivers are doing and pay attention to
traffic signals. Here are ways
to increase your safety in city driving:
0
0
0
Know the best way to get to where you are going. Get
a city map and plan your
trip into an unknown part of
the city just as you would for a cross-country trip.
Try to use the freeways that rim and crisscross most large cities. You’ll save time and energy. (See the
next
part, “Freeway Driving.”)
Treat a green light
as a warning signal. A traffic light is
there because the corner is busy enough to need it.
When a light
turns green, and just before you start to
move, check both ways for vehicles that have not cleared the intersection or may
be running the red light.
4-20