Page 92 of 392
Downloaded from www.Manualslib.com manuals search engine Lockout Switch
Press the side of the switch with the down arrow to
lower the window.
Pres the side of the switch with the up arrow to raise
the window.
Express-Down Window
The driver’s window switch has an express-down
feature that allows
you to lower it without holding the
window switch. Hold the driver’s window switch down
for more than a
1/2 second to activate the express-down
feature. Lightly tap the switch to open
the window
slightly. The express-down feature can be interrupted at
any time by pressing the up arrow end
of the switch.
- , .. .. .., - . ...
Four-door vehicles have a lockout feature to prevent
passengers from operating power windows. It is
located
on the driver’s door. Press LOCK to activate
this feature. Press
NORM and the windows return to
normal operation.
2-34
Page 93 of 392
Downloaded from www.Manualslib.com manuals search engine Swing-Out Wind'ows (2-Door Only) Tilt Wheel (Option)
If you have the tilt steering
wheel, you should adjust
the steering wheel before
'you drive.
,
When you close the window, be sure the latch catches. You can raise it to the highest level to give your legs
Horn
- more room,when you enter and exit the vehicle.
To sound the horn, press the horn symbols on the lever toward you. Move the steering wheel to a
steering wheel pads. copfortable level, then release.the lever
to lock the
To tilt the wheel, hold the steering wheel and pull the
wheel in place.
Do not adjust the steering wheel while driving.
2-35
Page 96 of 392

Downloaded from www.Manualslib.com manuals search engine Windshield Wipers
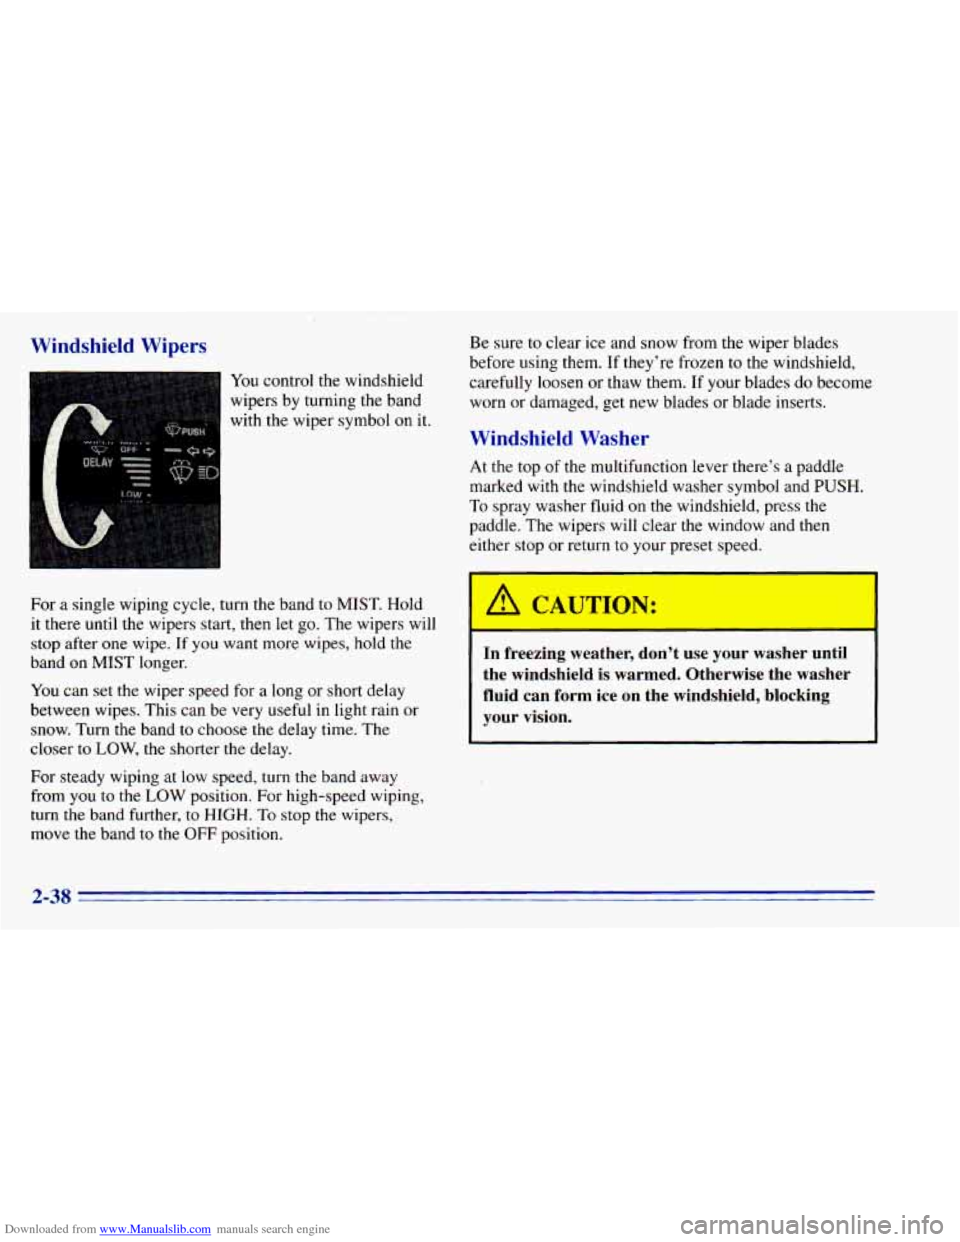
You control the windshield
wipers by turning the band
with the wiper symbol
on it.
For a single wiping cycle, turn the band to MIST. Hold
it there until the wipers start, then let
go. The wipers will
stop after one wipe. If you want more wipes, hold the
band on MIST longer.
You can set the wiper speed for a long or short delay
between wipes. This can be very useful in light rain or
snow. Turn
the band to choose the delay time. The
closer to
LOW, the shorter the delay.
For steady wiping at low speed, turn the band away
from
you to the L,OW position. For high-speed wiping,
turn the band further, to HIGH.
To stop the wipers,
move the band to the
OFF position. Be sure
to clear
ice and snow from the wiper blades
before using
them. If they’re frozen to the windshield,
carefully loosen
or thaw them. If your blades do become
worn or damaged, get new blades or blade inserts.
Windshield Washer
At the top of the multifunction lever there’s a paddle
marked
with the windshield washer symbol and PUSH.
To spray washer fluid on the windshield, press the
paddle. The wipers will clear the window and then
either stop or return
to your preset speed.
In freezing weather, don’t use your washer until
the windshield
is warmed. Otherwise the washer
fluid can form ice on the windshield, blocking
your vision.
2-38
Page 97 of 392
Downloaded from www.Manualslib.com manuals search engine Rear Window WasherNViper
WASH
REAR WIPER
This switch is located on the instrument panel. The
rear window wiper operates with
a constant five
second delay when the rear wiper switch
is in the ON
position. If the rear glass is opened, the wiper arm will
automatically park
on the endgate. When the glass is
completely closed, the wiper will resume the delay mode.
10 wash the window, press and hold ON. The wipers
will continue to work after
you release the switch.
Press
OFF to turn the wiper off.
The rear window washer uses the same fluid bottle as
the windshield washer. However, the rear window
washer will run
out of fluid before the windshield
washer.
If you can wash your windshield but not your
rear window, check your fluid level.
2-39
Page 119 of 392
Downloaded from www.Manualslib.com manuals search engine 1. Air Vents
2. Instrument Cluster
3. Electronic Transfer Case (Option)
4. Comfort Controls
5. Glove Box
6. Ashtray
7. Cigarette Lighterpower Auxiliary Outlets (Option)
8. Storage Compartment
9. Audio System
10. Fog Lamps (Option)
1 1. Lamp Controls
12. Rear Endgate Release
13. Brake Release
14. Rear Window Washermiper
15. Rear Window Defogger (Option)
2-61
Page 136 of 392

Downloaded from www.Manualslib.com manuals search engine MAX A/C: This setting provides maximum cooling
with the
least amount of work. MAX A/C recirculates
much
of the air inside your vehicle so it cools quickly.
A/C: This setting cools the air entering your vehicle and
directs it through the instrument panel outlets.
+' BI-LEVEL A/C: Air is delivered through the
heater floor outlets as well as the instrument panel
outlets.
/J VENT: This setting directs airflow through the
instrument panel outlets. The air conditioning
compressor is
not working when VENT is selected.
+' HEATER: This setting directs warmed air through
the heater floor outlets and windshield defroster outlets.
+, BLEND: Airflow is divided equally between the
heater floor outlet and
the windshield defroster outlets.
'sw DEFROST This setting directs most air through
the windshield defroster outlets and some through the
heater outlets.
I,.
+.
0
w0
Air Conditioning
On hot days, open the windows long enough to let hot
inside air escape. This reduces the time it takes
for your
vehicle to cool down. Then keep your windows closed
for the air conditioner
to work its best.
For quick cool-down
on very hot days, use MAX A/C
with the temperature knob turned counterclockwise.
This setting should be used
to keep odors and/or dust
from entering the vehicle. For normal cooling on
hot
days, use A/C with the temperature knob turned
counterclockwise.
On cool but sunny days, use BI-LEVEL
A/C to deliver
warm air to the floor and cooler air to the instrument
panel outlets.
When the air conditioner is
on, you may sometimes notice
slight changes
in your vehicle's engine speed and power.
This is normal because the system is designed to cycle the
compressor
on and off to keep the desired temperature.
Page 137 of 392

Downloaded from www.Manualslib.com manuals search engine Heating
The heater works best if you keep your windows closed
while using it. On cold days, use
HEATER with the
temperature knob turned clockwise.
BLEND is useful in
cool weather when
you have fog or ice on the
windshield or side windows.
If
you use the optional engine coolant heater before
starting your engine, your heating system will produce
warmer air faster to heat the passenger compartment in
cold weather. See “Engine Coolant Heater” in the Index.
I
Ventilation System
For mild outside temperatures when little heating or
cooling
is needed, use VENT to direct outside air
through your vehicle. Airflow is through the instrument
panel outlets.
Your vehicle’s ventilation system supplies outside air to
the inside
of your vehicle when it is moving. When the
vehicle is not moving, you can get outside air to
flow
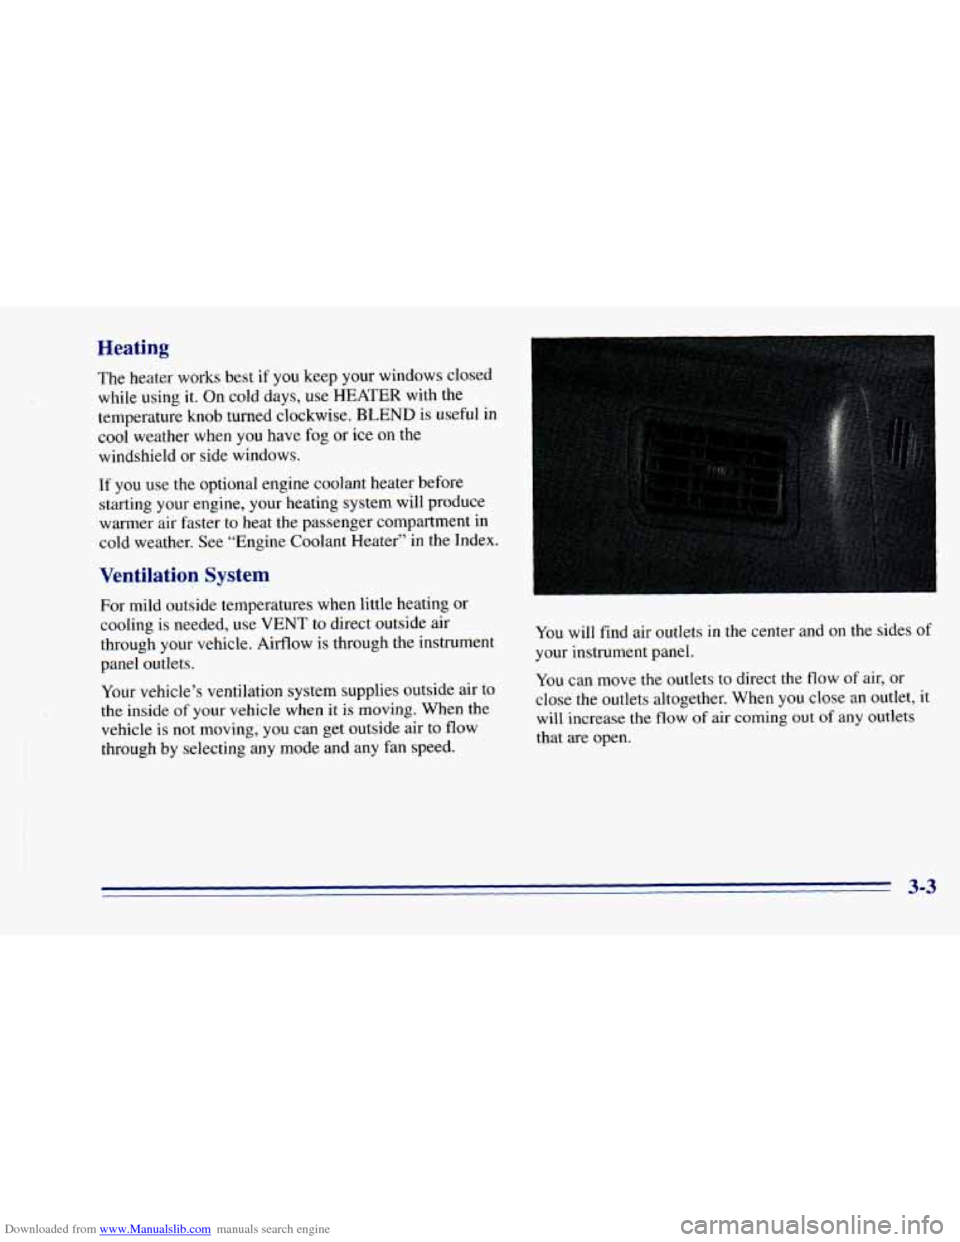
through by selecting any mode and any fan speed. You
will find air outlets in the center and on the sides
of
your instrument panel.
You can move the outlets to direct the flow of air, or
close the outlets altogether. When you close an outlet, it
will increase the flow
of air coming out of any outlets
that are open.
3-3
Page 138 of 392

Downloaded from www.Manualslib.com manuals search engine Ventilation Tips
a
0
0
Keep the hood and front air inlet free of ice, snow or
any
other obstruction (such as leaves). The heater
and defroster will work far better, reducing the
chance
of fogging the inside of your windows.
When
you enter a vehicle in cold weather, turn the
blower fan to
HI for a few moments before driving
off. This helps clear the intake ducts of snow and
moisture, and reduces the chance
of fogging the
inside of your windows.
Keep
the air path under the front seats clear of
objects. This helps air
to circulate throughout
your vehicle.
Defogging and Defrosting
On cool, humid days, use BLEND to keep the
windshield and side windows clear.
Use DEFROST to remove fog or ice from the
windshield quickly in extremely humid or cold
conditions. Turn the temperature knob clockwise and move
the fan control toward HI.
Rear Window Defogger (Option)
1
If your vehicle has this option, the rear window will
have lines that warm the glass. For best results, clear the
window of
as much snow or ice as possible before using
the rear window defogger.
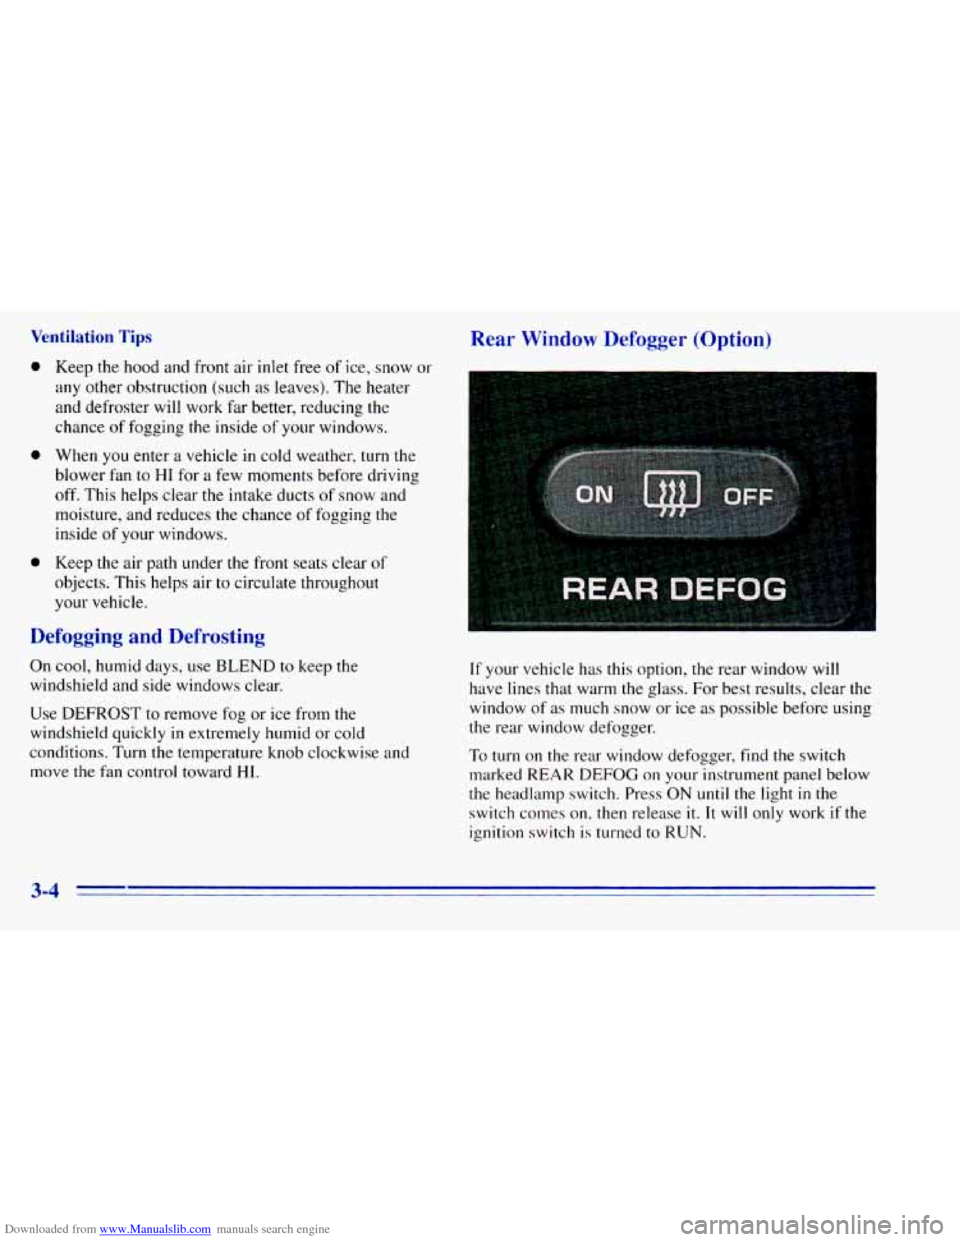
To turn on the rear window defogger, find
the switch
marked REAR
DEFOG on your instrument panel below
the headlamp switch. Press ON
until the light in the
switch conles on, then release
it. It will only work if the
ignition switch
is turned to RUN.
3-4