1996 CHEVROLET ASTRO warning
[x] Cancel search: warningPage 5 of 372
How to Use this Manual
Many people read their owner’s manual from beginning
to end when they first receive their new vehicle. If you
do this, it will help you learn about the features and
controls for your vehicle. In this manual, you’ll find
that pictures and words work together to explain
things quickly.
Index
A good place to look for what you need is the Index
in the back of the manual. It’s an alphabetical list of
all that’s in the manual, and the page number where
you’ll find it.
Safety Warnings and Symbols
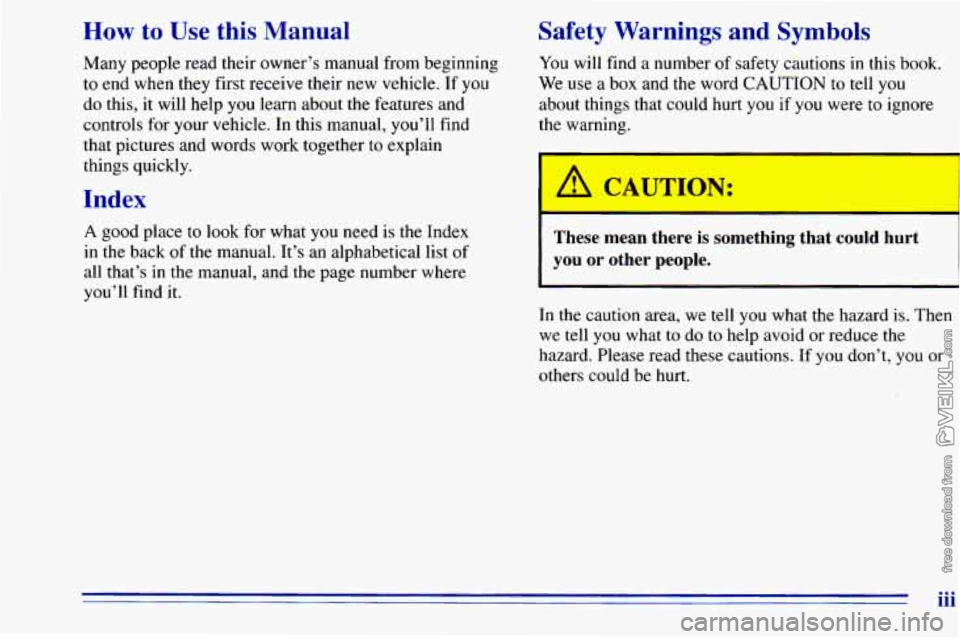
You will find a number of safety cautions in this book.
We use a box and the word CAUTION to tell you
about things that could hurt you if you were
to ignore
the warning.
b
A CAUTION:
--
These :--Jan there is something that could hurt
you or other people.
In the caution area, we tell you what the hazard is. Then
we tell you what to do to help avoid or reduce the
hazard. Please read these cautions. If you don’t, you or
others could be
hurt.
iii
Page 6 of 372
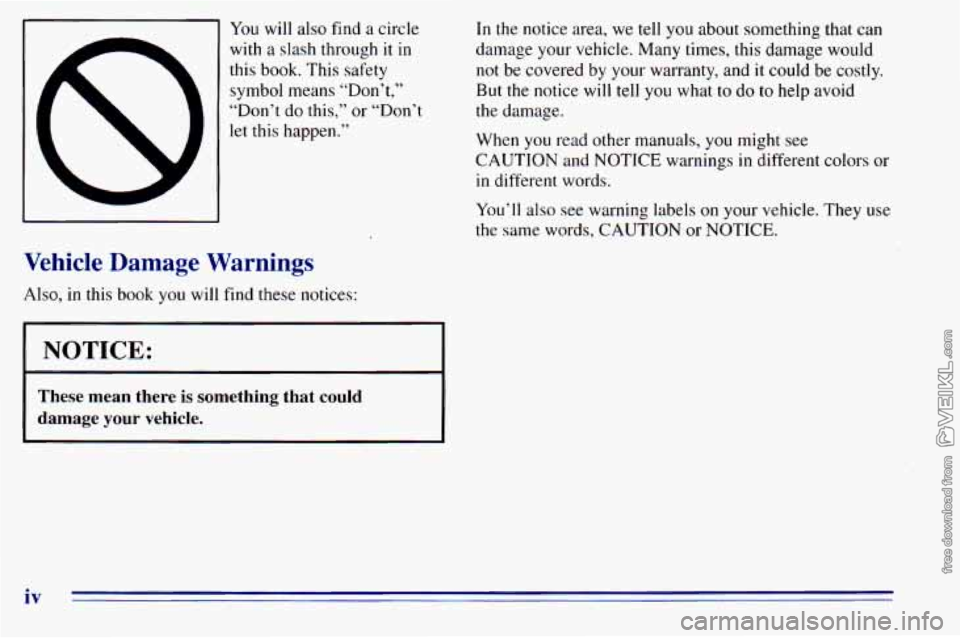
You will also find a circle
with a slash through
it in
this book. This safety
symbol means “Don’t,’’
“Don’t do this,” or “Don’t
let this happen.”
Vehicle Damage Warnings
Also, in this book you will find these notices:
I NOTICE:
These mean there is something that could
damage your vehicle.
In the notice area, we tell you about something that can
damage your vehicle. Many times, this damage would
not be covered by your warranty, and it could
be costly.
But the notice will tell
you what to do to help avoid
the damage.
When you read other manuals, you might see
CAUTION and NOTICE warnings in different colors or
in different words.
You’ll
also see warning labels on your vehicle. They use
the same words, CAUTION or NOTICE.
iv
Page 7 of 372

Vehicle Symbols
These are some of the symbols you may find on your vehicle.
For example,
these symbols
are used on an
original battery:
POSSIBLE A
CAUTION
INJURY
PROTECT EYES BY
SHIELDING
CAUSTIC
ACID COULD BATTERY
CAUSE
BURNS
SPARK
OR ,111,
COULD FLAME
EXPLODE BATTERY
These symbols are important
for you and
your passengers
whenever your
vehicle
is
driven:
DOOR LOCK
FASTEN SEAT
BELTS
These symbols have
to do with
your lights:
SIGNALS e
TURN
WARNING
A
HAZARD
FLASHER
FOG LAMPS
$0
These symbols are on
some of
your controls:
WIPER w
WINDSHIELD
DEFROSTER
VENTILATING FAN
(
-b
-J
These symbols are used on
warning and
indicator lights:
COOLANT -
TEMP -
CHARGING I-1
BATTERY
SYSTEM
BRAKE
(0)
COOLANT a
ENGINE OIL w,
PRESSURE
ANTI-LOCK
(@)
BRAKES
Here are some
other symbols
you may see:
FUSE
I
LIGHTER n
HORN )a(
SPEAKER
b
FUEL p3
V
Page 61 of 372
Section 2 Features and Controls
Here you can learn about the many standard and
optional features on your vehicle, and information on
starting, shifting and braking. Also explained are
the
instrument panel and the warning systems that tell you if
everything is working properly -- and what to do if you
have a problem.
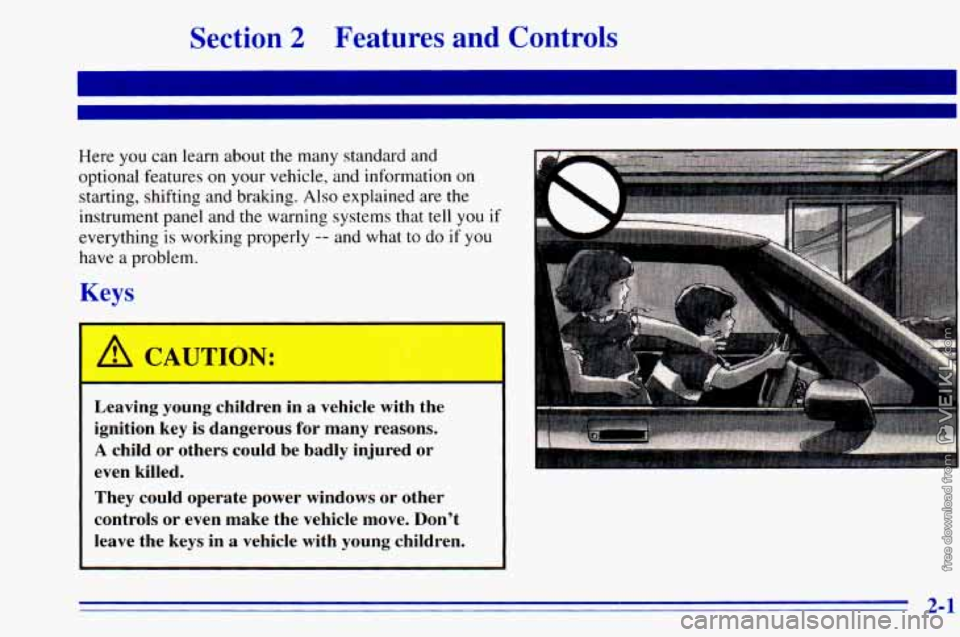
Keys
Leaving young children in a vehicle with the
ignition key
is dangerous for many reasons.
A child or others could be badly injured or
even killed.
They could operate power windows or other
controls or even make the vehicle move. Don't
leave the keys in a vehicle with young children.
2-1
Page 81 of 372
Locking Rear Axle
If you have this feature, your rear axle can give you
additional traction on snow, mud, ice, sand or gravel.
It
works like a standard axle most of the time, but when
one
of the rear wheels has no traction and the other does,
the locking feature will allow
the wheel with traction to
move the vehicle.
All-Wheel Drive (Option)
If your vehicle has
all-wheel drive, your
engine’s driving power
is
sent to all four wheels for
extra traction.
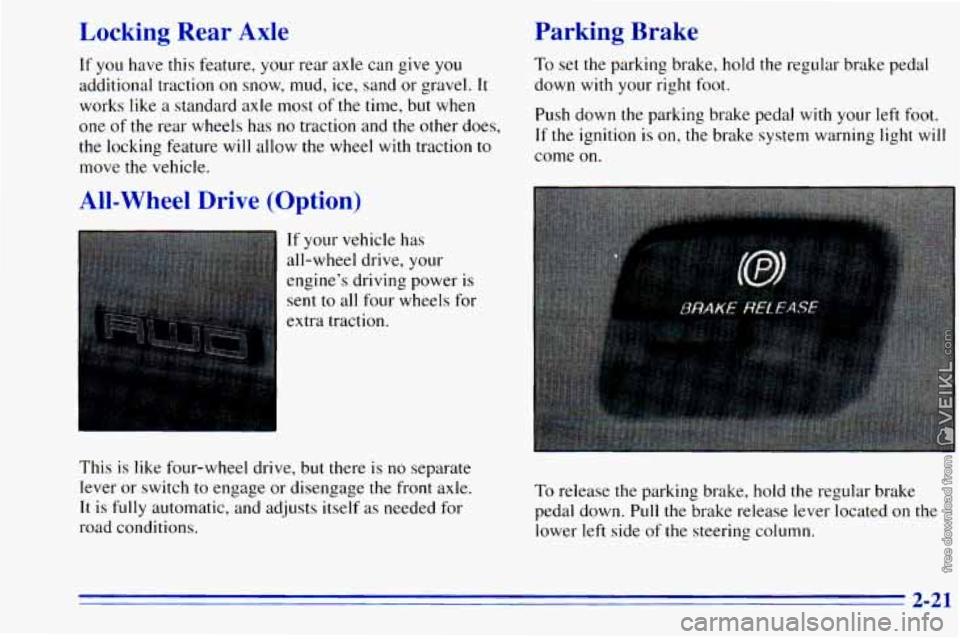
Parking Brake
To set the parking brake, hold the regular brake pedal
down with your right foot.
Push down the parking brake pedal with
your left foot.
If the ignition is on, the brake system warning light will
come on.
This is like four-wheel drive, but there is
no separate
lever or switch
to engage or disengage the front axle.
It
is fully automatic, and adjusts itself as needed for
road conditions.
To release the parking brake, hold the regular brake
pedal down. Pull the brake release lever located
on the
lower left side of the steering column.
2-21
Page 105 of 372
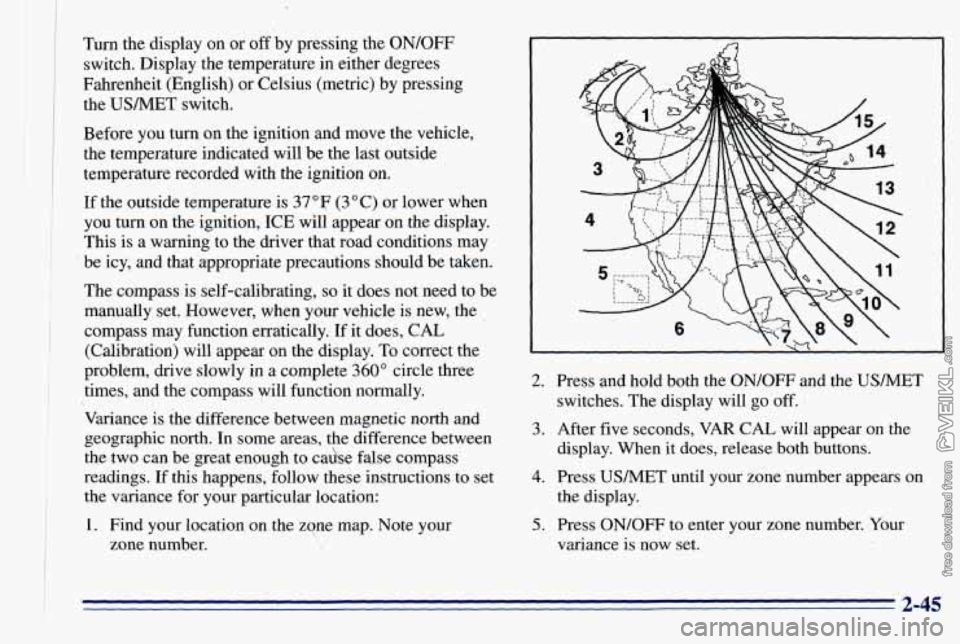
Turn the display on or off 'by pressing the ON/OFF
switch. Display the temperature in either degrees
Fahrenheit (English) or Celsius (metric) by pressing
the USMET switch.
Before you turn on the ignition
and move the vehicle,
the temperature indicated
will be the last outside
temperature recorded with the ignition
on.
If the outside temperature is 37°F (3°C) or lower when
you turn on the ignition, ICE will appear on the display.
This
is a warning to the driver that road conditions may
be icy, and
that appropriate precautions should be taken.
The compass is self-calibrating,
so it does not need to be
manually set. However, when your vehicle is new, the
compass may function erratically. If it
does, CAL
(Calibration) will appear on the display. To correct the
problem, drive slowly in a complete
360" circle three
times, and the compass will function- normally.
Variance is the difference bet-ween magnetic north and
geographic north. In some areas, the difference between
the two can be great enough to cadse false compass
readings. If this happens, follow these instructions to set
the variance
for your particular location:
1. Find your location on the zone map. Note your
I
zone number.
2. Press and hold both the ON/OFF and the USMET
switches. The display will go off.
1
display. When it does, release both buttons.
the display.
3. After five seconds, VAR CAL will appear on the
4. Press USMET until your zone number appears on
5. Press ON/OFF to enter your zone number. Your
variance is now set.
I 2-45
Page 113 of 372

Speedometer and Odom. er
Your
speedometer lets you see your speed in both miles
per hour (mph) and kilometers per hour (km/h). Your
odometer shows how far your vehicle has been driven,
in either miles (used in the United States) or kilometers
(used in Canada).
A
Your odometer is tamper resistant. The digital odometer
will read
999,999 if someone tries to turn it back.
You may wonder what happens if your vehicle needs a
new odometer installed.
If the new one can be set to the
mileage total
of the old odometer, then it must be. But if
it can’t, then it’s set at zero, and a label must be put on
the driver’s door to show the old mileage reading when
the new odometer was installed.
Trip Odometer
The trip odometer can tell you how far your vehicle has
been driven since you last set
the trip odometer to zero.
The trip odometer will appear in place
of your regular
odometer when you press the TRIP button.
To reset the trip odometer, press and hold the TRIP
button.
To change back to the regular odometer, press
the TRIP button again.
Warning Lights, Gages and Indicators
This part describes the warning lights and gages that may
be
on your vehicle. The pictures will help you locate them.
Warning lights and gages can signal that something is
wrong before it becomes serious enough to cause
an
expensive repair or replacement. Paying attention to
your warning lights and gages could also save
you or
others from injury.
Warning lights come
on when there may be or is a
problem with one of your vehicle’s functions. As you will
see in the details on the next few pages, some warning
lights come on briefly when
you start the engine just to let
you know they’re working. If you are familiar with this
section, you should not be alarmed when this happens.
Gages can indicate when there may be or is a problem
with
one of your vehicle’s functions. Often gages and
warning lights work together
to let you know when
there’s a problem with your vehicle.
When one of the warning lights comes
on and stays on
when
you are driving, or when one of the gages shows
there may be a problem, check the section that tells you
what to do about
it. Please follow this manual’s advice.
Waiting to do repairs can be costly
-- and even
dangerous.
So please get to know your warning lights
and gages. They’re a big help.
2-53
Page 115 of 372

Charging System Indicator Light
j-+l
The charging system light
will come
on briefly when
you turn the ignition on, but
the engine is not running, as
a check
to show you the
light is working.
Voltmeter
I I When your engine is not
running, but the ignition is
on (in the
RUN position),
the gage shows your
battery’s state
of charge
in
DC volts.
Then it should go out once the engine is running.
If it
stays on, or comes on while
you are driving, you may
have a problem with the electrical charging system.
It could indicate that you have a loose accessory drive
belt, or another electrical problem. Have it checked
right away. Driving while this light is on could drain
your battery.
If you must drive a short distance with the light on, be
certain
to turn off all your accessories, such as the radio
and heatedair conditioner. When
the ignition is
running, the gage shows the
condition
of the charging system. Readings between
the low and high warning zones indicate the, normal
operating range.
2-55