1996 CHEVROLET ASTRO lock
[x] Cancel search: lockPage 100 of 372
Storage Compartments
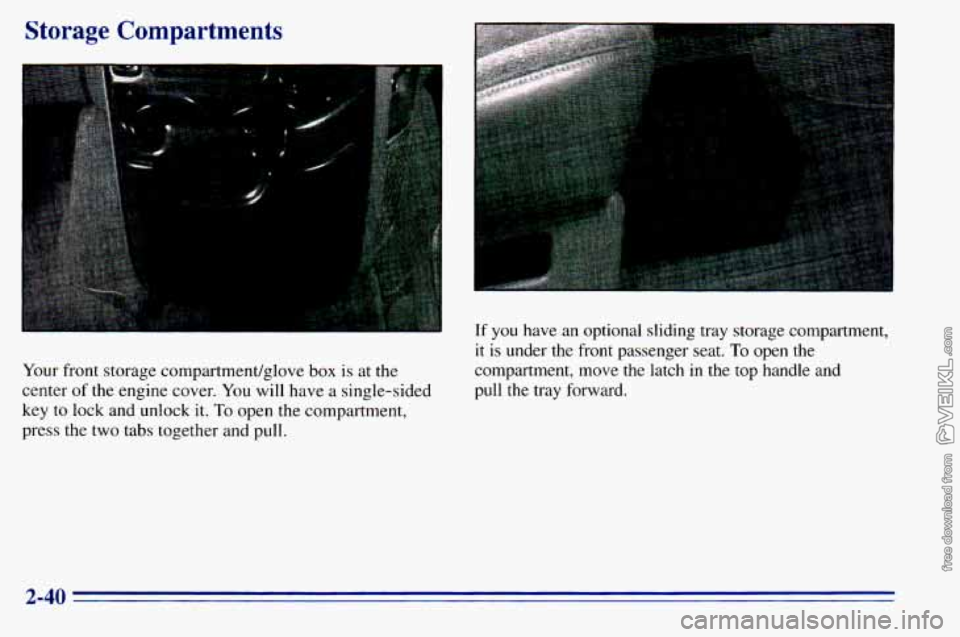
Your front storage compartment/glove box is at the
center
of the engine cover. You will have a single-sided
key
to lock and unlock it. To open the compartment,
press
the two tabs together and pull.
If you have an optional sliding tray storage compartment,
it is under the front passenger seat. To open the
compartment, move the latch in the top handle and
pull the tray forward.
2-40
Page 109 of 372
Sun Visors
To block out glare, you can swing down the visors. You can
also swing them from side
to side. Your visors may have
an extension that can be pulled
out for additional glare
protection and
a strap for holding small items, such as maps.
Visor Vanity Mirror
I-
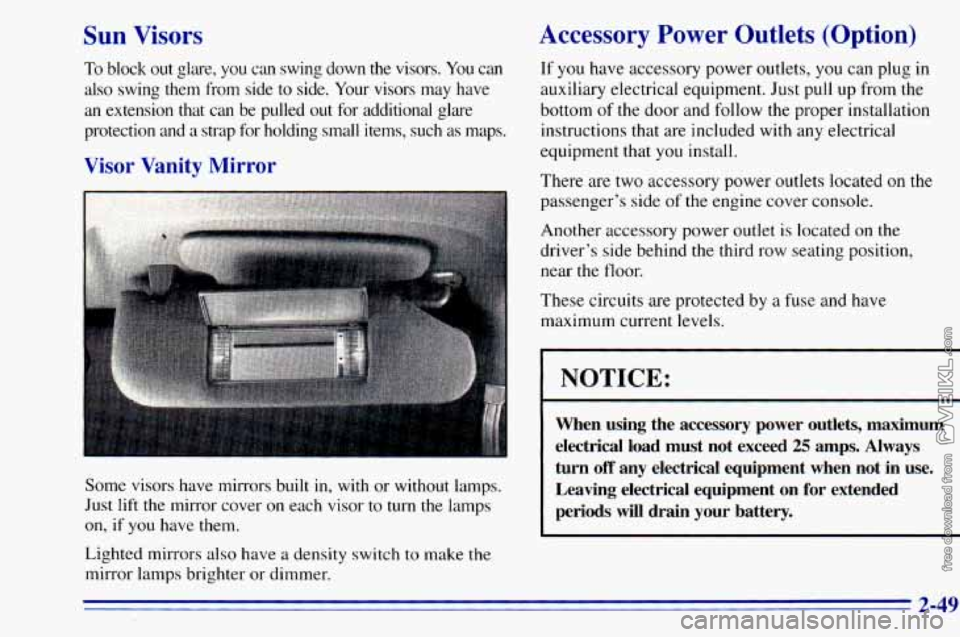
Some visors have mirrors built in, with or without lamps.
Just
lift the mirror cover on each visor to turn the lamps
on, if you have them.
Lighted mirrors also have a density switch to make
the
mirror lamps brighter or dimmer.
Accessory Power Outlets (Option)
If you have accessory power outlets, you can plug in
auxiliary electrical equipment. Just pull up from the
bottom
of the door and follow the proper installation
instructions that are included with any electrical
equipment that
you install.
There are two accessory power outlets located on the
passenger’s side
of the engine cover console.
Another accessory power outlet is located on the
driver’s side behind
the third row seating position,
near the floor.
These circuits are protected by
a fuse and have
maximum current levels.
I NOTICE:
~~
When using the accessory power outlets, maximum
electrical load must not exceed
25 amps. Always
turn
off any electrical equipment when not in use.
Leaving electrical equipment
on for extended
periods will drain your battery.
2-49
Page 117 of 372
If the light comes on while you are driving, pull off the
road and stop carefully. You may notice that the pedal is
harder to push. Or, the pedal may go closer to the floor.
It may take longer to stop. If the light is still
on, have the
vehicle towed for service. (See “Towing Your Vehicle”
in the Index.)
A CAUTION:
..
Your brake system may not be working properly
if the brake system warning light is on. Driving
with the brake system warning light on can lead
to an accident.
If the light is still on after you’ve
pulled
off the road and stopped carefully, have
the vehicle towed
for service.
When the ignition is on, the brake system warning light
will also come on when
you set your parking brake. The
light will stay on if your parking brake doesn’t release
fully. If
it stays on after your parking brake is fully
released,
it means you have a brake problem.
Anti-Lock Brake System Warning Light
ANTI -
LOCK
With the anti-lock brake
system, this light will come
on when you start your
engine and may stay on
for several seconds.
That’s normal.
If the light stays
on, or comes on when you’re driving,
your vehicle needs service. If the regular brake system
warning light isn’t
on, you still have brakes, but you
don’t have anti-lock brakes. If
the regular brake system
warning light is also on, you don’t have anti-lock brakes
and there’s a problem with your regular brakes. See
“Brake System Warning Light” earlier
in this part.
The anti-lock brake system warning light should come
on briefly when you turn the ignition key to RUN. If the
light doesn’t come
on then, have it fixed so it will be
ready
to warn you if there is a problem.
2-57
Page 126 of 372
Fan Knob
This control has four positions. To increase airflow,
turn the knob toward
HI. To decrease airflow, move it
toward
LO.
Temperature Knob
This knob is next to the fan knob. It selects the
temperature
of the air flowing into your vehicle. Move
the knob clockwise for warmer air. Move the knob
counterclockwise for cooler
air.
Function Knob
This knob is next to the temperature knob.
OFF: This setting turns the system off.
MAX A/C: This cools the air the fastest, by
recirculating the inside air. Move the temperature knob
all the way clockwise.
A/C: This setting brings in outside air and cools it.
I,.
+fl BI-LEVEL: This setting brings in outside air
through the heater floor vent and the instrument panel
vents.
If you move the temperature knob between hot
and cold, cooler air will come out
of the upper vents
while warmer air comes out of the floor vent. The air
conditioning compressor may operate in this setting to
cool the air.
+.
/J VENT The ax comes out at the vents on your
instrument panel. The air conditioning compressor will
not run in this position. Adjust the temperature knob for
warmer or cooler air.
+’ HEATER: Most of the air comes out near the
floor. The rest comes out from the defroster vents under
the windshield and at the front side windows.
+’ BLEND: With this setting, the heated outside air
comes
out both the heater vents and defroster vents.
Adjust the temperature knob for warmer or cooler air.
Most
of the air comes out near the windshield, with
some going
to the floor vents and front side windows.
we
DEFROST This setting operates the defroster.
3-2
Page 127 of 372
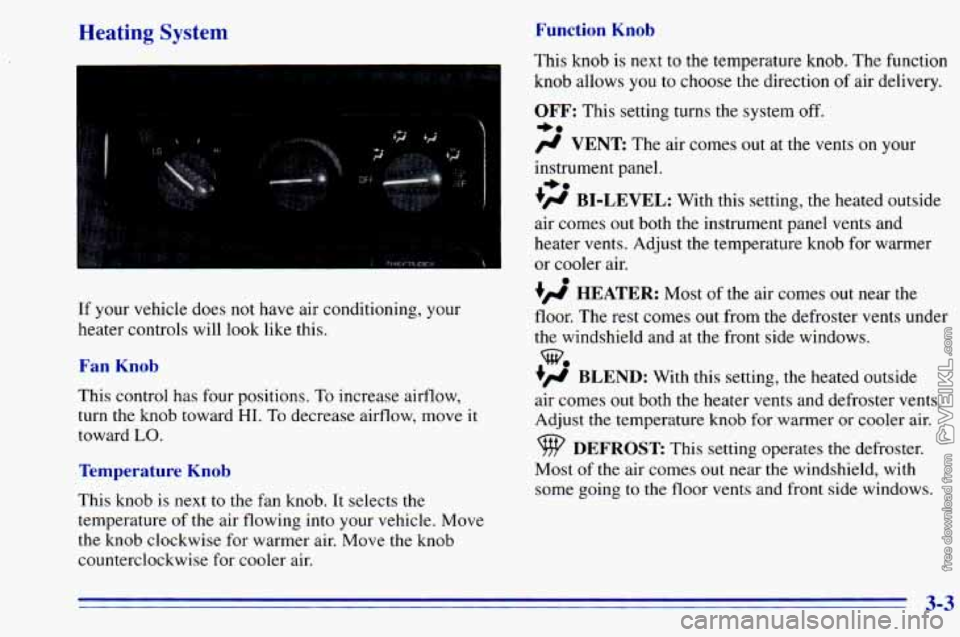
Heating System Function Knob
If your vehicle does not have air conditioning, your
heater controls will look like this.
Fan Knob
This control has four positions, To increase airflow,
turn the knob toward
HI. To decrease airflow, move it
toward
LO.
Temperature Knob
This knob is next to the fan knob. It selects the
temperature
of the air flowing into your vehicle. Move
the knob clockwise for warmer air. Move
the knob
counterclockwise for cooler air. This
knob is next to the temperature knob. The function
knob allows
you to choose the direction of air delivery.
OFF: This setting turns the system off.
-a
# VENT The air comes out at the vents on y r
instrument panel.
+# BI-LEVEL: With this setting, the heated outside
air comes out both the instrument panel vents and
heater vents. Adjust the temperature knob for warmer
or cooler air.
+’, HEATER: Most of the air comes out near the
floor. The rest comes out from the defroster vents under
the windshield and at the front side windows.
+’, BLEND: With this setting, the heated outside
air comes
out both the heater vents and defroster vents.
Adjust
the temperature knob for warmer or cooler air.
+.
%
DEFROST This setting operates the defroster.
Most
of the air comes out near the windshield, with
some going to the floor vents and front side windows.
3-3
Page 132 of 372

You can turn the defogger off at any time by pressing
the button again. The defogger will shut itself off after
several minutes
so that the elass does not eet too hot. If
Setting the Clock for AM-FM Stereo and
AM-FM Stereo with Cassette Tape Player
U
the window still isn’t clear, turn the defogger on again. Press SET. Within
five seconds, press and hold the
SEEK right arrow until the correct minute appears on
the display. Press and hold
the SEEK left arrow until the
0 ~~
NOTICE: correct hour appears on the display.
L
Setting the Clock for AM-FM Stereo with
Compact
Disc Player
Scraping the inside of your rear window could
cut and damage the defogger. Your warranty
would not cover this damage. And don’t put
Press and hold HR until the correct hour appears on the
decals there, you might have to scrape them off. display. Press and hold MIN until the correct minute
appears on the display.
To display the clock with the
ignition
off, press RECALL and the time will be displayed
before the clock goes into the time-set mode.
Audio Systems for a few seconds. There is an initial two-second delay
Your Delco@ audio system has been designed to operate
easily and give years of listening pleasure. You will get
the most enjoyment out of
it if you acquaint yourself
with it first. Find out
what your Delco system can do
and how to operate all its controls, to be sure you’re
getting the most out of the advanced engineering that
went into
it.
3-8
Page 133 of 372
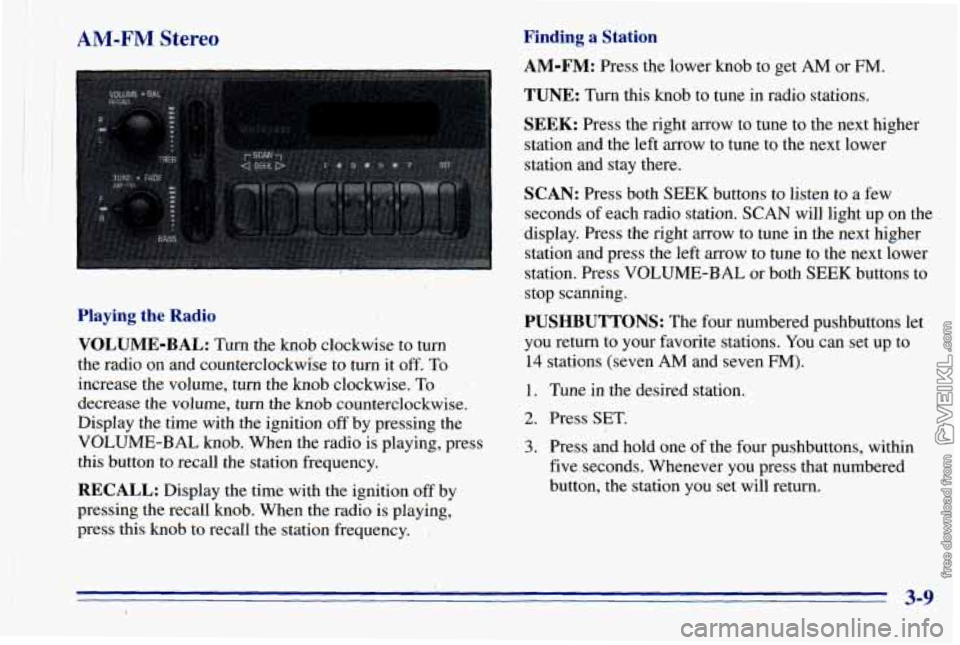
II AM-FM Stereo
Playing the Radio
VOLUME-BAL:
Turn the knob clockwise to turn
the radio on and counterclockwise to turn it
off. To
increase the volume, turn the knob clockwise.
To
decrease the volume, turn the knob counterclockwise.
Display the time
with the ignition off by pressing the
VOLUME-BAL knob. When the radio is playing, press
this button to recall the station frequency.
RECALL: Display the time with the ignition off by
pressing the recall knob. When the radio is playing,.
press this knob to recall the station frequency.
Finding a Station
AM-FM: Press the lower knob to get AM or FM.
TUNE: Turn this knob to tune in radio stations.
SEEK: Press the right arrow to. tune to the next higher
station and the left arrow to tune to the next lower
station and stay there.
SCAN: Press both SEEK buttons to listen to a few
seconds of each radio station. SCAN will light up on the
display. Press the right mow to tune in
the next higher
station
and press the left arrow to tune to the next lower
station. Press VOLUME-BAL or both SEE-K buttons to
stop scanning.
PUSHBUTTONS: The four numbered pushbuttons let
you return to your favorite stations. You can set up to
14 stations (seven AM and seven FM).
1. Tune in the desired station.
2. Press SET,
3. Press and hold one of the four pushbuttons, within
five seconds. Whenever you press that numbered
button, the station you set will return.
3-9
Page 134 of 372

In addition to the four stations set as above, up to
three additional stations may be preset on each band by
pressing two adjoining buttons at the same time. Just: AM-FM Stereo with Cassette Tape Player
(Option)
1. Tune in the desired station.
2. Press SET.
3. Press two adjoining buttons at the same time,
within five seconds. Whenever you press
the same
two buttons, the station you set will return.
4. Repeat these steps for each pair of buttons.
Setting the Tone
BASS:
Slide this lever up to increase the bass.
TREB: Slide this lever up to increase the treble.
Slide the lever down to reduce noise with a weak or
noisy station.
Adjusting the Speakers
BAL:
The control behind the VOLUME-BAL knob
balances the sound between the right and
left speakers.
FADE: The control behind the TUNE knob fades the
sound between the front and rear speakers.
Playing the Radio
VOLUME-BAL:
Turn the knob clockwise to turn the
radio on and counterclockwise to turn it off.
To increase
the volume, turn the knob clockwise. To decrease the
volume, turn the knob counterclockwise.
RECALL: Display the time with the ignition off by
pressing the RECALL knob. When the radio is playing,
press this button
to recall the station frequency.
3-10