1996 CHEVROLET ASTRO ABS
[x] Cancel search: ABSPage 100 of 372
Storage Compartments
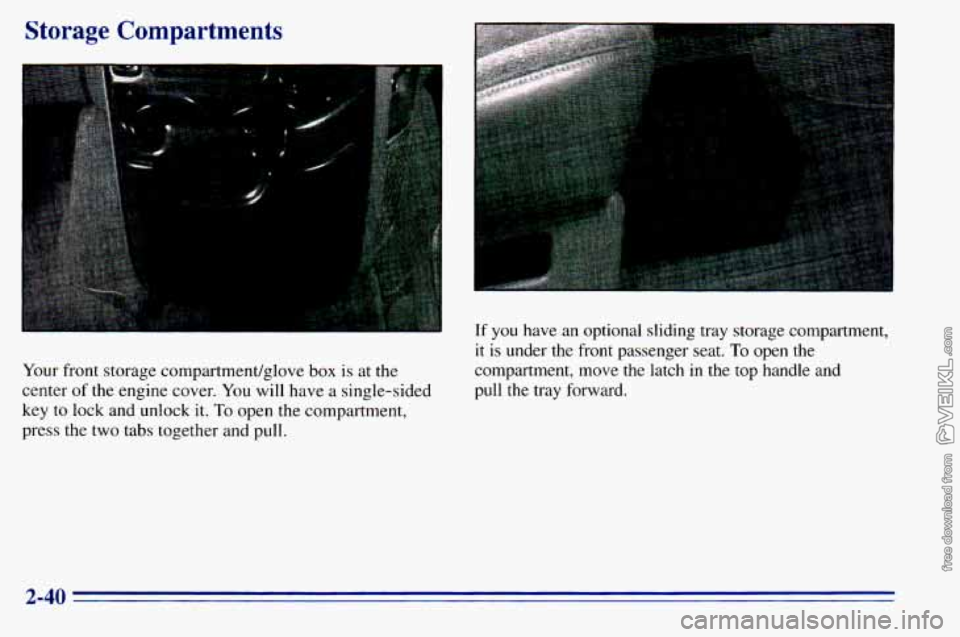
Your front storage compartment/glove box is at the
center
of the engine cover. You will have a single-sided
key
to lock and unlock it. To open the compartment,
press
the two tabs together and pull.
If you have an optional sliding tray storage compartment,
it is under the front passenger seat. To open the
compartment, move the latch in the top handle and
pull the tray forward.
2-40
Page 160 of 372

Avoid needless heavy braking. Some people drive
in spurts
-- heavy acceleration followed by heavy
braking
-- rather than keeping pace with traffic. This
is a mistake. Your brakes may not have time to cool
between hard stops. Your brakes will wear
out much
faster if
you do a lot of heavy braking. If you keep pace
with the traffic and allow realistic following distances,
you will eliminate a lot of unnecessary braking. That
means better braking and longer brake life.
If your engine ever stops while you’re driving, brake
normally but don’t pump your brakes. If
you do, the
pedal may get harder to push down. If your engine
stops, you will still have some power brake assist. But
you will use it when you brake. Once the power assist is
used up, it may take longer to stop and
the brake pedal
will be harder
to push.
Anti-Lock Brakes
Your vehicle has anti-lock brakes (ABS). ABS is an
advanced electronic braking system that will help
prevent a braking skid.
When
you start your engine and begin to drive away,
your anti-lock brake system will check itself. You may
hear a momentary motor or clicking noise while this test
is going
on. This is normal,
ANTI -
LOCK
If there’s a problem with the
anti-lock brake system, this
warning light will stay on.
See “Anti-Lock Brake
System Warning Light” in
the Index.
4-6
Page 161 of 372
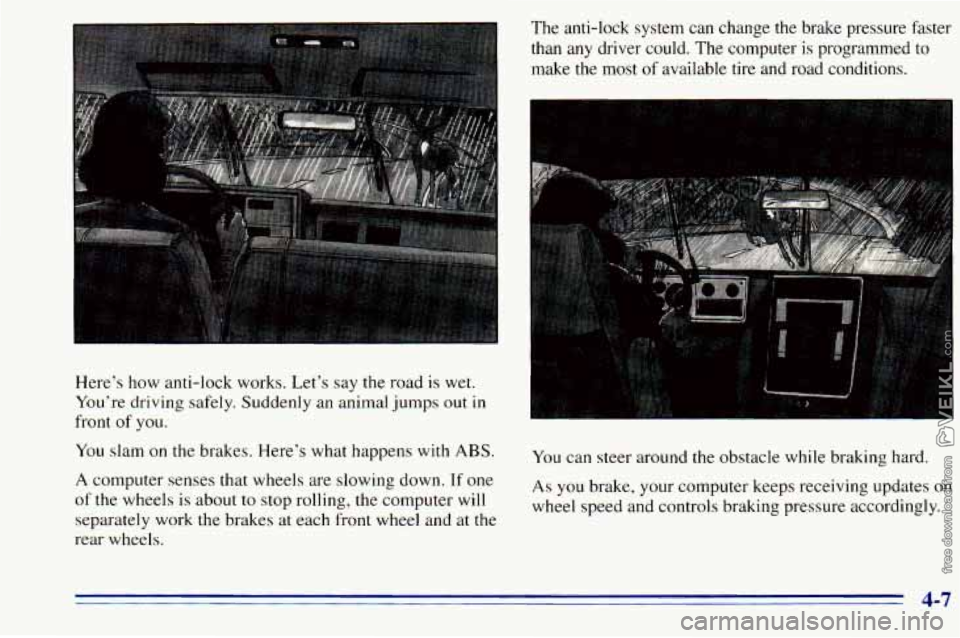
Here’s how anti-lock works. Let’s say the road is wet.
You’re driving safely. Suddenly an animal jumps out in
front
of you.
You slam on the brakes. Here’s what happens with
ABS.
A computer senses that wheels are slowing down. If one
of the wheels is about to stop rolling, the computer will
separately work the brakes at each front wheel and at the
rear wheels. The
anti-lock system can change the brake pressure faster
than any driver could. The computer is programmed to
make the most
of available tire and road conditions.
You can steer around the obstacle while braking hard.
As you brake, your computer keeps receiving updates on
wheel speed and controls braking pressure accordingly.
4-7
Page 166 of 372
Loss of Control
Let’s review what driving experts say about what
happens when the three control systems (brakes, steering
and acceleration) don’t have enough friction where the
tires meet the road
to do what the driver has asked.
In
any emergency, don’t give up. Keep trying to
steer and constantly seek an escape route or area of
less danger.
Skidding
In a skid, a driver can lose control of the vehicle.
Defensive drivers avoid most skids by taking
reasonable care suited to existing conditions, and by
not “overdriving” those conditions. But skids are
always possible.
The three types
of skids correspond to your vehicle’s
three control systems. In the braking skid, your wheels
aren’t rolling. In
the steering or cornering skid, too
muchspeed or steering
in a curve causes tires to slip and
lose cornering force. And in the acceleration skid, too
much throttle causes the driving wheels
to spin.
A cornering skid and an acceleration skid are best
handled by easing your foot off the accelerator pedal.
If your vehicle starts to slide, ease your foot off the
accelerator pedal and quickly steer the way
you want the
vehicle
to go. If you start steering quickly enough, your
vehicle may straighten out. Always be ready for a
second skid
if it occurs.
Of course, traction is reduced when water, snow, ice,
gravel or other material is on the road. For safety,
you’ll
want to slow down and adjust your driving to these
conditions. It is important to slow down
on slippery
surfaces because stopping distance will be longer and
vehicle control more limited.
While driving on a surface with reduced traction, try
your best to avoid sudden steering, acceleration or
braking (including engine braking by shifting
to a lower
gear).
Any sudden changes could cause the tires to slide.
You may not realize the surface is slippery until your
vehicle is skidding. Learn to recognize warning clues
--
such as enough water, ice or packed snow on the road to
make a “mirrored surface”
-- and slow down when you
have any doubt.
Remember: Any anti-lock brake system (ABS) helps
avoid only
the braking skid.
4-12
Page 190 of 372

Parking on Hills
Youereally should not park your vehicle, with a trailer
attached,
on a hill. If something goes wrong, your rig
could start to move. People can be injured, and both
your vehicle and the trailer can be damaged.
But
if you ever have to park your rig on a hill, here’s
how to do it:
1. Apply your regular brakes, but don’t shift into
PARK
(P) yet. Turn your wheels into the curb
when facing downhill and away from the curb when
facing uphill.
2. Have someone place chocks under the trailer wheels.
3, When the wheel chocks are in place, release the
regular brakes until the chocks absorb the load.
4. Reapply the regular brakes. Then apply your parking
brake, and shift to PARK
(P).
5. Release the regular brakes.
When You Are Ready to Leave After
Parking on a
Hill
1. Apply your regular brakes and hold the pedal down
while you:
Start your engine;
Shift into a gear; and
0 Release the parking brake.
2. Let up on the brake pedal.
3. Drive slowly until the trailer is clear of the chocks.
4. Stop and have someone pick up and store the chocks.
Maintenance When Trailer Towing
Your vehicle will need service more often when you’re
pulling a trailer. See the Maintenance Schedule for more
on this. Things that are especially important in trailer
operation are automatic transmission fluid (don’t
overfill), engine
oil, axle lubricant, belt, cooling system
and brake adjustment. Each
of these is covered in this
manual, and
the Index will help you find them quickly.
If you’re trailering, it’s a good idea
to review these
sections before you start your trip.
Check periodically
to see that all hitch nuts and bolts
are tight.
4-36
Page 216 of 372
- Removing the Spare Tire and Tools
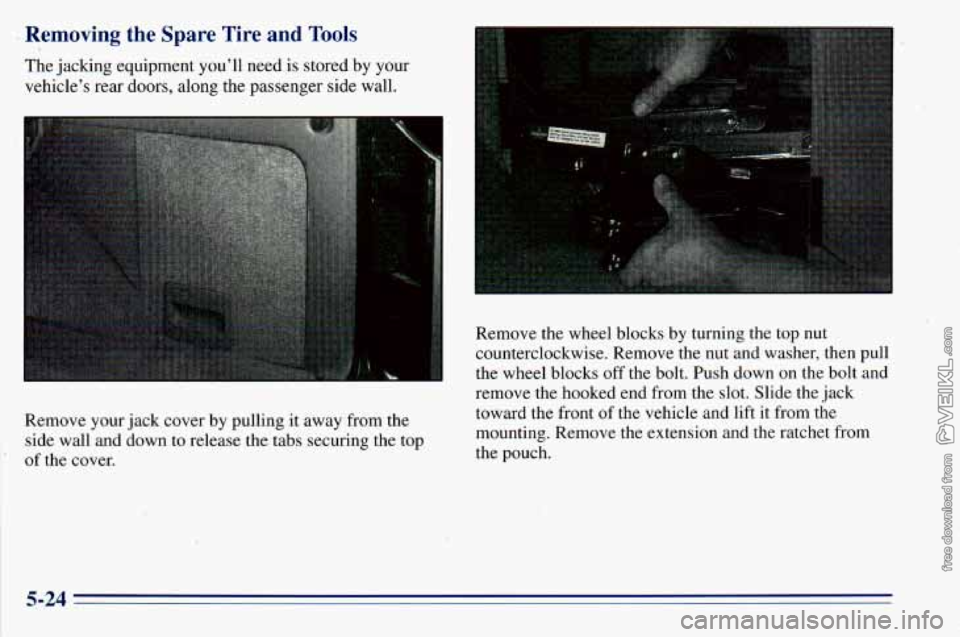
The jacking equipment you’ll need is stored by your
vehicle’s rear doors, along the passenger side wall.
Remove your jack cover by pulling
it away from the
side wall and down to release the tabs securing the top
‘ of the cover. Remove the wheel, blocks by turning the top nut
counterclockwise. Remove the nut and washer, then pull
the wheel blocks off the bolt. Push down on the bolt and
remove the hooked
end from the slot. Slide the jack
toward the front of the vehicle and lift it from the
mounting. Remove the extension and the ratchet from
the pouch.
5-24
Page 272 of 372
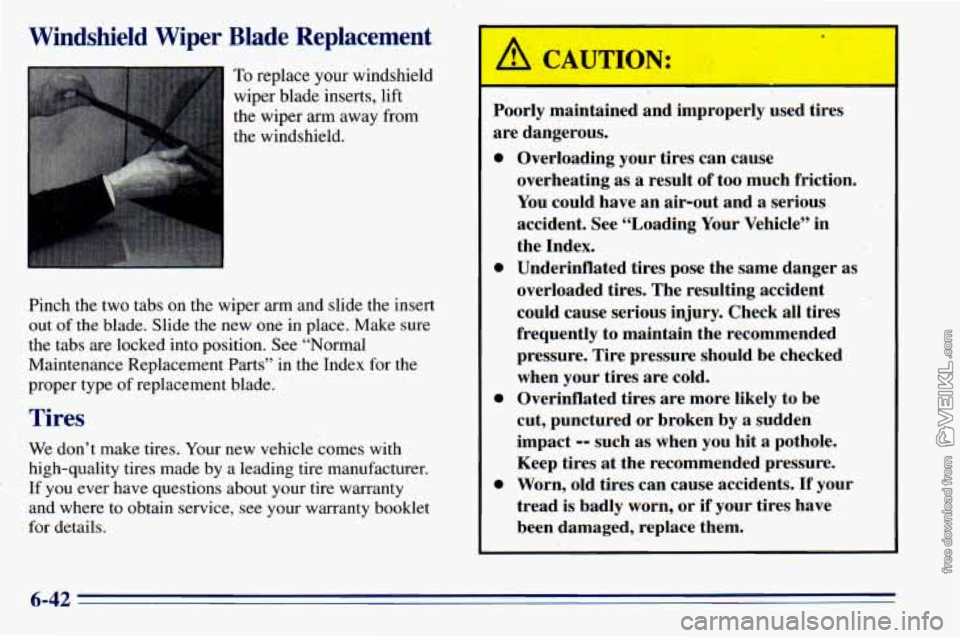
Windshield Wiper Blade Replacement
To replace your windshield
wiper blade ‘inserts, lift
the wiper arm away‘from
the windshield.
Pinch the two tabs on the wiper arm and slide
the ins1 ert
out of the blade. Slide the new one in place. Make sure
the tabs are locked into position. See “Normal
Maintenance Replacement
Parts” in the Index for the
proper type of replacement blade.
Tires
We don’t make tires. Your new vehicle comes with
high-quality tires made by a leading tire manufacturer.
‘ If you ever have questions about your tire warranty
and where to obtain service,
see your wai-ranty booklet
for details.
A CAUTION:
0
0
0
0
I
Poorly maintained and improperly used tires
are dangerous.
Overloading your tires can cause
overheating as a result of too much friction.’
You could have an air-out and a serious
accident. See “Loading Your Vehicle” in
the Index.
Underinflated tires pose the same danger as
overloaded tires. The resulting accident could cause serious injury. Check all tires
frequently to maintain the recommended
pressure. Tire pressure should be checked
when your tires are cold.
Overinflated tires are more likely to be
cut, punctured or broken by a sudden
impact
-- such as When you hit a pothole.
Keep tires
at the recommended pressure.
Worn, old tires can cause accidents.
If your
tread
is badly worn, or if your tires have
been damaged, replace them.
6-42
Page 288 of 372
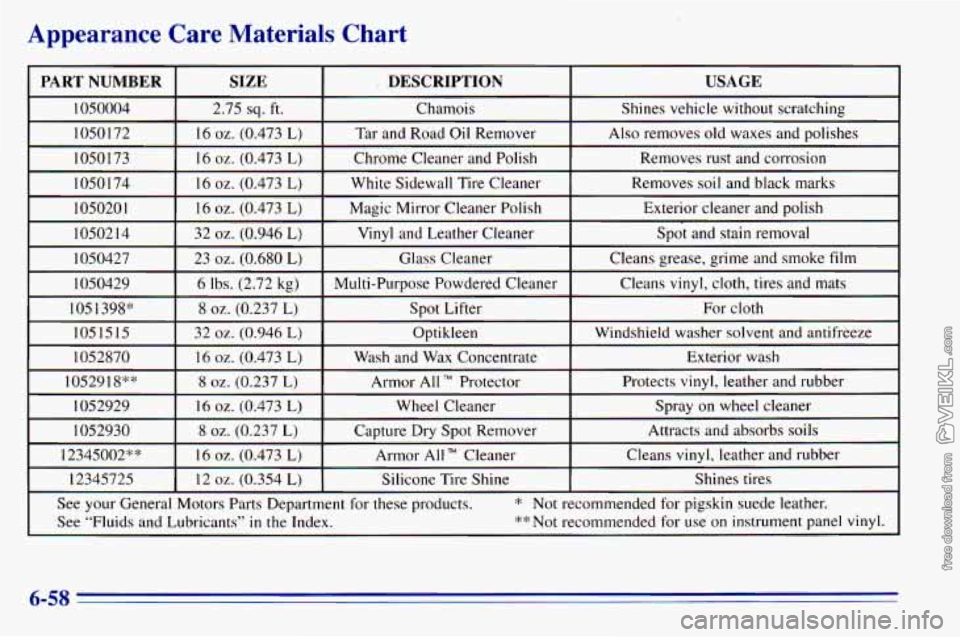
Appearance Care Materials Chart
PART NUMBER USAGE DESCRIPTION
SIZE
1050004
Exterior cleaner and polish
Magic Mirror Cleaner Polish
16
oz. (0.473 L) I05020 1
Removes soil and black marks White Sidewall Tire Cleaner 16 oz. (0.473 L) 10501 74 Removes rust and corrosion
Chrome Cleaner and Polish 16
oz. (0.473 L)
1050173 Also removes old waxes and polishes
Tar and Road Oil Remover 16
oz. (0.473 L)
1050172 Shines vehicle without scratching
Chamois
2.75
sq. ft.
~ ~~
1050214
1050427 Spot and stain removal Vinyl and Leather Cleaner
32 oz. (0.946 L)
Exterior wash
Wash and
Wax Concentrate
16 oz. (0.473 L) 1052870 Windshield washer solvent and
antifreeze
Optikleen
32
oz. (0.946 L) 1051515 For cloth
Spot Lifter
8 oz. (0.237 L) 105 1398” Cleans
vinyl, cloth, tires and mats
Multi-Purpose Powdered Cleaner 6 lbs. (2.72 kg) 1050429 Cleans
grease, grime and smoke
film Glass Cleaner 23
oz. (0.680 L)
I I I
I 1052918** I 8 oz. (0.237 L) I Armor All TM Protector I Protects vinyl, leather and rubber 1
1052929
Cleans
vinyl, leather and rubber
Armor All Cleaner
16 oz. (0.473 L) 12345002** Attracts and absorbs
soils
Capture Dry Spot Remover
8 oz. (0.237 L) 1052930 Spray on wheel cleaner Wheel Cleaner 16
oz. (0.473 L)
12345725 Shines tires
Silicone Tire Shine
12 oz. (0.354 L)
See
your General Motors Parts Department for these products. * Not recommended for pigskin suede leather.
See “Fluids and Lubricants’’
in the Index. **Not
recommended for use on instrument panel vinyl.
6-58