1996 CADILLAC SEVILLE rear view mirror
[x] Cancel search: rear view mirrorPage 94 of 354
Downloaded from www.Manualslib.com manuals search engine II
c
Rainsense Wipers (STS Only)
I
:-
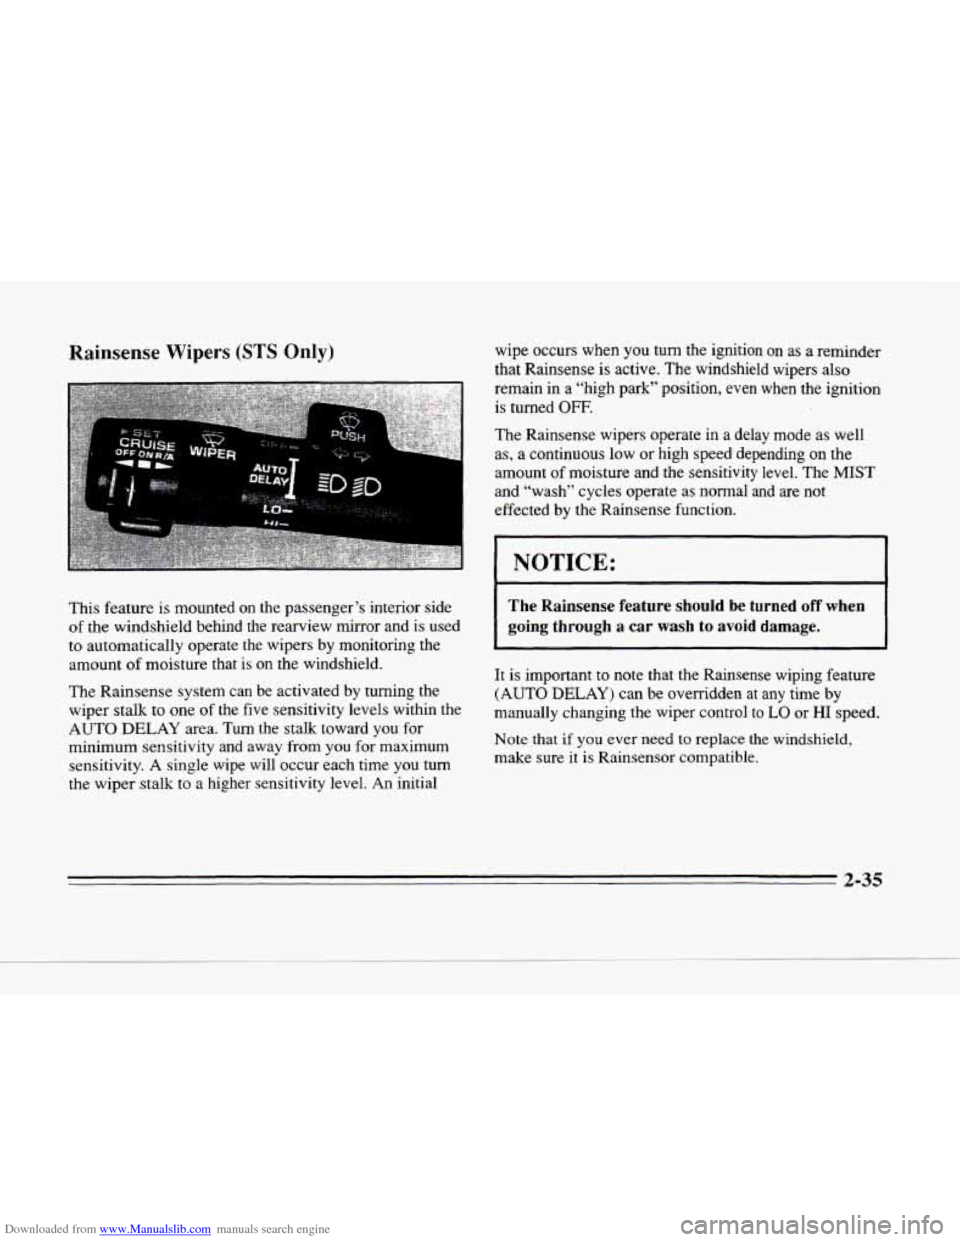
This feature is mounted on the passenger’s interior side
of the windshield behind the rearview mirror and is used
to automatically operate the wipers by monitoring the
amount of moisture that is on the windshield.
The Rainsense system can be activated by turning the
wiper stalk
to one of the five sensitivity levels within the
AUTO DELAY area. Turn
the stalk toward you for
minimum sensitivity and away from you for maximum
sensitivity. A single wipe will occur each time
you turn
the wiper stalk to a higher sensitivity level. An initial wipe occurs when
you turn the ignition on as a
reminder
that Rainsense
is active. The windshield wipers also
remain in a “high park” Position,
even when the ignition
is turned OFF.
The Rainsense wipers operate in a delay mode as well
as, a continuous low
or high speed depending on the
amount of moisture and the sensitivity level. The MIST
and “wash” cycles operate as normal and are not
effected by the Rainsense function.
I NOTICE:
The Rainsense feature should be turned off when
going
through a car wash to avoid damage.
It is important to note that the Rainsense wiping feature
(AUTO DELAY) can be overridden at any time
by
manually changing the wiper control to LO or HI speed.
Note that
if you ever need to replace the windshield,
make sure it is Rainsensor compatible.
2-35
Page 105 of 354
Downloaded from www.Manualslib.com manuals search engine The first -prompt to appear relates to the automatic door
locks. This feature can be bypassed by pressing the
INFO button. The STORAGE MODE? prompt appears
next. To select, press the RESET button. ENABLE
STORAGE MODE? will then appear. A yes or no
response must be given.
If the INFO (no) button is
pressed,
the DISABLE STORAGE MODE? prompt will
appear. Once again,
a yes or no response is required.
Once the battery guard has been programmed, your
vehicle will enter the storage mode approximately
20 minutes after the ignition key has been turned off.
The RKE will also be disabled at this point. The RKE
will reactivate when a door or the trunk is opened,
however, if your vehicle is left inactive for another
20 minutes the RKE will re-enter the storage mode.
Your vehicle will stay in the storage mode until the
ignition key is turned out of
LOCK. The system will
“wake-up” when the door key is inserted into the door
however, your vehicle will remain
in the storage mode.
The ignition must be out of
LOCK before the battery
guard is disabled.
Mirrors
Electrochromic DaylNight Rearview Mirror
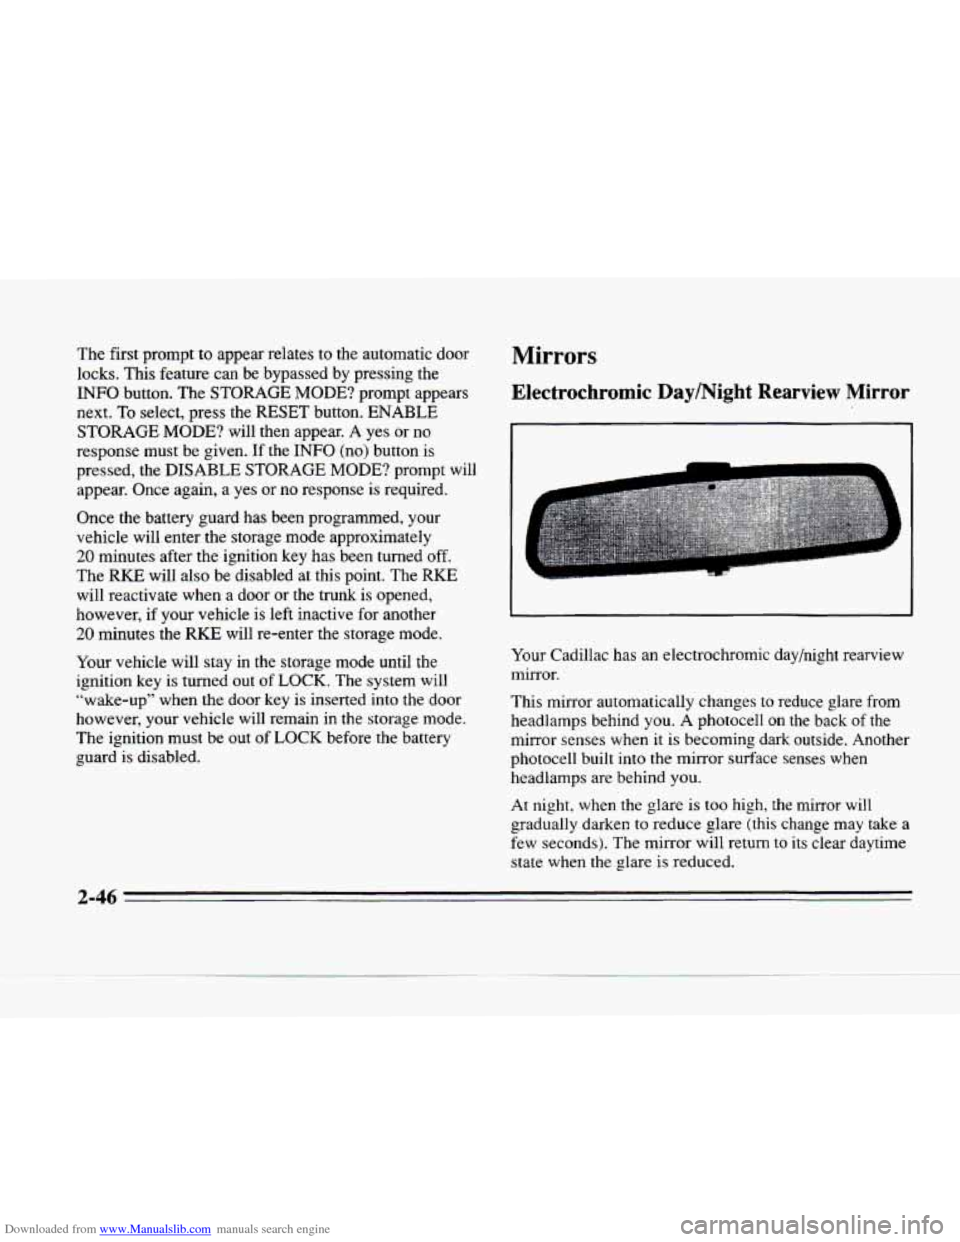
Your Cadillac has an electrochromic day/night rearview
mirror.
This mirror automatically changes to reduce glare from
headlamps behind you. A photocell
on the back of the
mirror senses when it
is becoming dark outside. Another
photocell built into the mirror surface senses when
headlamps are behind you.
At night, when the glare is too high,
the mirror will
gradually darken to reduce glare (this change may take
a
few seconds). The mirror will return to its clear daytime
state when the glare is reduced.
2-46
Page 107 of 354
Downloaded from www.Manualslib.com manuals search engine Electrochromic Day/Night Rearview Mirror
with Compass (Option)
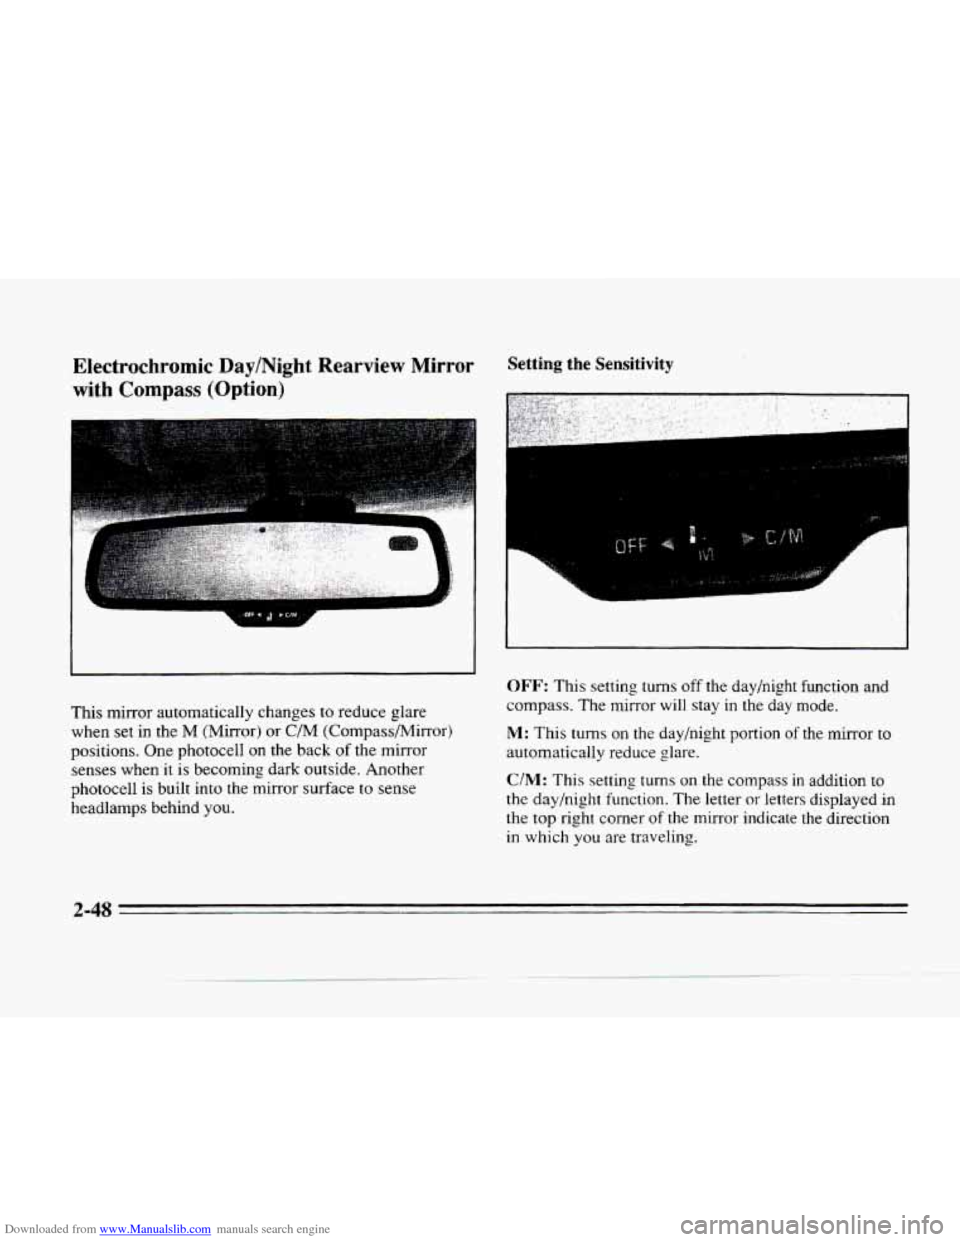
This mirror automatically changes to reduce glare
when
set in the M (Mirror) or C/M (Compass/Mirror)
positions. One photocell
on the back of the mirror
senses when
it is becoming dark outside. Another
photocell is built into the mirror surface to sense
headlamps behind you.
Setting the Sensitivity
I
F
OFF: This setting turns off the day/night function and
compass. The mirror will stay
in the day mode.
M: This turns on the day/night portion of the mirror to
automatically reduce glare.
C/M: This setting turns on the compass in addition to
the day/night function. The letter or letters displayed in
the top right corner of the mirror indicate the direction
in which
you are traveling.
2-48
Page 110 of 354
Downloaded from www.Manualslib.com manuals search engine c
c
Power Remote Control Mirror
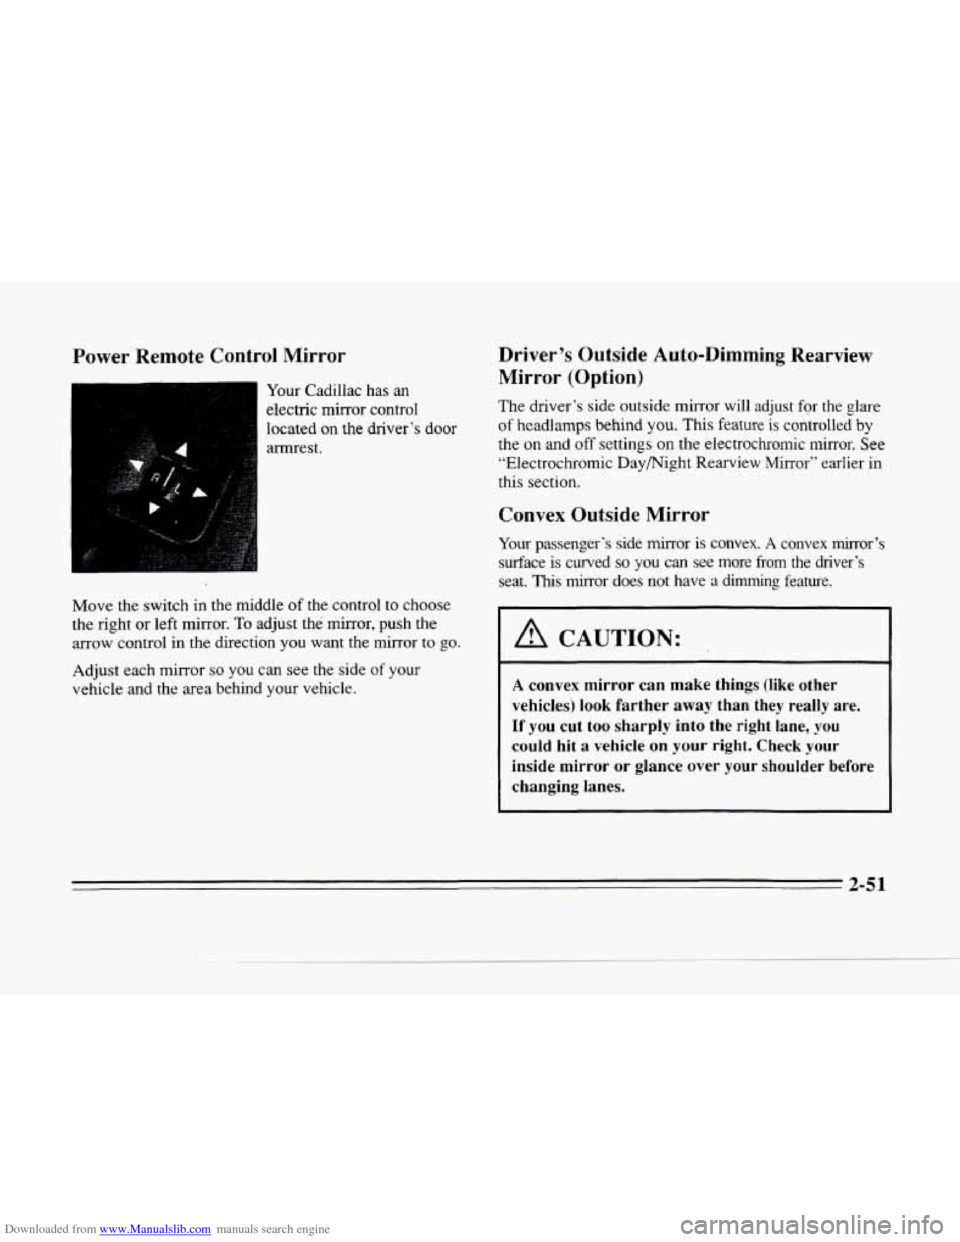
Your Cadillac has an
electric mirror control
located
on the driver’s door
armrest.
Move the sw.itch in the middle
of the control to choose
the right
or left mirror. To adjust the mirror, push the
arrow control in the direction you want the mirror to go.
Adjust each mirror so you can see the side of your
vehicle and the area behind your vehicle.
Driver’s Outside Auto-Dimming Rearview
Mirror (Option)
The driver’s side outside mirror will adjust for the glare
of headlamps behind you. This feature is controlled by
the
on and off settings on the electrochromic mirror. See
“Electrochromic Daymight Rearview Mirror” earlier in
this section.
Convex Outside Mirror
Your passenger‘s side mirror is convex. A convex mirror’s
surface is curved so you can see more from the driver’s
seat. This mirror does not have a dimming feature.
I A CAUTION:
A convex mirror can make things (like other
vehicles)
look farther away than they really are.
If
you cut too sharply into the right lane, you
could hit a vehicle on your right. Check your
inside mirror or glance over your shoulder before
changing lanes.
2-5 1
Page 112 of 354
Downloaded from www.Manualslib.com manuals search engine Sunglass Compartment (Option)
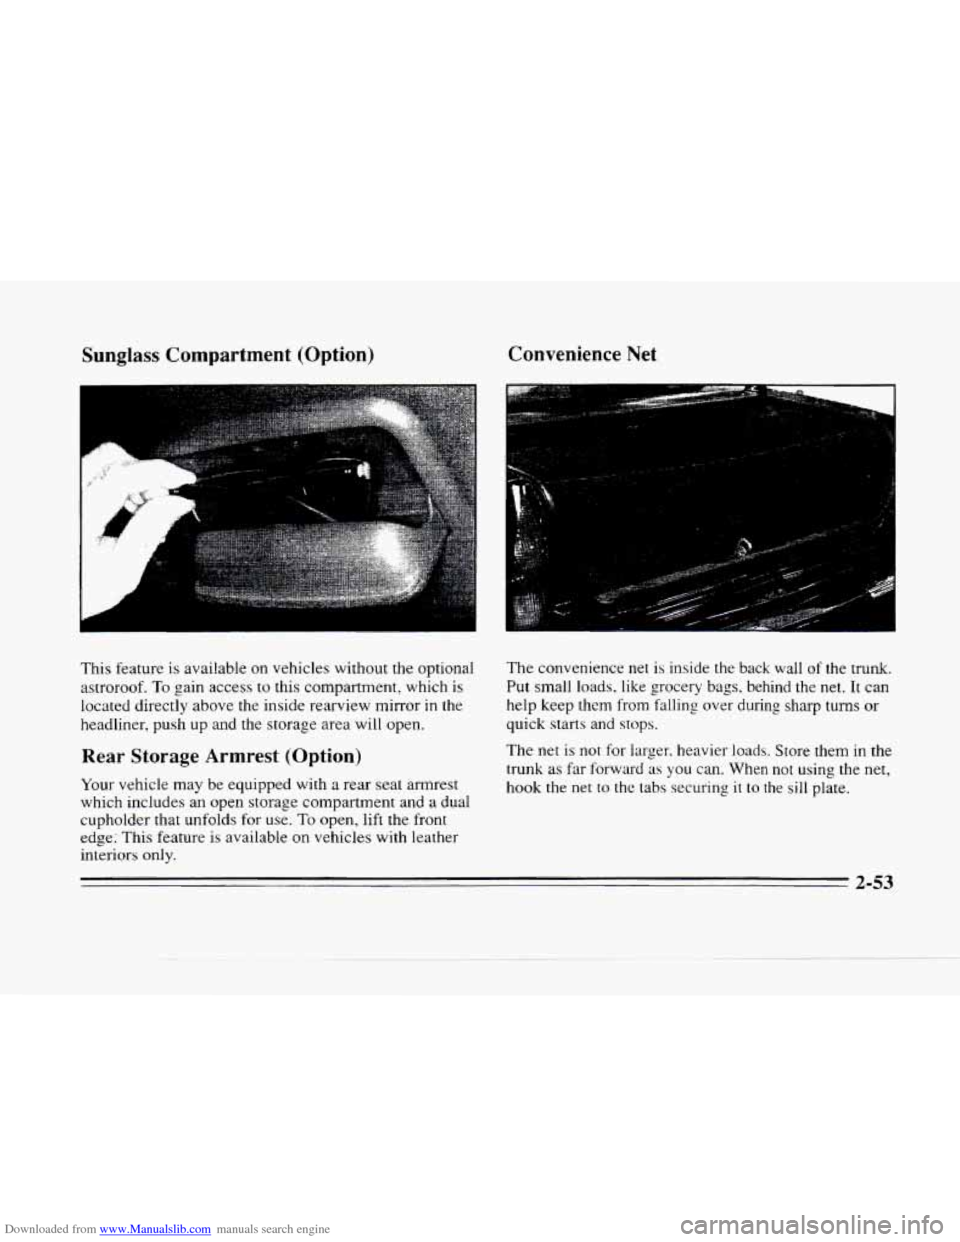
This feature is avai!able on vehicles without the optional
astroroof.
To gain access to this compartment, which is
located directly above the inside rearview mirror in the
headliner, push up and the storage area will open.
Rear Storage Armrest (Option)
Your vehicle may be equipped with a rear seat armrest
which includes an open storage compartment and a dual
cupholder that unfolds for use. To open, lift the front
edge; This feature
is available on vehicles with leather
interiors only.
Convenience Net
The convenience net is inside the back wall of the trunk.
Put small loads, like grocery bags, behind the net. It can
help keep them from falling over during
sharp turns or
quick starts and stops.
The net is
not for larger. heavier loads. Store them in the
trunk
as far forward as you can. When not using the net,
hook the net to the tabs securing it to the sill plate.
2-53
Page 160 of 354
Downloaded from www.Manualslib.com manuals search engine c
ru
Defogging and Defrosting
On cool, humid days, use DEFOG to keep the
windshield and side windows clear. Use DEFROST to
remove fog or ice from the windshield quickly in
extremely humid or cold conditions.
If you have the
ECC system, press the DEFOG or
DE-ICE button and adjust the fan speed by pressing the
fan button up or down. If you use DEFROST, adjust the
fan speed the same way.
If you select DEFROST from
AUTO,
the system will control the fan speed. The
temperature will also need to be adjusted to your
comfort level. Press the blue button to decrease the
temperature and the red button to increase the
temperature.
If you have the dual-zone system, press the DEFROST
or
DE-ICE button. If you select DEFROST, adjust the
fan speed by pressing the fan button up or down. If you
select DEFROST from AUTO, the system will controI
the fan speed. The teinperature also needs
to be adjusted
by turning the TEMP knob.
Note that recirculation is not available in the defrost or
defog modes.
@ Rear Window Defogger
The lines you see on the rear window warm the glass.
Press the button
to turn on the rear defogger. With it,
the rear window and both outside rearview mirrors are
heated. The system will automatically shut off after
10 minutes. If further defogging is desired, press the
button again.
Do not attach a temporary vehicle license, tape or'decals
across the defogger grid on the rear window.
NOTICE:
Scraping the inside of your rear window could
cut and damage the heating grids. Your warranty
would not cover this damage.
And don't put
decals there;
you might have to scrape them off.
3-13
Page 206 of 354
Downloaded from www.Manualslib.com manuals search engine II
c
2.
Y
h
Highway Hypnosis
Is there actually such a condition as “highway
hypnosis”? Or
is it just plain falling asleep at the wheel?
Call it highway hypnosis, lack
of awareness or whatever.
There
is something about an easy stretch of road with
the same scenery, along with the hum of the tires on the
road, the drone
of the engine and the rush of the wind
against the vehicle that can make you sleepy. Don’t let
it
happen to you! If it does, your vehicle can leave the
road in
less than a second, and you could crash and be
injured.
What can you do about highway hypnosis? First, be
aware that
it can happen.
Then here are some tips:
a Make sure your vehicle is well ventilated, with a
comfortably cool interior.
a Keep your eyes moving. Scan the road ahead and to
the sides. Check
your rearview mirrors and your
instruments frequently.
a If you get sleepy, pull off the road into a rest, service
or parking area and take
a nap, get some exercise or
both.
For safety, treat drowsiness on the highway as
an emergency.
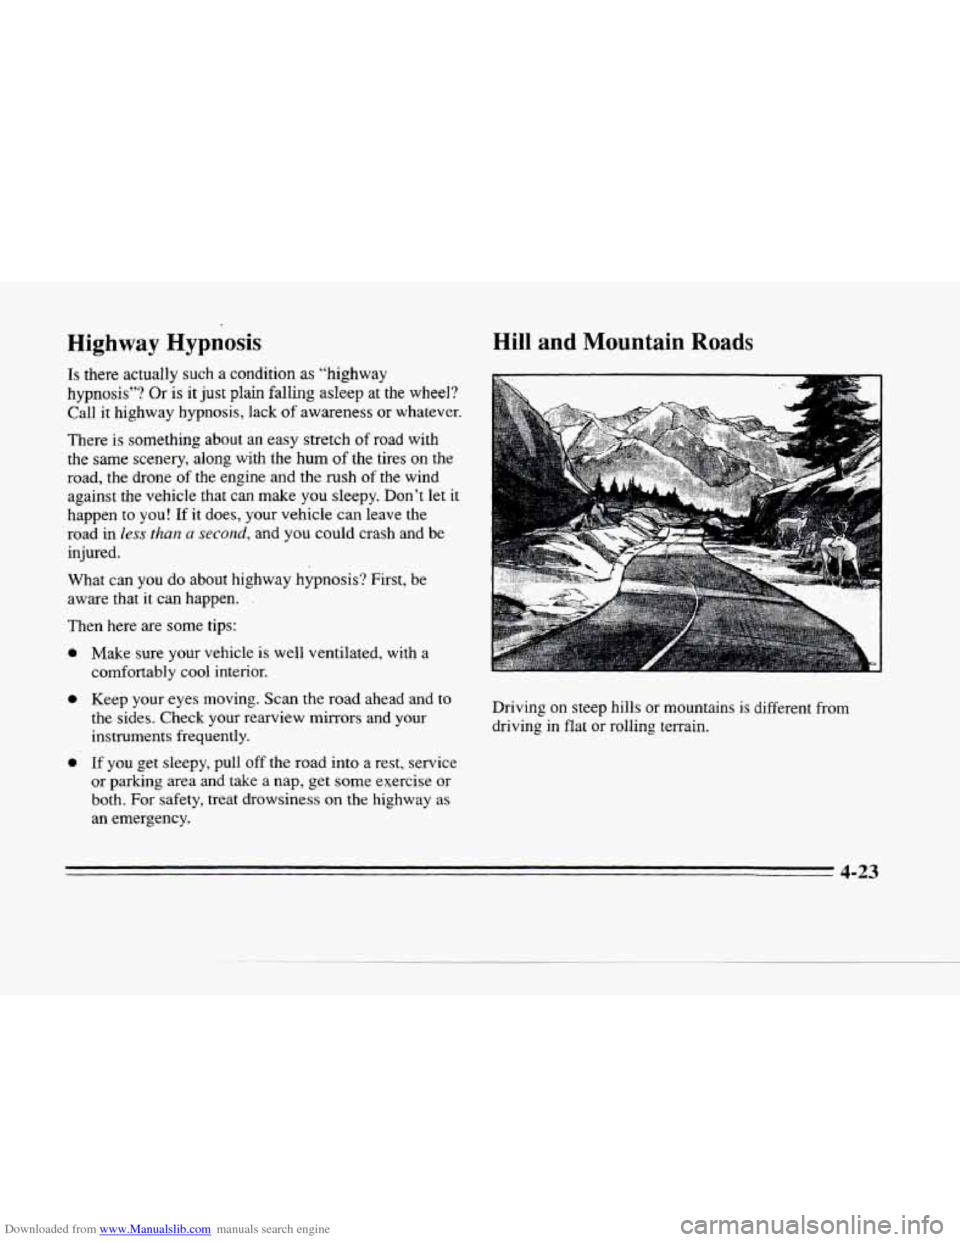
Hill and Mountain Roads
Driving on steep hills or mountains is different from
driving in flat or rolling terrain.
4-23
Page 315 of 354
Downloaded from www.Manualslib.com manuals search engine , , , I I INT LPS I , CIG LTRI , , CIG LTR2 I
00~00
L HDLP LO R HDLP LO L HDLP HI R HDLP HI . SENSE
, HDLPS I , HAZARD , , STOP I , MIRROR I F0(3/DRL ,
IGN O(ENG) CRANK WIPERS
FUSE CENTER IDENTIFICATION
OXY SEN2 OXY SEN1 FUEL PUMP
CRUISE RELAY
, DlSTR ,PC~JI(IGN)~ I ECS ,
, , ,PCM(BAT), IA/C COM?
L FRONT OF VEHICLE 36488x1
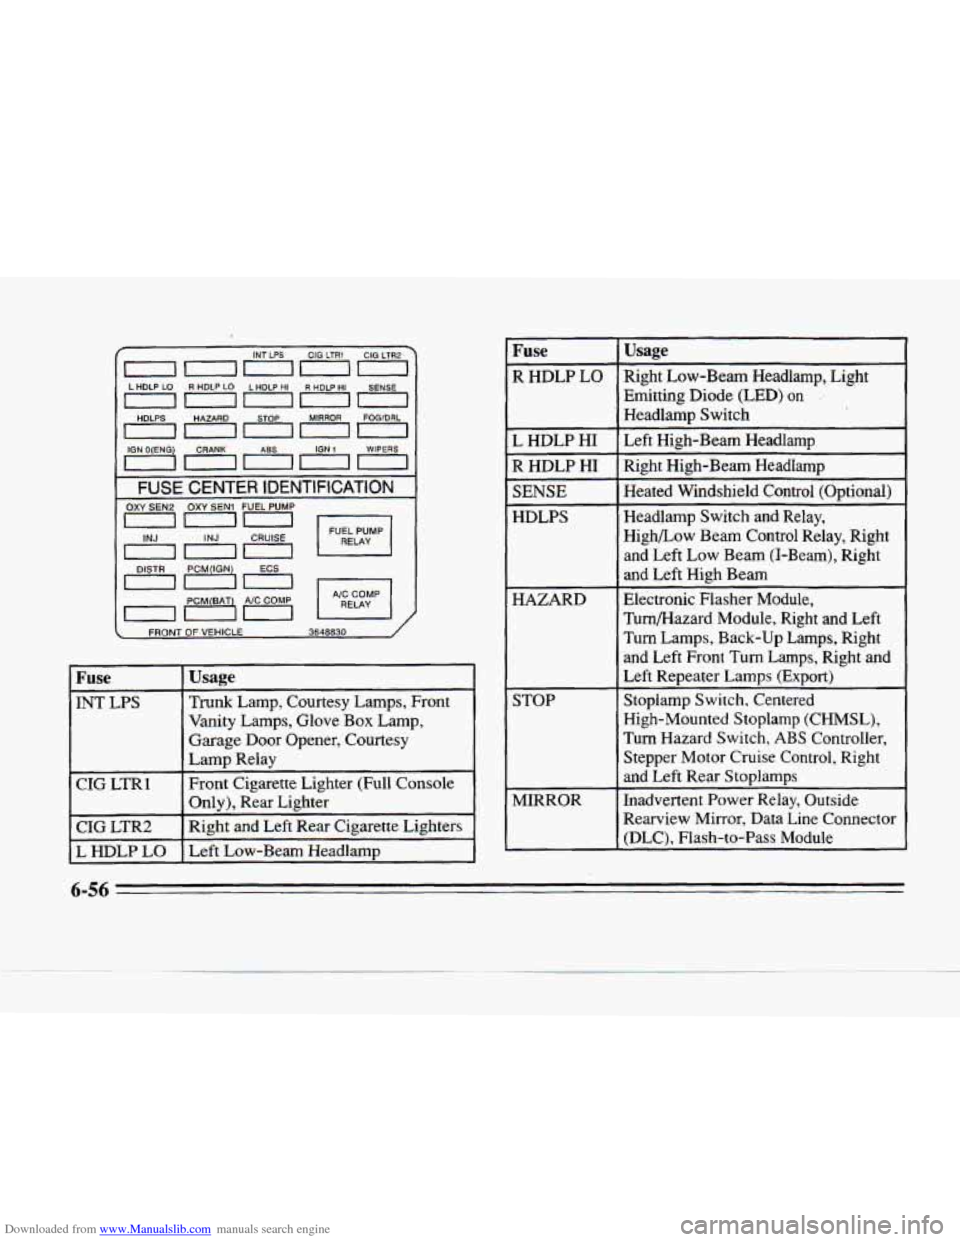
I Fuse
INT LPS
E
CIG LTR2
L HDLP LO
Usage
Trunk Lamp, Courtesy Lamps, Front
Vanity Lamps, Glove
Box Lamp,
Garage Door Opener, Courtesy
Lamp Relay
Front Cigarette Lighter (Full Console
Only), Rear Lighter
Right and Left Rear Cigarette Lighters
Left Low-Beam Weadlamp
Fuse
R HDLP LO
LDLP HI
R HDLP HI
SENSE
HDLPS
HAZARD
STOP
MIRROR
Usage
Right Low-Beam Headlamp, Light Emitting Diode
(LED) on -.
Headlamp Switch
Left High-Beam Headlamp
Right High-Beam Headlamp
Heated Windshield Control (Optional)
Headlamp Switch and Relay,
High/Low Beam Control Relay, Right
and Left Low Beam (I-Beam), Right
and Left High Beam
Electronic Flasher Module,
Turnmazard Module, Right and Left
Turn Lamps, Back-up Lamps, Right
and Left
Front Turn Lamps, Right and
Left Repeater Lamps (Export)
Stoplamp Switch, Centered
High-Mounted Stoplamp (CHMSL),
Turn Hazard Switch,
ABS Controller,
Stepper Motor
Cruise Control, Right
and Left Rear Stoplamps
Inadvertent Power Relay, Outside
Rearview Mirror, Data Line Connector (DLC), Flash-to-Pass
Module