Page 11 of 306
Downloaded from www.Manualslib.com manuals search engine The electronics and computerization which were
pioneered by Cadillac in the
’70s came of age in the
’80s with Digital Fuel Injection and On-Board
Diagnostics in
1980, four wheel Anti-lock Brakes on
1986 models and Traction Control in the fall of 1989.
The 1992 Seville STS was the fist car ever to win all
three major automotive awards: Car
of the Year, Motor
Trend; Ten Best List, Car
& Driver; Car of the Year,
Automobile Magazine.
The year
1993 saw the introduction of the Northstar
system. The state of the art system includes the
32 valve,
dual overhead camshaft, Northstar
4.6 liter V8 engine,
4T80-E electronically controlled automatic transaxle,
road sensing suspension, speed sensitive steering, anti-lock brakes and traction control.
X
For more than nine decades Cadillac has been a leader in
quality and technical innovation. Now more than ever,
Cadillac is “Creating
a Higher Standard.”
Page 14 of 306
Downloaded from www.Manualslib.com manuals search engine Vehicle Symbols
These are some of the symbols you will find on your vehicle.
For example,
these symbols
are used on an
original battery:
POSSIBLE A
CAUTION
INJURY
PROTECT EYES BY
SHIELDING
CAUSTIC
ACID COULD
&
BAllERY
CAUSE
BURNS
AVOID
SPARKS
OR
FLAMES
SPARK
OR ,\I/,
COULD FLAME
EXPLODE BATTERY
These symbols are important
for you and
your passengers
whenever your
vehicle
is
driven:
DOOR LOCK
UNLOCK
FASTEN SEAT
BELTS
POWER
WINDOW
These symbols
have to do with
your lights:
SIGNALS e
TURN
PAERK pf
FOG LAMPS $0
These symbols
are on some
of
your controls:
WIPER w
WINDSHIELD
DEFROSTER
WINDOW
DEFOGGER
VENTILATING FAN
These symbols are used
on
warning and
indicator lights:
COOLANT
TEMP
-
CHARGING Tql
BAllERY
SYSTEM
BRAKE
(0)
COOLANT a
ENGINE OIL e,
PRESSURE
ANTI-LOCK
(a)
BRAKES
Here are some
other symbols
you may see:
FUSE -%-
t
LIGHTER m
HORN )cr
SPEAKER
b
FUEL e3
xiii
Page 60 of 306
Downloaded from www.Manualslib.com manuals search engine Section 2 Features and Controls
Here you can learn about the many standard and optional
features on your Cadillac, and information on starting,
shifbng and braking.
Also explained are the instrument
panel and the warning systems that tell you if everything is
working properly
-- and what to do if you have a problem.
Keys
~~~
A CAUTION:
Leaving young children in a vehicle with the
ignition key is dangerous for many reasons.
A child
or others could be badly injured or even killed.
They could operate power windows or other
controls
or even make the vehicle move. If they
turned the ignition to
ON and moved the shift
lever out
of PARK (P), that would release the
parking brake. Don’t leave the keys in
a vehicle
with young children.
2-1
Page 73 of 306

Downloaded from www.Manualslib.com manuals search engine Ignition Key Positions
NOTICE:
Your modern Cadillac doesn’t need an elaborate
“break-in.” But
it will perform better in the long
run
if you follow these guidelines:
Keep your speed at 55 mph (88 km/h) or
less for the first
500 miles (804 km).
Don’t drive at any one speed -- fast or
slow
-- for the first 500 miles (804 km).
Don’t make full-throttle starts.
200 miles (322 km) or so. During this time
your new brake linings aren’t yet broken
in. Hard stops with new linings can mean
premature wear and earlier replacement.
Follow this breaking-in guideline every
time you get new brake linings.
* Don’t tow a trailer during break-in. See
“Towing a Trailer” in the Index for more
information.
Avoid making hard stops for the first
C
A E
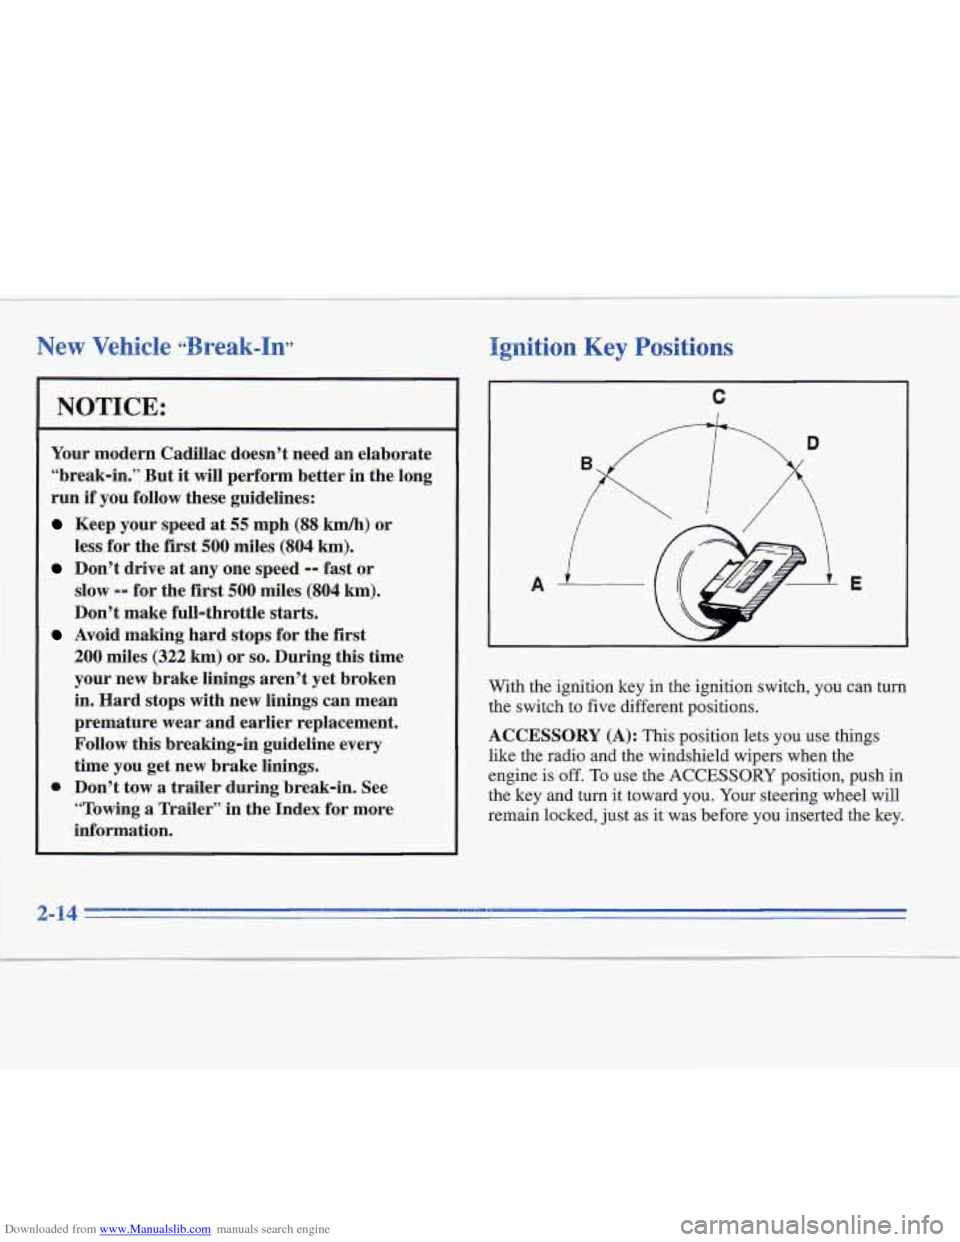
With the ignition key in the ignition switch, you can turn
the switch to five different positions.
ACCESSORY (A): This position lets you use things
like the radio and the windshield wipers when the
engine is off.
To use the ACCESSORY position, push in
the key and turn it toward you. Your steering wheel will
remain locked, just
as it was before you inserted the key.
Page 80 of 306

Downloaded from www.Manualslib.com manuals search engine AUTOMATIC OVERDRIVE (@): This position
is for normal driving.
If you need more power for
passing, and you’re:
Going less than about 35 mph (55 km/h), push your
Going about 35 mph (55 km/h) or more, push the
The transmission will shift down to the next gear.
accelerator pedal
about halfway down.
accelerator all the way down.
THIRD (D or 3) : This position is also used for normal
driving, however it offers more power and lower fuel
economy that AUTOMATIC OVERDRIVE
(@).
Here are some times you might choose THIRD (D or 3)
instead of OVERDRIVE (@):
When driving on hilly, winding roads
When towing a trailer, so there is less shifting
When going down a steep hill
between gears
SECOND (2): This position gives you more power but
lower fuel economy. You can use SECOND
(2) on hills.
It can help control your speed as you
go down steep
mountain roads, but then you would
also want to use
your brakes
off and on.
FIRST (1): This position gives you even more power (but
lower fuel economy)
than SECOND (2). You can use it on
very steep hills, or in deep snow or mud. If the shift lever
is put in
FIRST (l), the transmission won’t shift into first
gear until the vehicle is going slowly enough.
NOTICE:
If your rear wheels can’t rotate, don’t try to
drive. This might happen
if you were stuck in
very deep sand
or mud or were up against a solid
object. You could damage your transmission.
Also,
if you stop when going uphill, don’t hold
your vehicle there with only the accelerator
pedal. This could overheat and damage the
transmission. Use your brakes to hold your
vehicle in position on a hill.
Page 81 of 306
Downloaded from www.Manualslib.com manuals search engine Parking Brake
To set the parking brake,
hold the regular brake pedal down with your right foot.
Push down the parking
brake pedal with your left
foot.
If the ignition is on,
the brake system warning
light will come on. Pull
on the manual release
lever located near the
parking brake.
When you shift out
of PARK (P) or NEUTRAL (N), if
your engine is running, your parking brake should
release.
If it doesn’t, you have a parking brake problem
and should have it fixed.
In the meantime, you can still
release your parking brake.
If your hand or arm is in the way of the pedal,
you could be hurt. The pedal springs back
quickly. Keep your hand and arm away when you
use the manual release lever.
Page 82 of 306
Downloaded from www.Manualslib.com manuals search engine L
1. Hold the brake pedal down with- your right foot.
Page 83 of 306
Downloaded from www.Manualslib.com manuals search engine 4
2. Move the shift lever into PARK (P) position
like this:
Pull the lever toward you.
3.
4.
5.
Move the lever up as far as it will go.
With your right foot still holding the brake pedal
down, set the parking brake.
Turn the ignition key to
LOCK.
Remove the key and take it with you. If you can
leave your vehicle with the ignition key in your
hand, your vehicle is
in PARK (P).
2-24