1996 CADILLAC FLEETWOOD light
[x] Cancel search: lightPage 122 of 306
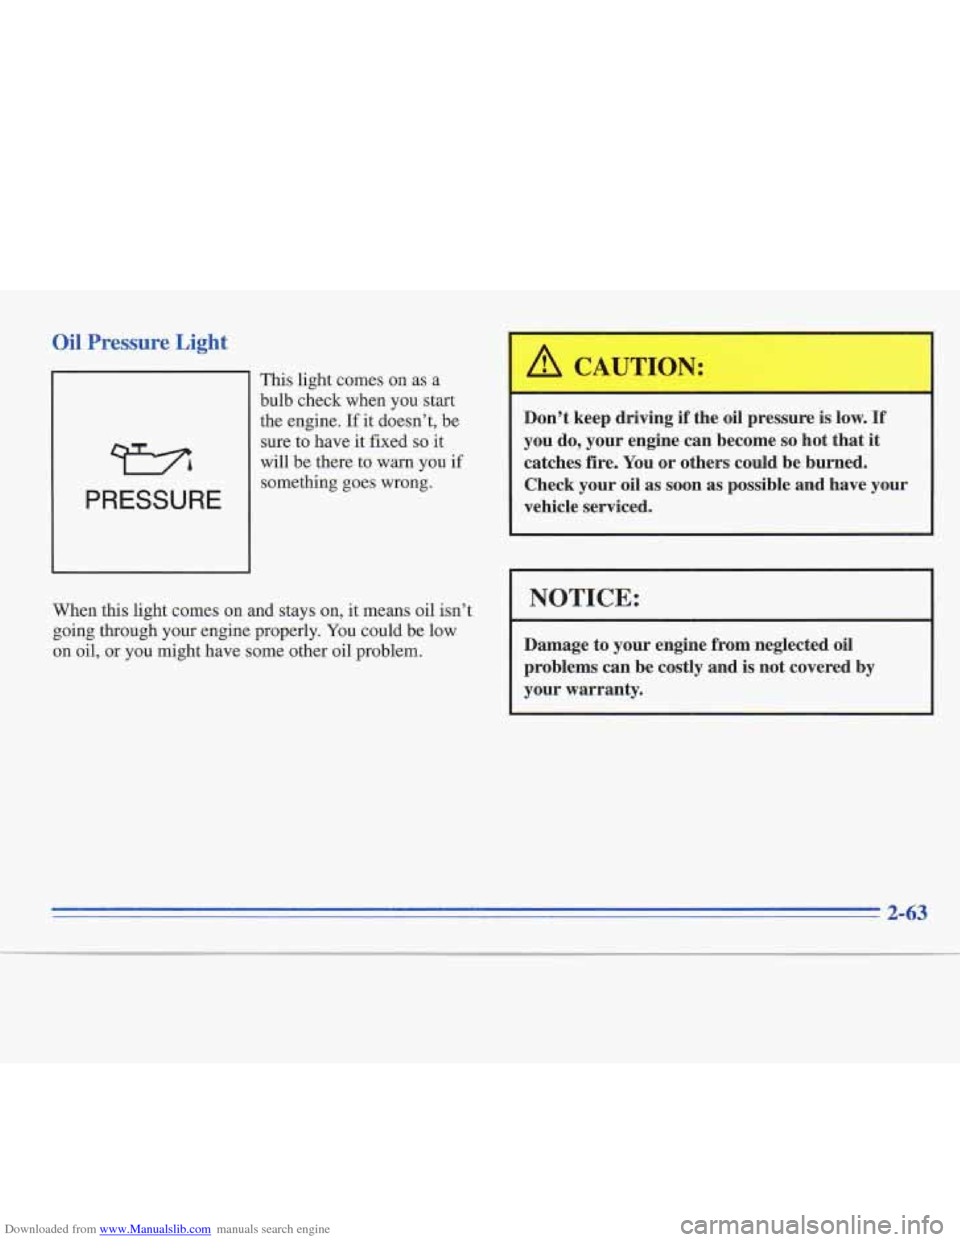
Downloaded from www.Manualslib.com manuals search engine Oil Pressure Light
WA
PRESSURE
This light comes on as a
bulb check when you start
the engine. If
it doesn’t, be
sure to have it fixed
so it
will be there
to warn you if
something goes wrong.
When
this light comes on and stays on, it means oil isn’t
going through your engine properly. You could be low
on oil, or
you might have some other oil problem.
Don’t keep driving if the oil pressure is low. If
you do, your engine can become so hot that it
catches fire. You or others could be burned.
Check your oil as
soon as possible and have your
vehicle serviced.
I NOTICE:
Damage to your engine from neglected oil
problems can be costly and
is not covered by
your warranty.
2-63
Page 123 of 306
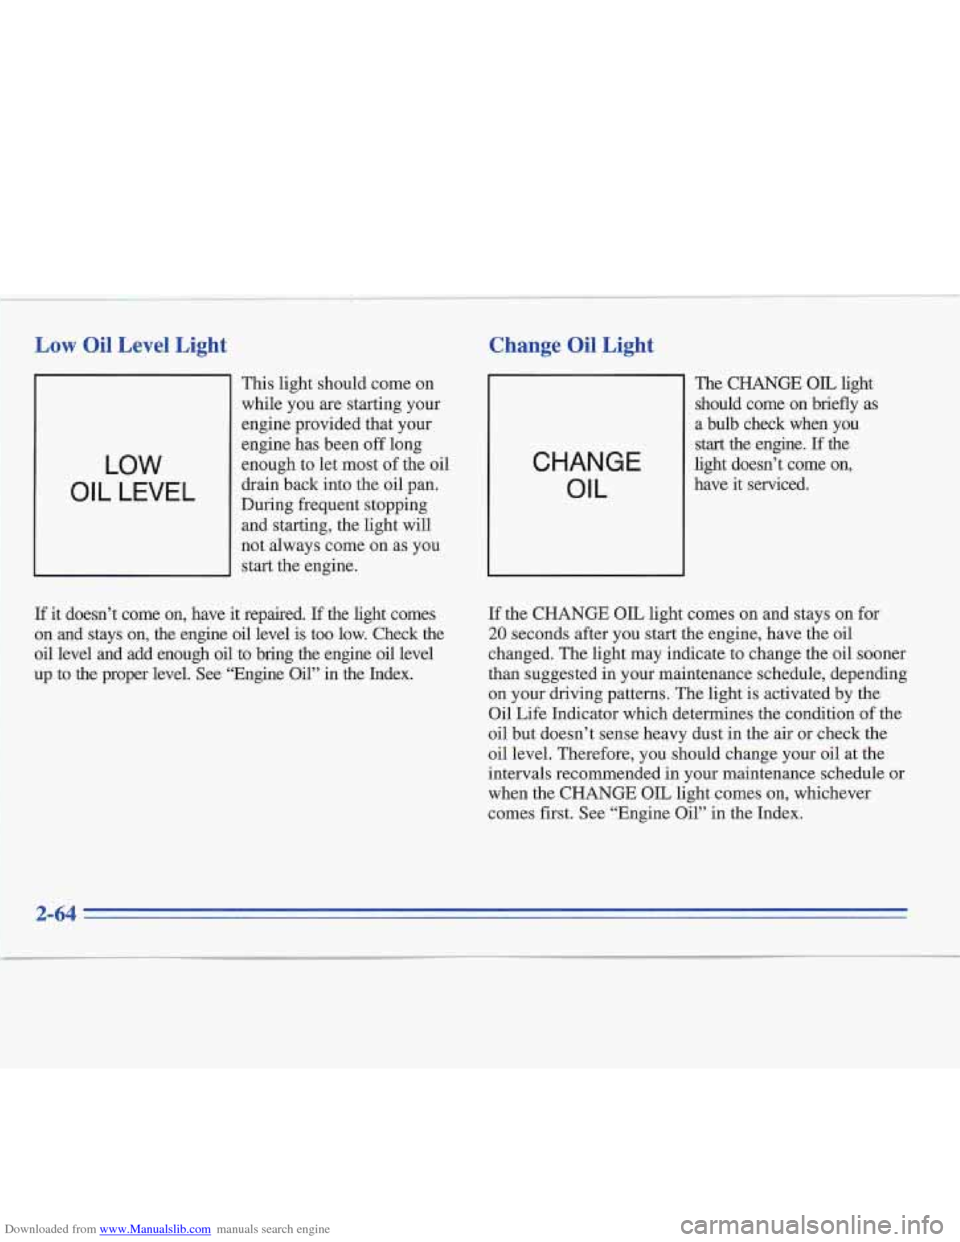
Downloaded from www.Manualslib.com manuals search engine Low Oil Level Light
11 This light should come on
while you are starting your
engine provided that your
LOW
OIL LEVEL
engine has been off long
enough to let most
of the oil
drain back into the oil pan.
During frequent stopping and starting, the light will
not always come on as you
start the engine.
If it doesn’t come on, have it repaired. If the light comes
on and stays on, the engine oil level is too low. Check the
oil level and add enough oil to bring the engine oil level
up to the proper level.
See “Engine Oil” in the Index.
Change Oil Light t
CHANGE OIL
The CHANGE OIL light
should come on briefly as
a bulb check when you
start the engine. If the
light doesn’t come on,
have it serviced.
If the CHANGE OIL light comes on and stays on for
20 seconds after you start the engine, have the oil
changed. The light may indicate to change the oil sooner
than suggested in your maintenance schedule, depending
on your driving patterns. The light is activated by the
Oil Life Inlcator which determines the condition of the
oil but doesn’t sense heavy dust in the air or check the
oil level. Therefore, you should change your oil at the
intervals recommended in your maintenance schedule or
when the CHANGE OIL light comes on, whichever
comes first. See “Engine Oil” in the Index.
Page 124 of 306
Downloaded from www.Manualslib.com manuals search engine After changing the engine oil, the system must be reset.
With the ignition key in the
RUN position but the engine
off, fully push and release the accelerator pedal three
times within five seconds. If the
CHANGE OIL light
flashes two times, the system is reset. However,
if the
light comes on and stays on for five seconds, it did not
reset. You’ll need to reset the system again.
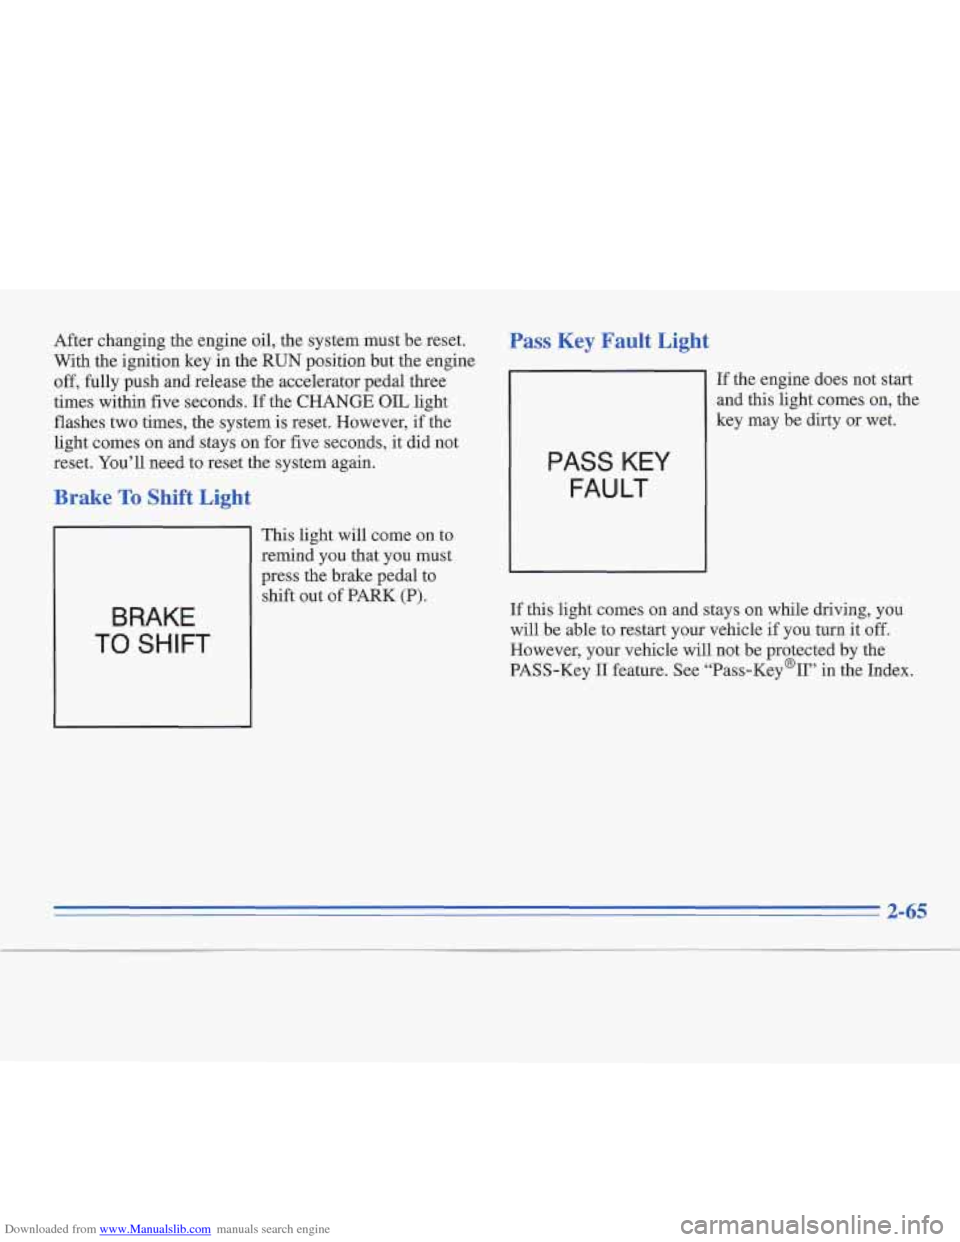
Brake To Shift Light
BRAKE
TO SHIFT
This light will come on to
remind you that you must
press the brake pedal to
shift out
of PARK (P).
Pass Key Fault Light
PASS KEY
FAULT
If the engine does not start
and this light comes on, the
key may be dirty or wet.
If this light comes
on and stays on while driving, you
will be able to restart your vehicle
if you hrrn it off.
However, your vehicle will not be protected by the
PASS-Key
I1 feature. See “Pass-Key%’’ in the Index.
Page 125 of 306
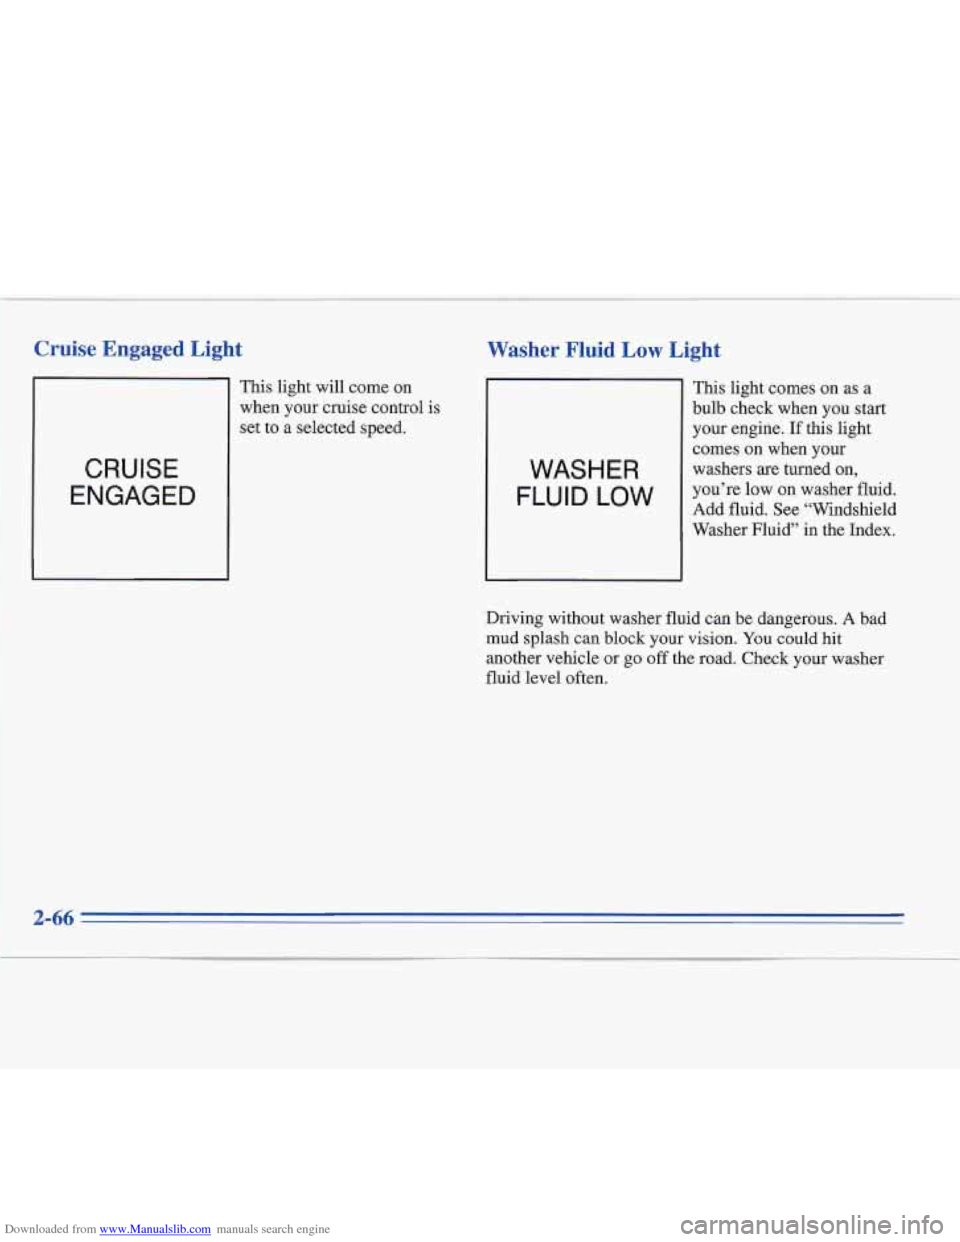
Downloaded from www.Manualslib.com manuals search engine Cruise Engaged Light
This light will come on
when your cruise control is
set to a selected speed.
CRUISE
ENGAGED
Washer Fluid Low Light
WASHER
FLUID LOW
This
bulb light comes
on as a
check when you start
your engine.
If this light
comes on when your
washers
are turned on,
you're low on washer fluid.
Add fluid. See "Windshield
Washer
Fluid" in the Index.
Driving without washer fluid can be dangerous.
A bad
mud splash can block your vision.
You could hit
another vehicle or go off the road. Check your washer
fluid level often.
Page 126 of 306
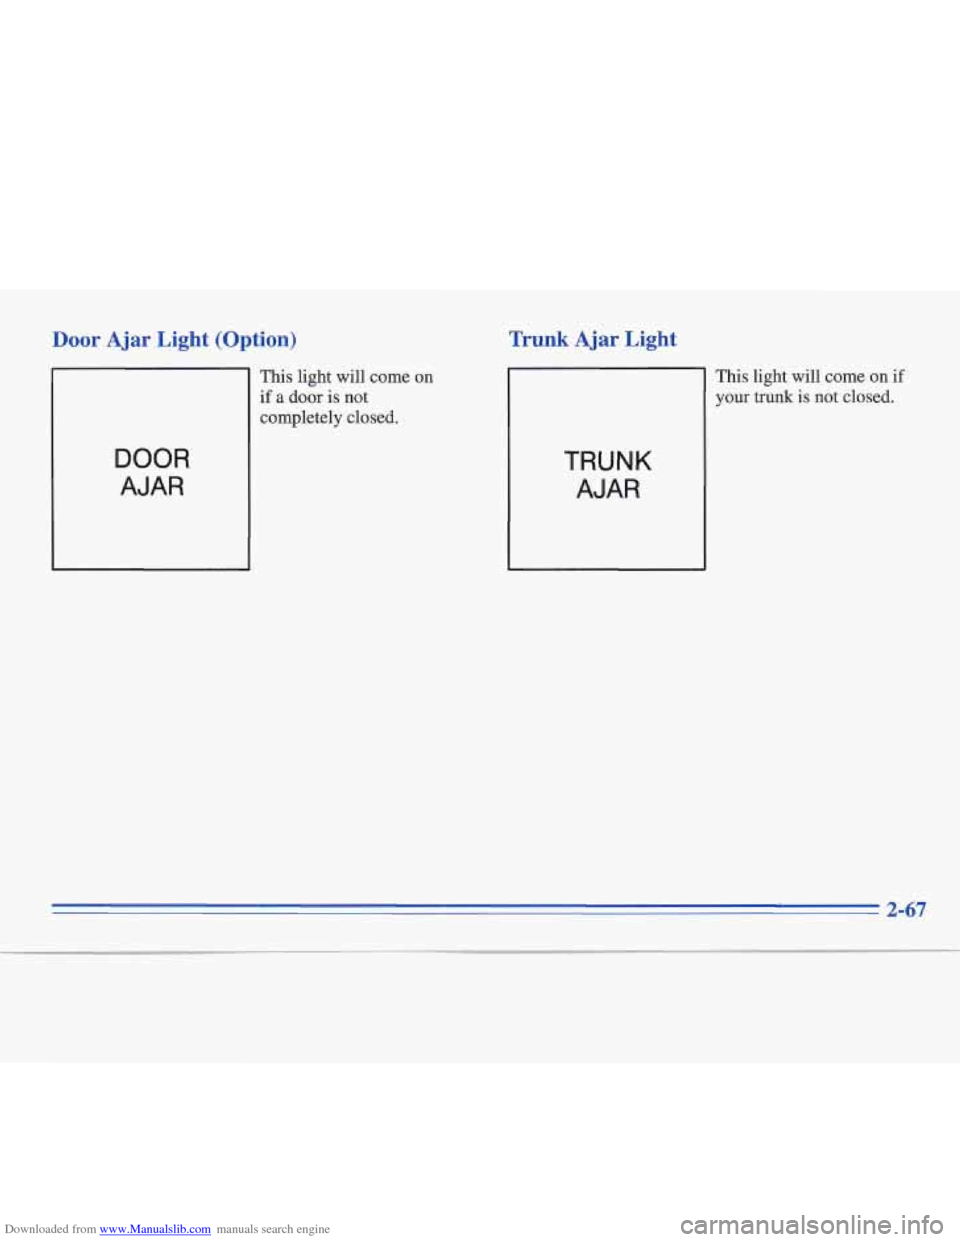
Downloaded from www.Manualslib.com manuals search engine Door Ajar Light (Op
DOOR
AJAR
tion)
This light will come on
if a door is not
completely closed.
Trunk Ajar Light
This
light will come on if
your trunk is not closed.
TRUNK
AJAR
2-67
Page 132 of 306
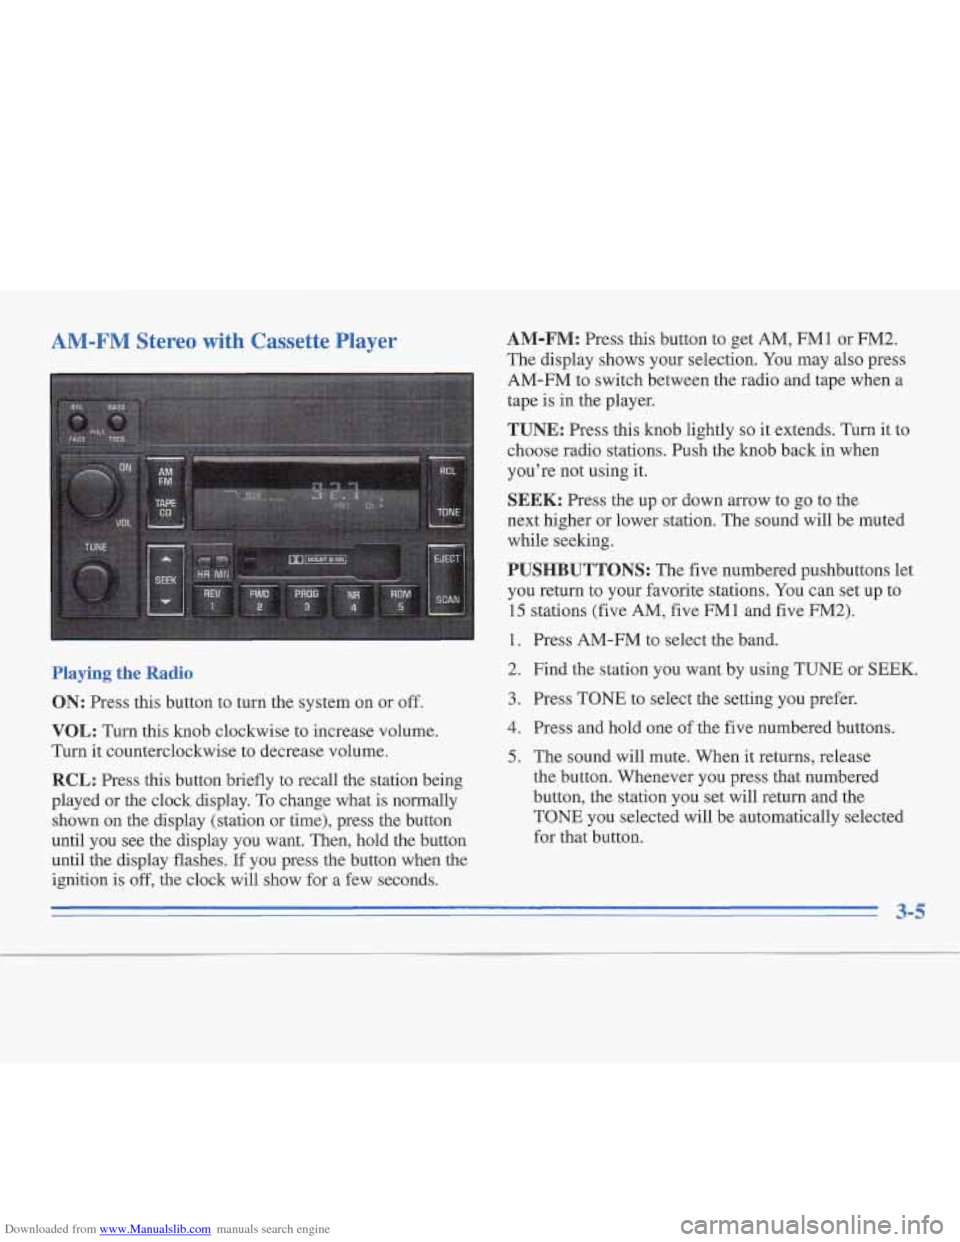
Downloaded from www.Manualslib.com manuals search engine AM-FM Stereo with Cassette Player
Playing the Radio
ON: Press this button to turn the system on or off.
VOL: Turn this knob clockwise to increase volume.
Turn it counterclockwise to decrease volume.
RCL: Press this button briefly to recall the station being
played or the clock display. To change what is normally
shown
on the display (station or time), press the button
until you see the display you want. Then, hold the button
until the display flashes.
If you press the button when the
ignition
is off, the clock will show for a few seconds.
AM-FM: Press this button to get AM, FM1 or FM2.
The display shows your selection. You may also press
AM-FM to switch between the radio and tape when a
tape
is in the player.
TUNE: Press this knob lightly so it extends. Turn it to
choose radio stations. Push the knob back in when
you’re not using it.
SEEK: Press the up or down arrow to go to the
next higher or lower station. The sound will be muted
while seeking.
PUSHBUTTONS: The five numbered pushbuttons let
you return to your favorite stations. You can set up to
15 stations (five AM, five FMl and five FM2).
1. Press AM-FM to select the band.
2. Find the station you want by using TUNE or
SEEK.
3. Press TONE to select the setting you prefer.
4. Press and hold one of the five numbered buttons.
5. The sound will mute. When it returns, release
the button. Whenever you press that numbered
button,
the station you set will return and the
TONE you selected will be automatically selected
for that button.
3-5
Page 133 of 306
Downloaded from www.Manualslib.com manuals search engine TONE: This feature allows you to choose preset treble
and bass equalization settings designed for jazz, vocal,
pop, rock and classical stations. JAZZ will appear on the
display when you first press TONE. Each time you press
it, another setting will appear on the display. Press
it
again after classic appears, and MANUAL will appear.
Tone control will return to the TREB and BASS knobs.
Also, if you use the TREB and BASS knobs, control
will return to them and MANUAL will appear.
SCAN: Press and release this button to listen to stations
for a few seconds. The radio will go to a station, stop for
a few seconds, then go on to the next station. Press
SCAN again to stop scanning. The sound will be muted
while scanning, and SCAN will appear on the display. If
you press SCAN
for more than two seconds, the radio
will change to PSCAN mode. PSCAN will appear on
the display.
PSCAN: Press SCAN for more than two seconds for
PSCAN to appear on the display. The radio will go to
the first preset station, stop for a few seconds, then
go to the next preset station. Press SCAN again to
stop scanning.
BASS: Press this knob lightly so it extends. Turn the
knob clockwise to increase bass and counterclockwise to
decrease bass. The middle position is a detent. Push the
knob back in when you’re not using
it.
TREB: Press this knob lightly so it extends. Then pull
the knob all the way out. Turn it clockwise to increase
treble and counterclockwise to decrease treble. The
middle position is a detent. Push the knob back in when
you’re not using it.
BAL: Press this knob lightly so it extends. Turn the
knob to move the sound to the left or right speakers. The
middle position is a detent and balances the speakers.
Push the knob back in when you’re not using it.
FADE: Press this knob lightly so it extends. Then pull
the knob all the way out. Turn it to move the sound to
the front or rear speakers. The middle position is a
detent and balances the speakers. Push the knob back in
when you’re not using it.
Playing a Cassette Tape
The longer side with the tape visible should face to the
right. If the ignition is on, but the radio
is off, the tape
will begin playing. If you hear nothing or hear a garbled
sound the tape may not be in squarely. Press EJECT to
remove the tape and start over.
3-6
Page 136 of 306
Downloaded from www.Manualslib.com manuals search engine RCL: Press this button briefly to recall the station being
played or
the clock display. To change what is normally
shown on
the display (station or time), press the button
until you see the &splay you want. Then, hold the button
until the display flashes.
If you press the button when the
ignition is
off, the clock will show for a few seconds.
AM-FM: Press this button to get AM, FMl or FM2.
The display shows your selection. You may also press
AM-FM to switch between the radio and tape when a
tape is in the player.
TUNE: Press this knob lightly so it extends. Turn it to
choose radio stations. Push the knob back in when
you're not using it.
SEEK: Press the up or down arrow to go to the
next higher or lower station. The sound will be muted
while seeking.
PUSHBUTTONS: The five numbered pushbuttons let
you return to your favorite stations. You can set up to
15 stations (five AM, five FM1 and five
FM2).
1. Press AM-FM to select the band.
2. Find the station you want by using TUNE or SEEK.
3. Press TONE to select the setting you prefer.
4. Press and hold one of the five numbered buttons.
5. The sound will mute. When it returns, release
the button. Whenever you press that numbered
button, the station you set will return and the
TONE you selected will be automatically selected
for that button.
TONE: This feature allows you to choose preset treble
and bass equalization settings designed for jazz, vocal,
pop, rock and classical stations. JAZZ will appear on the
display when you first press TONE. Each time you press
it, another setting will appear on the display. Press
it
again after classic appears, and MANUAL will appear.
Tone control will return to the TREB and BASS knobs.
Also, if you use the TREB and BASS knobs, control
will return to them and MANUAL will appear.
SCAN: Press and release this button to listen to stations
for a few seconds. The radio will go to a station, stop for
a few seconds, then go on to the next station. Press
SCAN again to stop scanning. The sound will be muted
while scanning, and SCAN will appear on the display.
If
you press SCAN for more than two seconds, the radio
will change to PSCAN mode. PSCAN will appear on
the display.
PSCAN: Press SCAN for more than two seconds for
PSCAN to appear
on the display. The radio will go to the
first preset station, stop for a few seconds, then go to the
next preset station. Press SCAN again to stop scanning.
3-9