1996 CADILLAC FLEETWOOD ignition
[x] Cancel search: ignitionPage 117 of 306
Downloaded from www.Manualslib.com manuals search engine w
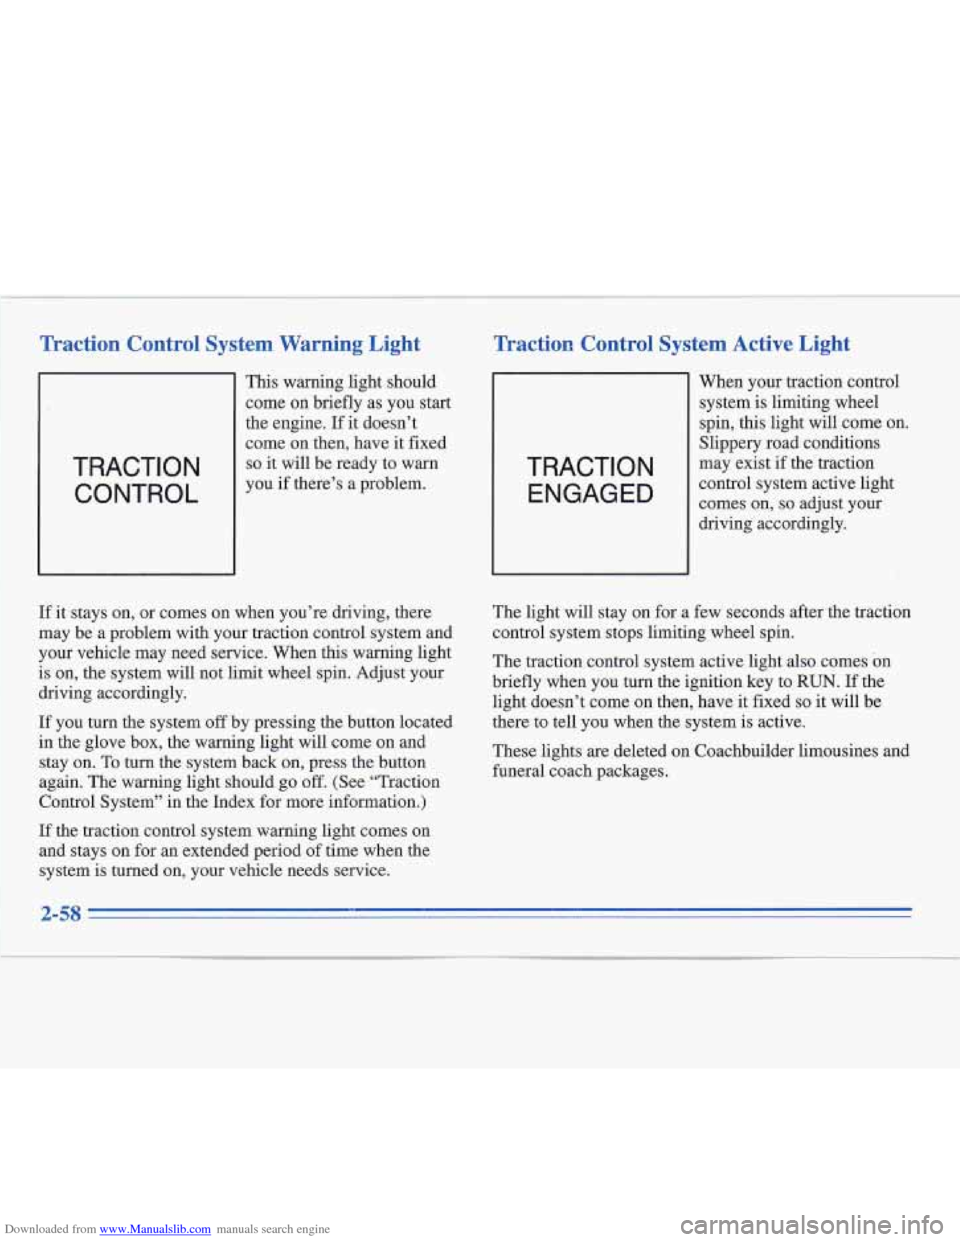
Traction Control System Warning Light
TRACTION CONTROL
This warning light should
come on briefly as you start
the engine. If it doesn’t
come on then, have it fixed
so it will be ready to warn
you if there’s a problem.
If it stays on, or comes on when you’re driving, there
may be a problem with your traction control system and
your vehicle may need service. When
this warning light
is on,
the system will not limit wheel spin. Adjust your
driving accordingly.
If you turn the system
off by pressing the button located
in the glove
box, the warning light will come on and
stay on.
To turn the system back on, press the button
again. The warning light should go
off. (See “Traction
Control System” in the Index for more information.)
If the traction control system warning light comes on
and stays on for an extended period of time when the
system is turned on, your vehicle needs service.
Traction Control System Active Light
TRACTION
ENGAGED
When your traction control
system
is limiting wheel
spin, this light will come on.
Slippery road conditions
may exist
if the traction
control system active light
comes on,
so adjust your
driving accordingly.
The light will stay on for a few seconds after the traction
control system stops limiting wheel spin.
The traction control system active light also comes on
briefly when you turn the ignition key to
RUN. If the
light doesn’t come on then, have it fixed so it will be
there to tell you when the system is active.
These lights are deleted on Coachbuilder limousines and
funeral coach packages.
2-58
Page 119 of 306
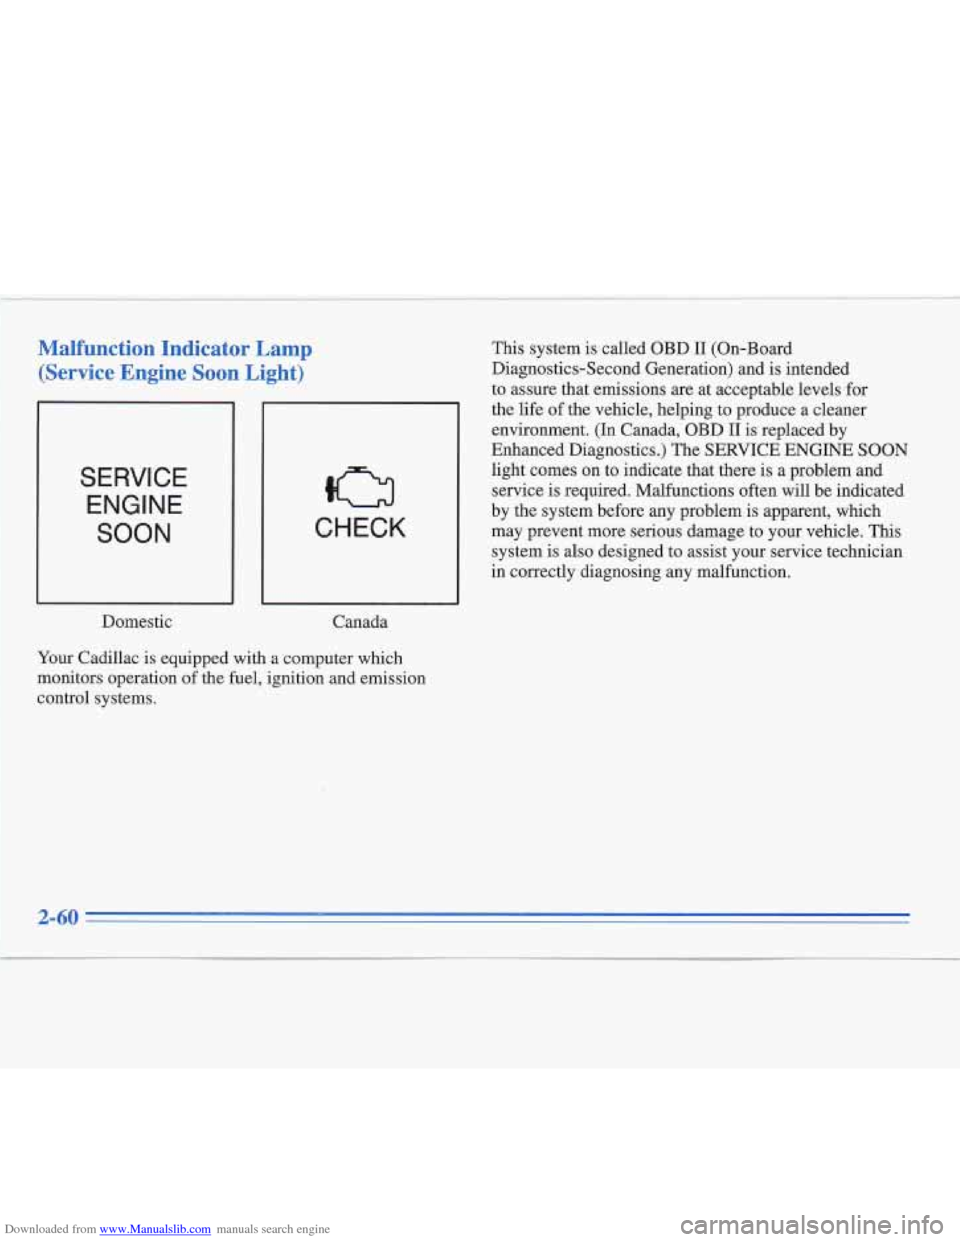
Downloaded from www.Manualslib.com manuals search engine Malfunction Indicator Lamp (Service Engine Soon
Light)
SERVICE
ENGINE
SOON CHECK
Domestic Canada
Your Cadillac is equipped with a computer which
monitors operation of the fuel, ignition and emission
control systems. This system
is called OBD
II (On-Board
Diagnostics-Second Generation) and is intended
to assure that emissions
are at acceptable levels for
the life
of the vehicle, helping to produce a cleaner
environment. (In Canada, OBD
I1 is replaced by
Enhanced Diagnostics.) The SERVICE ENGINE
SOON
light comes on to indicate that there is a problem and
service is required. Malfunctions often will be indicated
by the system before any problem is apparent, which
may prevent more serious damage to your vehicle. This
system is also designed to assist your service technician
in correctly diagnosing any malfunction.
.I
2-60
Page 120 of 306
Downloaded from www.Manualslib.com manuals search engine NOTICE:
If you keep driving your vehicre with this light
on, after a while, your emission controls may not
work as well, your fuel economy may not be as
good and your engine may not run as smoothly.
This could lead to costly repairs that may not be
covered by your warranty.
This light should come on, as a check to show you it is
working, when the ignition is on and the engine is not
running.
If the light doesn’t come on, have it repaired.
This light will also come on during a malfunction in one
of two ways:
Light Flashing -- A misfire condition has been
detected. A misfire increases vehicle emissions and
may damage the emission control system on your
vehicle. Dealer or qualified service center diagnosis and service is required.
Light On Steady -- An emission control system
malfunction has been detected on your vehicle.
Dealer or qualified service center diagnosis and
service may
be required. The following
may prevent more serious damage to
your vehicle:
0 Reduce vehicle speed.
0 Avoid hard accelerations.
0 Avoid steep uphill grades.
0 If towing a trailer, reduce the amount of cargo being
hauled as soon as it is possible.
If the light stops flashing and remains on steady, see “If
the Light Is On Steady” following.
If the light continues to flash, when it is safe to do so,
stop the vehicle. Put your vehicle in PARK (P). Turn the
key
off, wait at least 10 seconds and restart the engine.
If the light remains on steady, see
“If the Light Is On
Steady” following.
If the light is still flashing follow the
previous steps, and drive the vehicle to your dealer or
qualified service center for service.
Page 124 of 306
Downloaded from www.Manualslib.com manuals search engine After changing the engine oil, the system must be reset.
With the ignition key in the
RUN position but the engine
off, fully push and release the accelerator pedal three
times within five seconds. If the
CHANGE OIL light
flashes two times, the system is reset. However,
if the
light comes on and stays on for five seconds, it did not
reset. You’ll need to reset the system again.
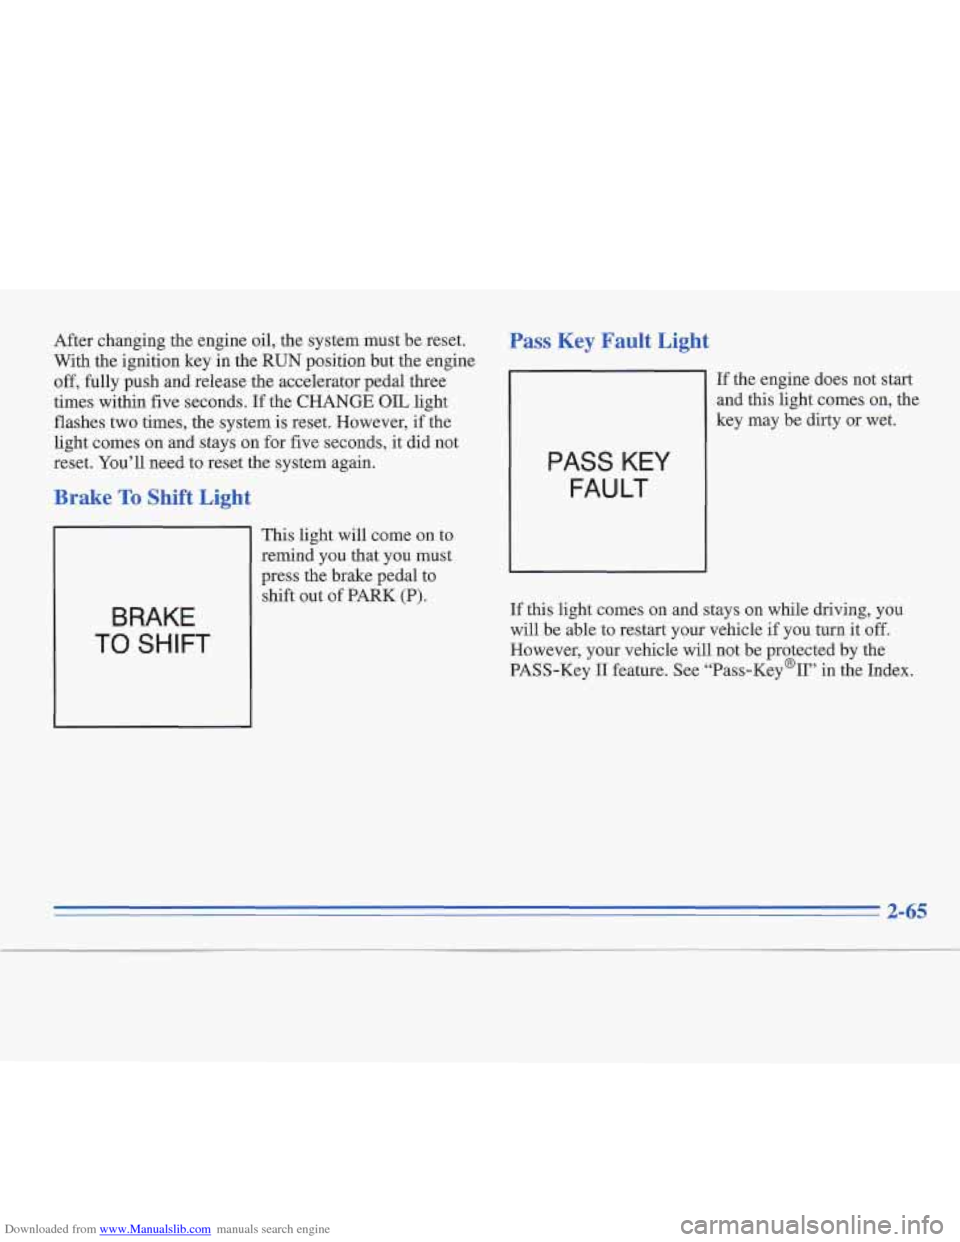
Brake To Shift Light
BRAKE
TO SHIFT
This light will come on to
remind you that you must
press the brake pedal to
shift out
of PARK (P).
Pass Key Fault Light
PASS KEY
FAULT
If the engine does not start
and this light comes on, the
key may be dirty or wet.
If this light comes
on and stays on while driving, you
will be able to restart your vehicle
if you hrrn it off.
However, your vehicle will not be protected by the
PASS-Key
I1 feature. See “Pass-Key%’’ in the Index.
Page 127 of 306
Downloaded from www.Manualslib.com manuals search engine Fuel Gage
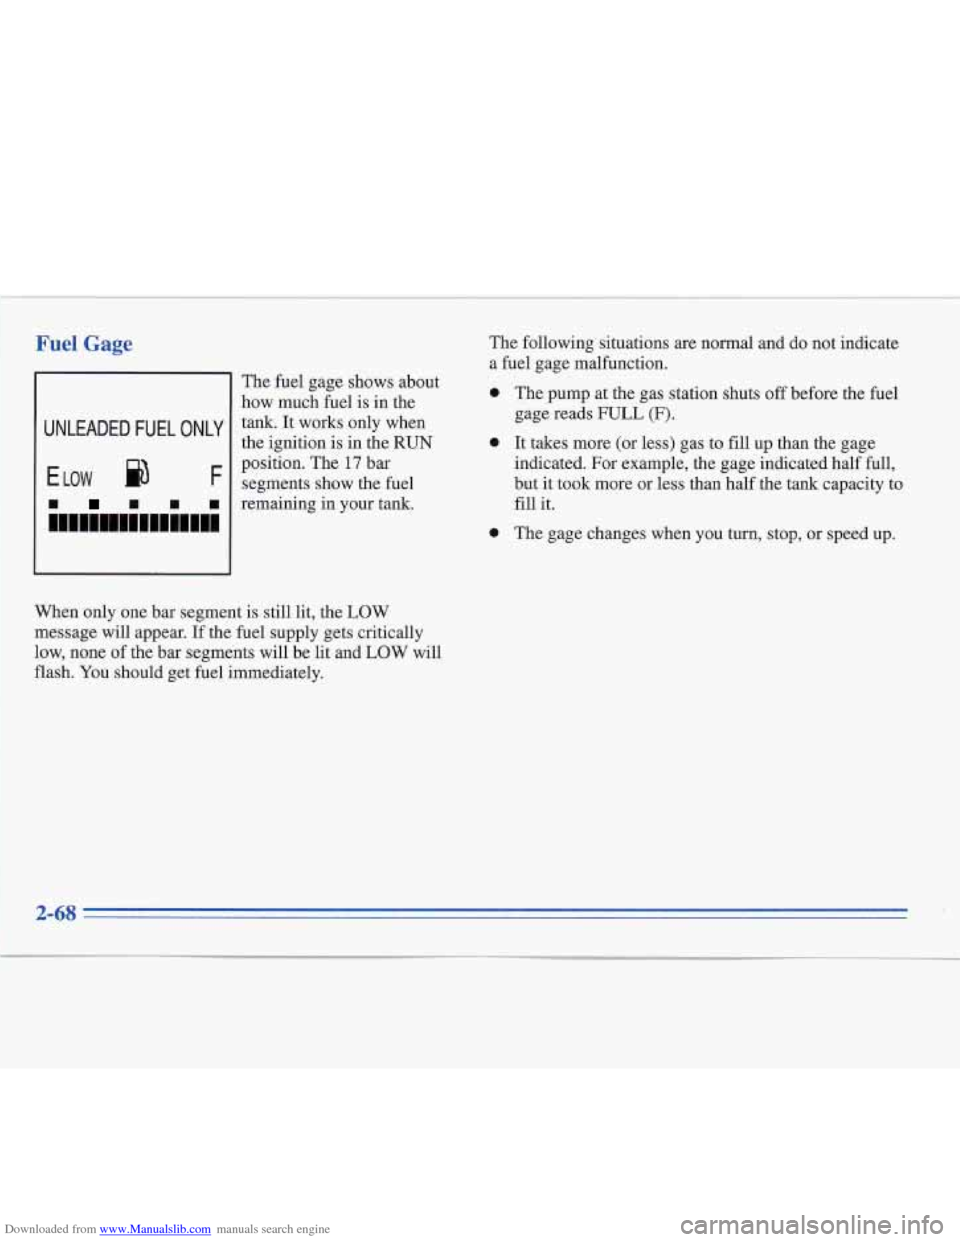
The fuel gage shows about
how much fuel is in the The
following situations
are normal and do not indicate
a
fuel gage malfunction.
a
I UNLEADED FUEL ONLY I tank. It works only when
the ignition is in the RUN
position. The 17 bar
segments show the fuel
-
I I I I remaining in your tank.
~wmmmnrn
When only one bar segment is still lit, the LOW
message will appear. If the
fuel supply gets critically
low, none of the bar segments will be lit and LOW will
flash. You should get fuel immediately.
a
0
The pump at the gas station shuts off before the fuel
gage reads FULL (F).
It takes more (or less) gas to fill up than the gage
indicated. For example, the gage indicated half full,
but it took more or less than half the tank capacity to
fill it.
The gage changes when you turn,
stop, or speed up.
Page 129 of 306
Downloaded from www.Manualslib.com manuals search engine 1
OUT TEMP: Press this to display the outside
temperature. Press it again to return to the regular
system display.
TEMP: This sets the interior temperature you want.
Press the lower portion to lower the inside temperature
setting. Press the upper portion to raise the temperature
setting. Once you set the temperature, the system will
automatically maintain the set temperature.
You can change the temperature from
65 OF (1 8 O C) to
85 OF (29"C), one degree at a time. You may also choose
60 OF ( 16 O C) for maximum cooling or 90 OF (33 O C) for
maximum heating. The fan will stay on high speed
unless you select a different speed. In maximum heating,
most of the air will flow out the heater outlets. In
maximum cooling, the system will recirculate the air
inside your vehicle instead of pulling air from outside.
OFF: This turns off anything set in the ECC, but air will
flow through your Cadillac.
ECON: Use this in cold or cool weather to save fuel. It
won't cool or remove humidity from the air. However,
the system will try to keep the air at the chosen
temperature. If it's
so warm outside that you need to
cool the air, use AUTO.
AUTO: With this setting, the system automatically
controls the temperature, air distribution and fan
speeds. In cold conditions, the fan will not come on
until the system senses that the engine has started to warrn up. This prevents cold air from blowing on you
and your passengers.
FAN: The fan speed is controlled automatically if
you have the ECC set
on AUTO. However, if you want
the fan to run at a lower speed, press the lower portion
of the fan switch.
If you want the blower to run at a fixed higher speed,
press the upper portion
of the fan switch until you see
HI on the display.
If you want the fan to run at a fixed low speed, press the
switch until
LO is shown on the display.
If you want the fan speed to be automatic but you like
the fan to be higher or lower than the AUTO settings,
just press the switch until either HI AUTO or AUTO
LO
is displayed.
If the Fahrenheit
(F") or Celsius (C")
flash, or flashes when you turn
on the symbol begins to
ignition, it
indicates an electrical problem with your air
conditioning system. The flashing will continue for
about two minutes. It means you should have your
system serviced.
Page 131 of 306
Downloaded from www.Manualslib.com manuals search engine Defogging and Defrosting
DEFROST: To get fog or ice off the windshield,
press this button. The fan comes on at a set speed or you
can choose another fan speed. It will work better if you
first clear any
ice and snow from the hood and the air
inlet between the hood and the windshield.
DEFOG: Press this button to divide the air between the
windshield and the heater outlets. This is useful when
fog appears
on the windshield or side glass due to a
sudden rain or snowy conditions.
Rear Window Defogger
DEFOG: To get fog or ice off the rear window,
press this button.
It warms your rear window and both
outside rearview mirrors.
To turn it off, press the button again.
If you still need to use it, press the button again. After
10 minutes, it will go off by itself,
I NOTICE:
Don’t use a razor blade or something else sharp
on the inside
of the rear window. If you do, you
could cut or damage the warming grid, and the
repairs wouldn’t be covered by your warranty.
Audio Systems
Your Delco@ audio system has been designed to operate
easily and give years of listening pleasure. You will get
the most enjoyment out
of it if you acquaint yourself
with it first. Find out what your Delco system can
do
and how to operate all its controls, to be sure you’re
getting the most out of the advanced engineering that
went into it.
Setting the Clock
You can set the clock with the ignition on or off. Press
and hold
HR until the correct hour appears. The letter A
or P may appear on the display for AM or PM. Then,
press and hold MN until the correct minute appears.
3-4
Page 132 of 306
Downloaded from www.Manualslib.com manuals search engine AM-FM Stereo with Cassette Player
Playing the Radio
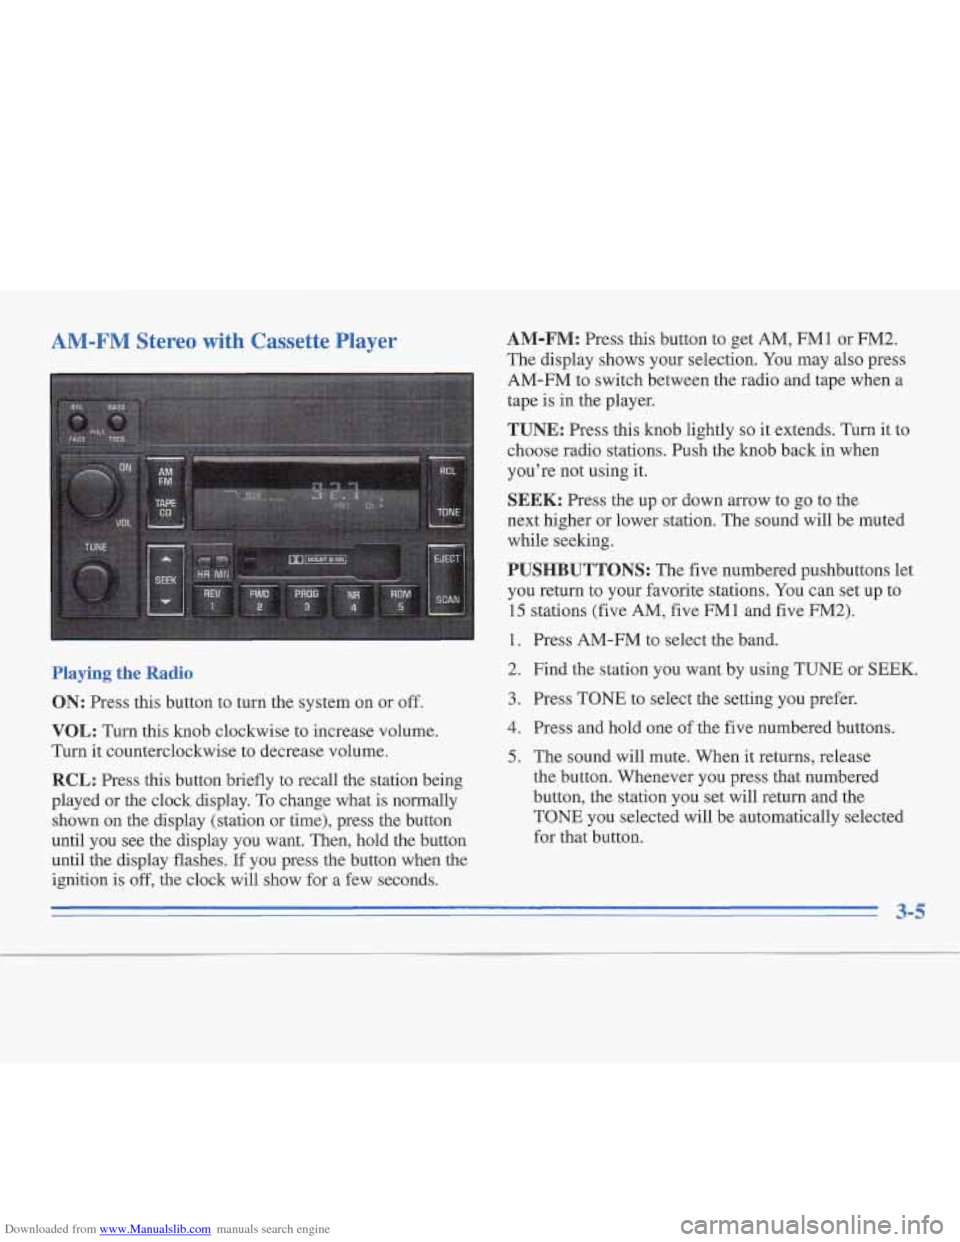
ON: Press this button to turn the system on or off.
VOL: Turn this knob clockwise to increase volume.
Turn it counterclockwise to decrease volume.
RCL: Press this button briefly to recall the station being
played or the clock display. To change what is normally
shown
on the display (station or time), press the button
until you see the display you want. Then, hold the button
until the display flashes.
If you press the button when the
ignition
is off, the clock will show for a few seconds.
AM-FM: Press this button to get AM, FM1 or FM2.
The display shows your selection. You may also press
AM-FM to switch between the radio and tape when a
tape
is in the player.
TUNE: Press this knob lightly so it extends. Turn it to
choose radio stations. Push the knob back in when
you’re not using it.
SEEK: Press the up or down arrow to go to the
next higher or lower station. The sound will be muted
while seeking.
PUSHBUTTONS: The five numbered pushbuttons let
you return to your favorite stations. You can set up to
15 stations (five AM, five FMl and five FM2).
1. Press AM-FM to select the band.
2. Find the station you want by using TUNE or
SEEK.
3. Press TONE to select the setting you prefer.
4. Press and hold one of the five numbered buttons.
5. The sound will mute. When it returns, release
the button. Whenever you press that numbered
button,
the station you set will return and the
TONE you selected will be automatically selected
for that button.
3-5