1996 CADILLAC FLEETWOOD check engine
[x] Cancel search: check enginePage 20 of 306
Downloaded from www.Manualslib.com manuals search engine Head Restraints
Slide the head restraint up or down so that the top of the
restraint is closest to the top
of your ears. This position
reduces the chance of
a neck injury in a crash.
On some models, the head restraints tilt forward and
rearward also.
Safety Belts: They’re for Everyone
This part of the manual tells you how to use safety belts
properly. It also tells you some things you should not do
with safety belts.
And it explains the Supplemental Inflatable Restraint
(SIR), or air bag system.
Don’t let anyone ride where he or she can’t wear
a safety belt properly.
If you are in a crash and
you’re not wearing
a safety belt, your injuries
can be much worse. You can hit things inside the
vehicle or be ejected from it. You can be seriously
injured or killed. In the same crash, you might
not be
if you are buckled up. Always fasten your
safety belt, and check that your passengers’ belts
are fastened properly too.
Your vehicle has a light
that comes on as a reminder
to buckle up. (See “Safety
Belt Reminder Light” in the Index.)
Page 34 of 306
Downloaded from www.Manualslib.com manuals search engine An inflating air bag can seriously injure small
children. Always secure chiIdren properly in your
vehicle.
To read how, see the part of this manual
called “Children” and the caution label
on the
right front passenger’s safety belt.
AIR
BAG
There is an air bag readiness
light
on the instrument
panel, which shows
AIR
BAG.
The system checks the air bag’s electrical system for
malfunctions. The light tells you if there is an electrical
problem. See “Air Bag Readiness Light” in the Index
for more information.
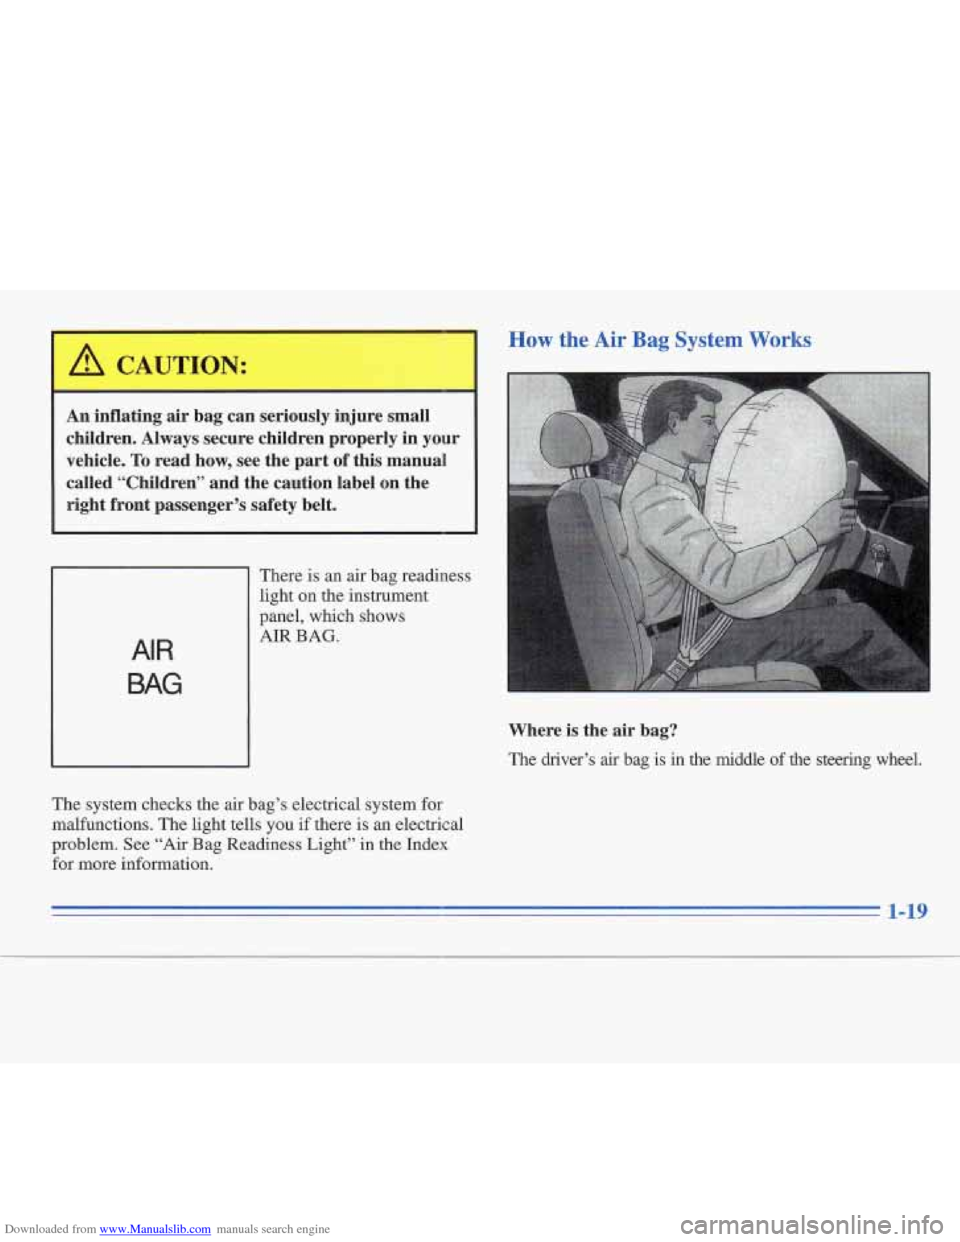
How the Air Bag System Works
Where is the air bag?
The driver’s air bag is in the middle of the steering wheel.
1-19
Page 59 of 306
Downloaded from www.Manualslib.com manuals search engine Safety Belt Extender
If the vehicle’s safety belt will fasten around you, you
should use
it.
But if a safety belt isn’t long enough to fasten, your
dealer will order you an extender. It’s free. When you
go
in to order it, take the heaviest coat you will wear, so the
extender will be long enough for you. The extender will
be just for you, and just for the seat in your vehicle that
you choose. Don’t let someone else use it, and use it
only for the seat it
is made to fit. To wear it, just attach it
to the regular safety belt.
Checking Your Restraint Systems
Now and then, make sure the safety belt reminder light
and all your belts, buckles, latch plates, retractors and
anchorages
are working properly. Look for any other
loose or damaged safety belt system parts. If you see
anything that might keep a safety belt system from
doing its job, have it repaired.
Torn or frayed safety belts may not protect you in a
crash. They can rip apart under impact forces.
If a belt is
torn or frayed, get a new one right away.
Also look for any opened
or broken air bag covers, and
have them repaired or replaced. (The air bag system
does not need regular maintenance.)
Replacing Restraint System Parts
After
a Crash
If you’ve had a crash, do you need new belts?
After a very minor collision, nothing may be necessary.
But if the belts were stretched, as they would be if worn
during
a more severe crash, then you need new belts.
If belts are cut or damaged, replace them. Collision
darnage
also may mean you will need to have safety belt
or seat parts repaired or replaced. New parts and repairs
may be necessary even if the belt wasn’t being used at
the time of the collision.
If an air bag inflates, you’ll need to replace
air bag
system parts. See the
part on the air bag system earlier in
this section.
1-44
Page 65 of 306

Downloaded from www.Manualslib.com manuals search engine 'Keyless Entry System
With this feature you can
turn on your interior lamps,
lock and unlock your doors
or unlock your trunk G-om
up
to 30 feet (9 m) away
using the key chain
transmitter supplied with
your vehicle.
Your Keyless Entry System operates on
a radio
frequency subject to Federal Communications
Commission (FCC) Rules.
This device complies with Part 15 of the FCC Rules.
Operation is subject to the following two conditions:
(1) This device may not cause harmful interference, and
(2) This device must accept any interference received,
including interference that may cause undesired operation.
Should interference
to this system occur, try this:
0 Check to determine if battery replacement is necessary.
See the instructions on battery replacement.
0 Check the distance. You may be too far from your
vehicle. This product has a maximum range.
Check the location. Other vehicles or objects may be
blocking the signal.
See your Cadillac dealer or a qualified technician
for service.
Changes or modifications to this system by other than an authorized service facility could void authorization to
use this equipment.
2-6
Page 71 of 306
Downloaded from www.Manualslib.com manuals search engine Testing the Alarm
1.
2.
3.
From inside the vehicle, roll down your window,
then get out of your vehicle, keeping the door open.
From outside the vehicle with the door open, lock
the vehicle using the power door lock or the Keyless
Entry System and close the door.
Once the interior lamps are
off, reach in and unlock
the door using the manual lock. Open the door and
the horn will sound and your headlamps will flash.
If the alarm does not sound when it should, check to see if
the horn works. The
horn fuse may be blown. To replace
the fuse, see “Fuses and Circuit Breakers” in the Index. \
To reduce the possibility of theft, always arm the
Theft-Deterrent System when leaving your vehicle.
PASS-K~J~ 11
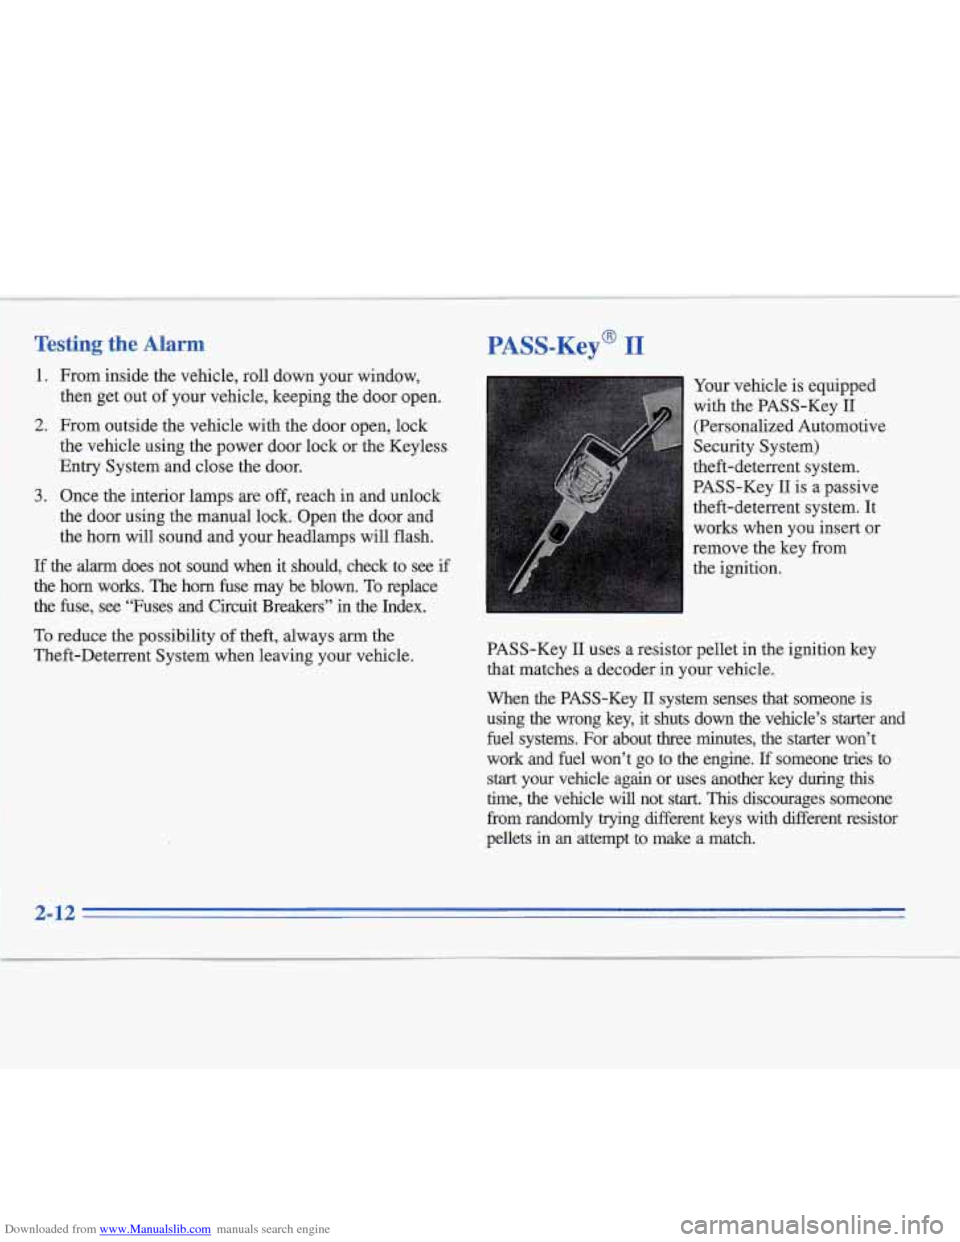
Your vehicle is equipped
with the PASS-Key
I1
(Personalized Automotive
Security System)
theft-deterrent system.
PASS-Key
I1 is a passive
theft-deterrent system. It
works when you insert or
remove the key from
the ignition.
PASS-Key
II uses a resistor pellet in the ignition key
that matches a decoder in your vehicle.
When the PASS-Key
11 system senses that someone is
using the wrong key, it shuts down
the vehicle’s starter and
fuel systems. For about three minutes, the starter won’t
work and fuel won’t go to the engine.
If someone tries to
start your vehicle again or uses another key during this
time, the vehicle will not start. This discourages someone
from randomly trying different keys
with different resistor
pellets
in an attempt to make a match.
2-12
I
Page 72 of 306
Downloaded from www.Manualslib.com manuals search engine The ignition key must be clean and dry before it’s inserted
in the ignition or the engine may not start. If the engine
does not
start and the PASS KEY FAULT light comes on,
the key may be
drty or wet. Turn the ignition off.
Clean and dry the key. Wait about three minutes and try
again. The PASS KEY FAULT light may remain on
during this time. If the starter still won’t work, and the
key appears to be clean and dry, wait about three
minutes and try another ignition key. At this time, you
may also want to check the fuse (see “Fuses and Circuit
Breakers” in the Index).
If the starter won’t work with
the other key, your vehicle needs service.
If your vehicle
does start, the first ignition key may be faulty. See your
Cadillac dealer or a locksmith who can service the
PASS-Key
II.
If you accidentally use a key that has a damaged or
missing resistor pellet, the starter won’t work and the
PASS
KEY FAULT light will flash. But you don’t have
to wait three minutes before trying another ignition key.
See your Cadillac dealer or a locksmith who can service
the PASS-Key
11 to have a new key made.
If you’re ever driving and the PASS KEY FAULT light
comes on and stays on, you will be able to restart your
engine if you turn
it off. Your PASS-Key I1 system,
however, is not working properly and must be serviced
by your Cadillac dealer. Your vehicle
is not protected by
the PASS-Key
11 system.
If
you lose or damage a PASS-Key 11 ignition key, see
your Cadillac dealer or a locksmith who can service
PASS-Key
11 to have a new key made.
2-13
Page 76 of 306
Downloaded from www.Manualslib.com manuals search engine Starting Your 5.7 Liter LTl Engine
1. Without pushing the accelerator pedal, turn the ignition key to START. When the engine starts, let
go of
the key. The idle speed will go down as your
engine gets warm.
NOTICE:
Holding your key in START for longer than
15 seconds at a time will cause your battery to be
drained much sooner. And the excessive heat can
damage your starter motor.
2. If it doesn’t start within 10 seconds, push the
accelerator pedal all the way to the floor, while you
hold the ignition key in START. When the engine
starts, let
go of the key and let up on the accelerator
pedal. Wait about
15 seconds between each try to
help avoid draining your battery.
When starting your engine in very cold weather (below
0°F or -18”C), do this:
1. With your foot off the accelerator pedal, turn the
ignition key to START and hold
it there. When the
engine starts, let
go of the key. Use the accelerator pedal
to maintain engine speed, if you have to, until
your engine has run for a while.
2. If your engine still won’t start (or starts but then
stops), it could be flooded with too much gasoline.
Try pushing your accelerator pedal all the way to the
floor and holding it there as you hold the key in
START for about three seconds.
If the vehicle starts
briefly but then stops again, do the same thing, but
this time keep the pedal down for five or six seconds.
This clears the extra gasoline from the engine.
NOTICE:
Your engine is designed to work with the
electronics in your vehicle.
If you add electrical
parts or accessories, you could change the way
the engine operates. Before adding electrical
equipment, check with your dealer.
If you don’t,
your engine might not perform properly.
If you ever have to have your vehicle towed, see
the part of this manual that tells how to do it
without damaging your vehicle. See “Towing
Your Vehicle” in the Index.
Page 90 of 306
Downloaded from www.Manualslib.com manuals search engine lhrr Signal and Lane Change Indicator
To signal a turn, move the lever all the way up or down.
When the turn is finished, the lever will return
automatically.
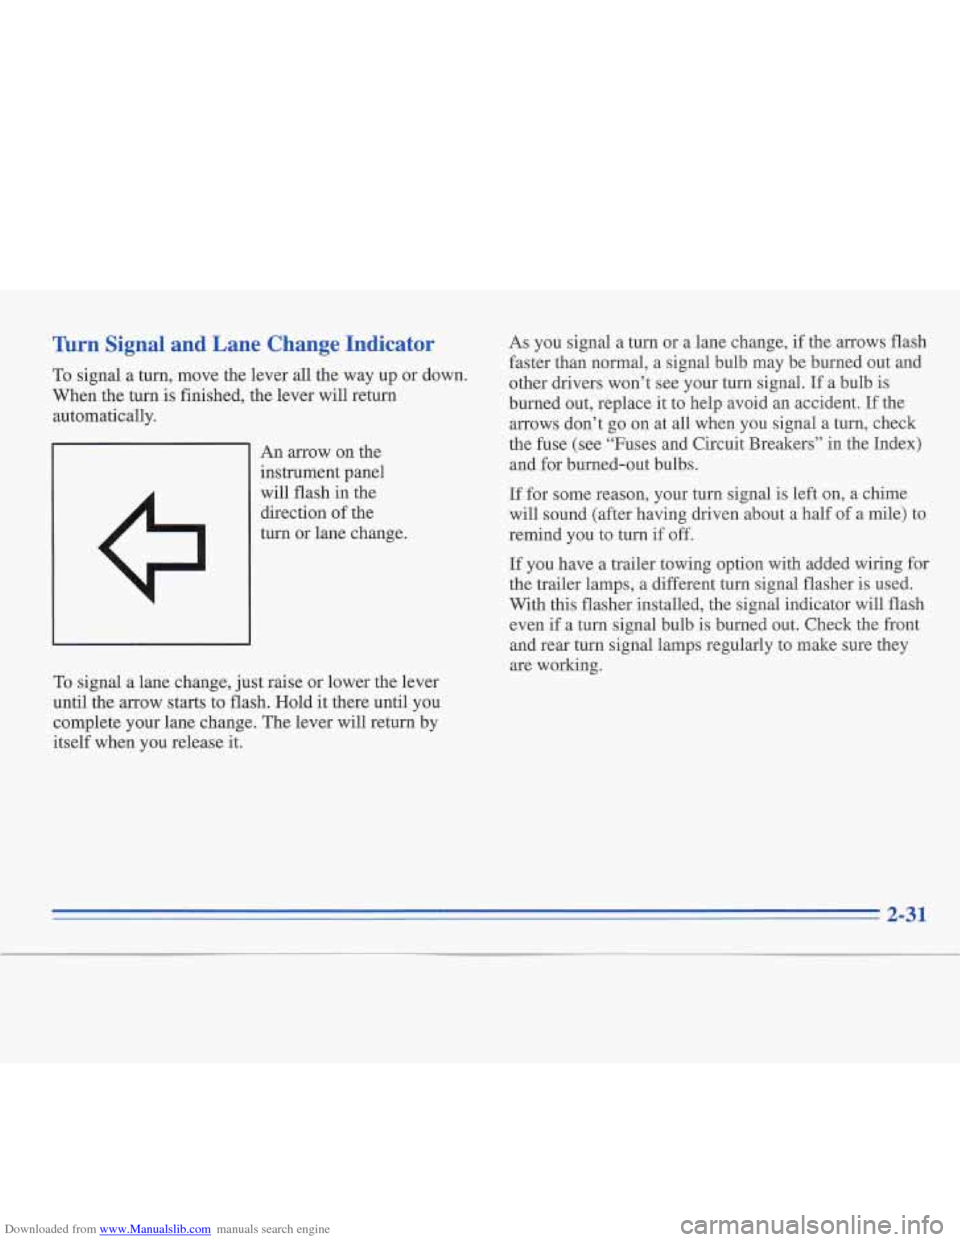
An arrow on the
instrument panel
will flash in the
direction of the
turn or lane change.
To signal a lane change, just raise or lower the lever
until the arrow starts to flash. Hold it there until you
complete your lane change. The lever will return by
itself when you release it. As you
signal a turn or a lane change, if the arrows flash
faster than normal, a signal bulb may be burned out and
other drivers won’t see your turn signal.
If a bulb is
burned out, replace it to help avoid an accident. If the
arrows don’t go on at all when you signal a turn, check
the fuse (see “Fuses and Circuit Breakers”
in the Index)
and for burned-out bulbs.
If for some reason, your turn signal
is left on, a chime
will sound (after having driven about
a half of a mile) to
remind you to turn if off.
If you have a trailer towing option with added wiring for
the trailer lamps, a different turn signal flasher
is used.
With this flasher installed, the signal indicator will flash
even if a turn signal bulb is burned out. Check the front
and rear turn signal lamps regularly to make sure they
are working.
2-31