1996 BUICK PARK AVENUE reset
[x] Cancel search: resetPage 66 of 388
Security Feedback
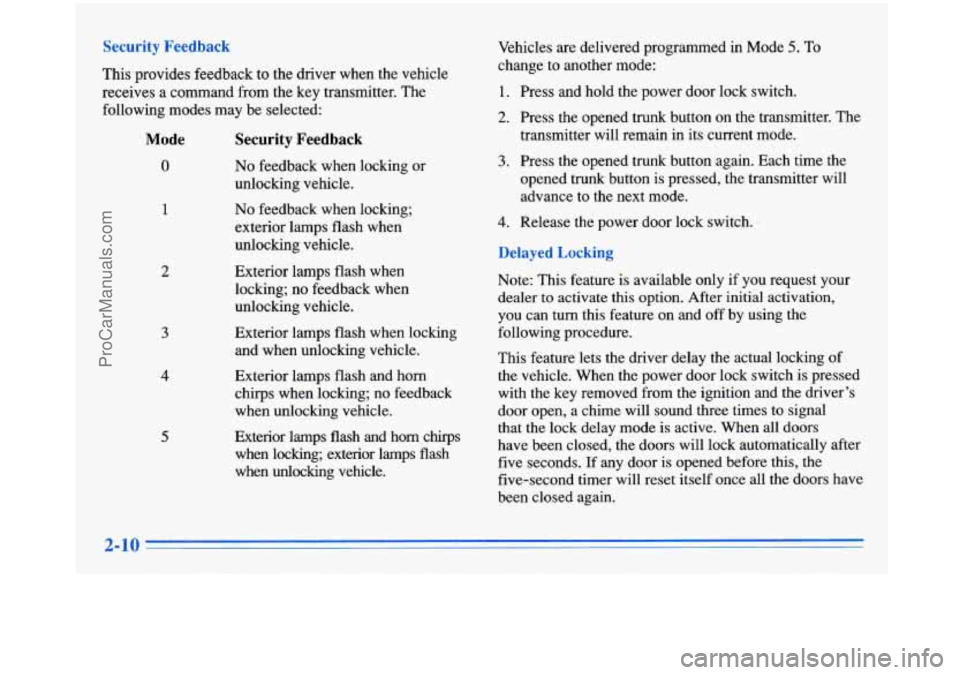
This provides feedback to the driver when the vehicle
receives
a command from the key transmitter. The
following modes may be selected:
Mode
0
1
2
3
4
5
Security Feedback
No feedback when locking or
unlocking vehicle.
No feedback when locking;
exterior lamps flash when
unlocking vehicle.
Exterior lamps flash when
locking; no feedback when
unlocking vehicle.
Exterior lamps flash when locking
and when unlocking vehicle.
Exterior lamps flash and horn
chirps when locking; no feedback
when unlocking vehicle.
Exterior lamps
flash and horn chlrps
when locking; exterior lamps flash
when
unlocking vehicle. Vehicles
are delivered programmed in Mode
5. To
change to another mode:
1. Press and hold the power door lock switch.
2. Press the opened trunk button on the transmitter. The
transmitter will remain in its current mode.
3. Press the opened trunk button again. Each time the
opened trunk button is pressed, the transmitter will
advance to the next mode.
4. Release the power door lock switch.
Delayed Locking
Note: This feature is available only if you request your
dealer to activate this option. After initial activation,
you can turn this feature on and off by using the
following procedure.
This feature lets the driver delay the actual locking of
the vehicle. When the power door lock switch is pressed
with the key removed from the ignition and the driver’s
door open, a chime will sound three times to signal
that the lock delay mode is active. When all doors
have been closed, the doors will lock automatically after
five seconds. If any door is opened before this, the
five-second timer will reset itself once all the doors have
been closed again.
ProCarManuals.com
Page 94 of 388
Windshield Washer
At the top of the multifunction lever there’s a paddle
with the word
PUSH on it. To spray washer fluid on the
windshield, push the paddle for less than a second. The
wipers will clear the window and then either stop or
return to your preset speed. For more washer cycles,
push and hold the paddle.
1
In freezing weather, don’t use your washer until
the windshield
is warmed. Otherwise the washer
fluid
can form ice on the windshield, blocking
your vision.
I
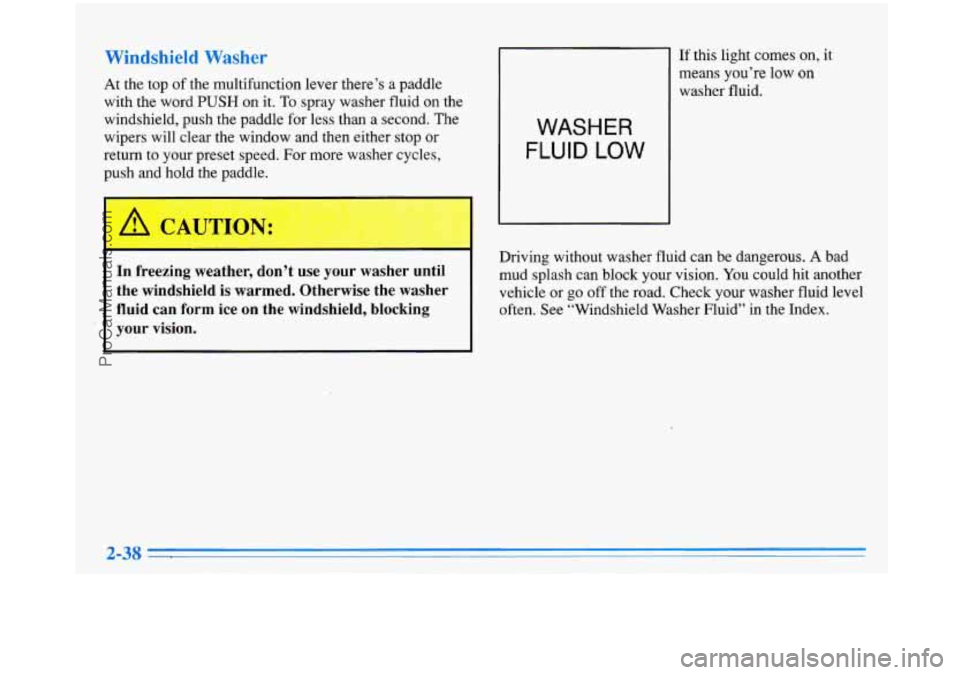
If this light comes on, it
means you’re low on
washer fluid.
WASHER
FLUID LOW
Driving without washer fluid can be dangerous. A bad
mud splash can block your vision.
You could hit another
vehicle or
go off the road. Check your washer fluid level
often. See “Windshield Washer Fluid” in the Index.
2-38
ProCarManuals.com
Page 97 of 388
Resuming a Set Speed
Setting the cruise control at a desired speed and then
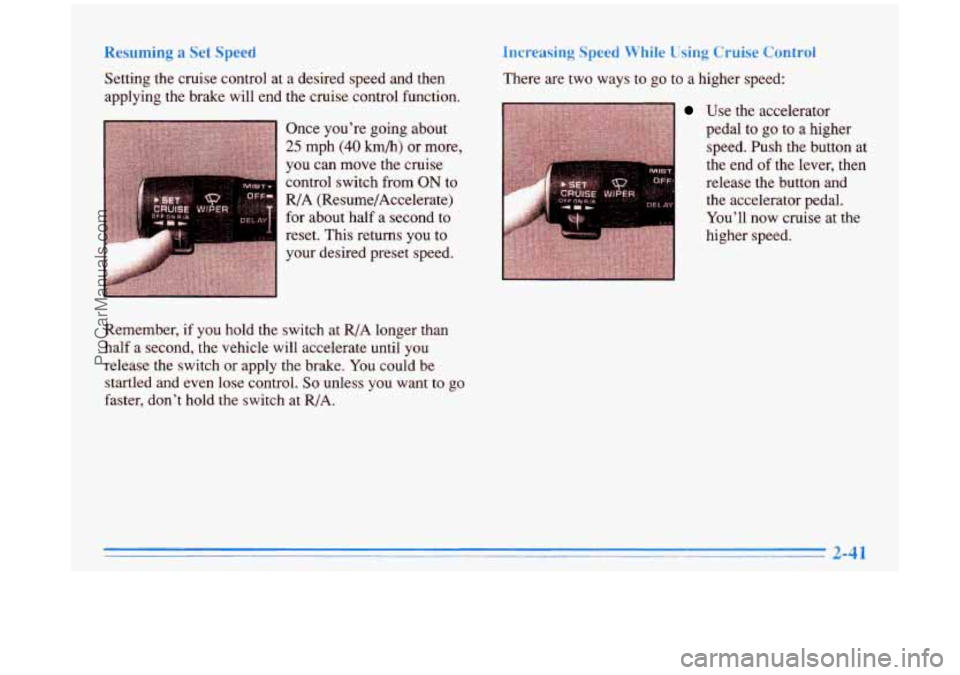
applying the brake will end the cruise control function. Once you’re going about
25 mph (40 h/h) or more,
you can move the cruise
control switch from
ON to
R/A (Resume/Accelerate)
for about half a second to
reset. This returns you to
your desired preset speed.
Remember,
if you hold the switch at R/A longer than
half a second, the vehicle will accelerate until you
release the switch or apply the brake. You could be
startled and even lose control.
So unless you want to go
faster, don’t hold the switch at R/A.
Increasing Speed While Using Cruise Control
There are two ways to go to a higher speed:
Use the accelerator
pedal to
go to a higher
speed. Ish the button at
the end of the lever, then
release the button and
1 the accelerator Dedal.
You’ll now c2se at the
higher speed.
ProCarManuals.com
Page 124 of 388
Speedometer and Odometer
Your speedometer lets you see your speed in both miles
per hour (mph) and kilometers per hour
(km/h). Your
odometer shows
how far your vehicle has been driven,
in either miles (used in the United States) or kilometers
(used in Canada).
Your Buick has a tamper-resistant odometer. If you see
bright silver lines between the numbers, probably
someone has tried to turn it back. The numbers may not
be true.
You may wonder what happens
if your vehicle needs a
new odometer installed. If possible, the new one has to
be set to the same reading the old one had. If
it can’t be,
then it’s set at zero and a label must be put on the
driver’s door to show the old mileage reading and when
the new one was installed.
Trip Odometer
A trip odometer can tell how far you’ve driven since
you last set it back to zero.
To reset it, push the button.
Tachometer (Option)
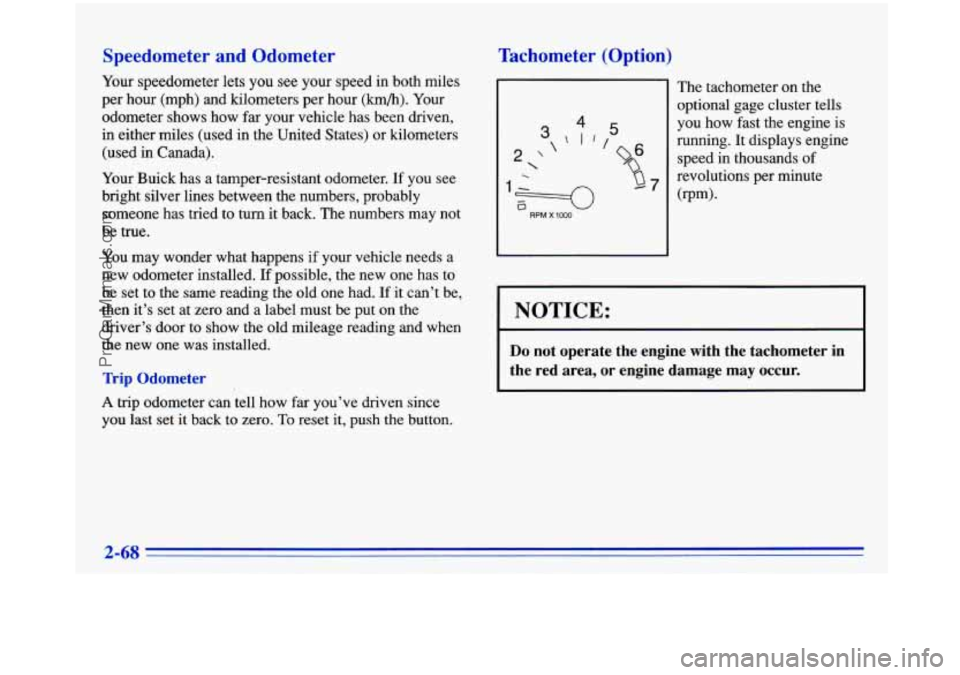
The tachometer on the
optional gage cluster tells
4
3 \I/
2‘ /
F==O
.
RPM X 1000
5
7
ybu how fast the engine is
running.
It displays engine
speed
in thousands of
revolutions per minute
(rpm).
NOTICE:
Do not operate the engine with the tachometer in
the red area, or engine damage may occur.
ProCarManuals.com
Page 128 of 388
Anti-Lock Brake System Warning Light
Your brake system may not be working properly
if the brake system warning light
is on. Driving
with the brake system warning light on can lead to an accident.
If the light is still on after you’ve
pulled
off the road and stopped carefully, have
the vehicle towed for service.
When the ignition is on, the brake system warning
light will also come on when you set your parking
brake.
The light will stay on if your parking brake
Soesn’t release fully.
If you try to drive off with the
?arking brake set, a chime will also come on until you
release the parking brake. If the light and chime stay on
after your parking brake is fully released, it means you
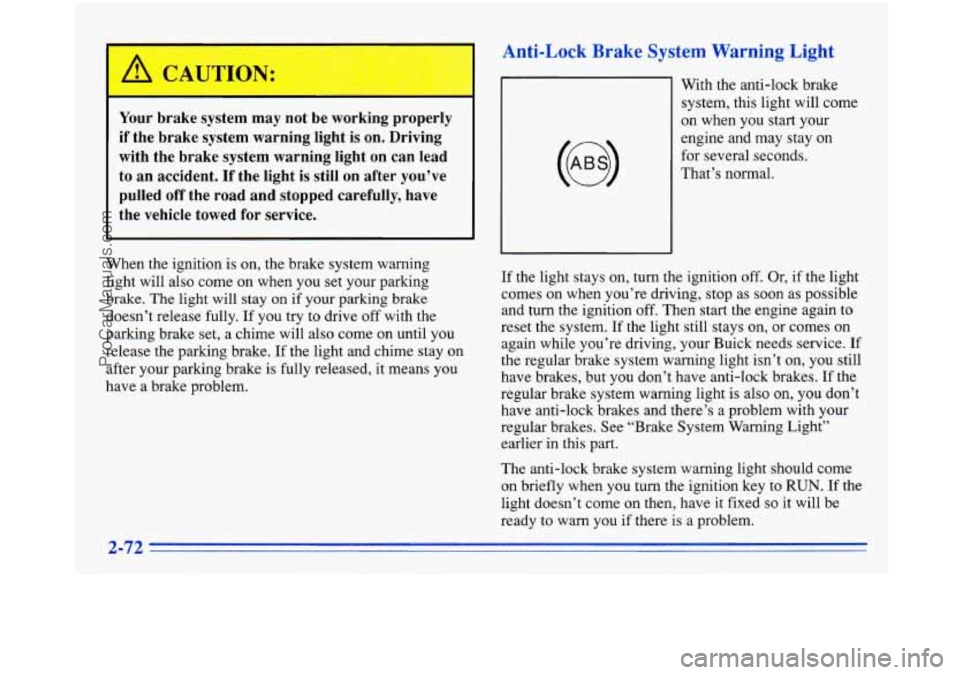
nave a brake problem. With the anti-lock brake
system, this light will come
on when you start your
engine and may stay on
for several seconds.
That’s normal.
If the light stays on, turn the ignition
off. Or, if the light
comes on when you’re driving, stop as soon as possible
and turn the ignition
off. Then start the engine again to
reset the system. If the light still stays on, or comes on
again while you’re driving, your Buick needs service. If
the regular brake system warning light isn’t
on, you still
have brakes, but you don’t have anti-lock brakes. If the
regular brake system warning light
is also on, you don’t
have anti-lock brakes and there’s a problem with your
regular brakes. See “Brake System Warning Light”
earlier in this
part.
The anti-lock brake system warning light should come
on briefly when you turn the ignition key to
RUN. If the
light doesn’t come on then, have it fixed
so it will be
ready to warn you if there is a problem.
2-72
ProCarManuals.com
Page 136 of 388
Change Oil Soon Light (Option)
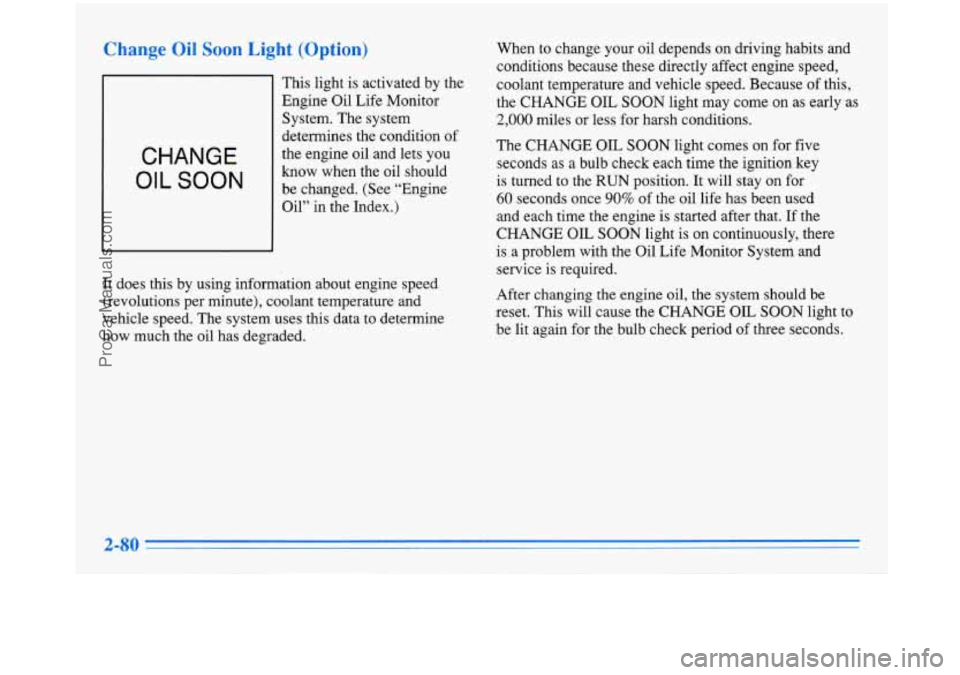
CHANGE
OIL SOON
This light is activated by the
Engine Oil Life Monitor
System. The system
determines the condition of
the engine oil and lets you
know when the oil should be changed. (See “Engine
Oil” in the Index.)
It does this by using information about engine speed
(revolutions per minute), coolant temperature and
vehicle speed. The system uses this data to determine
how much the oil has degraded. When to
change your oil depends on driving habits and
conditions because these directly affect engine speed,
coolant temperature and vehicle speed. Because of this,
the CHANGE OIL SOON light may come
on as early as
2,000 miles or less for harsh conditions.
The CHANGE
OIL SOON light comes on for five
seconds as a bulb check each time the ignition key
is turned
to the RUN position. It will stay on for
60 seconds once 90% of the oil life has been used
and each time the engine is started after that.
If the
CHANGE
OIL SOON light is on continuously, there
is a problem with the Oil Life Monitor System and
service is required.
After changing the engine oil, the system should be
reset. This will cause the CHANGE
OIL SOON light to
be lit again for the bulb check period
of three seconds.
2-80
ProCarManuals.com
Page 137 of 388
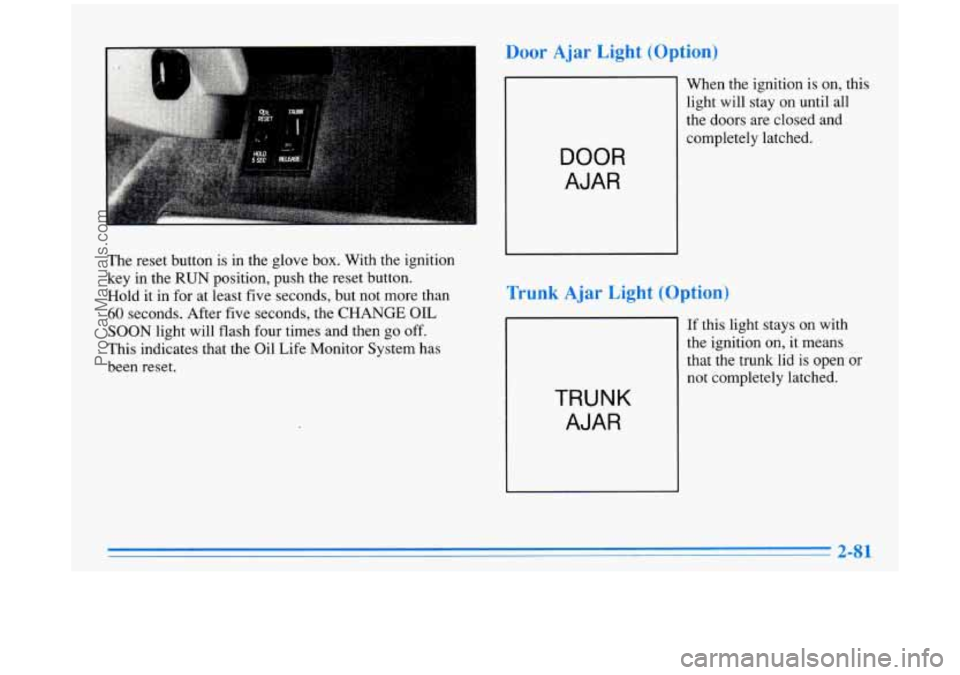
The reset button is in the glove box. With the ignition
key in the
RUN position, push the reset button.
Hold it in for at least five seconds, but not more than
60 seconds. After five seconds, the CHANGE OIL
SOON light will flash four times and then go off.
This indicates that the Oil Life Monitor System has
been reset.
Door Ajar Light (Option)
When the ignition is on, this
light will stay on until all
the doors are closed and
DOOR
AJAR
Trunk Ajar Light (Option)
TRUNK
AJAR
If this light stays on with
the ignition on, it means
that the trunk lid is open
or
not completely latched.
ProCarManuals.com
Page 153 of 388
knob when the ignition is off, the clock will show for a
few seconds.
Finding a Station
AM-FM:
Press the lower knob to select AM, FM1 or
FM2. The display shows your selection.
TUNE: Turn the lower knob to choose radio stations.
SEEK: Press the forward or backward arrow to go to
the next higher or lower station. The sound will be
muted while seeking.
SCAN: Press one of the SEEK arrows for two seconds
and
SCAN will appear on the display. Use SCAN to
listen to stations for a few seconds. The radio will go to
a station, stop for
a few seconds, then go on to the next
station. Press one
of the SEEK arrows again to stop
scanning. The sound will be muted while scanning.
PUSHBUTTONS: The six numbered pushbuttons let
you return
to your favorite stations. You can set up to
18 stations (six AM, six FMl and six FM2).
1. Press AM-FM to select the band.
2. Find the station you want by using TUNE or SEEK.
3. Press and hold one of the six numbered buttons.
4. The sound will mute. When it returns, release the
button. Whenever you press that numbered button,
the station you set will return.
P SCAN: Press this button to listen to each of your
preset stations for a few seconds. The radio will
go to
the first preset station, stop for a few seconds, then go
on to the next preset station. Press
P SCAN again to stop
scanning.
If a preset station has weak reception, the
radio will not stop at the preset station.
Setting the Tone
BASS:
Press this knob lightly so it extends. Turn the
knob to increase or decrease bass.
TREB: Press this button lightly so it extends. Turn the
knob to increase
or decrease treble.
Push the knobs back in when you are not using them.
Adjusting the Speakers
BAL: Turn the control behind the upper knob to move
the sound to the left or right speakers. Use the middle
position to balance these speakers.
FADE: Turn the control behind the lower knob to move
the sound to
the front or rear speakers. Use the middle
position to balance these speakers.
ProCarManuals.com