1996 BUICK PARK AVENUE radio controls
[x] Cancel search: radio controlsPage 152 of 388
Audio Systems
Your Delco@ audio system has been designed to operate
easily and give years
of listening pleasure. You will get
the most enjoyment out of
it if you acquaint yourself
with it first. Find out what your Delco system can do
and how to operate all its controls, to be sure you’re
getting the most out of the advanced engineering that
went into it.
Setting the Clock
Press and hold HRS until the correct hour appears. Press
and hold
MIN until the correct minute appears.
You may set the clock with the ignition
off if you
press
RECALL first and follow the same procedure
described above.
AM-FM Stereo with Cassette Tape Player
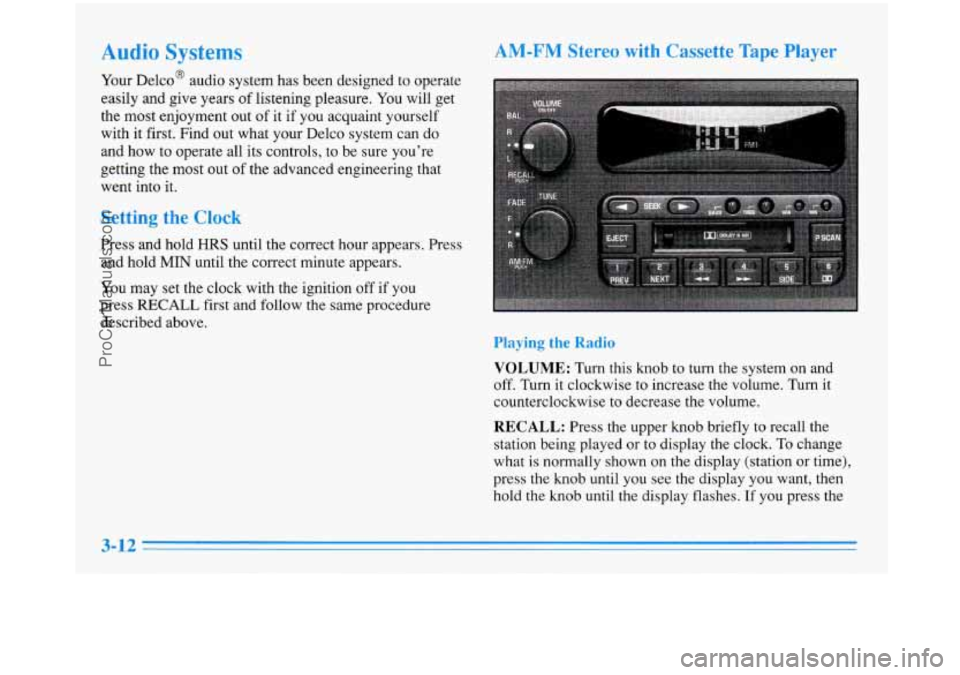
Playing the Radio
VOLUME: Turn this knob to turn the system on and
off. Turn it clockwise to increase the volume. Turn it
counterclockwise to decrease the volume.
RECALL: Press the upper knob briefly to recall the
station being played or to display the clock.
To change
what
is normally shown on the display (station or time),
press the knob until you see the display you want, then
hold the knob until the display flashes.
If you press the
3-12
ProCarManuals.com
Page 154 of 388
--, -_- v b - ---I ”- -- I
‘l’he longer side with the tape visible should face to the
right.
If the ignition and the radio are on, the tape will
begin playing.
If you hear nothing or hear a garbled
sound, the tape may not be in squarely. Press EJECT to
remove the tape and start over.
While the tape is playing, use the VOLUME, FADE,
BAL,
TREB and BASS controls just as you do for the
radio. Other controls may have different functions when
a tape is inserted. The display will show an arrow to
show which side
of the tape is playing.
If you want to insert a tape when the ignition or radio is
off, first press EJECT or RECALL. Note that the
cassette tape adapter kits for portable compact disc
players may not work in your cassette player. These
adapters can cause an error message on the display, and
the adapter cassette could
be ejected.
Your tape bias is set automatically.
SEEK: Press the forward or backward arrow to search
for the next or previous selection on the tape. Your tape
must have at least three seconds of silence between each selection for
SEEK to work. The sound will be muted
while seeking.
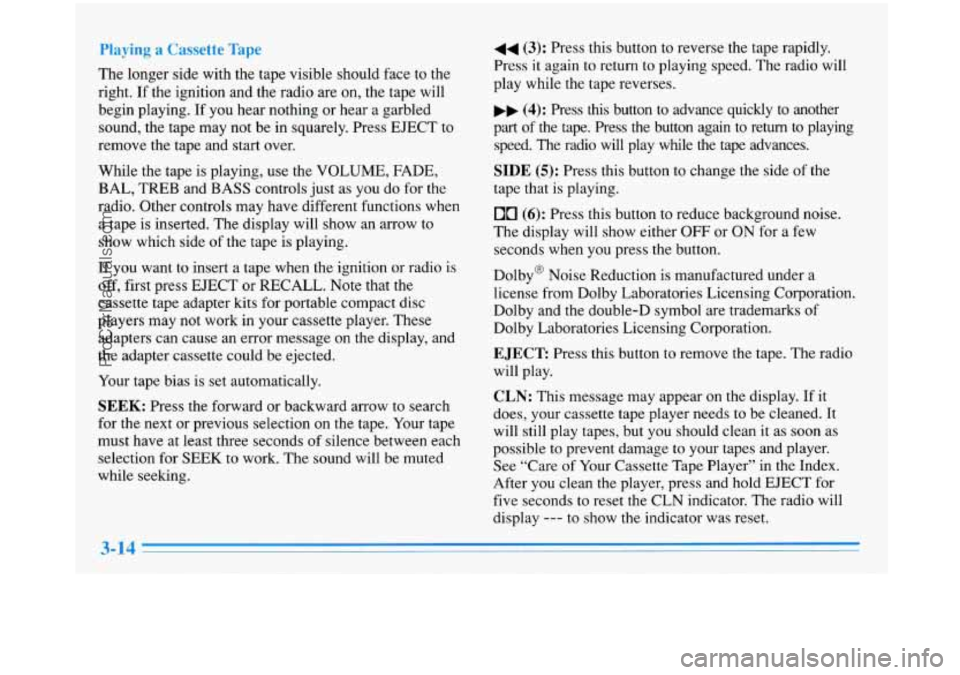
44 (3): Press this button to reverse the tape rapidly.
Press it again to return to playing speed. The radio will
play while the tape reverses.
bb (4): Press this button to advance quickly to another
part of the tape. Press the button again to return to playing\
speed. The radio will play while
the tape advances.
SIDE (5): Press this button to change the side of the
tape that is playing.
00 (6): Press this button to reduce background noise.
The display will show either
OFF or ON for a few
seconds when you press the button.
Dolby@ Noise Reduction is manufactured under a
license from Dolby Laboratories Licensing Corporation.
Dolby and the double-D symbol are trademarks of
Dolby Laboratories Licensing Corporation.
EJECT Press this button to remove the tape. The radio
will play.
CLN: This message may appear on the display. If it
does, your cassette tape player needs to be cleaned. It
will still play tapes, but you should clean it as soon as
possible to prevent damage
to your tapes and player.
See “Care of Your Cassette Tape Player” in the Index.
After you clean the player, press and hold EJECT for
five seconds to reset the CLN indicator. The radio will
display
--- to show the indicator was reset.
ProCarManuals.com
Page 157 of 388
Playing a Cassette Tape
The longer side with the tape visible should face to the
right.
If the ignition and the radio are on, the tape will
begin playing. If you hear nothing or hear a garbled
sound, the tape may not be in squarely. Press EJECT to
remove the tape and start over.
While the tape is playing, use the VOLUME, FADE,
BAL, TREB and BASS controls just as you do for the
radio. Other controls may have different functions when
a tape is inserted. The display will show an arrow to
show which side of the tape
is playing.
If you want to insert a tape when the ignition or radio is
off, first press EJECT or RECALL. Note that the
cassette tape adapter kits for portable compact disc
players may not work in your cassette player. These
adapters can cause an error message on the display, and
the adapter cassette could be ejected.
Your tape bias is set automatically.
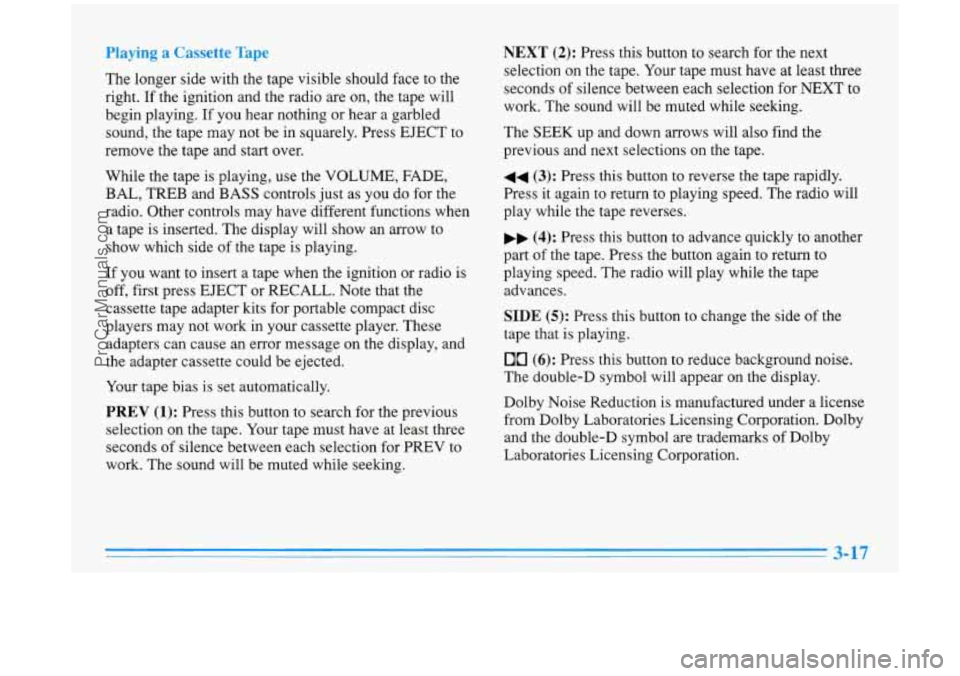
PREV (1): Press this button to search for the previous
selection on the tape. Your tape must have at least
three
seconds of silence between each selection for PREV to
work. The sound will be muted while seeking.
NEXT (2): Press this button to search for the next
selection on the tape. Your tape must have at least three
seconds
of silence between each selection for NEXT to
work. The sound will be muted while seeking.
The SEEK up and down arrows will also find the
previous and next selections on the tape.
44 (3): Press this button to reverse the tape rapidly.
Press it again to return to playing speed. The radio will
play while the tape reverses.
bb (4): Press this button to advance quickly to another
part
of the tape. Press the button again to return to
playing speed. The radio will play while the tape
advances.
SIDE (5): Press this button to change the side of the
tape that is playing.
00 (6): Press this button to reduce background noise.
The double-D symbol will appear on the display.
Dolby Noise Reduction
is manufactured under a license
from Dolby Laboratories Licensing Corporation. Dolby
and the double-D symbol are trademarks of Dolby
Laboratories Licensing Corporation.
3-17
ProCarManuals.com
Page 164 of 388
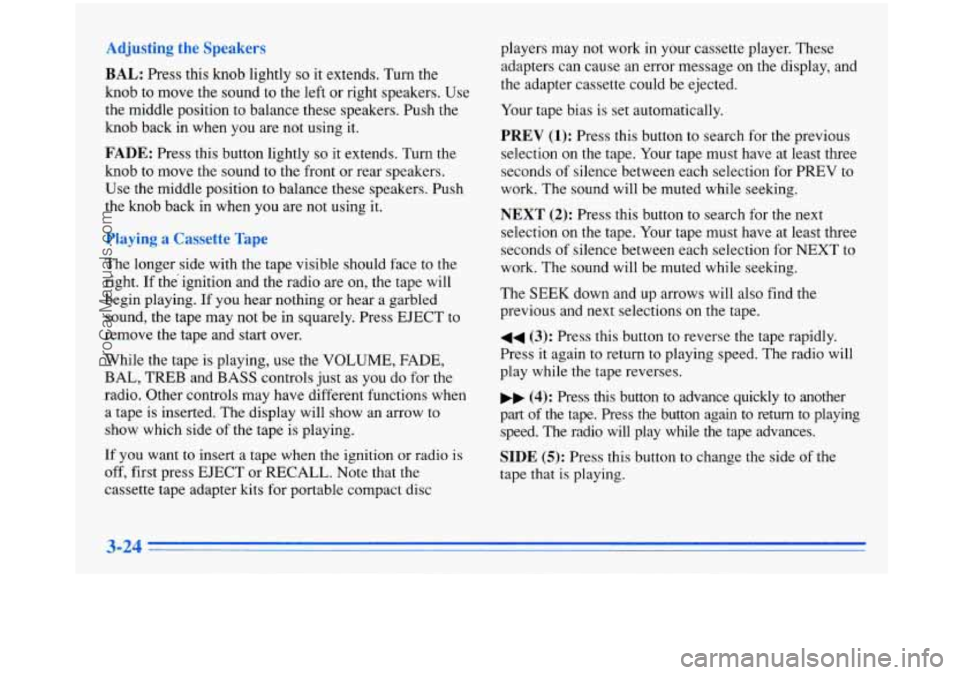
BAL: Press this knob lightly so it extends. Turn the
knob to move the sound to the left or right speakers. Use
the middle position to balance these speakers. Push the
knob back in when you are not using it.
FADE: Press this button lightly so it extends. Turn the
knob to move the sound to the front or rear speakers.
Use the middle position to balance these speakers. Push
the knob back in when you are not using it.
The longer side with the tape visible should face
to the
right. If the ignition and the radio are on, the tape will
begin playing. If you hear nothing or hear a garbled
sound, the tape may not be in squarely. Press EJECT to
remove the tape and start over.
While the tape is playing, use the VOLUME, FADE,
BAL, TREB and BASS controls just as
you do for the
radio. Other controls may have different functions when
a tape is inserted. The display will show an arrow to
show which side of the tape
is playing.
If you want to insert a tape when the ignition or radio is
off, first press EJECT or RECALL. Note that the
cassette tape adapter kits for portable compact disc players may not work in your cassette player.
These
adapters can cause an error message on the display, and
the adapter cassette could be ejected.
Your tape bias is set automatically.
PREV (1): Press this button to search for the previous
selection on the tape. Your tape must have at least three
seconds of silence between each selection for PREV to
work. The sound will be muted while seeking.
NEXT (2): Press this button to search for the next
selection on the tape. Your tape must have at least three
seconds of silence between each selection for NEXT
to
work. The sound will be muted while seeking.
The SEEK down and up arrows will also find the
previous and next selections
on the tape.
44 (3): Press this button to reverse the tape rapidly.
Press
it again to return to playing speed. The radio will
play while the tape reverses.
.. (4): Press this button to advance quickly to another
part of the tape. Press the button again to return to playing
speed. The radio will play while the tape advances.
SIDE (5): Press this button to change the side of the
tape that
is playing.
ProCarManuals.com
Page 169 of 388
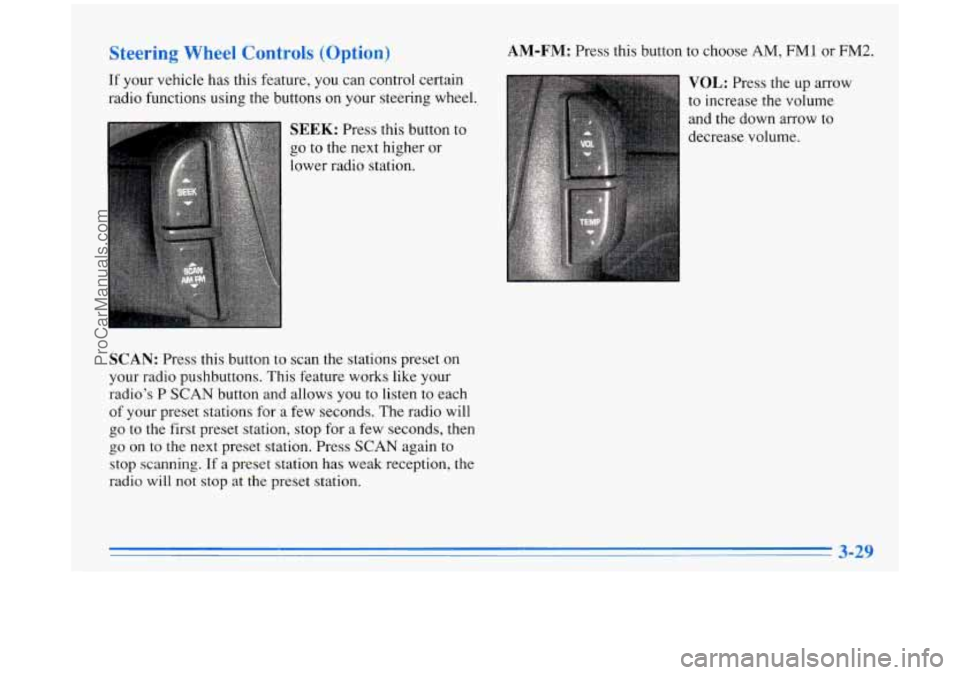
Steering Wheel Controls (Option)
If your vehicle has this feature, you can control certain
radio functions using the buttons on your steering wheel.
SEEK: Press this button to
go to the next higher or
lower radio station.
SCAN: Press this button to scan the stations preset on
your radio pushbuttons. This feature works like your
radio’s
P SCAN button and allows you to listen to each
of your preset stations for a few seconds. The radio will
go
to the first preset station, stop for a few seconds, then
go on to the next preset station. Press SCAN again to
stop scanning.
If a preset station has weak reception, the
radio
will not stop at the preset station.
AM-FM: Press this button to choose AM, FMl or FM2.
VOL: Press the up arrow
to increase the volume
and the down arrow
to
decrease volume.
ProCarManuals.com
Page 306 of 388
MaxifuseslRelay Center
To check the fuses in this underhood fuse center, turn
the two knobs one-quarter
turn counterclockwise and
remove the cover. There
is a chart inside the cover that
explains the features and controls governed by each fuse
and relay.
The PASS-Key
11 fuse is located in the right side
relay center.
Fuses and Circuit Breakers
The wiring circuits in your vehicle are protected from
short circuits by a combination of fuses and circuit
breakers. This greatly reduces the chance of damage
caused by electrical problems. Look
at the silver-colored band inside the fuse. If the
band
is broken or melted, replace the fuse. Be sure you
replace
a bad fuse with a new one of the identical size
and rating.
If you ever have a problem on the road and don’t have
a spare fuse, you can borrow one that has the same
amperage. Just pick some feature of your vehicle that
you can get along without -- like the radio or cigarette
lighter
-- and use its fuse, if it is the correct amperage.
Replace it as soon as you can.
There are two fuse blocks in your vehicle: the driver’s
side and passenger’s side fuse blocks.
ProCarManuals.com
Page 375 of 388
n
Section 9 In
Air Bag ...................................... 1 . 17
How Does it Restrain .......................... 1-21
How it Works ................................ 1 . 19
Location
.................................... 1-19
Readiness Light
......................... 1.18. 2.70
What Makes
it Inflate .......................... 1-20
What Will You See After it Inflates
............... 1-21
When
Should it Inflate ......................... 1-20
Aircleaner
.................................... 6-17
Air Conditioning
................................ 3-6
Air Conditioning Refrigerants
..................... 6-65
Air Control. Climate Control System
............. 3.1. 3-3
Alarm. Instant. Keyless Entry
...................... 2-8
Alarm. Universal Theft-Deterrent
.................. 2- 16
Alignment and Balance. Tire
...................... 6-44
Aluminum Wheels. Cleaning
...................... 6-53
Antenna. Power
................................ 3-32
Antifreeze
..................................... 6-23
Anti-Lock Brake System Warning Light
................ 2.72. 4.6
Brakes
...................................... 4-6
Anti.Theft. Radio
.............................. 3-27
Appearancecare
............................... 6-47
Appearance Care Materials
....................... 6-55
Arbitration Program
.............................. 8-6
Servicing
................................... 1-22
Armrest.
Storage
............................... 2-59
Ashtrays
...................................... 2-61
Astroroof
..................................... 2-63
Audio Controls. Steering Wheel Touch Control
....... 3-29
Audio Equipment. Adding
........................ 3-30
Audio Systems
................................. 3-12
Automatic ComforTemp Climate Control
............. 3-3
Automatic Pull-Down Feature. Trunk
............... 2-15
Automatic Overdrive
................................... 2-25
Ride Control
................................. 2-26
Transaxle Check
.............................. 7-39
Transaxle Fluid
............................... 6-20
Transaxle Operation
........................... 2-23
Transaxle Park Mechanism Check
................ 7-41
Battery
...................................... 6-33
Jump Starting
................................. 5-2
Replacement. Keyless Entry
.................... 2-12
Rundown Protection
........................... 2-50
Warning Light
............................... 2-70
Warnings
................................ 5.2. 5.4
BBB Auto Line
................................. 8-6
Belt. Engine Accessory
..................... 6.67. 6.68
Better Business Bureau Mediation
................... 8-6
9-1
ProCarManuals.com