1996 BUICK PARK AVENUE check engine light
[x] Cancel search: check engine lightPage 180 of 388
Avoid needless heavy braking. Some people drive in
spurts
-- heavy acceleration followed by heavy
braking
-- rather than keeping pace with traffic. This is a
mistake. Your brakes may not have time to cool between
hard stops. Your brakes will wear
out much faster if you
do a
lot of heavy braking. If you keep pace with the
traffic and allow realistic following distances, you will
eliminate a lot of unnecessary braking. That means
better braking and longer brake life.
If your engine ever stops while you’re driving, brake
normally but don’t pump your brakes.
If you do, the
pedal may get harder to push down.
If your engine
stops, you will still have some power brake assist. But
you will use
it when you brake. Once the power assist is
used up, it may take longer to stop and the brake pedal
will be harder to push. Your vehicle has anti-lock brakes
(ABS). ABS is
an
advanced electronic braking system that will help
prevent a braking skid.
When you start’your engine, or when you begin to drive
away, your anti-lock brake system will check itself.
You
may hear a momentary motor or clicking noise while
this test is going on, and you may even notice that your
brake pedal moves a little. This is normal.
If there’s a problem with the anti-lock brake system, this
warning light will stay
on.
See “Anti-Lock Brake
System Warning Light” in
the Index.
ProCarManuals.com
Page 210 of 388
Tbrn Signals When Towing a Trailer
The arrows on your instrument panel will flash
whenever you signal a turn or lane change. Properly
hooked up, the trailer lamps will also flash, telling other
drivers you’re about
to turn, change lanes or stop.
When towing a trailer, the arrows on your instrument
panel will flash for turns even if the bulbs on the trailer
are burned out. Thus, you may think drivers behind you
are seeing your signal when they are not. It’s important
to check occasionally to be sure the trailer bulbs are still
working.
Your vehicle
has bulb warning lights. When you plug a
trailer lighting system into your vehicle’s lighting
system, its bulb warning lights may not let you know if
one of your lamps goes out.
So, when you have a trailer
lighting system plugged in, be sure
to check your
vehicle and trailer lamps from time to time to be sure
they’re all working. Once you disconnect the trailer
lamps, the bulb warning lights again can tell you if one
of your vehicle lamps
is out.
Driving On Grades
Reduce speed and shift to a lower gear before you start
down a long or steep downgrade.
If you don’t shift
down, you might have to use your brakes
so much that
they would get hot and no longer work well.
On a long uphill grade,
shift down to THIRD (3) and
reduce your speed to around
45 mph (70 km/h) to reduce
the possibility of engine and transaxle overheating.
Parking on Hills
You really should not park your vehicle, with a trailer
attached, on a hill.
If something goes wrong, your rig
could start to move. People can be injured, and both
your vehicle and the trailer can
be damaged.
But if you ever have to park your rig on a hill, here’s
how
to do it:
1. Apply your regular brakes, but don’t shift into
PARK (P) yet.
2. Have someone place chocks under the trailer wheels.
3. When the wheel chocks are in place, release the
regular brakes until the chocks absorb the load.
4. Reapply the regular brakes. Then apply your parking
5. Release the regular brakes.
brake, and the shift
to PARK
(P).
4-36
ProCarManuals.com
Page 216 of 388
..
A CAUTION:
Using a match near a battery can cause battery
gas to explode. People have been hurt doing this,
and some have been blinded. Use
a flashlight if
you need more light. .
Be sure the battery has enough water. You don’t
need to
add water to the Delco Freedom@ battery
installed in every new
GM vehicle. But if a
battery has filler caps,. be sure the rightamount
offluid is there.
If it is low, add water to take care
of that first. If you don’t, explosive gas could
be present.
Battery fluid contains acid that can burn you.
Don’t get it on you.
If you accidentally get it in
your eyes or on your skin, flush the place with
water and get medical help immediately.
I
6. Check that the jumper cables don’t have loose or
missing insulation. If they do, you could get a shock
and the vehicles could. be damaged.
Before you connect the cables, here are some basic
, . ’
things you should know. Positive (+) will ‘go to
positive (+) and negative (-) will go to negative (-)
or a metal .engine part. Don’t connect positive (+) to
negative
(-) or you’ll get a short that would damage
the battery and maybe other
parts, too.
,.
.,
I
Fans or other moving engine parts ean injure you
badly. Keep your hands away from moving parts
once the engines are running.
I
I. 5-4
ProCarManuals.com
Page 260 of 388
Your Park Avenue Ultra has a 3800 Supercharged
engine. Buick chose supercharging rather than
turbocharging because Buick emphasizes smooth,
refined power.
The supercharger
is a device which is designed to pump
more air into the engine than it would normally use.
This air mixed with fuel creates increased engine power.
Since the supercharger is a pump and is driven from an
engine accessory drive belt, increased pressure is available at all driving conditions.
The Powertrain Control Module (PCM) works with a
vacuum control to regulate the increased pressure
required during specific driving conditions. When this increased pressure or boost is not desired, such as during
idling and light throttle cruising, the excess air that the
supercharger is pumping is routed through a bypass. All
of these controls working together provide high
performance character and fuel efficiency in the
3800 V6 Supercharged Buick engine.
The power steering pump and reservoir are mounted
on the rear (driver’s side)
of the engine block. See
“Maintenance Schedule” in the Index for when you
should check the fluid.
Engine Oil
If the CHECK OIL
LEVEL light on the
instrument panel
comes on, it means
CHECK OIL you need to check
LEVEL your engine oil level
right away.
For more information, see “Check Oil Level Light” in
the Index. You should check your engine oil level
regularly; this is an added reminder.
ProCarManuals.com
Page 271 of 388
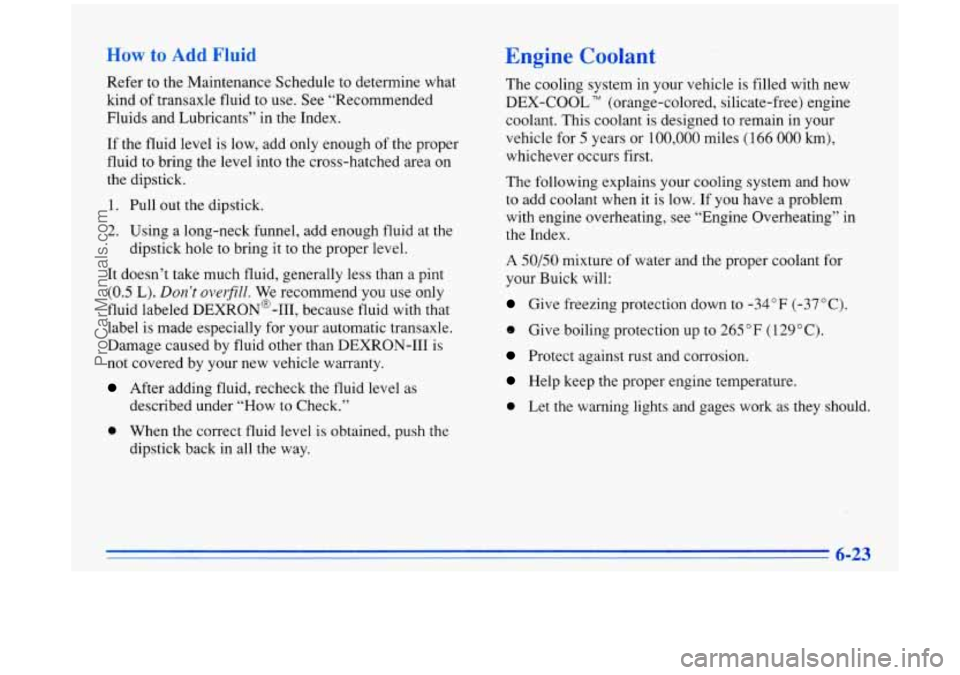
How to Add Fluid
Refer to the Maintenance Schedule to determine what
kind of transaxle fluid to use. See “Recommended
Fluids and Lubricants” in the Index.
If the fluid level is low, add only enough
of the proper
fluid to bring the level into the cross-hatched area on
the dipstick.
1. Pull out the dipstick.
2. Using a long-neck funnel, add enough fluid at the
It doesn’t take much fluid, generally less than a pint
(0.5 L). Don’t ovel-fill. We recommend you use only
fluid labeled DEXRON@-111, because fluid with that
label is made especially for your automatic transaxle.
Damage caused by fluid other than DEXRON-I11 is
not covered by your new vehicle warranty.
dipstick hole to
bring it to the proper level.
After adding fluid, recheck the fluid level as
described under “How to Check.”
0 When the correct fluid level is obtained, push the
dipstick back in all the way.
Engine Coolant
The cooling system in your vehicle is filled with new
DEX-COOL
TM (orange-colored, silicate-free) engine
coolant. This coolant is designed to remain in your
vehicle for
5 years or 100,000 miles (166 000 km),
whichever occurs first.
The following explains your cooling system and how
to add coolant when
it is low. If you have a problem
with engine overheating, see “Engine Overheating” in
the Index.
A 50/50 mixture of water and the proper coolant for
your Buick will:
Give freezing protection down to -34°F (-37°C).
9 Give boiling protection up to 265 OF ( 129 O C).
Protect against rust and corrosion.
Help keep the proper engine temperature.
0 Let the warning lights and gages work as they should.
ProCarManuals.com
Page 274 of 388
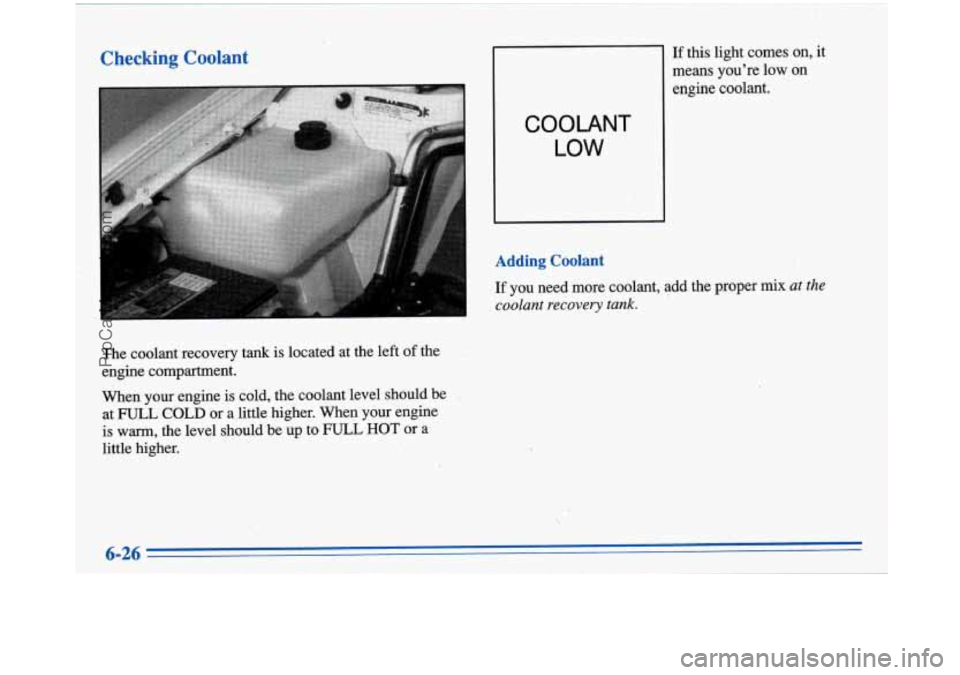
Checking Coolant
The coolant recovery tank is located at the left of the
engine compartment.
When your engine is cold, the coolant 'level should be
at
F'ULL COLD or a little higher. When your engine
is warm, the level should be up to F'ULL HOT or a
little higher.
COOLANT
LOW
- If this light comes on, it
means you're low on
engine coolant.
-
Adding Coolant
If you need more coolant, add the proper mix at the
coolant
recovery tank.
ProCarManuals.com
Page 375 of 388
n
Section 9 In
Air Bag ...................................... 1 . 17
How Does it Restrain .......................... 1-21
How it Works ................................ 1 . 19
Location
.................................... 1-19
Readiness Light
......................... 1.18. 2.70
What Makes
it Inflate .......................... 1-20
What Will You See After it Inflates
............... 1-21
When
Should it Inflate ......................... 1-20
Aircleaner
.................................... 6-17
Air Conditioning
................................ 3-6
Air Conditioning Refrigerants
..................... 6-65
Air Control. Climate Control System
............. 3.1. 3-3
Alarm. Instant. Keyless Entry
...................... 2-8
Alarm. Universal Theft-Deterrent
.................. 2- 16
Alignment and Balance. Tire
...................... 6-44
Aluminum Wheels. Cleaning
...................... 6-53
Antenna. Power
................................ 3-32
Antifreeze
..................................... 6-23
Anti-Lock Brake System Warning Light
................ 2.72. 4.6
Brakes
...................................... 4-6
Anti.Theft. Radio
.............................. 3-27
Appearancecare
............................... 6-47
Appearance Care Materials
....................... 6-55
Arbitration Program
.............................. 8-6
Servicing
................................... 1-22
Armrest.
Storage
............................... 2-59
Ashtrays
...................................... 2-61
Astroroof
..................................... 2-63
Audio Controls. Steering Wheel Touch Control
....... 3-29
Audio Equipment. Adding
........................ 3-30
Audio Systems
................................. 3-12
Automatic ComforTemp Climate Control
............. 3-3
Automatic Pull-Down Feature. Trunk
............... 2-15
Automatic Overdrive
................................... 2-25
Ride Control
................................. 2-26
Transaxle Check
.............................. 7-39
Transaxle Fluid
............................... 6-20
Transaxle Operation
........................... 2-23
Transaxle Park Mechanism Check
................ 7-41
Battery
...................................... 6-33
Jump Starting
................................. 5-2
Replacement. Keyless Entry
.................... 2-12
Rundown Protection
........................... 2-50
Warning Light
............................... 2-70
Warnings
................................ 5.2. 5.4
BBB Auto Line
................................. 8-6
Belt. Engine Accessory
..................... 6.67. 6.68
Better Business Bureau Mediation
................... 8-6
9-1
ProCarManuals.com
Page 376 of 388
I.
Adjustment .................................. 6-32
Master Cylinder
............................... 6-30
Fluid
......................................... 6-30
Parking
.. i.................................. 2-27
Pedal Travel
.... -. ............................... 6-32
Replacing System Parts
......................... 6-33
System Warning Light
......................... 2-71
Trailer
....................................... 4-34
Transaxle Shift Interlock
....................... 2-30
Transaxle Shift Interlock Check
.................. 7-40
Wear
......................................... 6-32
Brakes, Anti-Lock.
............................... 4-6
Braking
........................................ :4-5
Break-In, New Vehicle
.......................... 2-19
Brightness Control
.............................. 2-46
Bulb Replacement
.............................. 6-34
Braking
in Emergencies ............................ 4-9
BTSI
......................................... 2-3 0
BTSICheck ................................... 7-40
Canadian Roadside Assistance
..... 1. ............. 8-4
Capacities apd Specifications
........................ 6-64
Carbon Monoxide
......... : .......... 2-31,2-32, 4-27
Cassette Deck Service
........................... 7-38
Cassette Tape Player
.................. 3-14,3-17, 3-24
Cassette Tape Player Care
......................... 3-3 1
Cassette Tape Player Errors
........ : .... 3-14,3-18, 3-25
CD Player Theft-Deterrent Feature
.................. 3-27
Center Passenger Position
........................ 1-24
Central Door Unlocking System
.................... 2-4
. .
Certification Label .......................... !’. ... 4-29
Certification/”ire Label
..................... 4.28, 4.29
Chains. Tire
......... ; ......................... 6-46
Chains.
Safety
.................................. 4-34
Change Oil
Soon Light .......................... 2-80
Changing
a Flat Tire ............................. 5-22
Check Engine Light
............................. 2-75
Check Oil Level Light
........................... 2-79
Checking Your. Restraint Systems
.................. 1-44
Chemical Paint Spotting
.......................... 6-54
Child Restraints
................................ 1-33
Securing in a Rear Outside Seat Position
... .. ....... 1-35
Securing in the Center
. Rear Seat Position .......... 1-37
Securing
in the Right Front Seat Position .......... 1-39
TopStrap
.................................... 1- 34
Where to Put
................................. 1-33
Cigarette Lighter
............................... 2-61
Circuit Breakers
and Fuses ....................... 6-58
Cleaner.
Air ................................... 6-17
Cleaning Aluminum Wheels
........................ ’ .... 6-53
Fabric
...................................... 6-48
Glass
....................................... 6-51
Inside
of Your Buick .......................... 6-47
InstrumentPanel
............................. 6-50
Leather
..................................... 6-49
Outside of Your Buick
.......................... 6-52
Speaker Covers
............................. .. 6-50
Stains
...................................... 6-48
Tires ........................................ 6-53
Special
Problems
............................ 6-48
Vinyl
....................................... 6-49
9-2
ProCarManuals.com