Page 164 of 354

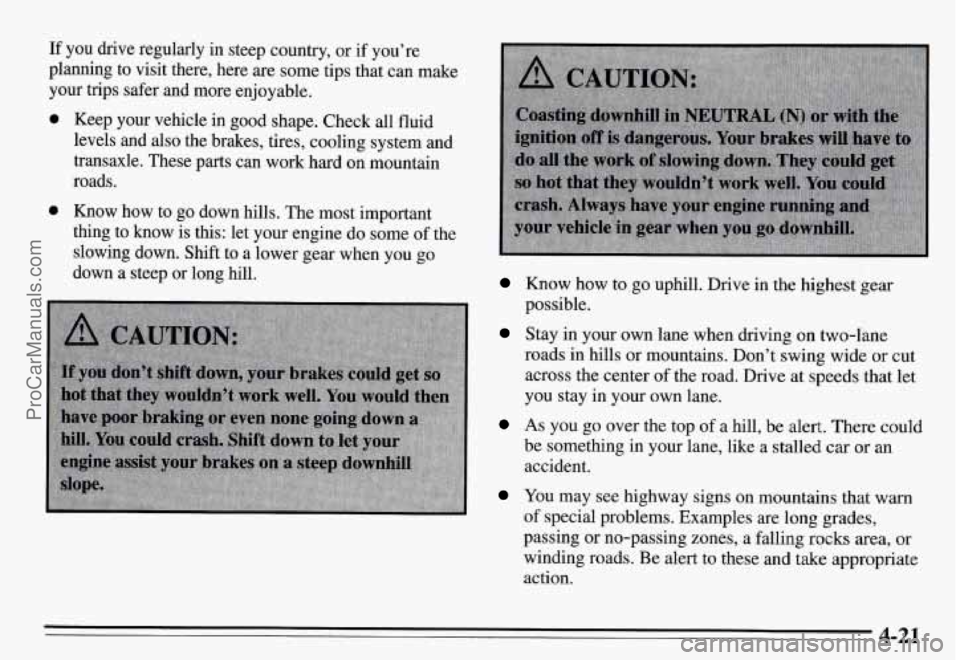
If you drive regularly in steep country, or if you’re
planning to visit there, here
are some tips that can make
your trips safer and more enjoyable.
0 Keep your vehicle in good shape. Check all fluid
levels and also the brakes, tires, cooling system and
transaxle. These
parts can work hard on mountain
roads.
0 Know how to go down hills. The most important
thing to know is this: let your engine do some of the
slowing down. Shift to a lower gear when you
go
down a steep or long hill. Know how to go uphill. Drive in the highest gear
Stay in your own lane when driving on two-lane
possible.
roads in hills or mountains. Don’t swing wide or cut
across the center of the road. Drive at speeds that let
you stay in your own lane.
As you go over the top of a hll, be alert. There could
be something in your lane, like a stalled car
or an
accident.
You may see highway signs on mountains that warn
of special problems. Examples are long grades,
passing or no-passing zones, a falling rocks area, or
winding roads. Be alert to these and take appropriate
action.
4-21
ProCarManuals.com
Page 180 of 354
When You Are Ready to Leave After
Parking on a Hill
1. Apply your regular brakes and hold the pedal down
while you:
Start your engine;
Shift into a gear; and
Release the parking brake.
2. Let up on the brake pedal.
3. Drive slowly until the trailer is clear of the chocks.
4. Stop and have someone pick up and store the chocks.
Maintenance When Trailer Towing
Your vehicle will need service more often when you’re
pulling a trailer. See the Maintenance Schedule for more
on this. Things that are especially important in trailer
operation are automatic transaxle fluid (don’t overfill),
engine oil, belt, cooling system, and brake adjustment.
Each
of these is covered in this manual, and the Index
will help you find them quickly. If you’re trailering, it’s
a good idea to review these sections before you start
your trip.
Check periodically to see that all hitch nuts and bolts are
tight.
4-37
ProCarManuals.com
Page 220 of 354
2.3L Quad 4 Engine (CODE D)
PO ??
When you open the hood, you'll see:
1.
2.
3.
4.
5.
6.
7.
8.
9.
Engine Oil Dipstick
Automatic Transaxle Dipstick (if equipped)
Brake Fluid Reservoir
Air Cleaner
,? I, 4
Hydraulic Clutch Fluid Reservoir (if so equipped)
Battery
Windshield Washer Huid Reservoir
Power Steering Fluid Reservoir
Engine Oil
Fill Cap
'il.
10. Engine Coolant Surge Tank
6-9
ProCarManuals.com
Page 221 of 354
3.1L V6 Engine (CODE M)
P 9p P
When you open the hood, you’ll see:
1.
2.
3.
4.
5.
6.
7.
8.
9.
Power Steering Fluid Reservoir
Automatic Transaxle Fluid Dipstick
Brake Fluid Reservoir
Air Cleaner
Battery
Windshield Washer Fluid Reservoir
Engine Oil Dipstick
Engine Oil
Fill Cap
Engine Coolant Surge Tank
6-10
ProCarManuals.com
Page 230 of 354

To get the right reading, the fluid should be at normal
operating temperature, which
is 180°F to 200°F (82°C
Get the vehicle warmed up by driving about
15 miles (24
h) when outside temperatures are above 50°F (10°C). If
it's colder than 50 "F ( 10 "C), you may have to drive longer.
to
93°C).
To check the fluid level
1. Park your vehicle on a level place. Keep the engine
running.
in PARK (P).
2. With the parking brake applied, place the shift lever
3. With your foot on the brake pedal, move the shift
lever through each gear range, pausing for about
three seconds in each range. Then, position the shift
lever in PARK
(P).
4. Let the engine run at idle €or three to five minutes. Then, without shutting
off the engine, follow these steps:
The automatic transaxle dipstick handle is red. Pull out
the dipstick and wipe it with a clean rag
or paper towel.
1. Push it back in all the way, wait three seconds and
then pull it back out again.
2. Check both sides of the dipstick, and read the lower
level. The fluid level must be in the cross-hatched
area.
3.
If the fluid level is in the acceptable range, push the
dipstick back in all the way.
6-19
ProCarManuals.com
Page 239 of 354

Brake Master Cylinder
Your brake master cylinder is here. It is filled with
DOT-3 brake fluid.
There are only two reasons why the brake fl .uid level in
your master cylinder might go down. The first is that the
brake fluid goes down to an acceptable level during
normal brake lining wear. When new linings are put in,
the fluid level goes back
up. The other reason is that
fluid
is leaking out of the brake system. If it is, you
should have your brake system fixed, since a leak means
that sooner or later your brakes won’t work well, or
won’t work at all.
So, it isn’t a good idea to “top off’
your brake fluid. Adding brake fluid won’t correct a
leak. If you add fluid when your linings
are worn, then
you’ll have too much fluid when you get new brake
linings.
You should add (or remove) brake fluid, as
necessary, only when work
is done on the brake
hydraulic system.
When your brake fluid falls to a low level, your brake
warning light will come on. See “Brake System Warning
Light” in the Index.
6-28
ProCarManuals.com
Page 240 of 354

What to Add
When you do need brake fluid, use only DOT-3 brake
fluid
-- such as Delco Supreme I1 @ (GM Part
No. 1052535). Use new brake fluid from a sealed
container only, and always clean the brake fluid
reservoir cap before removing it.
NOTICE:
Don’t let someone put in the wrong kind of
fluid. For example, just a few drops of
mineral-based oil, such as engine oil, in
your brake system can damage brake
system parts so badly that they’ll have to be
replaced.
Brake fluid can damage paint, so be careful
not
to spill brake fluid on your vehicle. If
you do, wash it off immediately. See
“Appearance Care”
in the Index.
Brake Wear
Your Pontiac has front disc brakes and rear drum brakes.
Disc brake pads have built-in wear indicators that make a
high-pitched warning sound when the brake pads are
worn and new pads are needed. The sound
may come and
go or be heard all the time your vehicle is moving (except
when you are pushing on the brake pedal
firmly).
NOTICE:
Continuing to drive with worn-out brake pads
could result in costly brake repair.
6-29
ProCarManuals.com
Page 311 of 354

Exhaust System Inspection
Inspect the complete exhaust system. Inspect the body near the exhaust system. Look for broken, damaged,
missing or out-of-position parts as well as open seams,
holes, loose connections, or other conditions which
could cause a heat build-up in the floor pan or could let
exhaust fumes into the vehicle. See “Engine Exhaust” in
the Index.
Throttle Linkage Inspection
Inspect the throttle linkage for interference or binding,
and for damaged or missing parts. Replace parts as
needed. Accelerator and cruise control cables should not
be lubricated.
Manual Transaxle
Check the transaxle fluid level; add if needed. See
“Manual Transaxle” in the Index. A fluid loss may
indicate a problem. Check the system and repair
if
needed.
Brake System Inspection
Inspect the complete system. Inspect brake lines and
hoses for proper hookup, binding, leaks, cracks, chafing,
etc. Inspect disc brake pads for wear and rotors for
surface condition. Also inspect drum brake linings for
wear and cracks. Inspect other brake parts, including
drums, wheel cylinders, calipers, parking brake, etc. The
parking brake is self-adjusting and no manual adjustment
is required. You may need to have your
brakes inspected more often if your driving habits or
conditions result in frequent braking.
7-42
ProCarManuals.com