1995 OLDSMOBILE SILHOUETTE glove box
[x] Cancel search: glove boxPage 91 of 390

Glove Bodstorage Compartment
Your vehicle has a storage compartment on top of the
dash and a glove box below it.
To open the storage compartment, push in the latch
release, then
lift the lid.
r
To open the glove box, pinch the latch release.
The fuse panel
is located inside the glove box door. See
“Fuses and Circuit Breakers” in the Index.
Theft
Vehicle theft is big business, especially in some cities.
Although your Oldsmobile has a number of theft
deterrent features, we know that nothing we put on it
can make
it impossible to steal. However, there are ways
you can help.
2-21
ProCarManuals.com
Page 92 of 390

Key in the Ignition
If you walk away from your vehicle with the keys
inside, it’s an easy target for joy riders or professional
thieves
-- so don’t do it.
New Vehicle ''Break-in"
When you park your Oldsmobile and open the driver’s
door’ you’ll hear a chime reminding you to remove your
key from the ignition and take it with you. Always
do
this. Your steering wheel will be locked, and so will your
ignition and transaxle. And remember to lock the doors.
Parking at Night
Park in a lighted spot, close all windows and lock your
vehicle. Remember to keep your valuables out
of sight.
Put them in a storage area, or take them with you.
Parking Lots
If you park in a lot where someone will be watching
your vehicle, it’s best to lock it up and take your keys.
But what if you have to leave your ignition key? What if
you have
to leave something valuable in your vehicle?
Put your valuables in a storage area, like your glove
box or locking storage bin.
Lock the storage bin.
Lock all the doors except the driver’s.
0 Then take the door key with you.
NOTICE:
Your modern Oldsmobile doesn’t need an
elaborate “break-in.” But it
will perform better
in the long run if you follow these guidelines:
Don’t drive at any one speed -- fast or
slow
-- for the first 500 miles (804 km).
Don’t make full-throttle starts.
200 miles (322 km) or so. During this time
your new brake linings aren’t yet broken
in. Hard stops with new linings can mean
premature wear and earlier replacement.
Follow this “breaking-in” guideline every
time you get new brake linings.
Don’t tow a trailer during “break-in.” See
“Towing
a Trailer” in the Index for more
information.
0 Avoid making hard stops for the first
2-22
ProCarManuals.com
Page 134 of 390

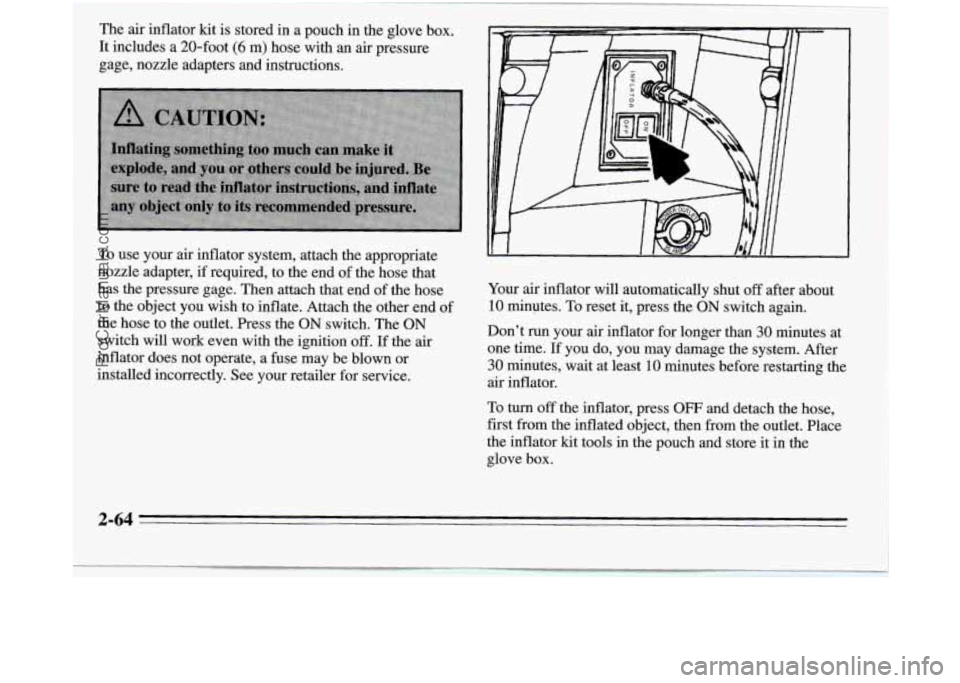
The air inflator kit is stored in a pouch in the glove box.
It includes a 20-foot
(6 m) hose with an air pressure
gage, nozzle adapters and instructions.
To use your air inflator system, attach the appropriate
nozzle adapter, if required, to the end of the hose that
has the pressure gage. Then attach that end of the hose
to the object you wish to inflate. Attach the other end of
the hose to the outlet. Press the
ON switch. The ON
switch will work even with the ignition off. If the air
inflator does not operate, a fuse may be blown or
installed incorrectly. See your retailer for service. Your air
inflator will automatically shut
off after about
10 minutes. To reset it, press the ON switch again.
Don’t run your air inflator for longer than
30 minutes at
one time. If you do, you may damage the system. After
30 minutes, wait at least 10 minutes before restarting the
air inflator.
To turn off the inflator, press OFF and detach the hose,
first from the inflated object, then from the outlet. Place
the inflator kit tools in the pouch and store it in the
glove box.
2-64
ProCarManuals.com
Page 141 of 390

The Instrument Panel -- Your Information System
Your instrument panel is designed to let you know at a glance how your vehicle is running. You’ll know how fast
you’re going, how much fuel you’re using, and many other things you’ll need to drive safely and economically.
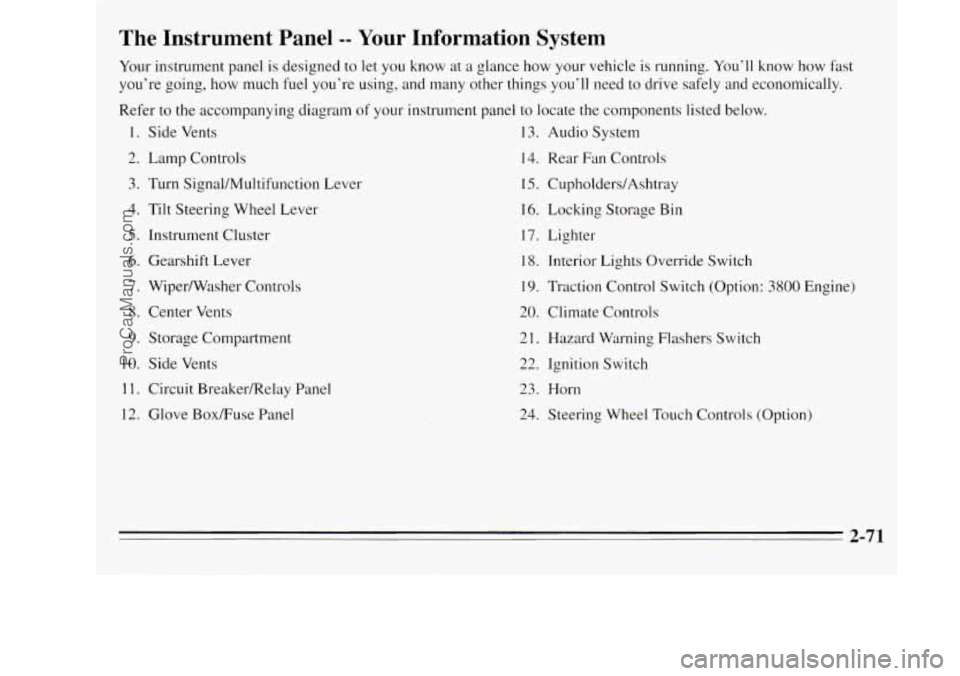
Refer to the accompanying diagram
of your instrument panel to locate the components listed below.
1. Side Vents 13. Audio System
2. Lamp Controls
14. Rear Fan Controls
3. Turn Signal/Multifunction Lever 15. CupholderdAshtray
4. Tilt Steering Wheel Lever 16. Locking
Storage Bin
5. Instrument Cluster 17. Lighter
6. Gearshift Lever
18. Interior Lights Override Switch
7. Wiper/Washer Controls 19. Traction Control Switch (Option: 3800 Engine)
8. Center Vents
20. Climate Controls
9. Storage Compartment 21. Hazard Warning Flashers Switch
10. Side Vents
22. Ignition Switch
1 1. Circuit BreakedRelay Panel 23. Horn
12. Glove BoxRuse Panel
24. Steering Wheel Touch Controls (Option)
-
2-71
ProCarManuals.com
Page 311 of 390

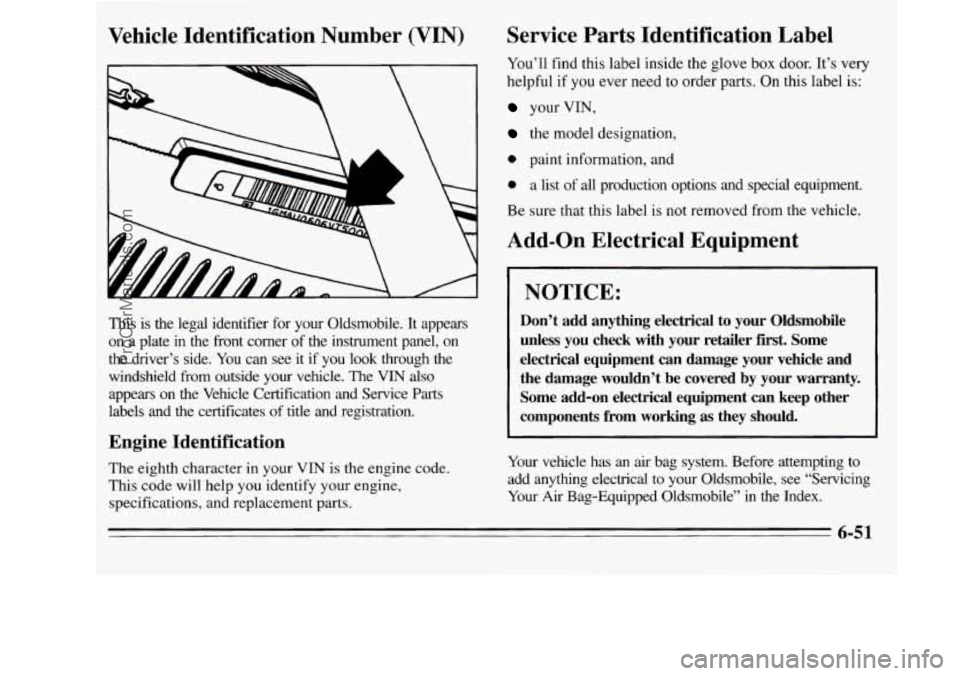
Vehicle Identification Number (VIN)
This is the legal identifier for your Oldsmobile. It appears
on a plate in the front corner of the instrument panel, on
the driver’s side. You can see it if you look through
the
windshield from outside your vehicle. The VIN also
appears
on the Vehicle Certification and Service Parts
labels and the certificates of title and registration.
Engine Identification
The eighth character in your VIN is the engine code.
This code will help you identify your engine,
specifications, and replacement parts.
Service Parts Identification Label
You’ll find this label inside the glove box door. It’s very
helpful if you ever need to order parts. On this label is:
your VIN,
the model designation,
0 paint information, and
0 a list of all production options and special equipment.
Be sure that this label is not removed from the vehicle.
Add-on Electrical Equipment
NOTICE:
Don’t add anything electrical to your Oldsmobile
unless you check with your retailer first. Some
electrical equipment can damage your vehicle and
the damage wouldn’t be covered
by your warranty.
Some add-on electrical equipment can keep other
components from working
as they should.
Your vehicle has an air bag system. Before attempting to
add anything electrical to your Oldsmobile, see “Servicing Your
Air Bag-Equipped Oldsmobile” in the Index.
6-51
ProCarManuals.com
Page 312 of 390

Fuses and Circuit Breakers
L
The wiring circuits in your vehicle are protected from
short circuits by a combination of fuses and circuit
breakers in the wiring itself. This greatly reduces the
chance of damages caused by electrical problems.
To identify and check fuses, refer to the fuse panel,
which is behind the glove box door, and the fuse usage
chart later in this section.
A fuse puller is clipped inside the fuse panel door. Place
the wide end
of the fuse puller over the plastic end of
the fuse. Squeeze the ends over the fuse and pull it out.
Look at the silver-colored band inside the fuse. If the
band
is broken or melted, replace the fuse. Be sure you
replace a bad fuse with a new one of the correct size.
6-52
ProCarManuals.com
Page 313 of 390

e
E5
c3
€3
ELC
HORN
E3 RDOllAUX
TAIL
El
c3
n
c3
ECM
TURN B/U
GAUGES LPS
ABS
E3 R WIPER
€5 HTRA/C
F WIPER
p-4 R BLW
Fuse Panel (3.1L V6 Engine)
Position Circuitry
CTSY Dome Lamps, Courtesy Lamps, Power Door
Lock Switches, Glove Box Lamp, Power
Mirrors, Power Sliding Delay Lock Module
ELC
HORN
STOP
HAZ Auto
Level Control, Underhood Lamp
Horns, Horn Relay, Safety Belt Buzzer
Front/Rear Turn Lamps, Front Sidemarker
Lamps, Rear Stop Lamps, Instrument Cluster
Turn Indicator Lamps, Cruise Brake Switch
F PUMP Fuel Pump,
Oil Pressure SenderIFuel Pump Switch
Position
RDO 1/
AUX
TAIL
ECM
TURN
B/U
GAUGES
LPS
ABS
RD02
R WIPER
F WIPER
IGN
HTR-A/C
R BLW
Circuitry
Radio, Front Cigar Lighter, Accessory Power
Outlet
Front Park Lamps, Rear Taillamps, Front
Sidemarker Lamps, License Plate Lamp, Radio,
HeatNentlAC Control Head, Power Sliding Door
Throttle Body Fuel Injection, Fuel Pump Relay,
Elec. Vac. Reg. Valve, Elec. Control Module,
Elec. Spark Control Module
Front/Rear Turn Lamps, Front Sidemarker Lamps, Cluster Turn Telltale, Back-up Lamps,
Fog Lamps
Cluster, Anti-Lock Brake System Lamp
Module, Elec. Level Control Sensor
Cluster, Radio, Wiper Switch, Headlamp
Switch, Rear Blower Switch, Heat/Vent/AC
Control Head, Door Switch Illumination,
FrontIRear Ashtray Illumination Bulbs
Anti-Lock Brake System
Radio
Rear Wiperwasher Motors; Overhead Console
Compass
Front Wipermasher Motor
A/C Compressor, A/C Solenoid Box, Compressor
Relay, Temp. Door Motor,
Low Blower Relay;
HeatNentlAC Control Head; Cruise Module; Cooling Fan Relay; Rear Defogger Relay;
Key
Chime; Vehicle Speed Sensor Buffer and Generator
Charge Discrete, Transaxle Converter Clutch Switch
FrondRear Blower Motors, High Blower Relay
Rear Blower, Rear Heat/Vent/AC
6-53
ProCarManuals.com
Page 314 of 390

Fuse Panel (3800 V6 Engine)
cCTSYI, ,fD023
eeC3
R WIPER
HORN TURN BIU F WIPER
r"4
STOP HA2
E5 TAIL
Position
CTSY
ELC
HORN
STOP
HAZ
Circuitry
Dome Lamps, Courtesy Lamps, Power Door
Lock Switches, Glove Box Lamp, Power
Mirrors, Power Sliding Delay Lock Module
Auto Level Control, Underhood Lamp
Horns,
Horn Relay, Safety Belt Buzzer
Front/Rear Turn Lamps, Front Sidemarker
Lamps, Rear Stop Lamps, Instrument Cluster
Turn Indicator Lamps
Position Circuitry
RDOl/ Radio, Front Cigar Lighter, Accessory Power
AUX Outlet
TAIL Front Park Lamps, Rear Taillamps, Front Sidemarker Lamps, License Plate Lamp, Radio,
HeatNentlAC Control Head, Power Sliding Door
ABS
ECM Anti-Lock
Brakemraction Control System
Mass Air How Sensor, Electronic Control Module
TURN Front/Rear Turn Lamps, Front Sidemarker
B/U Lamps, Cluster Turn Telltale, Back-up Lamps,
Fog Lamps
Module, Elec. Level Control Sensor
GAUGES Cluster, Anti-Lock
Brake System Lamp
INJ 3365D Remote Location (see page
6-56)
LPS Cluster, Radio, Wiper Switch, Headlamp
Switch, Rear Blower Switch, HeatNentlAC
Control Head, Door Switch Illumination,
Front/Rear Ashtray Illumination Bulbs
RD02 Radio
R WIPER Rear Wipermasher Motors; Overhead Console
F WIPER Front WiperNasher Motor
Compass
IGN A/C
Solenoid Box, Temp. Door Motor, Low
Blower Relay; HeatNentlAC Control Head;
Cooling Fan Relay; Rear Defogger Relay; Key
Chime; Transaxle Converter Clutch Solenoid
and Generator Charge Discrete
HTR-A/C Front/Rear Blower Motors, High Blower Relay
R BLW Rear Blower,
Rear HeatNentlAC
6-54
ProCarManuals.com