1995 Lexus ES300 reset
[x] Cancel search: resetPage 8 of 21

AIR CONDITIONING AND AUDIO
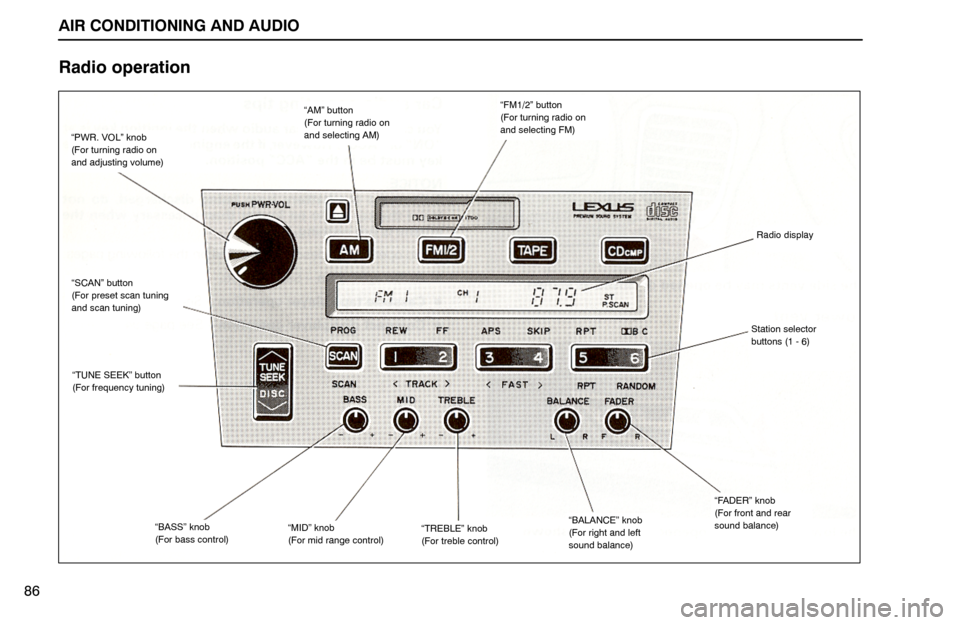
“SCAN” button
(For preset scan tuning
and scan tuning)
“TUNE SEEK” button
(For frequency tuning)
“PWR. VOL” knob
(For turning radio on
and adjusting volume)
“MID” knob
(For mid range control)“BASS” knob
(For bass control)
“AM” button
(For turning radio on
and selecting AM)
“BALANCE” knob
(For right and left
sound balance)“TREBLE” knob
(For treble control)
“FADER” knob
(For front and rear
sound balance)
Radio display
Station selector
buttons (1 - 6)
“FM1/2” button
(For turning radio on
and selecting FM)
86
Radio operation
Page 9 of 21

AIR CONDITIONING AND AUDIO
87 (a) Listening to the radio
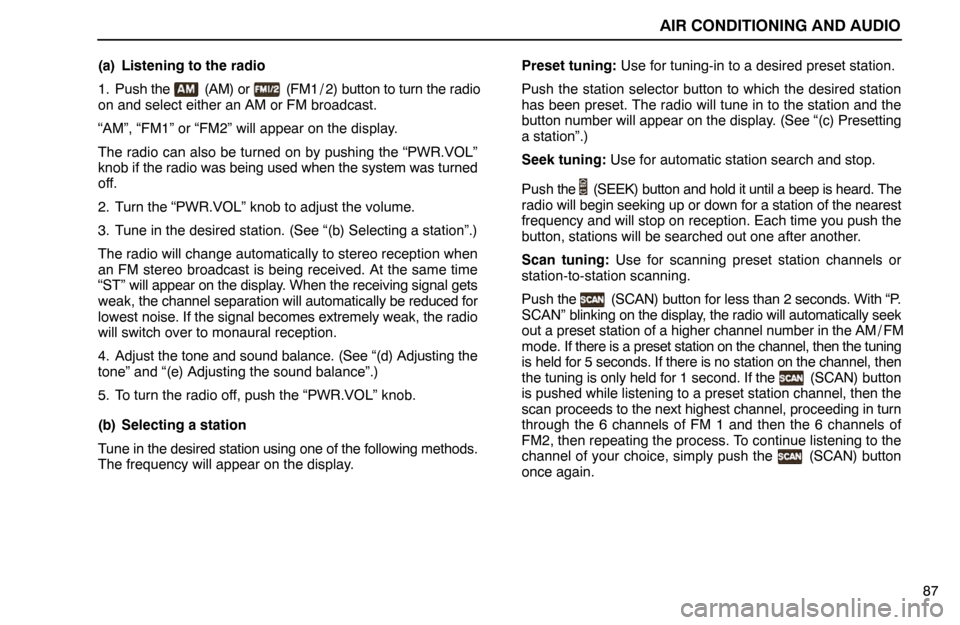
1. Push the
(AM) or (FM1 / 2) button to turn the radio
on and select either an AM or FM broadcast.
“AM”, “FM1” or “FM2” will appear on the display.
The radio can also be turned on by pushing the “PWR.VOL”
knob if the radio was being used when the system was turned
off.
2. Turn the “PWR.VOL” knob to adjust the volume.
3. Tune in the desired station. (See “(b) Selecting a station”.)
The radio will change automatically to stereo reception when
an FM stereo broadcast is being received. At the same time
“ST” will appear on the display. When the receiving signal gets
weak, the channel separation will automatically be reduced for
lowest noise. If the signal becomes extremely weak, the radio
will switch over to monaural reception.
4. Adjust the tone and sound balance. (See “(d) Adjusting the
tone” and “(e) Adjusting the sound balance”.)
5. To turn the radio off, push the “PWR.VOL” knob.
(b) Selecting a station
Tune in the desired station using one of the following methods.
The frequency will appear on the display.Preset tuning: Use for tuning-in to a desired preset station.
Push the station selector button to which the desired station
has been preset. The radio will tune in to the station and the
button number will appear on the display. (See “(c) Presetting
a station”.)
Seek tuning: Use for automatic station search and stop.
Push the
(SEEK) button and hold it until a beep is heard. The
radio will begin seeking up or down for a station of the nearest
frequency and will stop on reception. Each time you push the
button, stations will be searched out one after another.
Scan tuning: Use for scanning preset station channels or
station-to-station scanning.
Push the
(SCAN) button for less than 2 seconds. With “P.
SCAN” blinking on the display, the radio will automatically seek
out a preset station of a higher channel number in the AM / FM
mode. If there is a preset station on the channel, then the tuning
is held for 5 seconds. If there is no station on the channel, then
the tuning is only held for 1 second. If the
(SCAN) button
is pushed while listening to a preset station channel, then the
scan proceeds to the next highest channel, proceeding in turn
through the 6 channels of FM 1 and then the 6 channels of
FM2, then repeating the process. To continue listening to the
channel of your choice, simply push the
(SCAN) button
once again.
Page 10 of 21

AIR CONDITIONING AND AUDIO
88Push the
(SCAN) button for longer than 2 seconds. With
“SCAN” on the display, the radio will automatically seek out a
station of higher frequency, hold it for 5 seconds and scan to
the next. To continue listening to the broadcast of your choice,
simply push the
(SCAN) button once again.
Manual tuning: Push the
(TUNE) button within 0.5 seconds.
Each time you push the button, the radio will step up or down
to another frequency where stations could exist.
(c) Presetting a station.
1. Tune in the desired station. (See “(b) Selecting a station”.)
2. Push one of the station selector buttons and hold it until a
beep is heard. This sets the station to the button and the button
number will appear on the display.
Each button can store one AM station and two FM stations. To
change the preset station to a different one, follow the same
procedure.
The preset station will be cancelled when the power source is
cut off (battery disconnected, blown fuse, etc.).
(d) Adjusting the tone
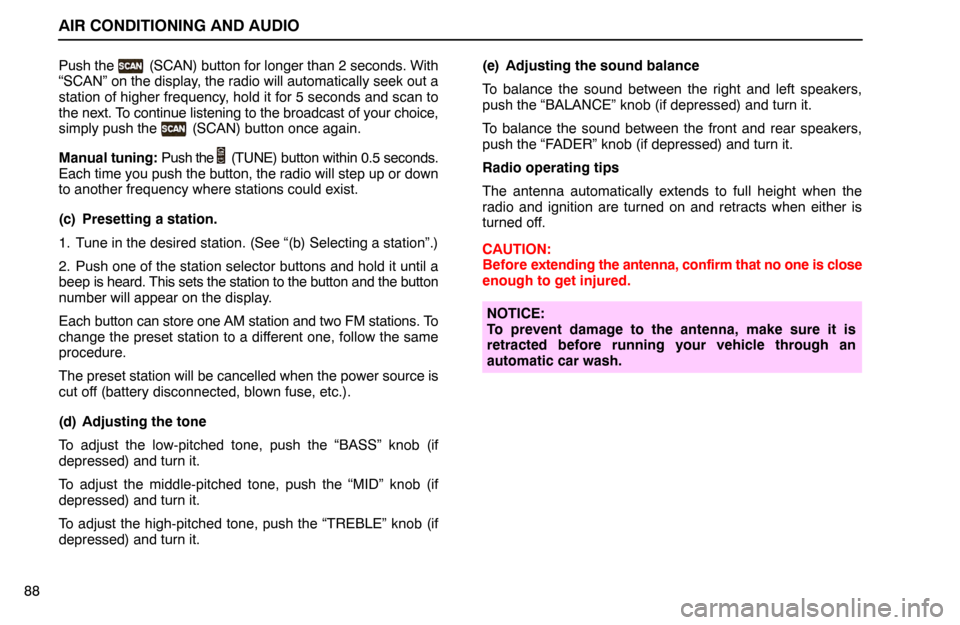
To adjust the low-pitched tone, push the “BASS” knob (if
depressed) and turn it.
To adjust the middle-pitched tone, push the “MID” knob (if
depressed) and turn it.
To adjust the high-pitched tone, push the “TREBLE” knob (if
depressed) and turn it.(e) Adjusting the sound balance
To balance the sound between the right and left speakers,
push the “BALANCE” knob (if depressed) and turn it.
To balance the sound between the front and rear speakers,
push the “FADER” knob (if depressed) and turn it.
Radio operating tips
The antenna automatically extends to full height when the
radio and ignition are turned on and retracts when either is
turned off.
CAUTION:
Before extending the antenna, confirm that no one is close
enough to get injured.
NOTICE:
To prevent damage to the antenna, make sure it is
retracted before running your vehicle through an
automatic car wash.
Page 19 of 21

AIR CONDITIONING AND AUDIO
97 (c) Selecting a compact disc
Push the
(DISC) button to select the disc number.
Push the
(DISC) button on either side and hold it until the
desired disc number appears on the display. As you release
the button, the player will start playing the selected disc from
the beginning.
(d) Selecting a program
Automatic program selection: Use for direct access to a
desired program.
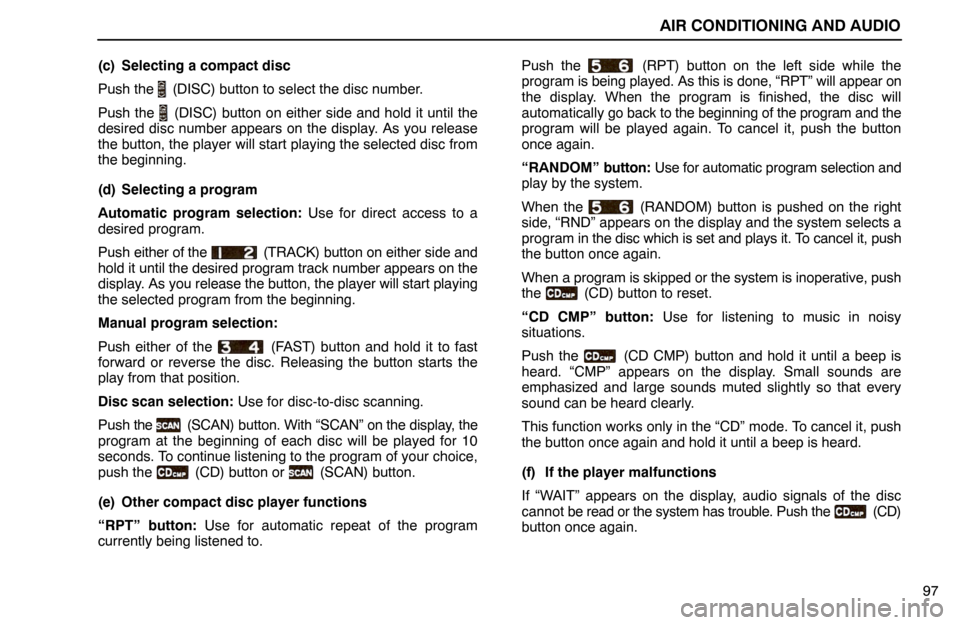
Push either of the
(TRACK) button on either side and
hold it until the desired program track number appears on the
display. As you release the button, the player will start playing
the selected program from the beginning.
Manual program selection:
Push either of the
(FAST) button and hold it to fast
forward or reverse the disc. Releasing the button starts the
play from that position.
Disc scan selection: Use for disc-to-disc scanning.
Push the
(SCAN) button. With “SCAN” on the display, the
program at the beginning of each disc will be played for 10
seconds. To continue listening to the program of your choice,
push the
(CD) button or (SCAN) button.
(e) Other compact disc player functions
“RPT” button: Use for automatic repeat of the program
currently being listened to.Push the
(RPT) button on the left side while the
program is being played. As this is done, “RPT” will appear on
the display. When the program is finished, the disc will
automatically go back to the beginning of the program and the
program will be played again. To cancel it, push the button
once again.
“RANDOM” button: Use for automatic program selection and
play by the system.
When the
(RANDOM) button is pushed on the right
side, “RND” appears on the display and the system selects a
program in the disc which is set and plays it. To cancel it, push
the button once again.
When a program is skipped or the system is inoperative, push
the
(CD) button to reset.
“CD CMP” button: Use for listening to music in noisy
situations.
Push the
(CD CMP) button and hold it until a beep is
heard. “CMP” appears on the display. Small sounds are
emphasized and large sounds muted slightly so that every
sound can be heard clearly.
This function works only in the “CD” mode. To cancel it, push
the button once again and hold it until a beep is heard.
(f) If the player malfunctions
If “WAIT” appears on the display, audio signals of the disc
cannot be read or the system has trouble. Push the
(CD)
button once again.