1995 CHEVROLET TRACKER service
[x] Cancel search: servicePage 2 of 354

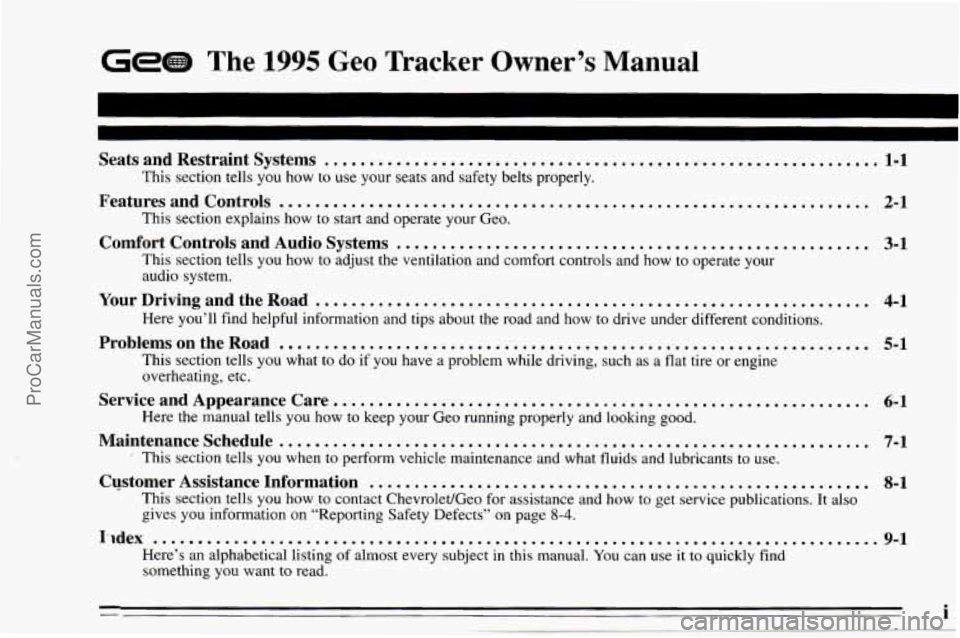
GeGB The 1995 Geo Tracker Owner’s Manual
Seats and Restraint Systems .............................................................. 1-1
This section tells you how to use your seats and safety belts prop\
erly.
Features and Controls .................................................................. 2-1
This section explains how to start and operate your Geo.
Comfort Controls and Audio Systems ..................................................... 3-1
This section tells you how to adjust the ventilation and comfo\
rt controls and how to operate your
audio system. Here you’ll find helpful information and tips about the road\
and how to drive under different conditions.
This section tells you what to do if you have
a problem while driving, such as a flat tire or engine
overheating, etc.
YourDrivingandtheRoad .............................................................. 4-1
Problems on the Road
.................................................................. 5-1
Service and Appearance Care. ........................................................... 6-1
Here the manual tells you how to keep your Geo running properly and looking good.
This section tells you when to perform vehicle maintenance and \
what fluids and lubricants to
use.
This section tells you how to contact Chevrolet/Geo for assista\
nce and how to get service publications. It also
gives you information on “Reporting Safety Defects” on pag\
e
8-4.
Maintenanceschedule .................................................................. 7-1
Customer Assistance Information ........................................................ 8-1
I-Idex ........................................................,...............\
.........9-1
Here’s an alphabetical listing of almost every subject in this manual. You can use it to quickly find
something
you want to read.
ProCarManuals.com
Page 3 of 354

GENERAL MOTORS, GM and the GM Emblem,
CHEVROLET and the Chevrolet Emblem, Geo and the
Geo Emblem are registered trademarks
of General
Motors Corporation.
This manual includes
the latest information at the time it
was printed. We reserve the right to make changes
in the
product after that time without further notice. For
vehicles first sold in Canada, substitute the name
“General Motors
of Canada Limited” for Chevrolet
Motor Division whenever it appears in this manual.
Please keep this manual in your Geo,
so it will be there
if
you ever need it when you’re on the road. If you sell
the vehicle, please leave this manual in it so the new
owner can use
it.
Litho in U.S.A.
Part No. 10258592 B First Edition
WE SUPPORT
VOLUNTARY TECHNICIAN
CERTIFICATION THROUGH
AUTOMOTIVE National Institute for
EXCELLENCE SERVICE
We
support voluntary
technician certification.
For Canadian Owners Who Prefer a
French Language Manual:
Aux propribtaires canadiens: Vous pouvez vous procurer
un exemplaire de ce guide en franGais chez votre
concessionaire
ou au DGN Marketing Services Ltd.,
1500 Bonhill Rd., Mississauga, Ontario L5T 1C7.
@Copyright General Motors Corporation 1994
All Rights Reserved
ii -
ProCarManuals.com
Page 52 of 354

Starting Your Engine
Automatic transmission:
NOTICE:
If your key seems stuck in LOCK and you can’t
turn
it, be sure it is all the way in. If it is, then
turn the steering wheel left and right while you
turn the key hard. But turn the key only with
your hand. Using
a tool to force it could break
the key or the ignition switch.
If none of this
works, then your vehicle needs service.
Move your shift lever to PARK (P) or NEUTRAL (N).
Your engine won’t start in any other position -- that’s a
safety feature.
To restart when you’re already moving,
use NEUTRAL
(N) only,
NOTICE:
Don’t try to shift to PARK (P) if your Geo is
moving. If you do, you could damage the
transmission. Shift to
PARK (P) only when your
vehicle is stopped.
Manual transmission:
The gear selector should be in neutral. Hold the clutch
pedal to the floor and start the engine. Your vehicle
won’t start
if the clutch pedal is not all the way
down
-- that’s a safety feature.
2-9
ProCarManuals.com
Page 88 of 354

Brake System Warning Light
BRAKE
United States Canada
Your Geo’s
hydraulic brake system is divided into two
parts. If one part isn’t working, the other part can still
work and stop you. For good braking, though, you need
both
parts working well.
Your vehicle also has rear-wheel anti-lock brakes. If the
warning light comes on, there could be a brake problem
with either your regular or rear-wheel anti-lock brakes,
or both. Have your brake system inspected right away.
This light should come on briefly as you start the
vehicle.
If it doesn’t come on then, have it fixed so it
will be ready to warn you if there’s a problem. If
the light comes on while you are driving, pull
off the
road and stop carefully.
You may notice that the pedal is
harder to push. Or, the pedal may
go closer to the floor.
It may take longer to stop.
If the light is still on, have the
vehicle towed
for service. (See “Towing Your Vehicle”
in the Index.)
The brake system warning light will also come on when
you set your parking brake, and it will stay on if your
parking brake doesn’t release fully. If it stays on after
your parking brake is fully released, it means you have
a
brake problem.
~ ..
2-45
ProCarManuals.com
Page 89 of 354

Engine Coolant Temperature Gage
This gage shows the engine coolant temperature. If the
gage pointer move to the
H (red) side, your engine is too
hot! It means that your engine coolant has overheated
and you should stop your vehicle and turn
off the engine
as soon as possible.
Hot Coolant Can Burn You Badly!
In “Problems on the Road,” this manual shows what to
do. See “Engine Overheating”
in the Index.
Malfunction Indicator Lamp
(Check Engine Light)
A computer monitors
operation
of your fuel,
ignition and emission
control systems. This red
light should come
on when
the ignition
is on, but the
engine
is not running, as a
check to show you it is
CHECK
ENGINE
Da i
I
If it does not come on at all, have it fixed right away. If
it stays on, or comes on while you are driving, the
computer is indicating that you have a problem. You
should take your vehicle in
for service soon.
NOTICE:
If’ you keep driving your vehicle with this light on,
after a while the emission controls won’t work
as
well, your fuel economy won’t be as good and your
engine may not
run as smoothly. This could lead to
costly repairs not covered by your warranty.
2-46
I
ProCarManuals.com
Page 124 of 354

Care of Your Cassette Tape Player
A tape player that is not cleaned regularly can cause
reduced sound quality, ruined cassettes, or a damaged
mechanism. Cassette
tapes should be stored in their
cases away from contaminants, direct sunlight, and
extreme heat. If they aren’t, they
may not operate
properly or
cause failure of the tape player.
Your tape player should be cleaned regularly each
month or after every
50 hours of use. Your radio may
display Cln to indicate
that you have used your tape
player for
50 hours without resetting the tape clean
timer.
If you notice a reduction in sound quality, try a
known good cassette
to see if the tape or the tape player
is at fault. If this other cassette has no improvement in
sound quality, clean the tape player.
Cleaning may be done
with a scrubbing action,
non-abrasive cleaning cassette. This system uses a
cleaning cassette with pads which scrub
the tape head as
the hubs of the cleaner cassette turn. It is normal for the
cartridge to eject
while cleaning. Insert the cassette at
least three times to ensure thorough cleaning.
A
scrubbing action cleaning cassette is available through
your Chevrolet/Geo dealership.
You may also choose a non-scrubbing action, wet type
cleaner which uses a cassette
with a fabric belt to clean
the tape head. This type
of cleaning cassette will not eject.
It may not
clean as thoroughly as the scrubbing
type cleaner.
Cassettes
are subject to wear and the sound quality may
degrade over time. Always make sure that
the cassette
tape is in good condition before you have your tape
player serviced.
Care of Your Compact Discs
Handle discs carefully. Store them in their original cases
or other protective cases and away from direct sunlight
and dust. If
the surface of a disc is soiled, dampen a
clean, soft cloth
in a mild, neutral detergent solution and
clean it, wiping from the center to the edge.
Be sure never to touch the signal surface when handling
discs. Pick up discs by grasping the outer edges or the
edge of the hole and
the outer edge.
Antenna
Use the knob on the end of the antenna to raise the
antenna. To lower it, hold the antenna mast near the roof
and feed it into the holder.
Do not try to lower the
antenna using the knob. Keep the antenna mast clean for
good performance.
Always lower the antenna before entering a car wash. If
you have the convertible top, also lower the antenna
before removing
or installing the top.
ProCarManuals.com
Page 139 of 354

Off-Road Driving with Your Geo
Four-wheel Drive Vehicle
This off-road guide is for vehicles that have four-wheel
drive.
Also, see “Anti-Lock Brakes” in the Index.
If your vehicle doesn’t have four-wheel drive, you
shouldn’t drive off-road unless you’re on a level, solid
surface.
Off-road driving can be great fun. But it does have some
definite hazards. The greatest of these is the terrain
itself.
“Off-roading” means you’ve
left the great North
American road system behind. Traffic lanes aren’t
marked. Curves aren’t banked. There are no road signs.
Surfaces can be slippery, rough, uphill or downhill. In
short, you’ve gone right back to nature.
Off-road driving involves some new skills. And that’s
why it’s very important that you read this guide. You’ll
find many driving tips and suggestions. These will help
make your off-road driving safer and more enjoyable.
Before You Go Off-Roading
There are some things to do before you go out. For
example, be sure to have all necessary maintenance and
service work done. Check to make sure all underbody
shields (if
so equipped) are properly attached. Be sure
you read all the information about your four-wheel drive
vehicle
in this manual. Is there enough fuel? Is the spare
tire fully inflated? Are the fluid levels up where they
should be? What are the local laws that apply
to
off-roading where you’ll be driving? If you don’t know,
you should check with law enforcement people
in the
area. Will you be on someone’s private land? If
so, be
sure to get the.necessary permission.
Loading Your Vehicle for Off-Road Driving
There are some important things to remember about
how to load your vehicle.
0 The heaviest things should be on the load floor and
forward
of your rear axle. Put heavier items as far
forward as you can.
0 Be sure the load is secured properly, so driving on
the off-road terrain doesn’t toss things around.
4-14
ProCarManuals.com
Page 151 of 354

Driving In Water
Light rain causes no special off-road driving problems.
But heavy rain can mean flash flooding, and flood
waters demand extreme caution.
Find out how deep the water is before you drive through
it. If it’s deep enough
to cover your wheel hubs, axles,
or exhaust pipe, don’t try it
-- you probably won’t get
through. Also, water that deep can damage your axle
and other vehicle parts.
If the water isn’t too deep, then drive through it slowly.
At fast speeds, water splashes on your ignition system
and your vehicle can stall. Stalling can also occur if
you
get your tailpipe under water. And, as long as your
tailpipe is under water, you’ll never
be able to start your
engine. When you go through water, remember that
when your brakes get wet, it may take you longer
to
stop.
After Off-Road Driving
Remove any brush or debris that has collected on the
underbody, chassis or under the hood. These
accumulations can be
a fire hazard.
After operation in mud or sand, have the brake linings
cleaned and checked. These substances can cause
glazing and uneven braking. Check the body structure,
steering, suspension, wheels, tires, and exhaust system
for damage. Also, check the fuel lines and cooling
svstem for any leakage.
rour vehicle
will require more frequent service due to
off-road use. Refer to the Maintenance Schedule booklet
for additional information.
ProCarManuals.com