1995 CHEVROLET TAHOE service
[x] Cancel search: servicePage 297 of 486
Downloaded from www.Manualslib.com manuals search engine What to Do with Used Oil
Did you know that used engine oil contains certain elements that may be
unhealthy for your skin and could
even cause cancer‘? Don’t let used oil stay
on your skin for very long. Clean your skin and nails
with soap and water,
or
a good hand cleaner. Wash or properly throw away clothing or rags
containing used engine
oil. (See the manufacturer’s warnings about the use
and disposal of oil products.)
Used
oil can be a real threat to the environment. If you change your own oil,
be sure to drain all free-flowing oil from the filter before disposal. Don’t
ever dispose
of oil by putting it in the trash, pouring it on the ground, into
sewers, or into streams or bodies
of water. Instead, recycle it by taking it to
a place that collects used oil. If you have a problem properly disposing of
your used oil,
ask your dealer, a service station or a local recycling center
for help.
Engine Oil (Diesel Engines)
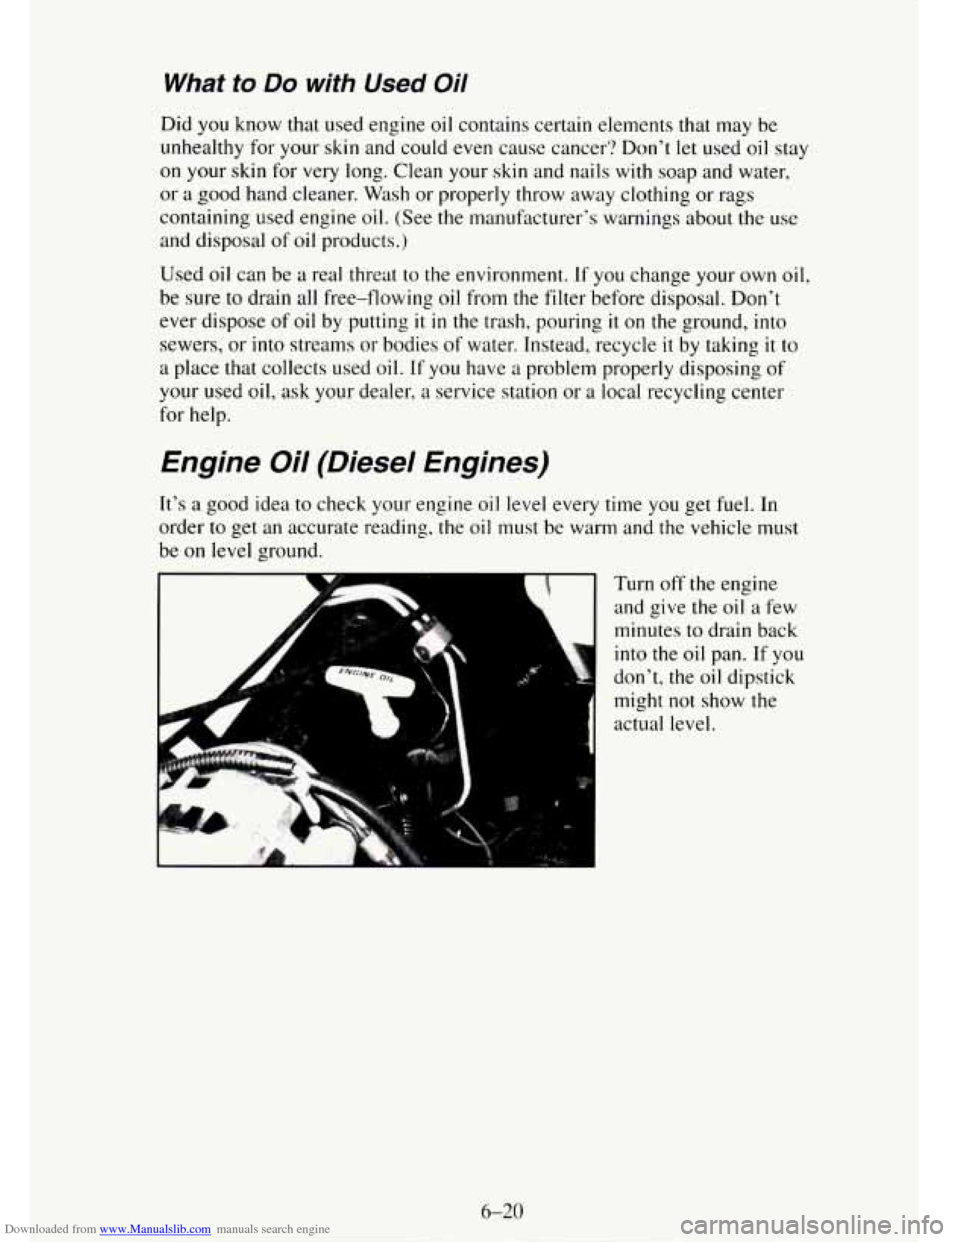
It’s a good idea to check your engine oil level every time you get fuel. In
order
to get an accurate reading, the oil must be warm and the vehicle must
be on level ground.
r Turn off the engine
and give
the oil a few
minutes to drain back
into the
oil pan. If you
don’t, the oil dipstick
might not show the
actual level.
6-20
Page 301 of 486
Downloaded from www.Manualslib.com manuals search engine This doughnut-shaped logo (symbol) is used on most oil containers to help
you select the correct oil.
You should
look for this on the oil container, and use only those oils that
display the logo.
GM Goodwrench@
oil (in Canada, GM Engine Oil) meets all the
requirements for your vehicle.
Engine Oil Additives
Don’t add anything to your oil. Your GM dealer is ready to advise if you
think something should be added.
When to Change Engine Oil
See if any one of these is true for you:
Most trips are less than 5 to I0 miles (8 to 16 km). This is particularly
important when outside temperatures are below freezing.
0 Most trips include extensive idling (such as frequent driving in stop and
go traffic).
You operate your vehicle in dusty areas or off-road frequently.
0 You frequently tow a trailer or use a carrier on top of your vehicle.
If any of
these is true for your vehicle, then you need to change your oil and
filter every
2,500 miles (4 000 km) or 3 months - whichever comes first.
If
none of them is true, change the oil and filter every 5,000 miles (8 000
km) or I2 months - whichever comes first.
What to Do with Used Oil
Did you know that used engine oil contains certain elements that may be
unhealthy for your skin and could even cause cancer? Don’t let used oil stay
on your skin for very long. Clean your skin and nails with soap and water,
or a good hand cleaner. Wdsh or properly throw away clothing or rags
containing used engine
oil. (See the manufacturer’s warnings about the use
and disposal
of oil products.)
Used oil can be
a real threat to the environment. If you change your own oil,
be sure to drain all free-flowing oil from the filter before disposal. Don’t
ever dispose
of oil by putting it in the trash, pouring it on the ground, into
sewers, or
into streams or bodies of water. Instead, recycle it by taking it to
a place that collects used
oil. If you have a problem properly disposing of
your used oil, ask your dealer, a service station or a local recycling center
for help.
Page 302 of 486
Downloaded from www.Manualslib.com manuals search engine Air Cleaner
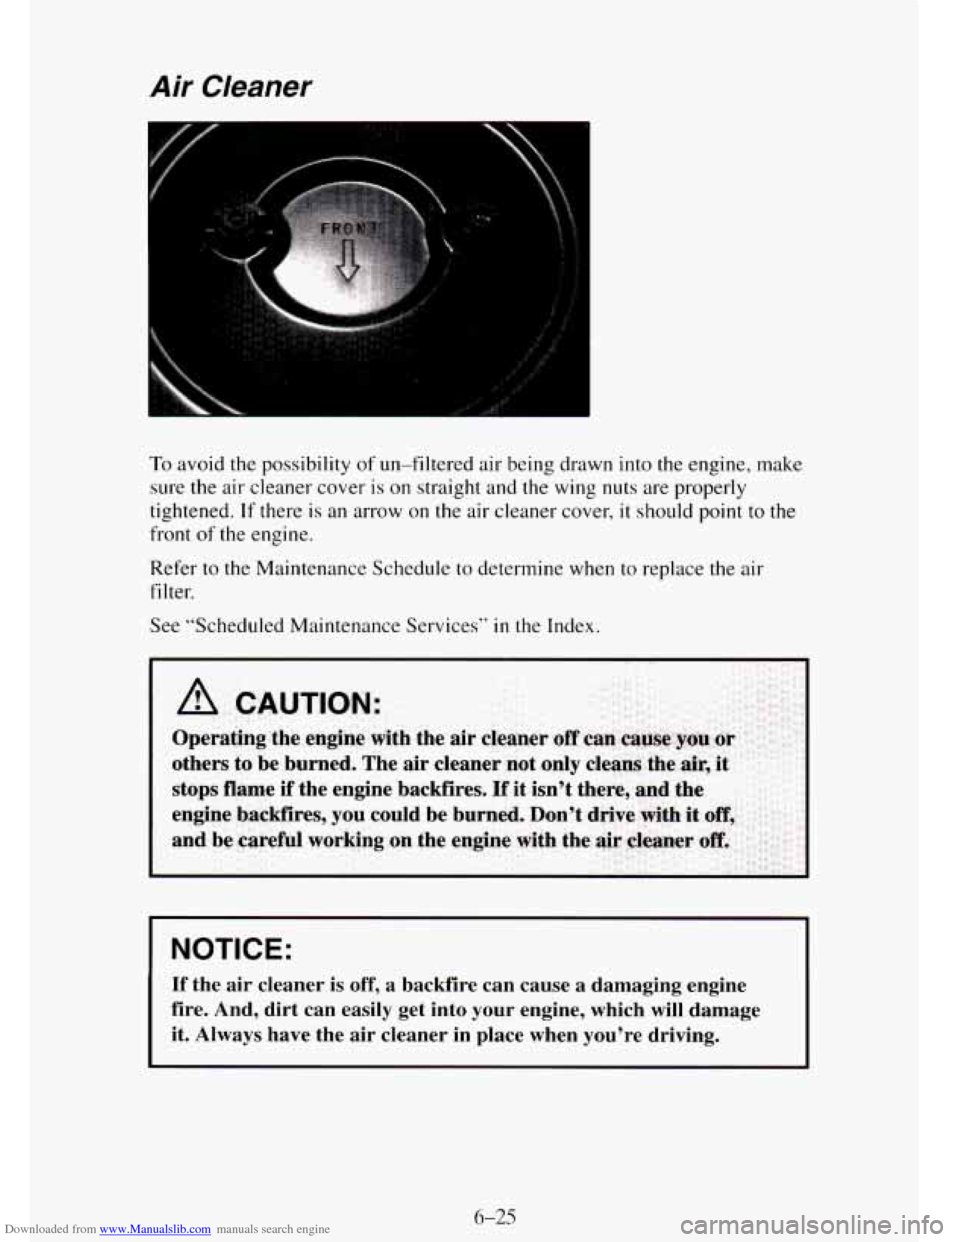
To avoid the possibility of un-filtered air being drawn into the engine, make
sure the air cleaner cover
is on straight and the wing nuts are properly
tightened.
If there is an arrow on the air cleaner cover, it should point to the
front
of the engine.
Refer to the Maintenance Schedule
to determine when to replace the air
fi 1 ter.
See “Scheduled Maintenance Services”
in the Index.
NOTICE:
If the air cleaner is off, a backfire can cause a damaging engine
fire. And, dirt can easily get into
your engine, which will damage
it. Always have the air cleaner in place when you’re driving.
6-25
Page 303 of 486
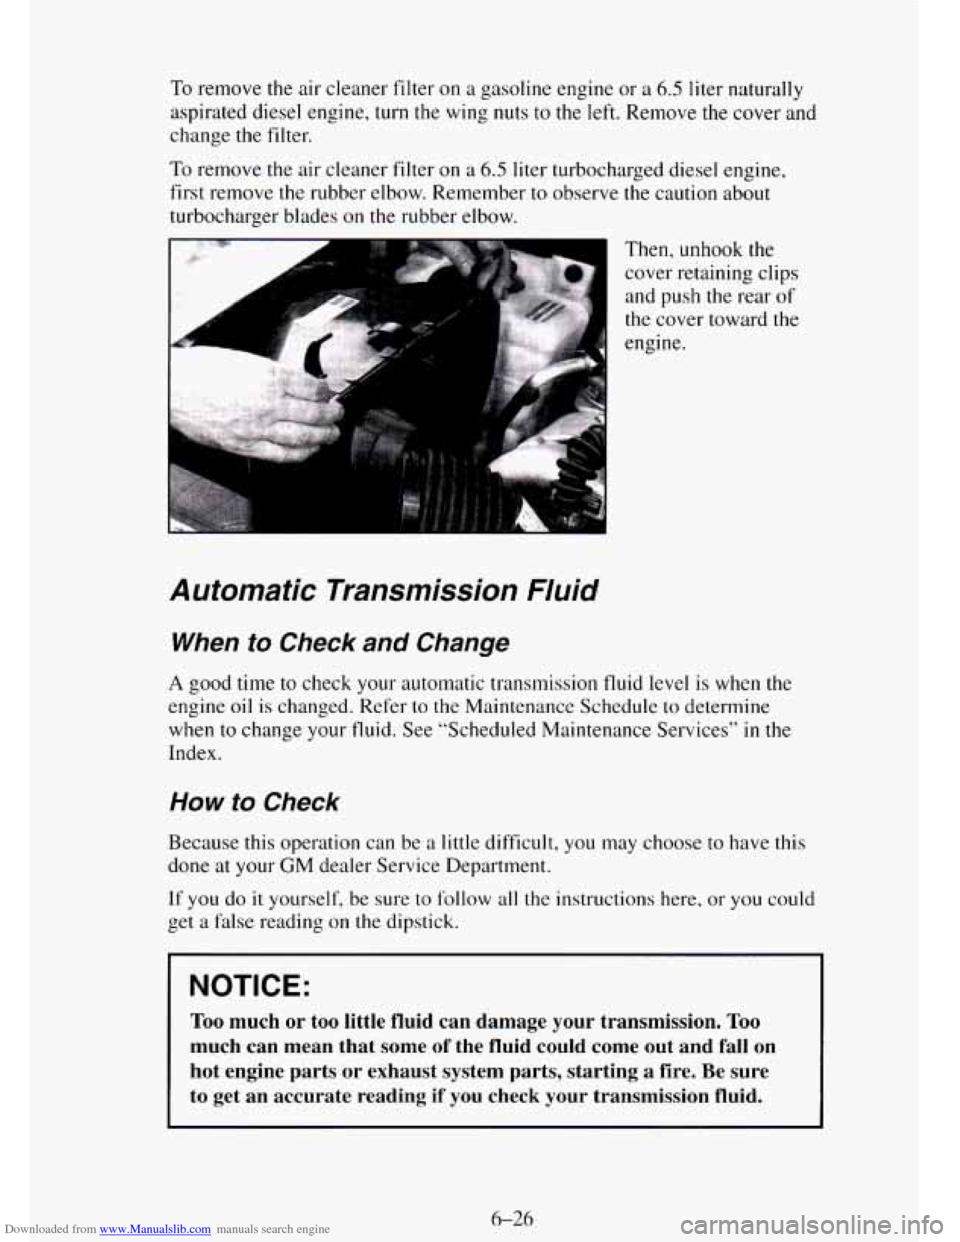
Downloaded from www.Manualslib.com manuals search engine To remove the air cleaner filter on a gasoline engine or a 6.5 liter naturally
aspirated diesel engine, turn the wing nuts
to the left. Remove the cover and
change
the filter.
To remove the air cleaner filter on a 6.5 liter turbocharged diesel engine,
first remove the rubber elbow. Remember to observe the caution about
turbocharger blades
on the rubber elbow.
Then, unhook the cover retaining clips
and push the rear
of
the cover toward the
engine.
Automatic Transmission Nuid
When to Check and Change
A good time to check your automatic transmission fluid level is when the
engine
oil is changed. Refer to the Maintenance Schedule to determine
when to change your
fluid. See “Scheduled Maintenance Services” in the
Index.
How to Check
Because this operation can be a little difficult, you may choose to have this
done
at your GM dealer Service Department.
If you do
it yourself, be sure to follow all the instructions here, or you could
get a false reading on the dipstick.
NOTICE:
Too much or too little fluid can damage your transmission. Too
much can mean that some of the fluid could come out and fall on
hot engine parts or exhaust system parts, starting a fire. Be \
sure
to get an accurate reading
if you check your transmission fluid.
6-26
Page 306 of 486
Downloaded from www.Manualslib.com manuals search engine How to Add Fluid
Refer to the Maintenance Schedule to determine what kind of transmission
fluid to use. See “Recommended Fluids and Lubricants”
in the Index.
Add fluid only after checking the transmission fluid HOT.
(A COLD check
is used
only as a reference.) If the fluid level is low, add only enough of the
proper fluid to bring the level up to the HOT area for a
hot check. It doesn’t
take much fluid, generally less than a
int. Don 7 overfill. We recommend
you
use only fluid labeled DEXRON -111, because fluid with that label is
made especially for your automatic transmission. Damage caused by fluid
other than DEXRON@-111
is not covered by your new vehicle warranty.
8
After adding fluid, recheck the fluid level as described under “How to
Check.”
When the correct fluid level is obtained, push the dipstick back in all
the way; then flip
the handle down to lock the dipstick in place.
Manual Transmission Fluid
When to Check
A good time to have it checked is when the engine oil is changed. However,
the fluid
in your manual transmission doesn’t require changing.
How to Check
Because this operation can be a little difficult, you may choose to have this
done at your
GM dealer Service Department.
If you do it yourself, be sure to follow all the instructions here, or you could
get a false reading.
I NOTICE:
Too much or too little fluid can damage your transmission. Too
much can mean that some of the fluid could come out and fall on
hot engine parts or exhaust system parts, starting a fire.
Be sure
to get an accurate reading if you check your transmission fluid.
Check the fluid level only when your engine is off, the vehicle is parked on
a level place and the transmission is cool enough for you to rest your fingers
on the transmission case.
6-29
Page 308 of 486
Downloaded from www.Manualslib.com manuals search engine When to Check and What to Use
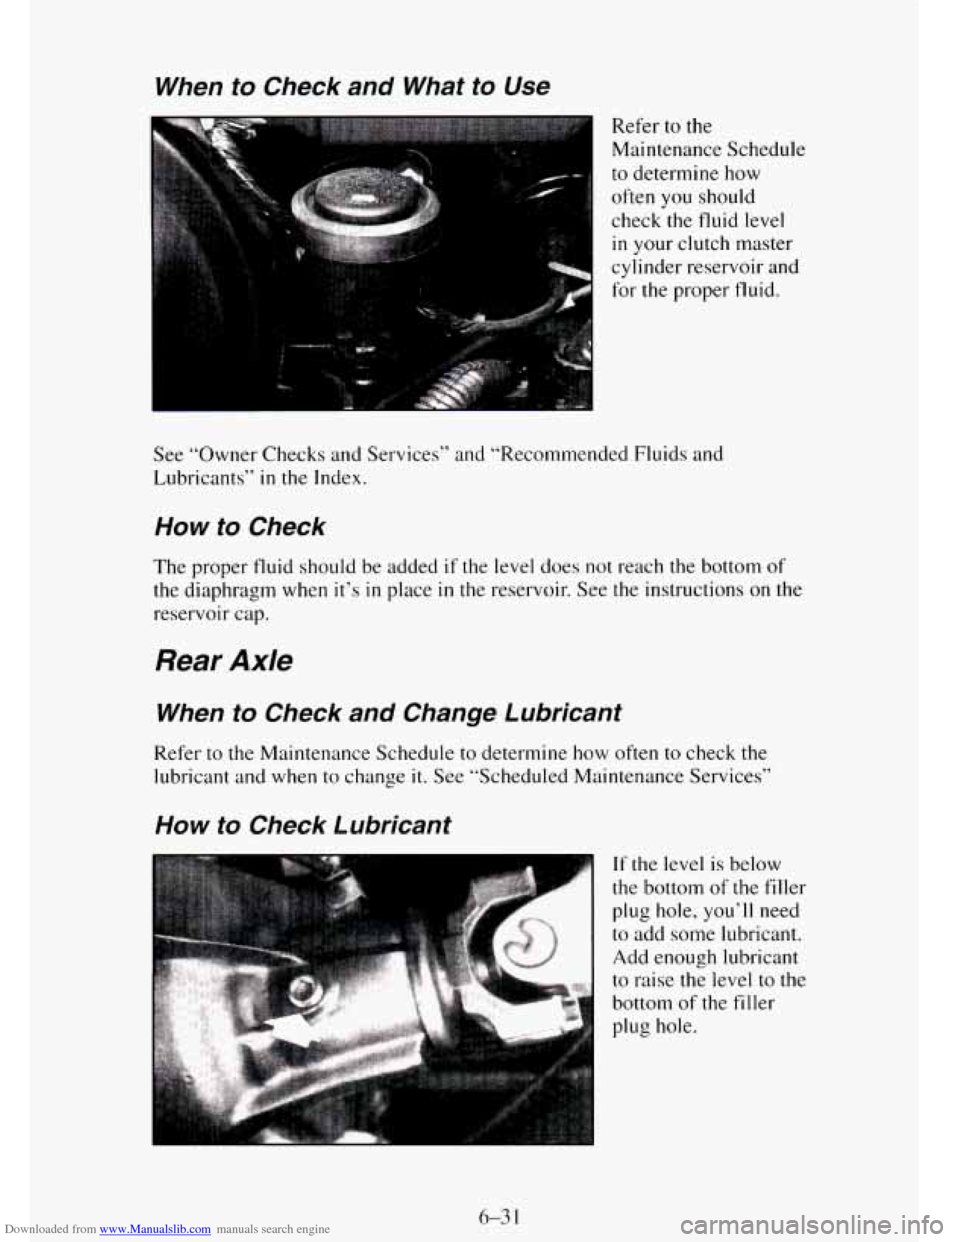
Refer to the
Maintenance Schedule
to determine how
often you should
check the fluid level
in your clutch master
cylinder reservoir and
for the proper fluid.
See “Owner Checks and Services” and “Recommended Fluids and
Lubricants”
in the Index.
How to Check
The proper fluid should be added if the level does not reach the bottom of
the diaphragm when it’s in place in the reservoir. See the instructions on the
reservoir cap.
Rear Axle
When to Checkand Change Lubricant
Refer to the Maintenance Schedule to determine how often to check the
lubricant and when to change
it. See “Scheduled Maintenance Services”
How to Check Lubricant
6-3 1
Page 309 of 486
Downloaded from www.Manualslib.com manuals search engine What to Use
Refer to the Maintenance Schedule to determine what kind of lubricant to
use. See “Recommended Fluids and Lubricants”
in the Index.
Four- Wheel Drive
Most lubricant checks in this section also apply to four-wheel-drive
vehicles. However, they have two additional systems that need lubrication.
Transfer Case
When to Check Lubricant
Refer to the Maintenance Schedule to determine how often to check the
lubricant. See “Periodic Maintenance Inspections”
in the Index.
How to Check Lubricant
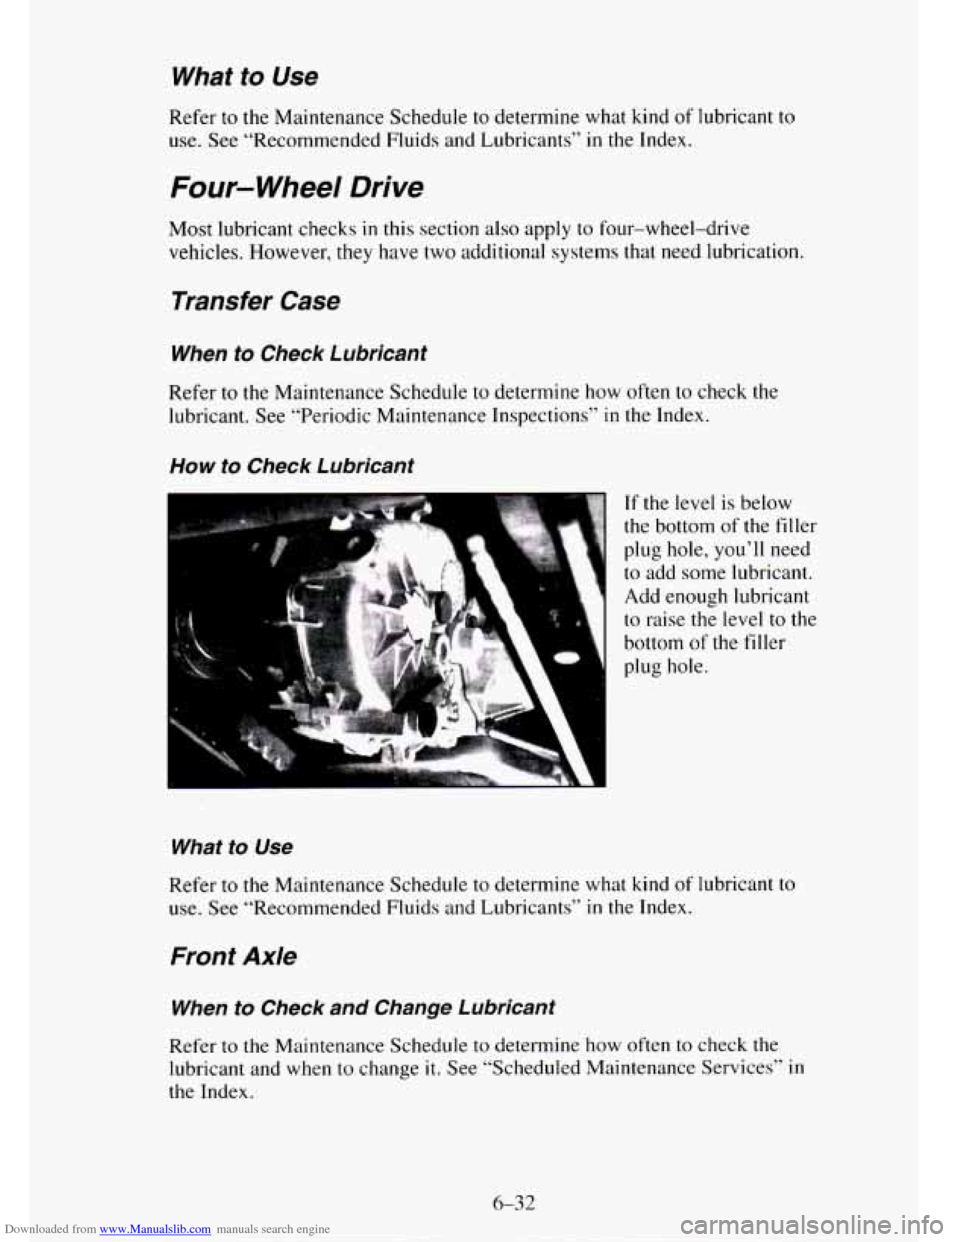
If the level is below
the bottom of
the filler
plug hole, you’ll need
to add some lubricant.
Add enough lubricant
to raise the level
to the
bottom
of the filler
plug hole.
What to Use
Refer to the Maintenance Schedule to determine what kind of lubricant to
use. See “Recommended Fluids and Lubricants” in the Index.
Front Axle
When to Check and Change Lubricant
Refer to the Maintenance Schedule to determine how often to check the
lubricant and when to change
it. See “Scheduled Maintenance Services” in
the Index.
6-32
Page 321 of 486
Downloaded from www.Manualslib.com manuals search engine Replacing Brake System Parts
The braking system on a modern vehicle is complex. Its many parts have to
be of top quality and work well together
if the vehicle is to have really good
braking. Vehicles we design and test have top-quality
GM brake parts in
them, as your vehicle does when it is new. When you replace parts of your
braking system
- for example, when your brake linings wear down and
you have to have new ones put in - be sure you get new genuine GM
replacement parts. If you don’t, your brakes may no longer work properly.
For example, if someone puts in brake linings that are wrong for your
vehicle, the balance between your front and rear brakes can change
- for
the worse. The braking performance you’ve come to expect can change
in
many other ways if someone puts in the wrong replacement brake parts.
Front Shock Absorbers
The front shock absorbers of your vehicle do many things. They help the
vehicle ride smoothly and also control the travel of the suspension system.
When the shock absorbers are serviced, any replacement shock absorbers
must be the same
as the original equipment shock absorbers in both
extended length and strength.
I NOTICE:
If you use shock absorbers that are not the same as the original
shock absorbers, the shock absorbers or suspension system
could be damaged.
Windshield Wiper Blade Inserts
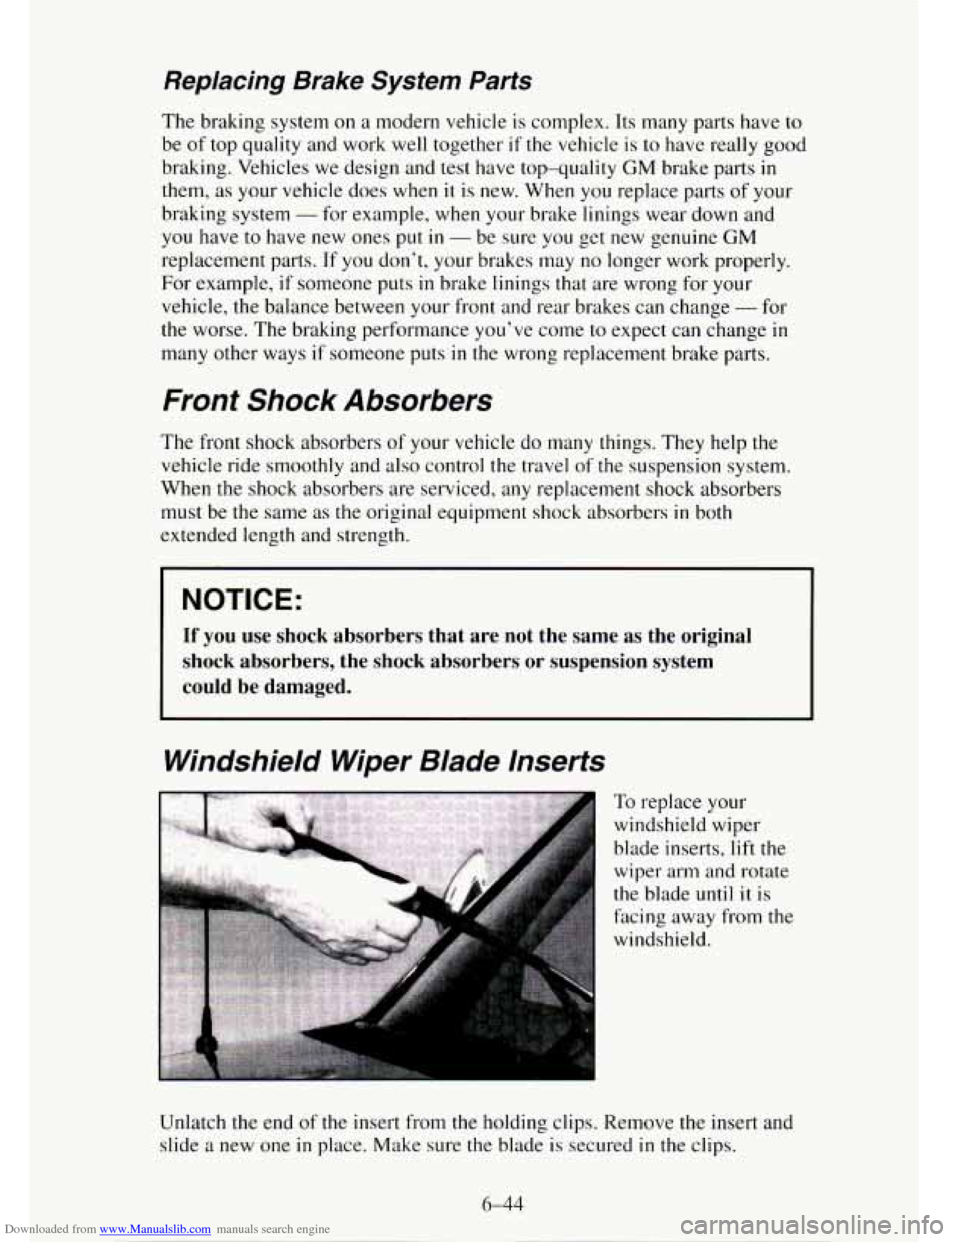
To replace your
windshield wiper
blade inserts, lift the
wiper arm and rotate
the blade until
it is
facing away from
the
windshield.
Unlatch the end of the insert from the holding clips. Remove the insert
and
slide a new one in place. Make sure the blade is secured in the clips.
6-44