Page 218 of 386
Downloaded from www.Manualslib.com manuals search engine 4. Fill with the proper mix. Add coolant until you see a
steady stream of coolant coming from the bleed
valve.
5. Close the bleed valve.
6. Continue to fill the coolant high fill reservoir up to
the base of the filler neck.
7. Rinse or wipe the spilled coolant from the engine
and compartment.
8. Start the engine and allow it to run in idle for
approximately four minutes.
By this time, the
coolant level inside the coolant high fill reservoir
will be lower. Add more
of the proper mix through
the filler neck
until the level reaches the base of the
filler neck.
9. Shut the engine off and replace the pressure cap. Be
sure the arrows
on the cap line up like this.
5-25
Page 244 of 386
Downloaded from www.Manualslib.com manuals search engine You’ll see the following when you open the hood with
the
LTl engine:
1.
2.
3.
4.
5.
6.
7.
8.
9.
10.
11.
12.
Hydraulic Clutch Fluid Reservoir (if equipped)
Brake Fluid Reservoir
Battery
Electric Engine Fan
Air Cleaner
Coolant Recovery Tank Power Steering Fluid Reservoir
Engine Oil Fill Cap
Engine Oil Dipstick Windshield Washer Fluid Reservoir
Coolant High
Fill Reservoir
Automatic Transmission Dipstick (if equipped)
6-9
Page 246 of 386
Downloaded from www.Manualslib.com manuals search engine 5.
6.
7.
8.
9.
10.
11.
Air Cleaner Coolant Recovery Tank
Power Steering Fluid Reservoir
Engine Oil Fill Cap
Engine Oil Dipstick
Windshield Washer Fluid Reservoir
Coolant High Fill Reservoir
Then release the hood strut by moving it
to the centered
position and lowering the hood. Lower the hood until
the bottom of the hood is the same height as the top of
the windshield, then release it.
Before closing the hood, be sure all the filler caps are
on,
6-11
Page 262 of 386

Downloaded from www.Manualslib.com manuals search engine What to Use What to Use
To add lubricant when the level is low, use Axle
Lubricant (GM Part
No. 12345977) or SAE SOW-90
GL-5 gear lubricant.
To completely refill after draining,
add
4 ounces (1 18 ml) of Limited-Slip Differential
Lubricant Additive (GM Part
No. 1052358). Then fill to
the bottom of the filler plug hole with Axle Lubricant
(GM Part
No. 12345977) or SAE 8OW-90 GL-5 gear
lubricant.
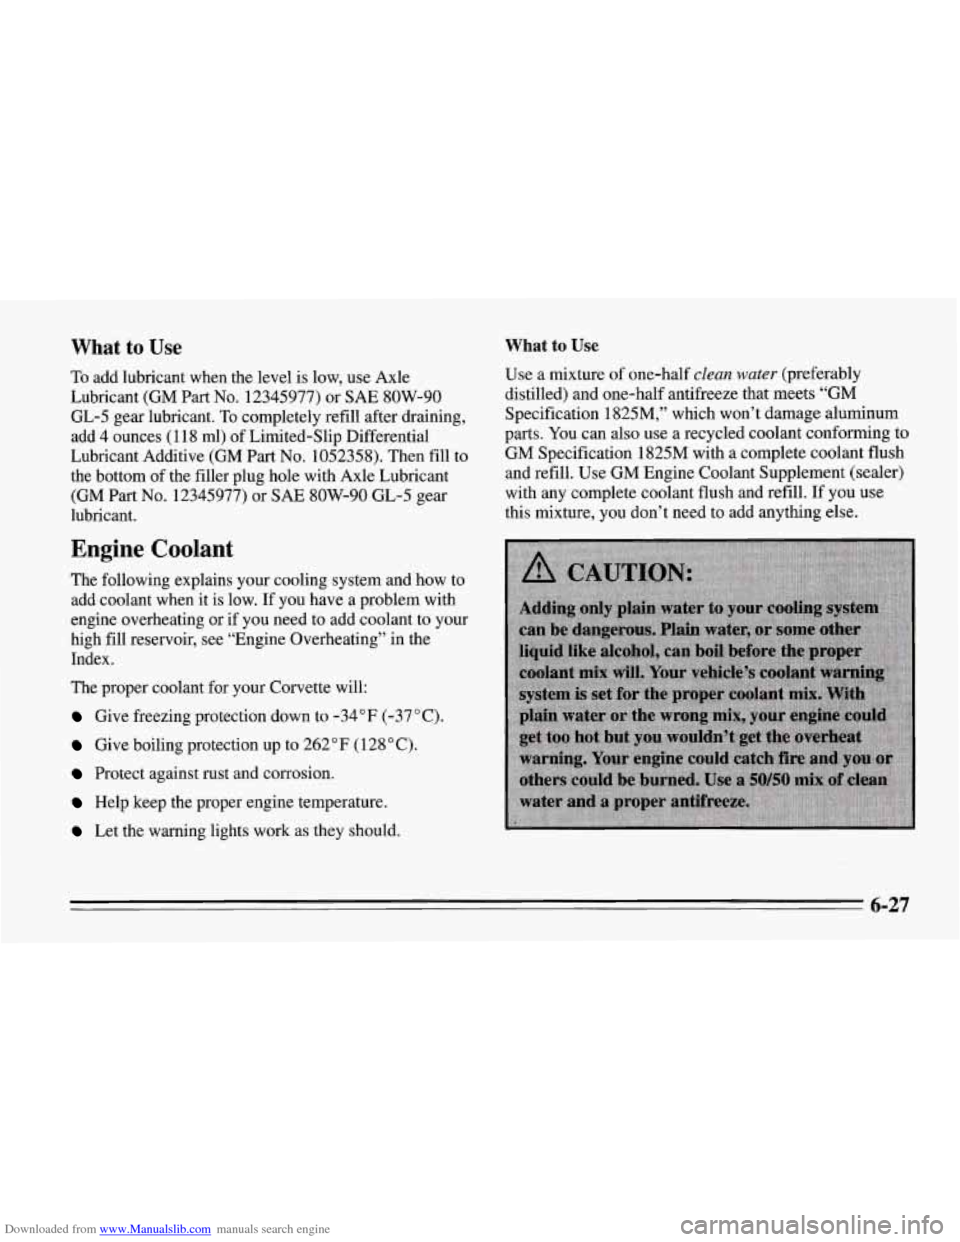
Engine Coolant
The following explains your cooling system and how to
add coolant when it is low.
If you have a problem with
engine overheating or if you need to add coolant to your
high fill reservoir, see “Engine Overheating” in the
Index.
The proper coolant for your Corvette will:
Give freezing protection down to -34°F (-37°C).
Give boiling protection up to 262 “F (128 ” C).
Protect against rust and corrosion.
Help keep the proper engine temperature.
Let the warning lights work as they should. Use a mixture
of one-half
clean water (preferably
distilled) and one-half antifreeze that meets
“GM
Specification 1825M,” which won’t damage aluminum
parts.
You can also use a recycled coolant conforming to
GM Specification 1825M with a complete coolant flush
and refill. Use GM Engine Coolant Supplement (sealer)
with any complete coolant flush and refill. If
you use
this mixture, you don’t need to add anything else.
6-27
Page 263 of 386
Downloaded from www.Manualslib.com manuals search engine NOTICE:
If you use an improper coolant mix, your engine
could overheat and be badly damaged. The
repair cost wouldn’t be covered by your
warranty.
Too much water in the mix can freeze
and crack the engine, radiator, heater core and other parts.
Adding Coolant
To Check Coolant
When your engine is cold, check the dipstick on the cap
of the coolant recovery tank. The coolant level should
be at COLD, or a little higher. When your engine is
warm, the level on the dipstick should be up to the HOT,
or a little higher. Your
Corvette also has
a high fill reservoir located at the
right rear of the engine compartment.
If the recovery tank
is very low or empty, also add
coolant to the
high fill reservoir. To add coolant at the
high fill reservoir, see “Engine Overheating” in the
Index.
6-28
Page 264 of 386
Downloaded from www.Manualslib.com manuals search engine To Add Coolant to the Recovery Tank
If you need more coolant, add the proper mix at the
coolant recovery tank,
but only when your engine is
cool. If the tank
is very low or empty, also add coolant
to the coolant high fill reservoir, see “Engine
Overheating” in the Index
for information.
Add coolant mix at the recovery tank, but be careful not
to spill it.
6-29
Page 311 of 386

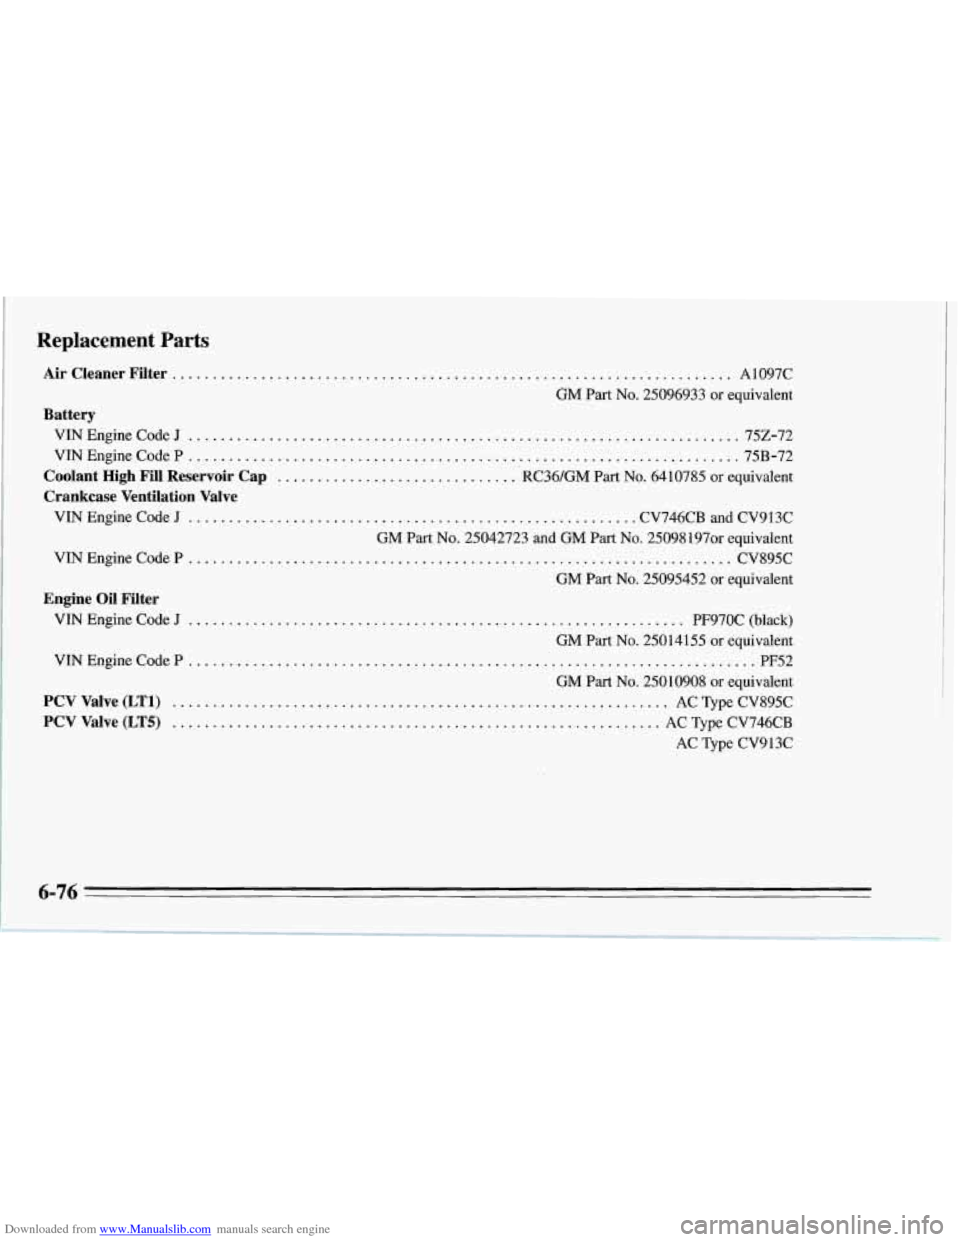
Downloaded from www.Manualslib.com manuals search engine Replacement Parts
Air Cleaner Filter ......................................
Battery
VIN Engine Code J ....................................
............................... A1097C
GM
Part No. 25096933 or equivalent
................................752-72
..................................................................... VIN Engine Code P 75B-72
Coolant High Fill Reservoir Cap ............................ RC36/GM Part No. 6410785 or equivalent
Crankcase Ventilation Valve
VIN Engine Code J ........................................................ CV746CB and CV9 13C
GM
Part No. 25042723 and GM Part No. 25098197or equivalent
VIN Engine Code
P CV895C
GM
Part No. 25095452 or equivalent
VIN Engine Code
J PF97OC (black)
GM
Part No. 25014155 or equivalent
VIN Engine Code
P ........ ............................................................
GM Part No. 25010908 or equivalent
....................................................................
Engine Oil Filter
..............................................................
PCV Valve (LT1) .............................. ......................... AC Type CV895C
PCV Valve (LT5) ........................... ................. ~.. AC Type CV746CB
AC Type CV913C
6-76
Page 376 of 386

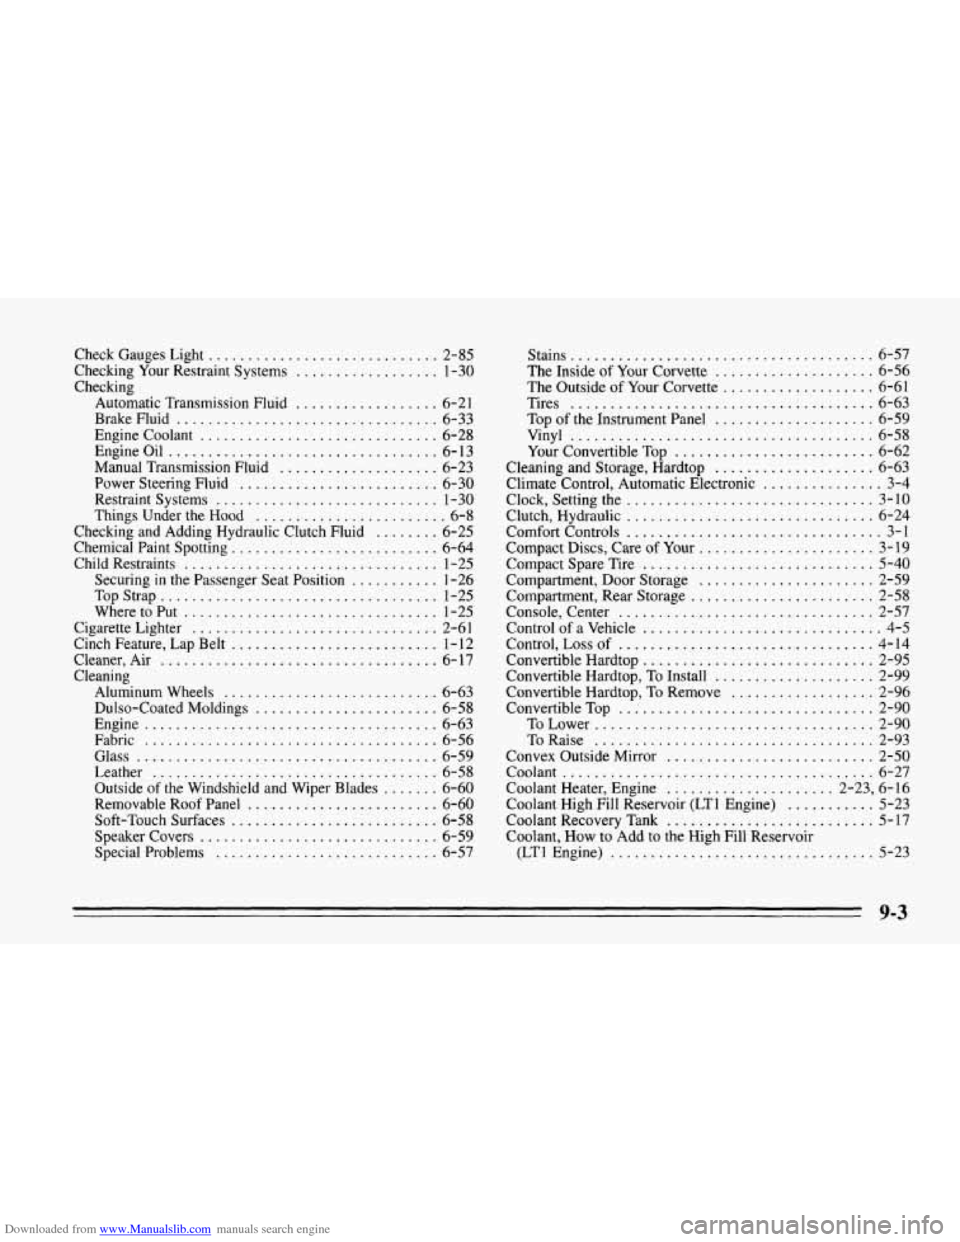
Downloaded from www.Manualslib.com manuals search engine Check Gauges Light ............................. 2-85
Checking Your Restraint Systems
.................. 1-30
Checking Automatic Transmission Fluid
.................. 6-21
BrakeFluid
................................. 6-33
Engine Coolant
.............................. 6-28
Manual Transmission Fluid
.................... 6-23
Power Steering Fluid
......................... 6-30
Restraint Systems
............................ 1-30
Things Under the
Hood ........................ 6-8
Checking and Adding Hydraulic Clutch Fluid
........ 6-25
Chemical Paint Spotting
.......................... 6-64
Child Restraints
................................ 1-25
Securing in the Passenger Seat Position
........... 1-26
TopStrap
................................... 1-25
WheretoPut
................................ 1-25
Cigarette Lighter
............................... 2-6 1
Cinch Feature. Lap Belt
.......................... 1- 12
Cleaner. Air
................................... 6-17
Cleaning Aluminum Wheels
........................... 6-63
Dulso-Coated Moldings ....................... 6-58
Engine
..................................... 6-63
Fabric
..................................... 6-56
Glass
...................................... 6-59
Leather
.................................... 6-58
Outside
of the Windshield and Wiper Blades ....... 6-60
Removable Roof Panel
........................ 6-60
Soft-Touch Surfaces
.......................... 6-58
Speakercovers
.............................. 6-59
Special Problems
............................ 6-57
EngineOil
.................................. 6-13
Stains
...................................... 6-57
The Inside
of Your Corvette .................... 6-56
The Outside of Your Corvette
................... 6-61
Tires
...................................... 6-63
Top
of the Instrument Panel .................... 6-59
Your Convertible Top
......................... 6-62
Cleaning and Storage. Hardtop
.................... 6-63
Climate Control. Automatic Electronic
............... 3-4
Clock. Setting the
............................... 3-10
Clutch. Hydraulic
............................... 6-24
Comfort Controls
................................ 3-1
Compact Discs. Care of Your
...................... 3-19
Compact Spare Tire
............................. 5-40
Compartment. Door Storage ...................... 2-59
Console. Center
................................ 2-57
Control
of a Vehicle .............................. 4-5
Control. Loss of ................................ 4-14
Convertible Hardtop
............................. 2-95
Convertible Hardtop.
To Install .................... 2-99
Convertible Hardtop. To Remove
.................. 2-96
ConvertibleTop
................................ 2-90
ToLower
................................... 2-90
ToRaise
................................... 2-93
Convex Outside Mirror
.......................... 2-50
Coolant ....................................... 6-27
Coolant Heater. Engine
..................... 2-23. 6- 16
Coolant High Fill Reservoir
(LT1 Engine) ........... 5-23
Coolant. How to Add to the High Fill Reservoir
Vinyl
...................................... 6-58
Compartment.
Rear Storage ....................... 2-58
Coolant Recovery Tank
.......................... 5-17
(LTl Engine)
................................. 5-23