1995 CHEVROLET CAVALIER brake fluid
[x] Cancel search: brake fluidPage 161 of 340
Downloaded from www.Manualslib.com manuals search engine If you drive regularly in steep country, or if you’re
planning
to visit there, here are some tips that can make
your trips safer and more enjoyable.
0 Keep your vehicle in good shape. Check all fluid
levels and
also the brakes, tires, cooling system and
transaxle. These parts can work hard
on mountain
roads.
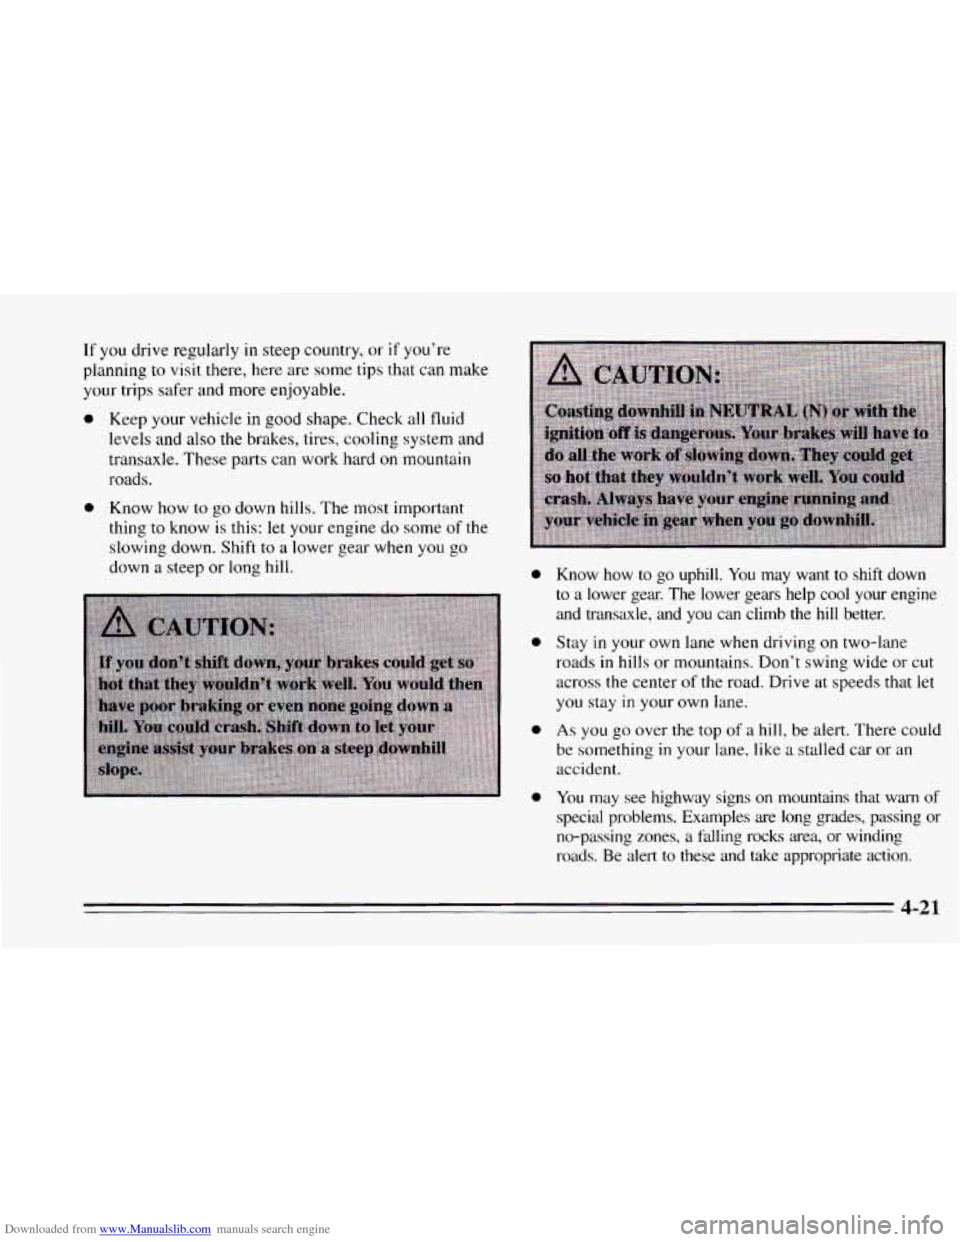
0 Know how to go down hills. The most important
thing to know is this:
let your engine do some of the
slowing down. Shift to a lower gear when you go
down
a steep or long hill. 0
0
0
0
Know how to go uphill. You may want to shift down
to a lower gear. The lower gears help cool your engine
and transaxle, and you can climb the
hill better.
Stay
in your own lane when driving on two-lane
roads
in hills or mountains. Don’t swing wide or cut
across the center
of the road. Drive at speeds that let
you stay
in your own lane.
As you go over the top of a hill, be alert. There could
be something
in your lane, like a stalled car or an
accident.
You may see highway signs
on mountains that warn of
special problems. Examples are long grades, passing or
no-passing zones,
a falling rocks area, or winding
roads.
Be alert to these and take appropriate action.
4-21
Page 176 of 340
Downloaded from www.Manualslib.com manuals search engine When You Are Ready to Leave After
Parking
on a Hill
1. Apply your regular brakes and hold the pedal down
while
you:
Start your engine;
Shift into a gear; and
Release the parking brake.
2. Let up on the brake pedal.
3. Drive slowly until the trailer is clear of the chocks.
4. Stop and have someone pick up and store the chocks.
Maintenance When Trailer Towing
Your vehicle will need service more often when you’re
pulling a trailer. See the Maintenance Schedule for more on
this. Things that are especially important in trailer
operation are automatic transaxle fluid (don’t overfill),
engine oil, belt, cooling system, and brake adjustment.
Each
of these is covered in this manual, and the Index
will help you find them quickly. If you’re trailering,
it’s
a good idea to review these sections before you start
your trip.
Check periodically
to see that all hitch nuts and bolts are
tight.
Towing A Trailer
Do not tow a trailer with a Cavalier if your vehicle is:
a convertible model.
equipped with a 2.2L (Code 4) engine.
equipped with a manual transaxle or a three
speed automatic transaxle.
Your Cavalier is neither designed nor intended to tow a
trailer.
4-36
Page 212 of 340
Downloaded from www.Manualslib.com manuals search engine Before closing the hood, be sure all the filler caps are on
properly. Then lift the hood to relieve pressure
on the
hood prop. Remove the hood prop from the slot in the
hood and return
the prop to its retainer. Then just let the
hood down and close it firmly.
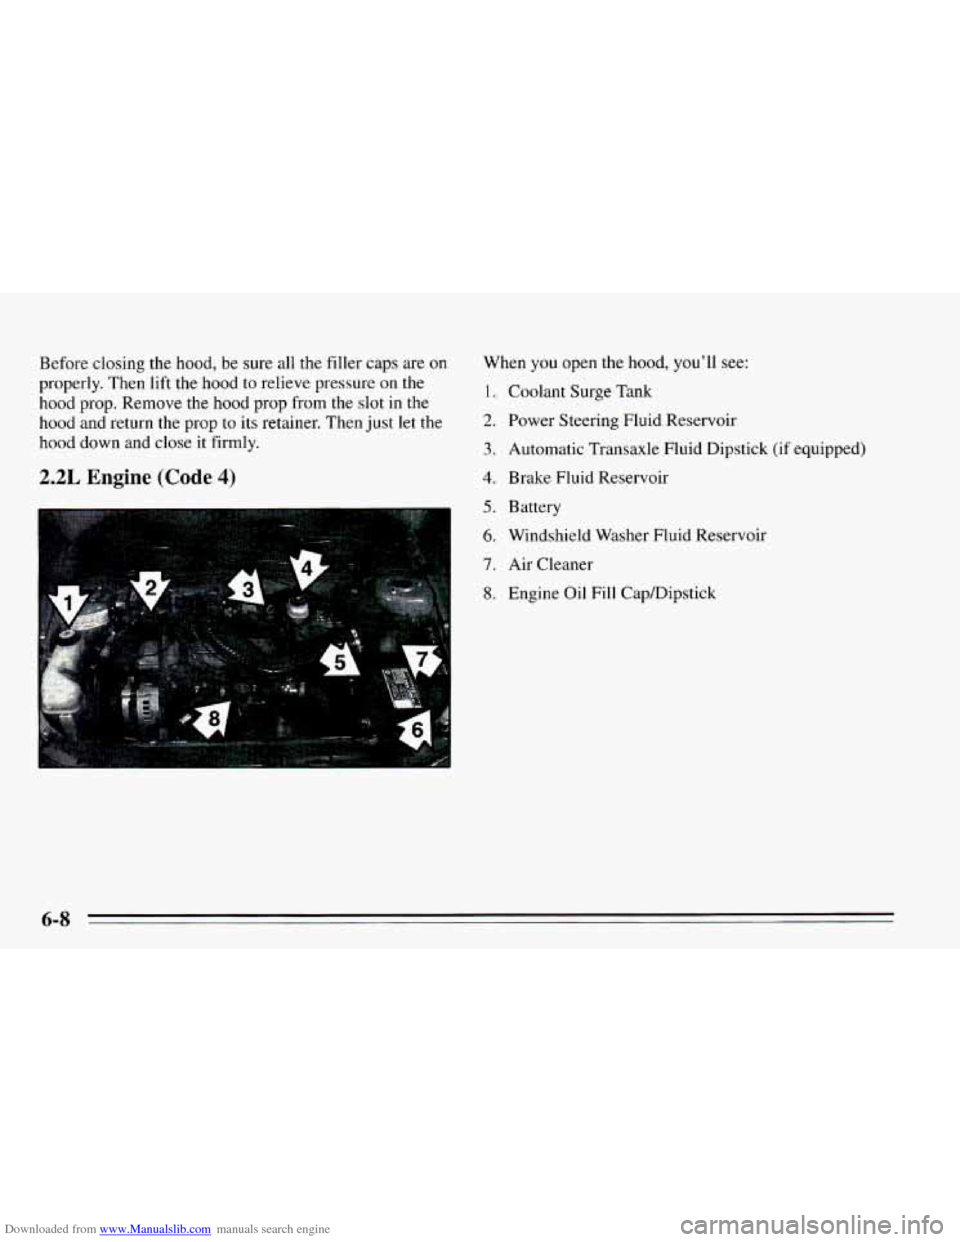
2.2L Engine (Code 4)
When you open the hood, you’ll see:
1. Coolant Surge Tank
2. Power Steering Fluid Reservoir
3. Automatic Transaxle Fluid Dipstick (if equipped)
4. Brake Fluid Reservoir
5. Battery
6. Windshield Washer Fluid Reservoir
7. Air Cleaner
8. Engine Oil Fill Capmipstick
Page 213 of 340
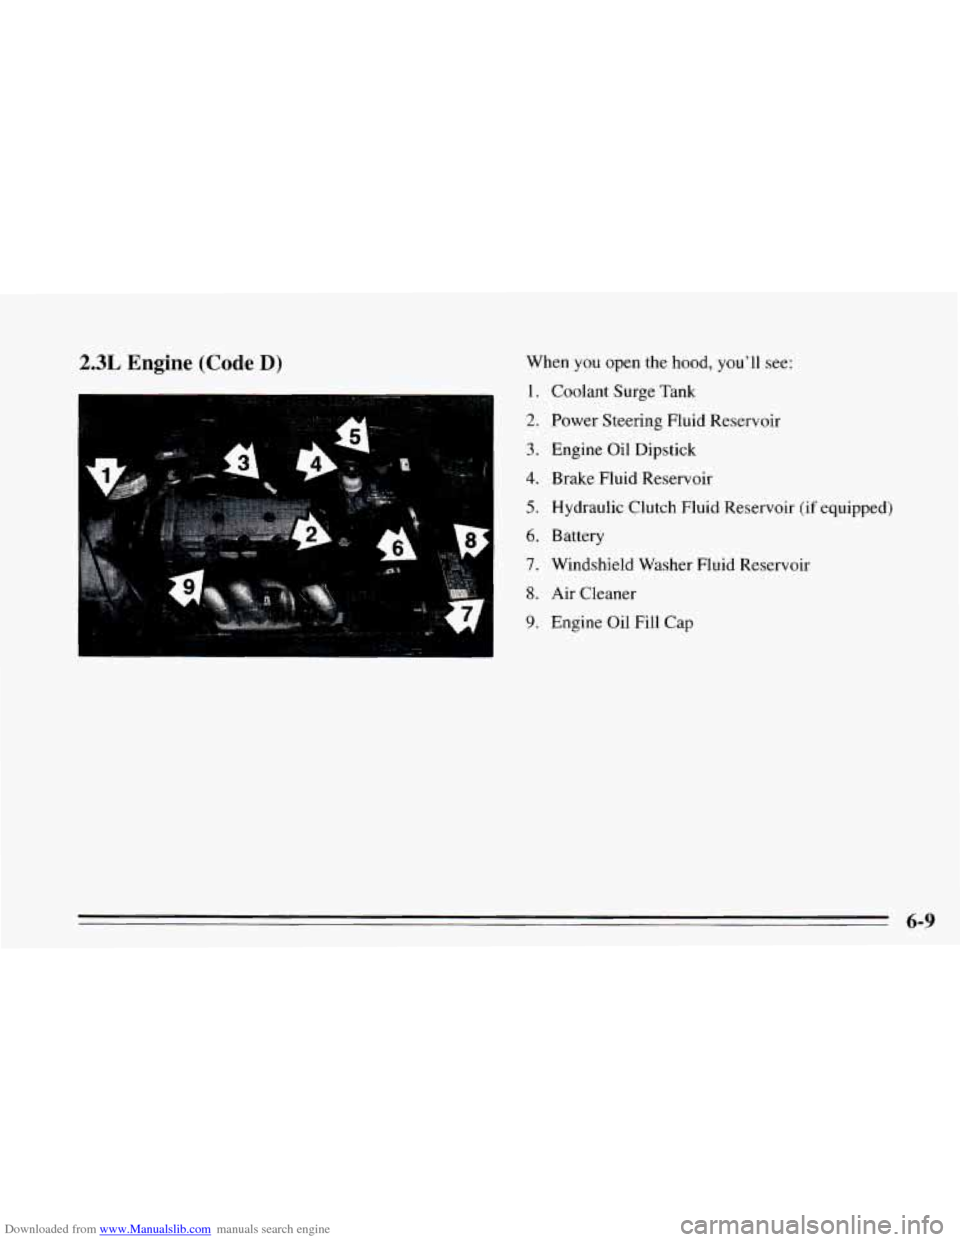
Downloaded from www.Manualslib.com manuals search engine 2.3L Engine (Code D) When you open the hood, you’ll see:
1.
2.
3.
4.
5.
6.
7.
8.
9.
Coolant Surge Tank
Power Steering Fluid Reservoir
Engine
Oil Dipstick
Brake Fluid Reservoir
Hydraulic Clutch Fluid Reservoir
(if equipped)
Battery
Windshield Washer Fluid Reservoir
Air Cleaner
Engine Oil Fill Cap
6-9
Page 224 of 340
Downloaded from www.Manualslib.com manuals search engine Then, follow these steps: How to Add Fluid
Here’s how to add fluid. Refer to the Maintenance
Schedule
to determine what kind of fluid to use. See
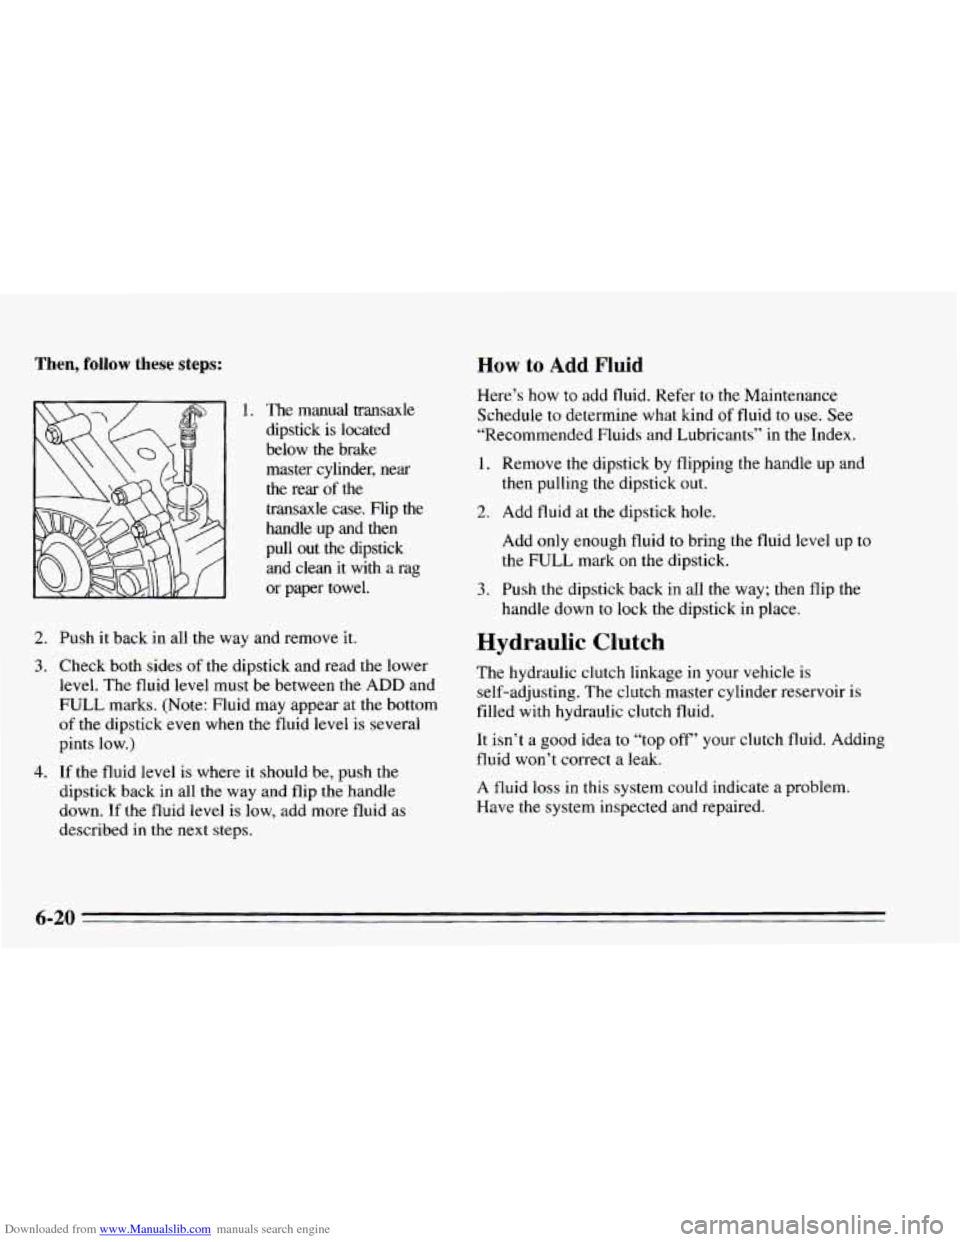
“Recommended Fluids and Lubricants” in the Index. ~ , 1. The manual transaxle
dipstick is located
below the brake
master cylinder, near the rear
of the
transaxle case. Flip the
handle up and then pull out the dipstick
and clean it with a rag
or paper towel.
2. Push it back in all the way and remove it.
3. Check both sides of the dipstick and read the lower
level. The fluid level must be between the
ADD and
FULL
marks. (Note: Fluid may appear at the bottom
of the dipstick even when the fluid level is several
pints
low.)
4. If the fluid level is where it should be, push the
dipstick back in all the way and flip the handle
down.
If the fluid level is low, add more fluid as
described
in the next steps.
1. Remove the dipstick by flipping the handle up and
then pulling the dipstick out.
2. Add fluid at the dipstick hole.
Add only enough fluid to bring the fluid level up to
the FULL mark on the dipstick.
3. Push the dipstick back in all the way; then flip the
handle down to lock the dipstick in place.
Hydraulic Clutch
The hydraulic clutch linkage in your vehicle is
self-adjusting. The clutch master cylinder reservoir
is
filled with hydraulic clutch fluid.
It isn’t
a good idea to “top off’ your clutch fluid. Adding
fluid won’t correct a leak.
A fluid loss in this system could indicate a problem.
Have the system inspected and repaired.
6-20
Page 230 of 340
Downloaded from www.Manualslib.com manuals search engine Brakes
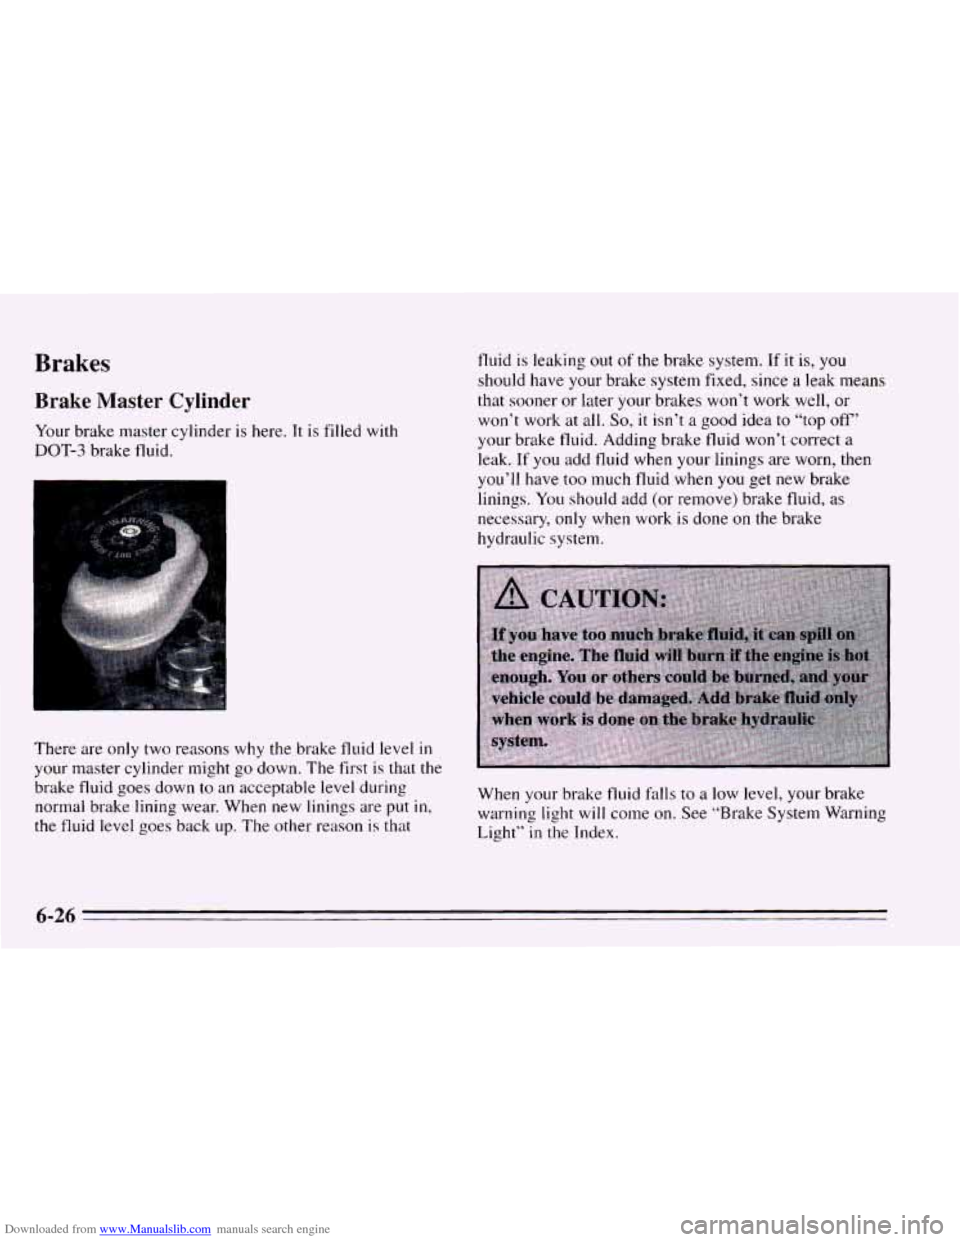
Brake Master Cylinder
Your brake master cylinder is here. It is filled with
DOT-3 brake fluid.
There are only two reasons why the brake
fluid level in
your master cylinder might go down. The first is that the
brake fluid goes down to an acceptable level during
normal brake lining wear. When new linings are put
in,
the fluid level goes back up. The other reason is that fluid
is leaking out
of the brake system. If it is, you
should have your brake system fixed, since a leak means
that sooner or later your brakes won’t work well, or
won’t work
at all. So, it isn’t a good idea to “top off’
your brake fluid. Adding brake fluid won’t correct
a
leak. If you add fluid when your linings are worn, then
you’ll have too much fluid when you get new brake
linings.
You should add (or remove) brake fluid, as
necessary, only when work is done on the brake
hydraulic system.
When your brake fluid falls to a low level, your brake
warning light will come on. See “Brake System Warning
Light”
in the Index,
6-26
Page 231 of 340
Downloaded from www.Manualslib.com manuals search engine What to Add
When you do need brake fluid, use only DOT-3
brake fluid
-- such as Delco Supreme 11 @ (GM Part
No. 1052535). Use new brake fluid from a sealed
container only, and always clean the brake fluid
reservoir cap before removing it.
NOTICE:
0
0
Don’t let someone put in the wrong kind of
fluid. For example, just
a few drops of
mineral-based oil, such as engine oil, in
your brake system can damage brake
system parts
so badly that they’ll have to be
replaced.
Brake fluid can damage paint,
so be careful
not to spill brake fluid
on your vehicle. If
you do, wash it off immediately. See
“Appearance Care” in the Index.
Brake Wear
Your Chevrolet has front disc brakes and rear drum
brakes.
Disc brake pads have built-in wear indicators that make a
high-pitched warning sound when the brake pads are
worn and new pads are needed. The sound may come and
go or be heard all the time your vehicle is moving (except
when
you are pushing on the brake pedal firmly).
NOTICE:
Continuing to drive with worn-out brake pads
could result in costly brake repair.
6-27
Page 304 of 340
Downloaded from www.Manualslib.com manuals search engine Part C: Periodic Maintenance
Inspections
Listed below are inspections and services which should
be performed at least twice a year (for instance, each
spring and fall). You should let your
GM dealer’s
service department or other qualified service center do
these
jobs. Make sure any necessary repairs are
completed at once.
Restraint Systems
Now and then, make sure all your belts, buckles, latch
plates, retractors, anchorages and reminder systems are
working properly. Look for any loose parts or damage.
If you see anything that might keep a restraint system
from doing its job, have it repaired.
Steering, Suspension and Front-Wheel-Drive
Axle Boot and Seal Inspection
Inspect the front and rear suspension and steering
system for damaged, loose or missing parts, signs
of
wear, or lack of lubrication. Inspect the power steering
lines and hoses for proper hookup, binding, leaks,
cracks, chafing, etc. Clean and then inspect the drive
axle boot seals for damage, tears or leakage. Replace
seals if necessary.
Exhaust System Inspection
Inspect the complete exhaust system. Inspect the body near
the exhaust system.
Look for broken, damaged, missing or
out-of-position
parts as well as open seams, holes, loose
connections, or other conditions which could cause a heat
build-up in the floor pan or could let exhaust fumes into
the vehicle. See “Engine Exhaust”
in the Index.
Throttle Linkage Inspection
Inspect the throttle linkage for interference or binding, and f\
or
damaged or missing parts. Replace parts
as needed.
Accelerator and cruise control cables should not
be lubricated.
Manual Transaxle
Check the transaxle fluid level; add if needed. See
“Manual Transaxle” in the Index.
A fluid loss may
indicate a problem. Check the system and repair
if needed.
Brake System Inspection
Inspect the complete system. Inspect brake lines and
hoses for proper hookup, binding, leaks, cracks, chafing,
etc. Inspect disc brake pads for wear and rotors for
surface condition.
Also inspect drum brake linings for
wear and cracks. Inspect other brake parts, including
drums, wheel cylinders, calipers, parking brake, etc.
Check parking brake adjustment.
You may need to have
your brakes inspected more often if your driving habits
or conditions result in frequent braking.
7-42
~