1995 CHEVROLET BLAZER fuel pressure
[x] Cancel search: fuel pressurePage 10 of 380
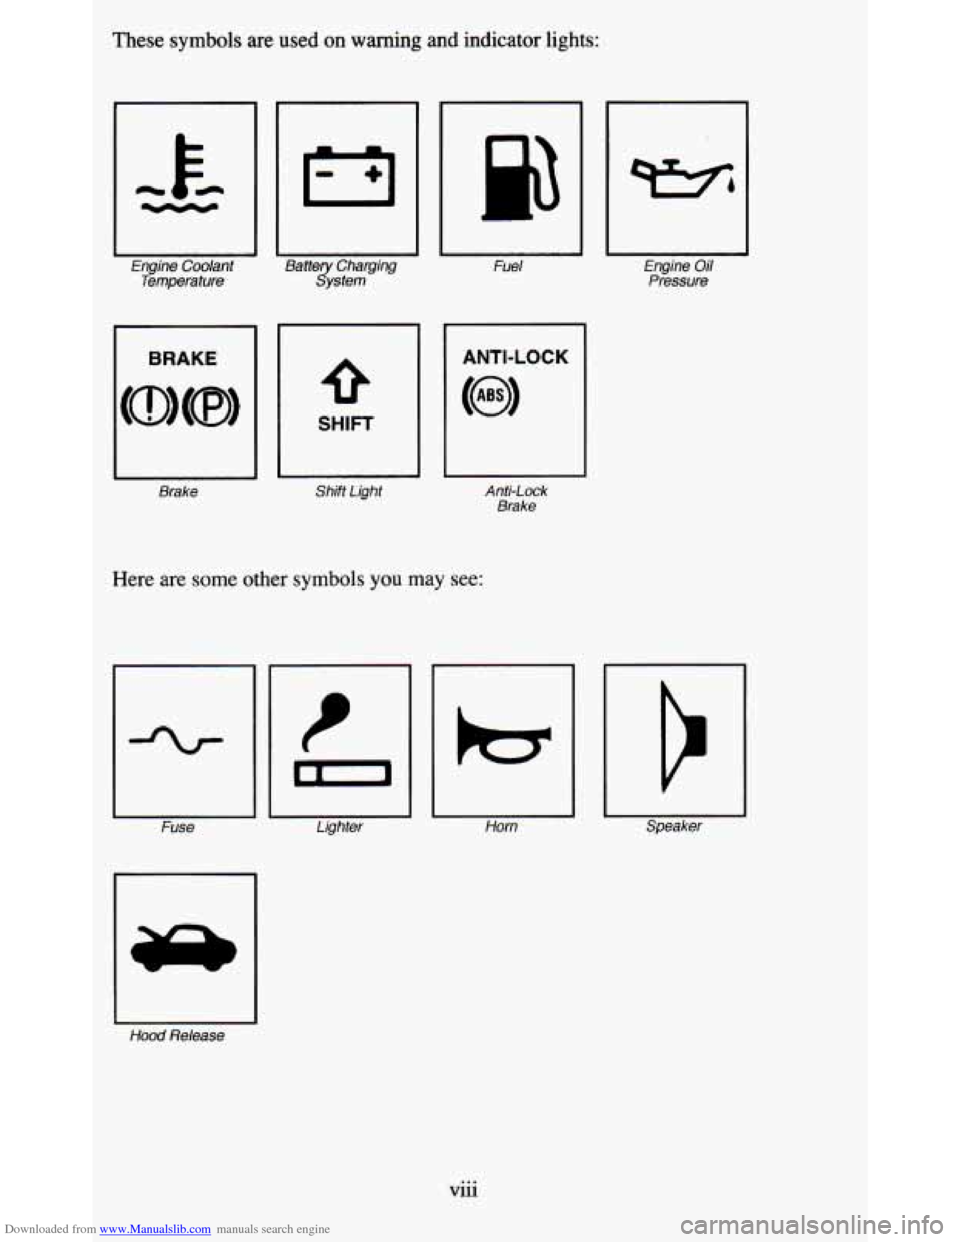
Downloaded from www.Manualslib.com manuals search engine These symbols are used on warning and indicator lights:
Engine Coolant
Temperature
I BRAKE
Brake
Battery Charging
System
1
Fuel
SHIFT
Shift Light
1 ANTI-LOCK
I
Anti-Lock Brake
Here are some other symbols you may see:
Fuse Lighter
I-
I-
Horn
L
Engine Oil Pressure
Hood
Release
Vlll ...
Page 126 of 380
Downloaded from www.Manualslib.com manuals search engine Charging System Light
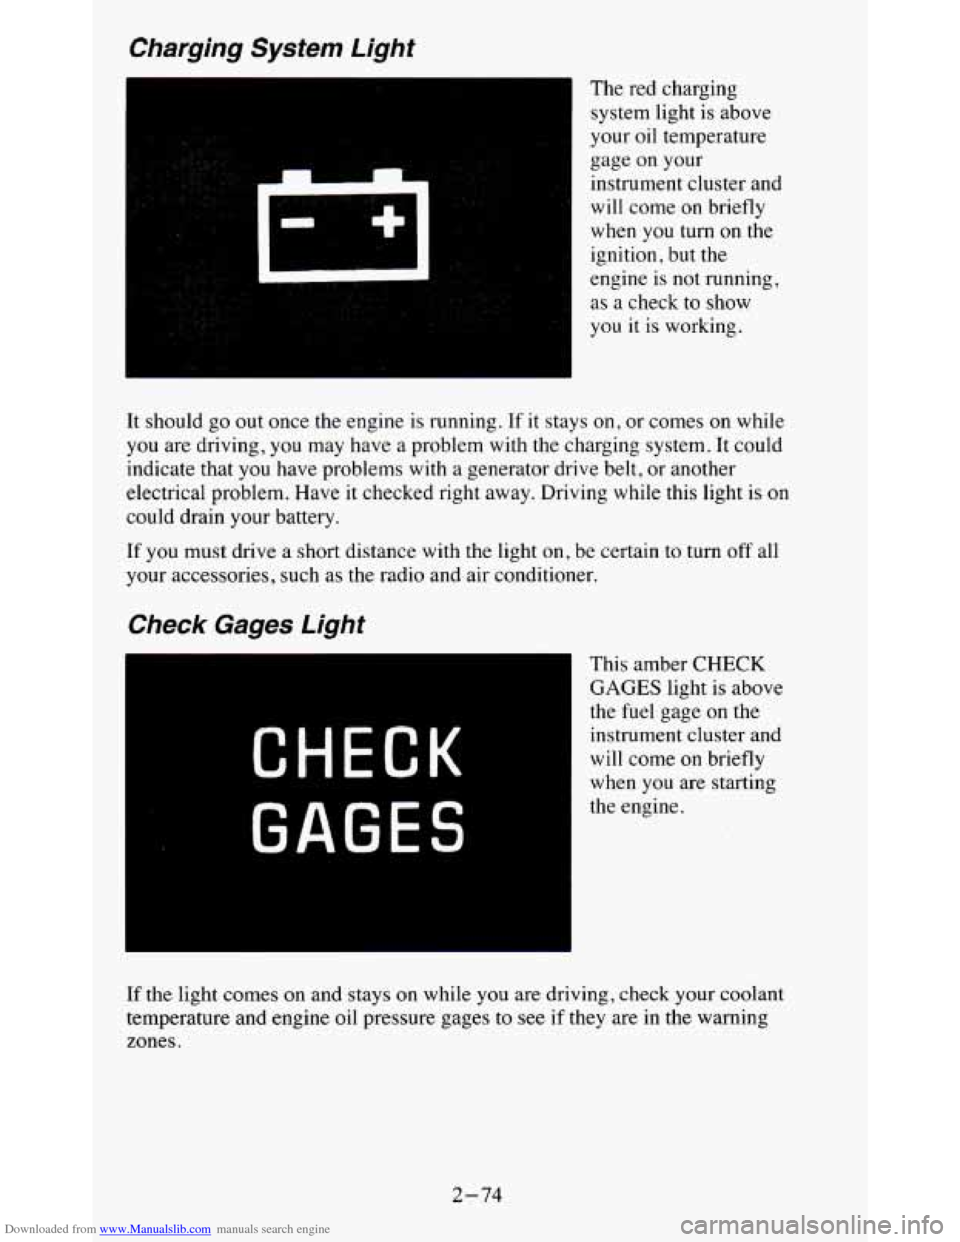
The red charging
system light is above
your oil temperature
gage on your
instrument cluster and
will come on briefly
when
you turn on the
ignition,
but the
engine
is not running,
as a check to show
you
it is working.
It should go out once the engine is running. If it stays
on, or comes on while
you are driving, you may have a problem with the charging system. It could
indicate that you have problems with a generator drive belt, or another
electrical problem. Have it checked right away. Driving while t\
his light is on
could drain your battery.
If you must drive a short distance with the light on, be certain to turn off all
your accessories, such as the radio and air conditioner.
Check Gages Light
CHECK
GAGES
This amber CHECK
GAGES light is above
the
fuel gage on the
instrument cluster and
will come on briefly
when you are starting
the engine.
If the light comes on and stays on while you are driving, check your coolant
temperature and engine oil pressure gages to see
if they are in the warning
zones.
2-74
Page 183 of 380

Downloaded from www.Manualslib.com manuals search engine Before Leaving on a Long Trip
Make sure you’re ready. Try to be well rested. If you must start when you’re
not fresh
- such as after a day’s work - don’t plan to make too many
miles that first part of the journey. Wear comfortable clothing and shoes
you
can easily drive in.
Is your vehicle ready for a long trip? If you keep it serviced and maintained,
it’s ready to go. If it needs service, have it done before starting out. Of
course, you’ll find experienced and able service experts in
GM dealerships
all across North America. They’ll be ready and willing to help if you need
it.
Here are some things you can check before a trip:
Windshield Washer Fluid: Is the reservoir full? Are all windows clean
inside and outside?
Wiper Blades: Are they in good shape?
0 Fuel, Engine Oil, Other Fluids: Have you checked all levels?
0 Lights: Are they all working? Are the lenses clean?
Tires: They are vitally important to a safe, trouble-free trip. Is the tread
good enough for long-distance driving? Are the tires all inflated to the
recommended pressure?
0 Weather Forecasts: What’s the weather outlook along your route?
Maps: Do you have up-to-date maps?
Should
you delay your trip a short time to avoid a major storm system?
Highway Hypnosis
Is there actually such a condition as “highway hypnosis”? Or is it just plain
falling asleep at the wheel? Call it highway hypnosis, lack of awareness, or
whatever.
There
is something about an easy stretch of road with the same scenery,
along with the hum of the tires on the road, the drone of the engine, and the
rush
of the wind against the vehicle that can make you sleepy. Don’t let it
happen
to you! If it does, your vehicle can leave the road in less than a
second,
and you could crash and be injured.
What can you
do about highway hypnosis? First, be aware that it can
happen.
4-29
Page 222 of 380
Downloaded from www.Manualslib.com manuals search engine 1
6. Start the engine
and let it
run until
you can feel'the
upper radiator hose getting hot.
Watch out for the
engine fan.
7. By this time the coolant level inside the filler neck may be lower. If the
level is lower, add more of the proper mix through the filler neck unt\
il
the level reaches the base of the filler neck.
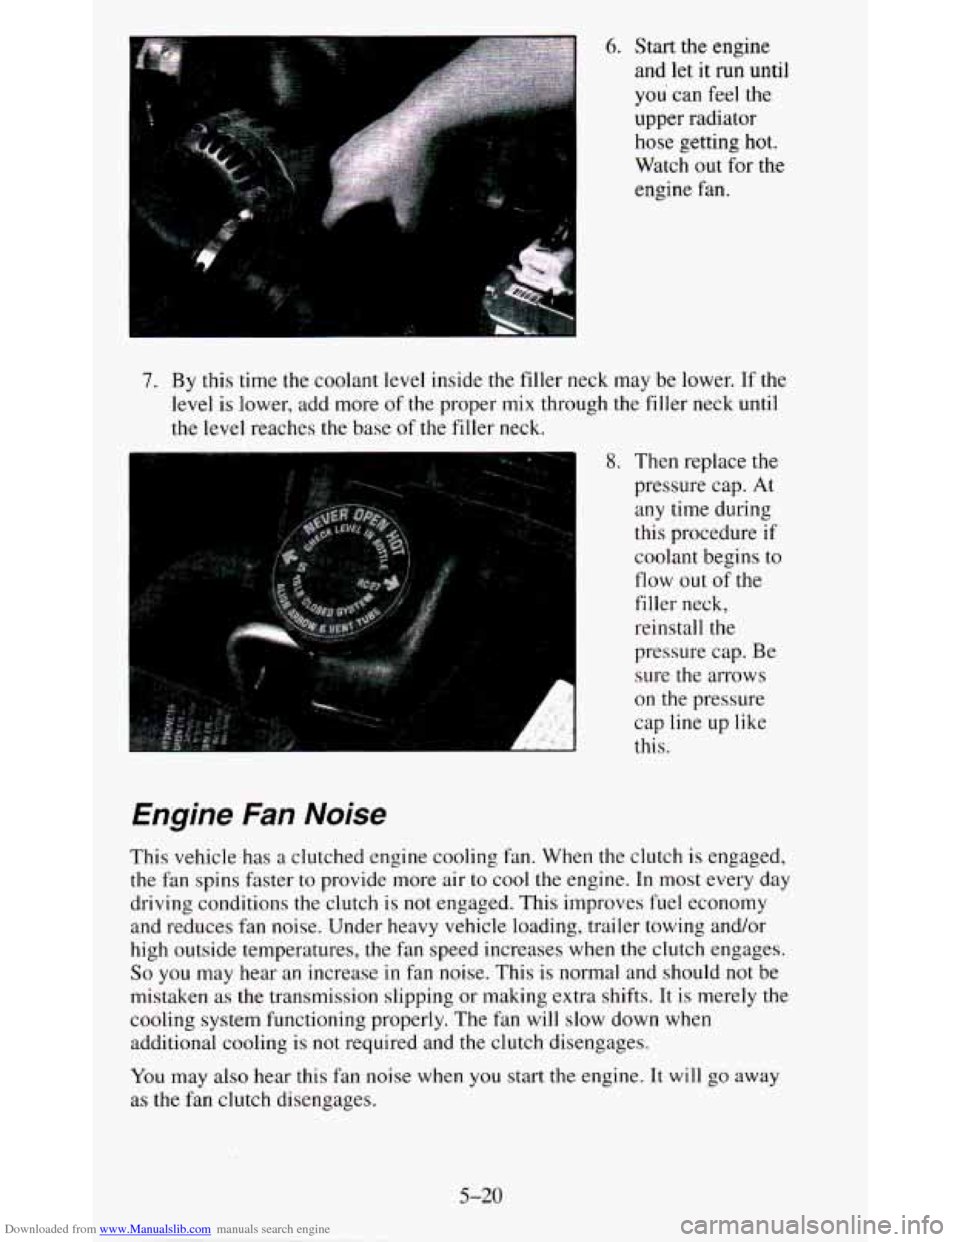
8. Then replace the
pressure cap. At
any time during
this procedure if
coolant begins to
flow out of the
filler neck,
reinstall the
pressure cap. Be
sure the arrows
on the pressure
cap line
up like
this.
Engine Fan Noise
This vehicle has a clutched engine cooling fan. When the clutc\
h is engaged, the fan spins faster to provide more air to cool the engine. \
In most every day
driving conditions the clutch
is not engaged. This improves fuel economy
and reduces fan noise. Under heavy vehicle loading, trailer tow\
ing and/or
high outside temperatures, the fan speed increases when
the clutch engages.
So you may hear an increase in fan noise. This is normal and should not be
mistaken
as the transmission slipping or making extra shifts. It is merely \
the
cooling system functioning properly. The fan will slow down when
additional cooling is not required and
the clutch disengages.
You may also hear this fan noise when you start the engine. It will go away
as the fan clutch disengages.
5-20
Page 282 of 380
Downloaded from www.Manualslib.com manuals search engine NOTICE:
Don’t let anyone tell you that underinflation or overinflation is
all right. It’s not.
If your tires don’t have enough air
(underinflation) you can get:
0 Too much flexing
0 Too much heat
0 Tire overloading
0 Bad wear
0 Bad handling
Bad fuel economy.
If your tires have too much air (overinflation), you can get:
Unusual wear
Bad handling
Rough ride
0 Needless damage from road hazards.
When to Check
Check your tires once a month or more. Also, check the tire pressure of the
spare tire.
How to Check
Use a good quality pocket-type gage to check tire pressure. Simply looking
at the tires will not tell you the pressure, especially if
you have radial tires
- which may look properly inflated even if they’re underinflated.
If your tires have valve caps, be sure to put them back on. They help prevent
leaks by keeping out dirt and moisture.
6-42
Page 343 of 380
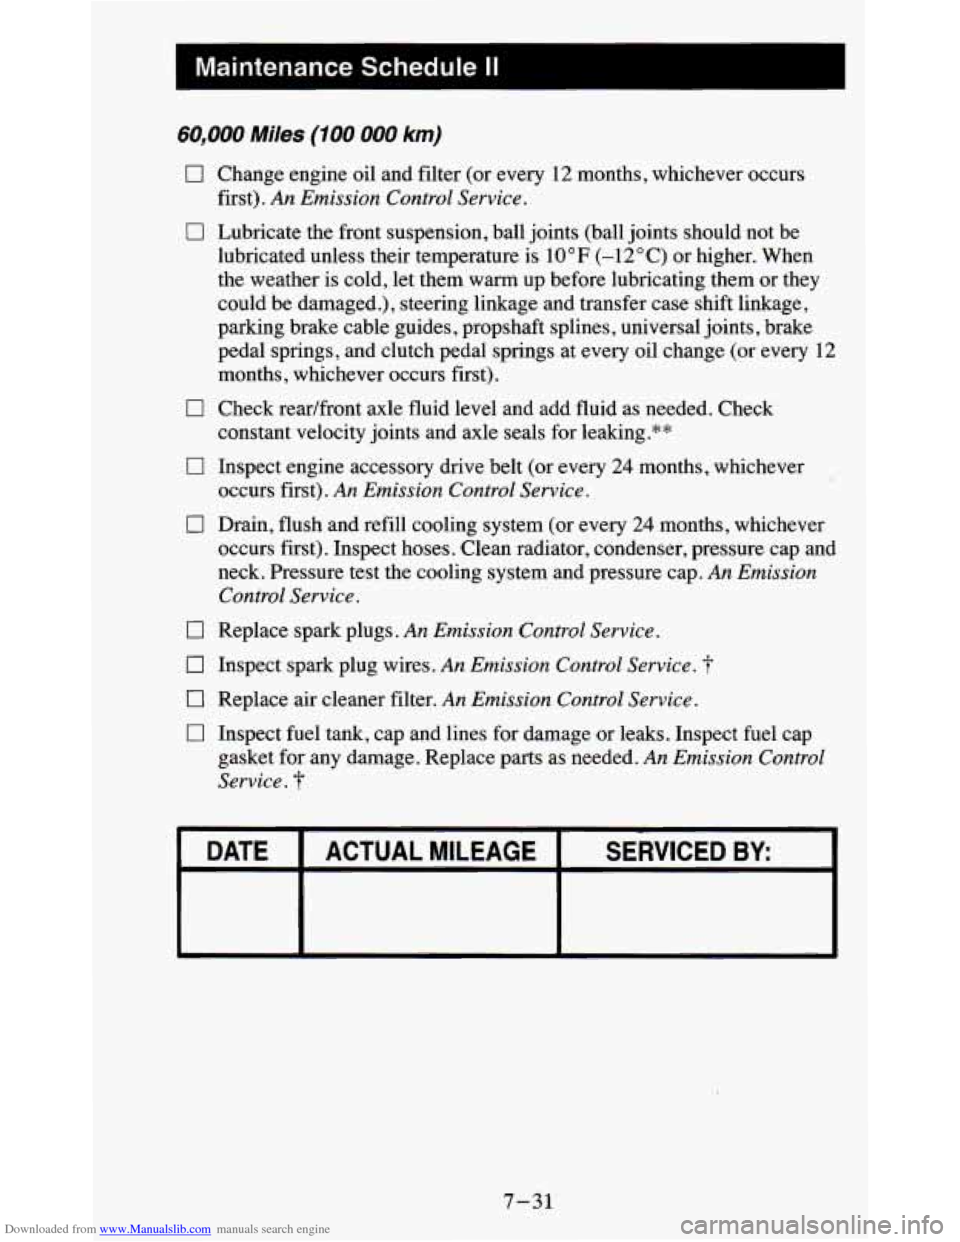
Downloaded from www.Manualslib.com manuals search engine Maintenance Schedule II
60.000 Miles (100 000 km)
U Change engine oil and filter (or every 12 months, whichever occurs
0 Lubricate the front suspension, ball joints (ball joints should not be
first).
An Emission Control
Service.
lubricated unless their temperature is 10 "F (-1 2" C) or higher. When
the weather is cold, let them
warrn up before lubricating them or they
could be damaged.), steering linkage and transfer case shift linkage,
parking brake cable guides, propshaft splines, universal joints, brake
pedal springs, and clutch pedal springs at every oil change (or every
12
months, whichever occurs first).
0 Check readfront axle fluid level and add fluid as needed. Check
constant velocity joints and axle seals for leaking.**
occurs first).
An Emission Control Service.
0 Inspect engine accessory drive belt (or every 24 months, whichever
0 Drain, flush and refill cooling system (or every 24 months, whichever
occurs first). Inspect hoses. Clean radiator, condenser, pressure cap and
neck. Pressure test the cooling system and pressure cap.
An Emission
Control Service.
0 Replace spark plugs. An Emission Control Service.
0 Inspect spark plug wires. An Emission Control Service.
0 Replace air cleaner filter. An Emission Control Service.
0 Inspect fuel tank, cap and lines for damage or leaks. Inspect fuel cap
gasket for any damage. Replace parts as needed.
An Emission Control
Service.
T
DATE ACTUAL MILEAGE SERVICED BY:
7-31
Page 346 of 380
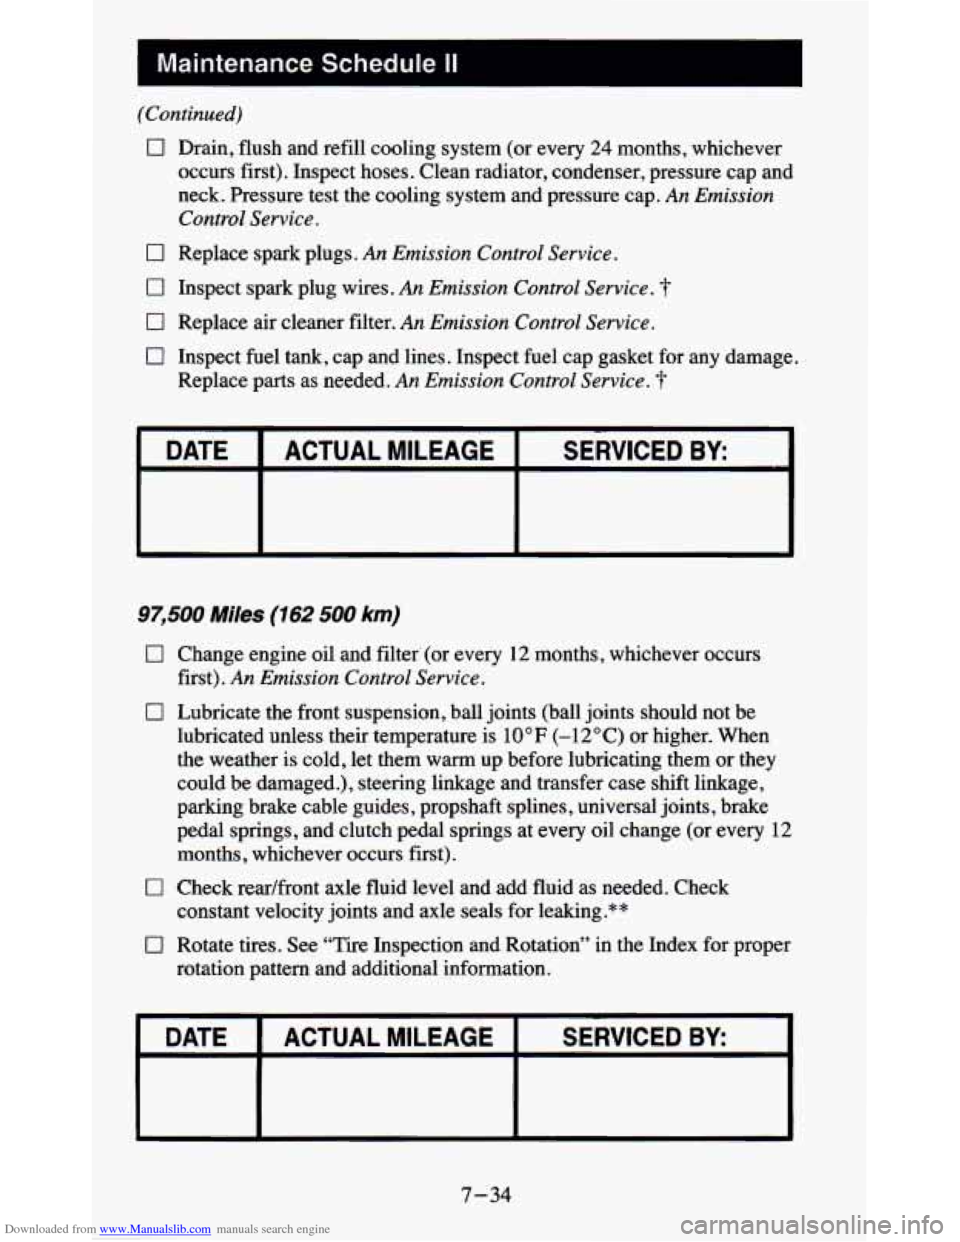
Downloaded from www.Manualslib.com manuals search engine I Maintenance Schedule II I
(Continued)
0
0
0
0
0
Drain, flush and refill cooling system (or every 24 months, whichever
occurs first). Inspect hoses. Clean radiator, condenser, pressure cap and
neck. Pressure test the cooling system and pressure cap.
An Emission
Control Service.
Replace spark plugs. An Emission Control Service.
Inspect spark plug wires. An Emission Control Service. ?
Replace air cleaner filter. An Emission Control Service.
Inspect fuel tank, cap and lines. Inspect fuel cap gasket for any damage.
Replace parts as needed.
An Emission Control Service. ?
I DATE I ACTUALMILEAGE I SERVICED BY I
97,500 Miles (162 500 km)
0 Change engine oil and filter (or every 12 months, whichever occurs
0 Lubricate the front suspension, ball joints (ball joints should not be
first).
An Emission Control
Service.
lubricated unless their temperature is 10°F (-12°C) or higher. When
the weather
is cold, let them warm up before lubricating them or they
could be damaged.), steering linkage and transfer case shift linkage,
parking brake cable guides, propshaft splines, universal joints, brake
pedal springs, and clutch pedal springs at every oil change (or every
12
months, whichever occurs first).
constant velocity joints and axle seals for leaking.**
rotation pattern and additional information.
0 Check readfront axle fluid level and add fluid as needed. Check
0 Rotate tires. See “Tire Inspection and Rotation” in the I\
ndex for proper
DATE SERVICED BY ACTUAL MILEAGE
7-34
Page 348 of 380
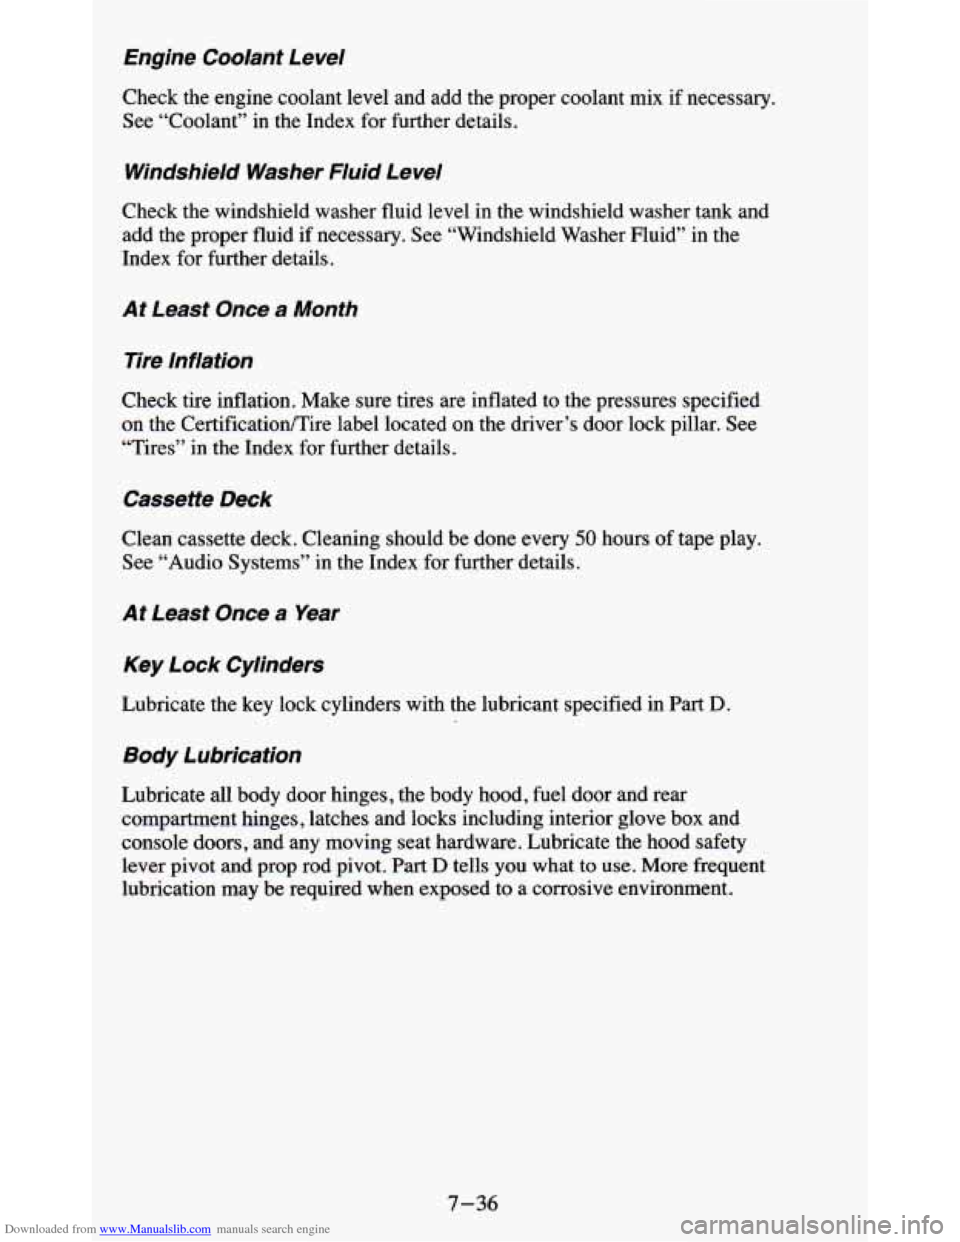
Downloaded from www.Manualslib.com manuals search engine €ngine Coolant Level
Check the engine coolant level and add the proper coolant mix if necessary.
See “Coolant” in the Index for further details.
Windshield Washer Fluid Level
Check the windshield washer fluid level in the windshield washe\
r tank and
add the proper fluid if necessary. See “Windshield Washer Fluid” in the
Index for further details.
At Least Once a Month
Tire Inflation
Check tire inflation. Make sure tires are inflated to the pressures specified
on the Certificatioflire label located on the driver’s door lock pillar. See
“Tires” in the Index for further details.
Cassette Deck
Clean cassette deck. Cleaning should be done every 50 hours of tape play.
See “Audio Systems” in the Index for further details.
At Least Once a Year
Key Lock Cylinders
Lubricate the key lock cylinders with the lubricant specified i\
n Part D.
Body Lubrication
Lubricate all body door hinges, the body hood, fuel door and rear
compartment hinges, latches and locks including interior glove box and
console doors, and any moving seat hardware. Lubricate the hood safety
lever pivot and prop rod pivot.
Part D tells you what to use. More frequent
lubrication may be required when exposed to
a corrosive environment.
7-36