1995 CHEVROLET BLAZER service indicator
[x] Cancel search: service indicatorPage 84 of 380
Downloaded from www.Manualslib.com manuals search engine Electronic Transfer Case
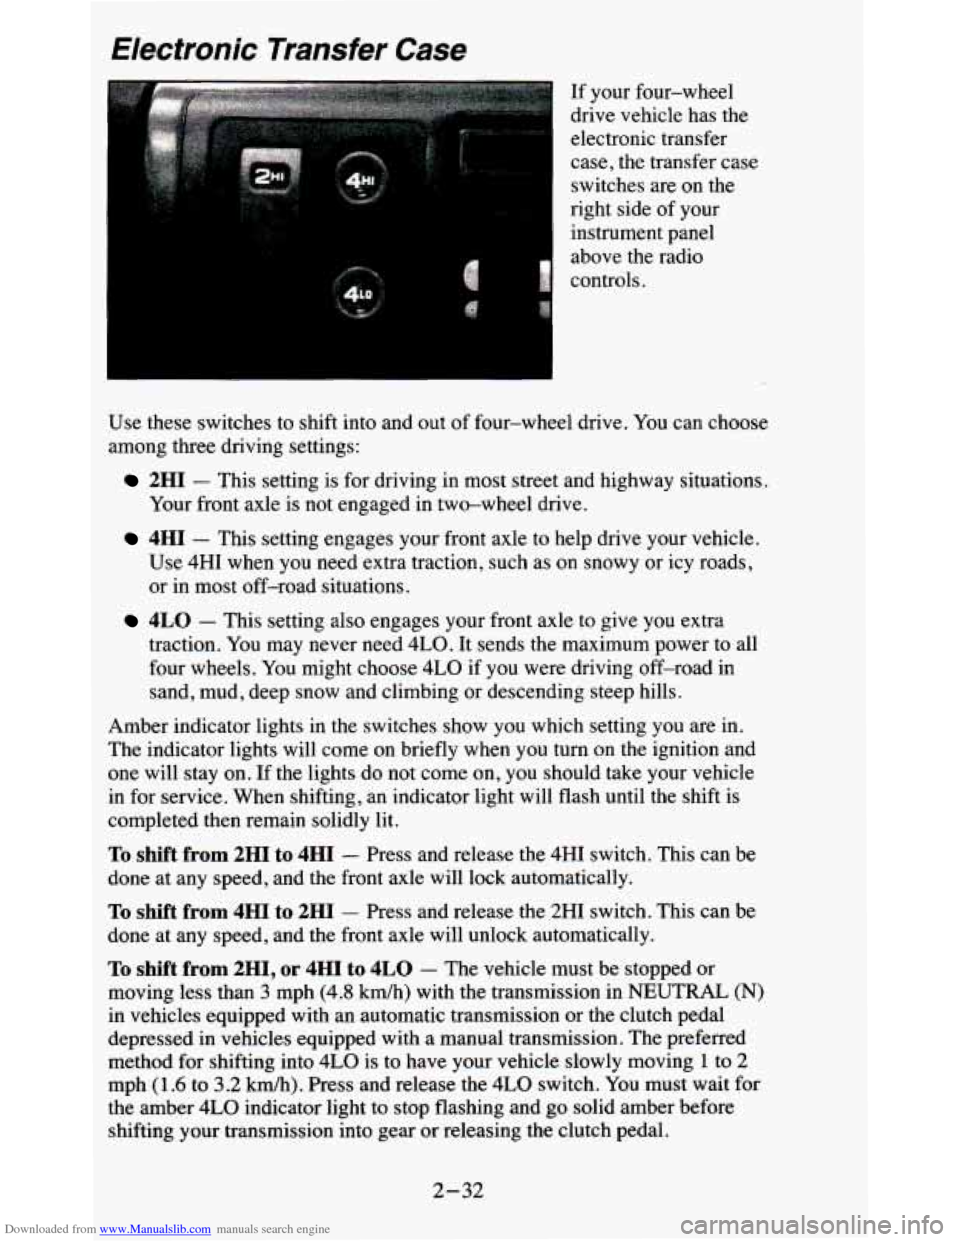
If your four-wheel
drive vehicle has the
electronic transfer
case, the transfer case
switches are on the
right side of your
instrument panel
above
the radio
controls.
Use these switches to shift into and out
of four-wheel drive. You can choose
among three driving settings:
2HI - This setting is for driving in most street and highway situations.
Your front axle is not engaged in two-wheel drive.
4HI - This setting engages your front axle to help drive your vehicle.
Use 4HI when you need extra traction, such as on snowy or icy roads,
or in most off-road situations.
4LO - This setting also engages your front axle to give you extra
traction. You may never need 4LO. It sends the maximum power to all
four wheels. You might choose
4LO if you were driving off-road in
sand, mud, deep snow and climbing or descending steep hills.
Amber indicator lights
in the switches show you which setting you are in.
The indicator lights will come on briefly when you turn on the ignition and
one will stay on. If the lights do not come on,
you should take your vehicle
in for service. When shifting,
an indicator light will flash until the shift is
completed then remain solidly lit.
To shift from 2HI to 4HI - Press and release the 4HI switch. This can be
done at any speed, and the front axle will lock automatically.
To shift from 4HI to 2HI - Press and release the 2HI switch. This can be
done at any speed, and the front axle will unlock automatically.
To shift from 2H1, or 4HI to 4LO - The vehicle must be stopped or
moving less than
3 mph (4.8 km/h) with the transmission in NEUTRAL (N)
in vehicles equipped with an automatic transmission or the clutch pedal
depressed
in vehicles equipped with a manual transmission. The preferred
method for shifting into
4LO is to have your vehicle slowly moving 1 to 2
mph (1.6 to 3.2 km/h). Press and release the 4LO switch. You must wait for
the amber
4LO indicator light to stop flashing and go solid amber before
shifting your transmission into gear or releasing the clutch pedal.
2-32
Page 85 of 380
Downloaded from www.Manualslib.com manuals search engine If the 4LO switch is pressed when your vehicle is in gear and/or moving, tht
amber 4LO indicator light will flash for
30 seconds and not complete the
shift unless your vehicle is below
3 mph (4.8 ludh) and the transmission is
in NEUTRAL (N) or the clutch pedal depressed.
On automatic transmission equipped vehicles: If your transfer case does not
shift into 4L0, your transmission indicator switch may require adjustment.
With your transmission in NEUTRAL (N), press and release the 4LO
switch. While the amber 4LO indicator light is flashing, shift your
transmission into PARK
(P).
Wait until the 4LO indicator light goes solid amber before shifting your
transmission into gear. This will get you into 4L0, but you should take your
vehicle in for service
so normal operation can be restored.
To shift from 4LO to 4HI - Your vehicle must be stopped or moving less
than
3 mph (4.8 kdh) with the transmission in NEUTRAL (N) or the clutcl
pedal depressed. The preferred method for shifting out of 4LO is to have
your vehicle slowly moving
1 to 2 mph (1.6 to 3.2 kdh). Press and release
the 4HI switch.
You must wait for the 4HI indicator light to stop flashing
and
go solid amber before shifting your transmission into gear or releasing
the clutch pedal.
If the 4HI switch is pressed when your vehicle
is in gear and/or moving, the
4HI indicator light will flash for
30 seconds but not complete the shift
unless the vehicle is below
3 mph (4.8 kmh) and the transmission is in
NEUTRAL (N) or the clutch pedal depressed.
On automatic transmission equipped vehicles: If your transfer case does not
shift into 4H1, your transmission indicator switch may require adjustment.
With your transmission in NEUTRAL (N), press and release the 4HI switch
While the 4HI indicator light is flashing, shift your transmission into PARK
(P). Wait until the 4HI indicator light goes solid amber before shifting your
transmission into gear. This will get you into 4H1, but you should take your
vehicle in for service
so normal operation can be restored.
2-33
Page 123 of 380
Downloaded from www.Manualslib.com manuals search engine The brake system warning light will also come on when you set your
parking brake, and it will stay on
if your parking brake doesn’t release fully.
If it stays
on after your parking brake is fully released, it means you have a
brake problem.
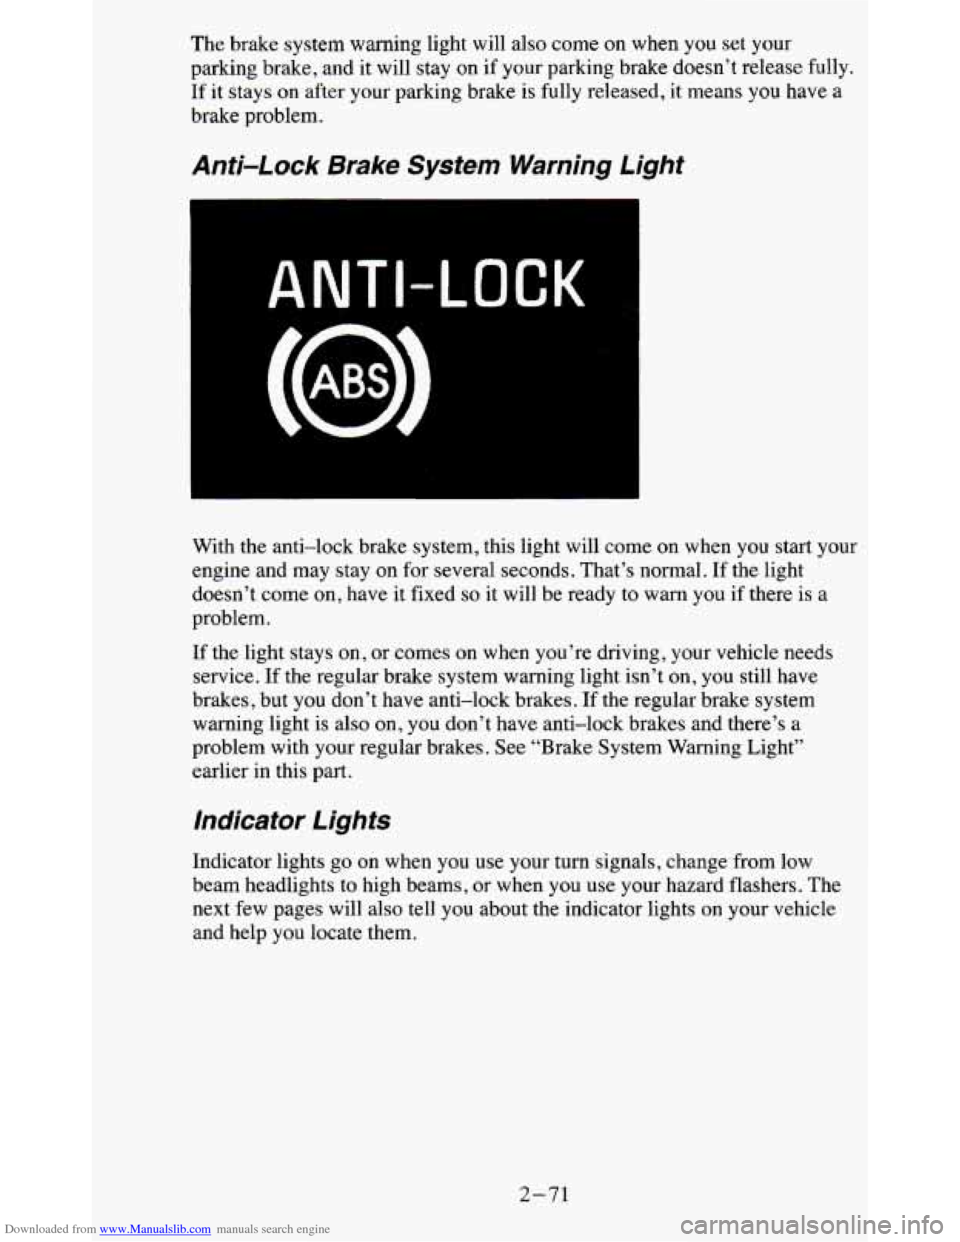
Anti-Lock Brake System Warning Light
ANTI-LOCK
With the anti-lock brake system, this light will come on when you start your
engine and may stay on for several seconds. That’s normal. If the light
doesn’t come on, have it fixed
so it will be ready to warn you if there is a
problem.
If the light stays on, or comes on when you’re driving, your vehicle needs
service. If the regular brake system warning light isn’t on, you still have
brakes, but you don’t have anti-lock brakes.
If the regular brake system
warning light is also on, you don’t have anti-lock brakes and there’s a
problem with your regular brakes. See “Brake System Warning Light”
earlier in this part.
Indicator Lights
Indicator lights go on when you use your turn signals, change from low
beam headlights to high beams,
or when you use your hazard flashers. The
next few pages will also tell you about the indicator lights \
on your vehicle
and help you locate them.
2-71
Page 124 of 380
Downloaded from www.Manualslib.com manuals search engine Malfunction Indicator Lamp (SERVICE ENGINE SOON
Light)
I
SERVICE
ENGINE
SOON
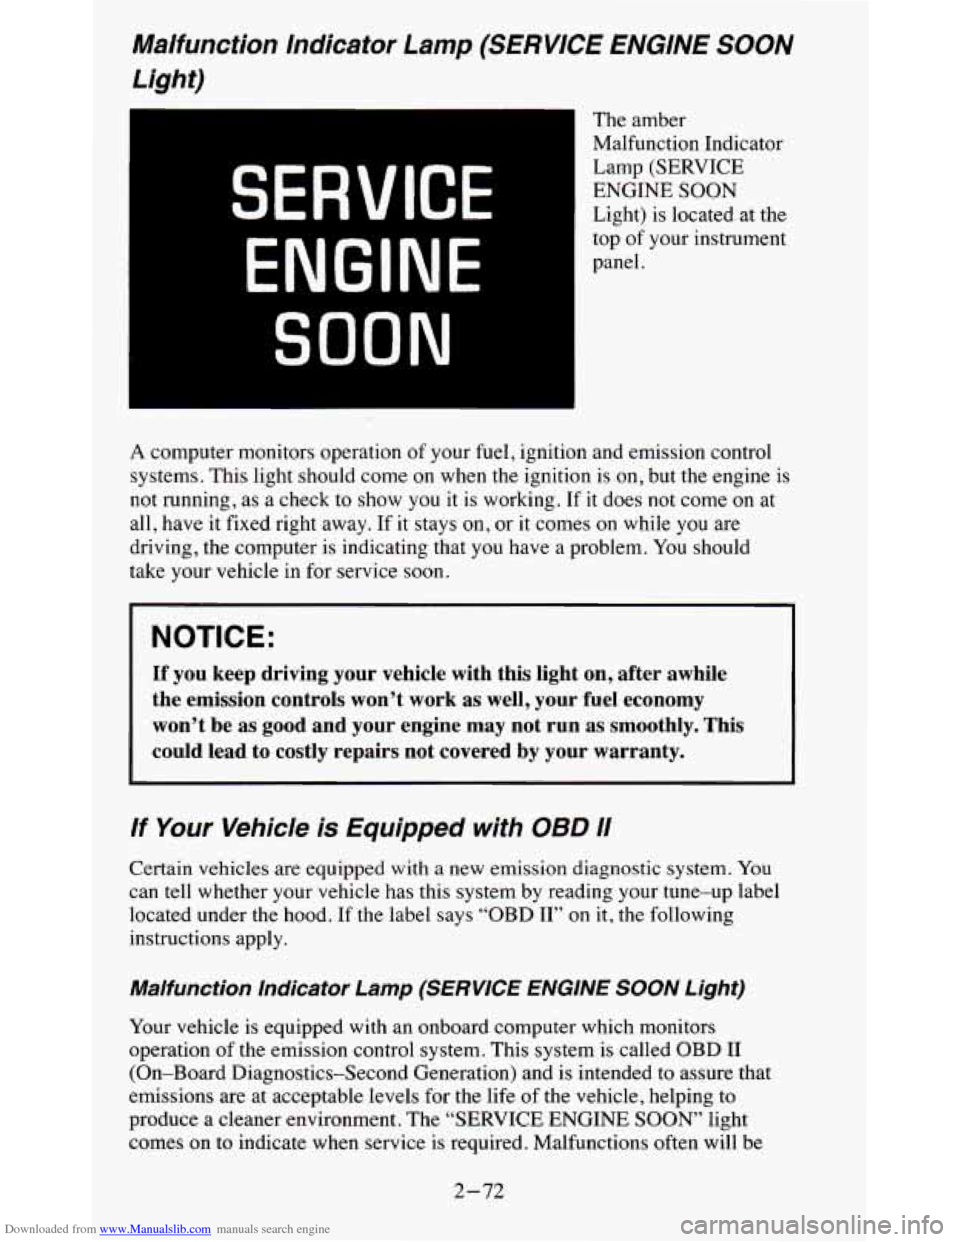
The amber
Malfunction Indicator
Lamp (SERVICE
ENGINE SOON
Light) is located at the
top
of your instrument
panel.
A computer monitors operation of your fuel, ignition and emission control
systems. This light should come on when the ignition is on, but the engine is
not running,
as a check to show you it is working. If it does not come on at
all, have it fixed right away. If it
stays on, or it comes on while you are
driving, the computer is indicating that
you have a problem. You should
take your vehicle in for service soon.
NOTICE:
If you keep driving your vehicle with this light on, after awhile\
the emission controls won’t work
as well, your fuel economy
won’t be as good and your engine may not run as smoothly.
This
could lead to costly repairs not covered by your warranty.
If Your Vehicle is Equipped with 08D 11
Certain vehicles are equipped with a new emission diagnostic sy\
stem. You
can
tell whether your vehicle has this system by reading your tune-up l\
abel
located under the hood. If the label says “OBD
11” on it, the following
instructions apply.
Malfunction Indicator Lamp (SERVICE ENGINE SOON Light)
Your vehicle is equipped with an onboard computer which monitors
operation
of the emission control system. This system is called OBD I1
(On-Board Diagnostics-Second Generation) and is intended
to assure that
emissions are at acceptable levels for the life
of the vehicle, helping to
produce a cleaner environment. The “SERVICE ENGINE
SOON’ light
comes on to indicate when service is required. Malfunctions oft\
en will be
2-72
Page 281 of 380
Downloaded from www.Manualslib.com manuals search engine Ma/function Indicator Lamp (SERVICE ENGINE
SOON)
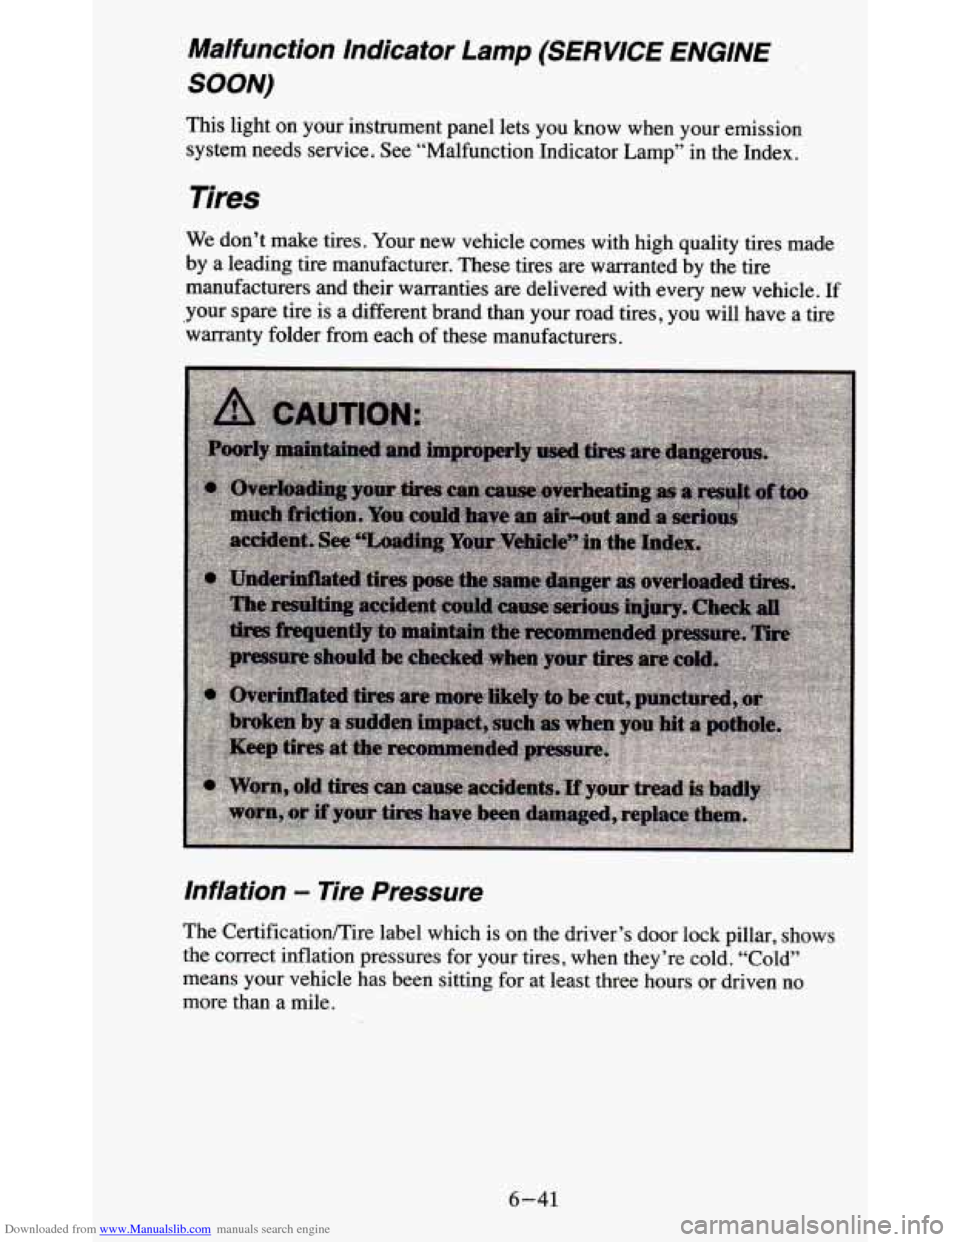
This light on your instrument panel lets you know when your emission
system needs service. See “Malfunction Indicator Lamp” in the Index.
Tires
We don’t make tires. Your new vehicle comes with high quality tires made
by a leading tire manufacturer. These tires are warranted by the tire
manufacturers and their warranties
are delivered with every new vehicle. If
your spare tire is a different brand than your road tires, you will have a tire
warranty folder from each
of these manufacturers.
Inflation - lire Pressure
The Certificationire label which is on the driver’s door lock pillar, shows
the correct inflation pressures for your tires, when they’re cold. “Cold”
means your vehicle has been sitting for at least three hours or driven
no
more than a mile.
6-41
Page 284 of 380
Downloaded from www.Manualslib.com manuals search engine When It’s Time for New Tires
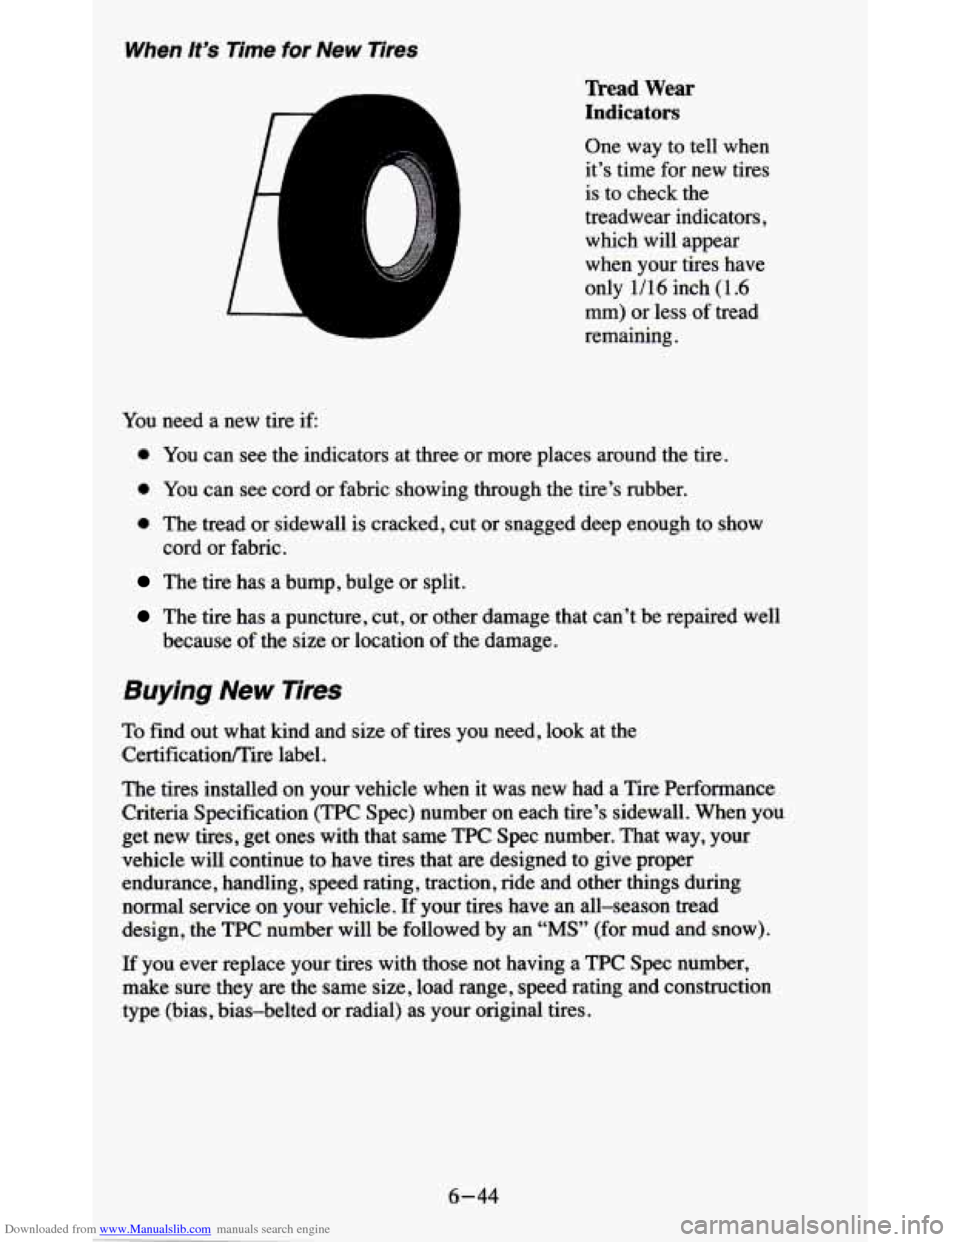
Tkead Wear
Indicators
One way to tell when
it’s time for new tires
is to check the
treadwear indicators,
which will appear
when your tires have
only
1/16 inch (1.6
mm) or less
of tread
remaining.
You need a new tire if
0 You can see the indicators at three or more places around the tire.
0 You can see cord or fabric showing through the tire’s rubber.
0 The tread or sidewall is cracked, cut or snagged deep enough to show
cord or fabric.
The tire has a bump, bulge or split.
The tire has a puncture, cut, or other damage that can’t be repaired well
because of the size or location of the damage.
Buying New Tires
To find out what kind and size of tires you need, look at the
Certificatioflire label.
The tires installed on your vehicle when it was new had a Tire Performance
Criteria Specification (TPC Spec) number on each tire’s sidewall. When
you
get new tires, get ones with that same TPC Spec number. That way, your
vehicle
will continue to have tires that are designed to give proper
endurance, handling, speed rating, traction, ride and other things during
normal service on your vehicle. If your tires have an all-season tread
design, the TPC number will be followed by an
“MS” (for mud and snow).
If you ever replace your tires with those not having a TPC Spec number,
make sure they are the same size, load range, speed rating and construction
type (bias, bias-belted or radial) as your original tires.
6-44
Page 305 of 380
Downloaded from www.Manualslib.com manuals search engine Instrument Cluster Lamps
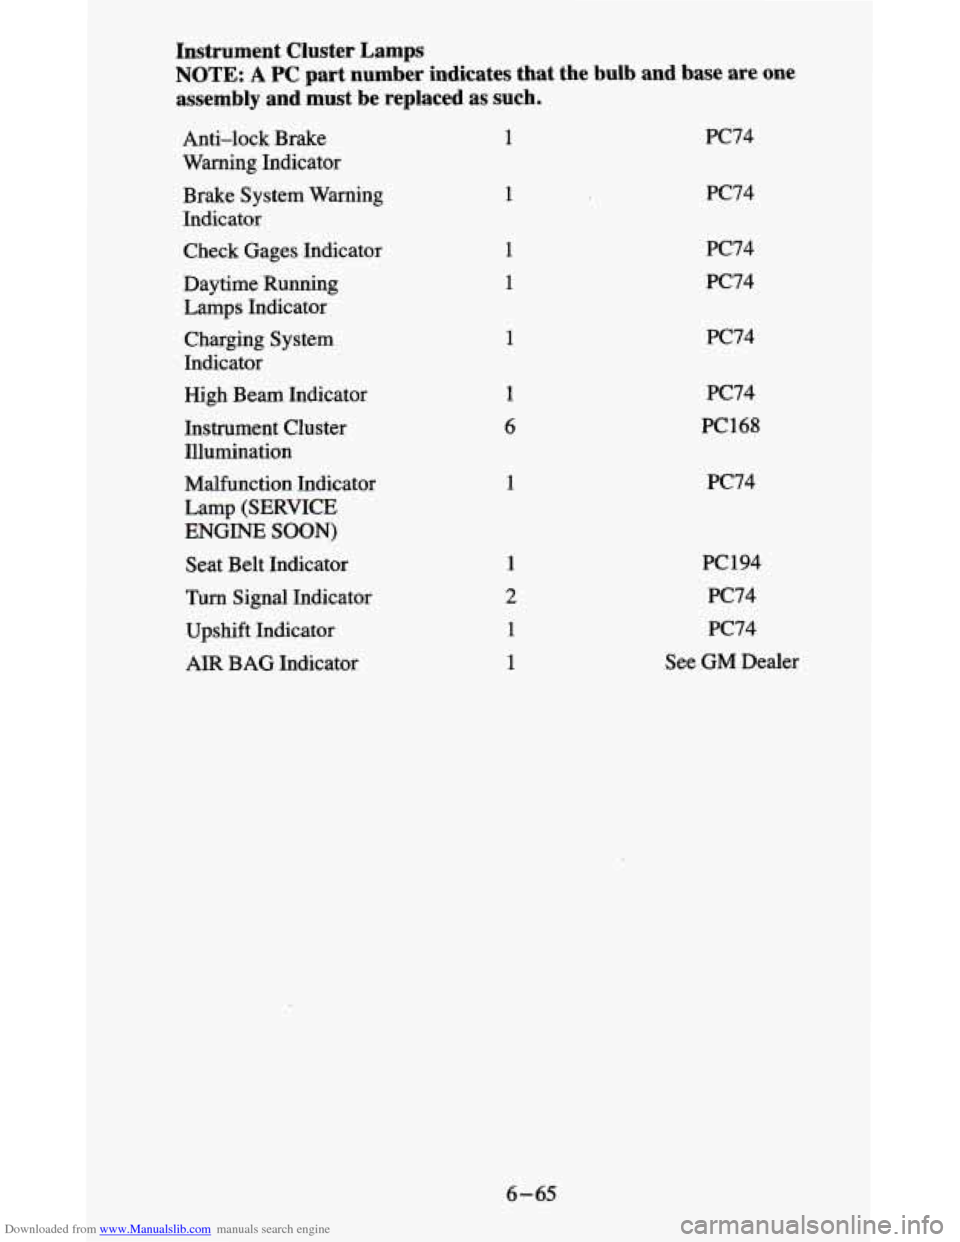
NOTE: A PC part number indicates that the bulb and base are one
assembly and must be replaced as such.
Anti-lock Brake
Warning Indicator
Brake System Warning
Indicator
Check Gages Indicator
Daytime Running
Lamps Indicator
Charging System
Indicator
High Beam Indicator
Instrument Cluster
Illumination
Malfunction Indicator
Lamp (SERVICE
ENGINE
SOON)
Seat Belt Indicator
Turn Signal Indicator
Upshift Indicator
AIR BAG Indicator
1
1
1
1
1
1
6
1
1
2
1
1
PC74
PC74
PC74 PC74
PC74
PC74
PC168
PC74
PC 194
PC74 PC74
See
GM Dealer
6-65
Page 372 of 380
Downloaded from www.Manualslib.com manuals search engine Engine (continued) FanNoise
................................................... 5-20
Identification
....................................... 6-58.6-59. 6-62
Oil (See “Oil”)
.l
RunningWhileParked ......................................... 2-28
Starting
..................................................... 2-16
Exhaust System
.................................................. 6-40
Overheating .................................................. 5-13
F .
Filter Replacement Chart (See “Service-Replacement Parts and Filter
Recommendations”)
FluidLeakCheck
................................................ 6-31
Fluids (See “Recommended Fluids and Lubricants”)
Four-wheel Drive
.......................................... 2.30. 6-20
Manual Transfer Case
.......................................... 2-30
Electronic Transfer Case
........................................ 2-32
Fuel
. FillingYourTank .............................................. 6-5
Foreign Countries .............................................. 64
Gage (See “Gages”)
Gasolines for Cleaner Air
....................................... :6-4
Tank Capacity ................................................. 6-63
Fuses and Circuit Breakers
................................... 6-60, 6-66
FuseBlock .................................................. 6-61
G
Gages Engine Coolant Temperature Gage
................................ 2-77
Oil Pressure Gage
............................................. 2-77
Trip Odometer
................................................ 247
FuelGage
................................................... 2-78
Odometer
................................................... 2-66
Speedometer
................................................. 2-66
Tachometer
.................................................. 2-67
Voltmeter
.................................................... 2-79
H
Halogen Bulbs (See “Bulb Replacement”)
Head Restraints (See “Seats”) Headlamps Hazard Wqing Flashers
........................................... 5-1
Replacement (See “Bulb Replacement”)
High Beam Indicator Light (See “Lights”)
. High-Low Beam Changer ................................. 2-39. 2-76
Reminder
.................................................... 249
Heater/Air Conditioning Controls
.................................... 3-1
Refrigerant Capacity
............................................ 6-71
Highway Hypnosis (See “Driving-Highway Hypnosis”)
Hitches (See “Towing a Trailer”)
4