1995 CHEVROLET ASTRO CARGO VAN turn signal
[x] Cancel search: turn signalPage 11 of 342
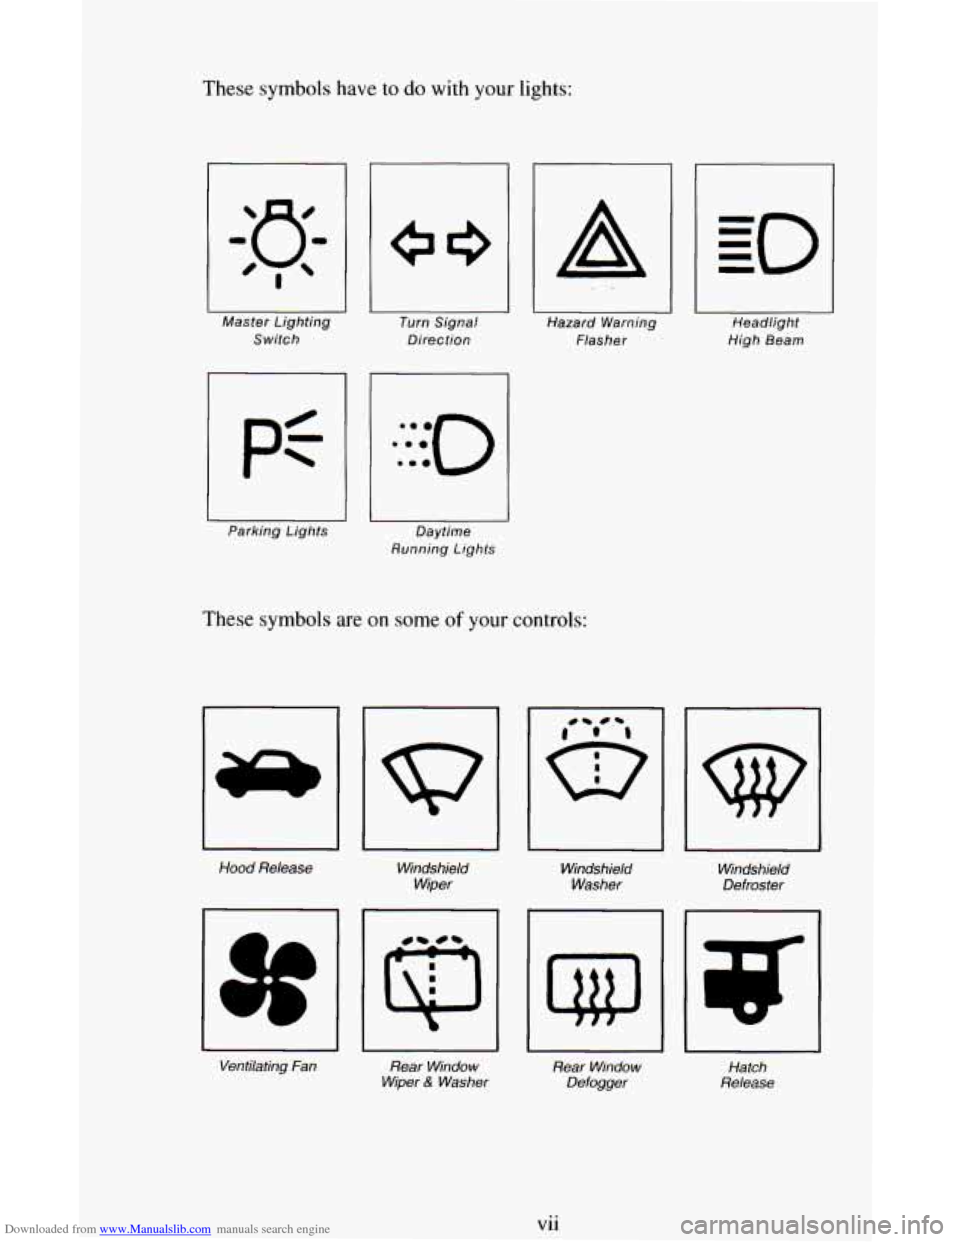
Downloaded from www.Manualslib.com manuals search engine These symbols have to do with your lights:
Master Lighting Switch
1 P=-
Parking Lights
I Turn Signal
Direction
I Daytime
Running Lights
I II I Hazard Warning
Headlight
Flasher High Beam
These symbols are on some of your controls:
Hood
Release
Windshield
Wiper Windshield
Washer
Ventilating
Fan Rear Window
Wiper
6: Washer
rl
Windshield
Defroster
Rear Window
Defogger Hatch
Release
vii
Page 84 of 342
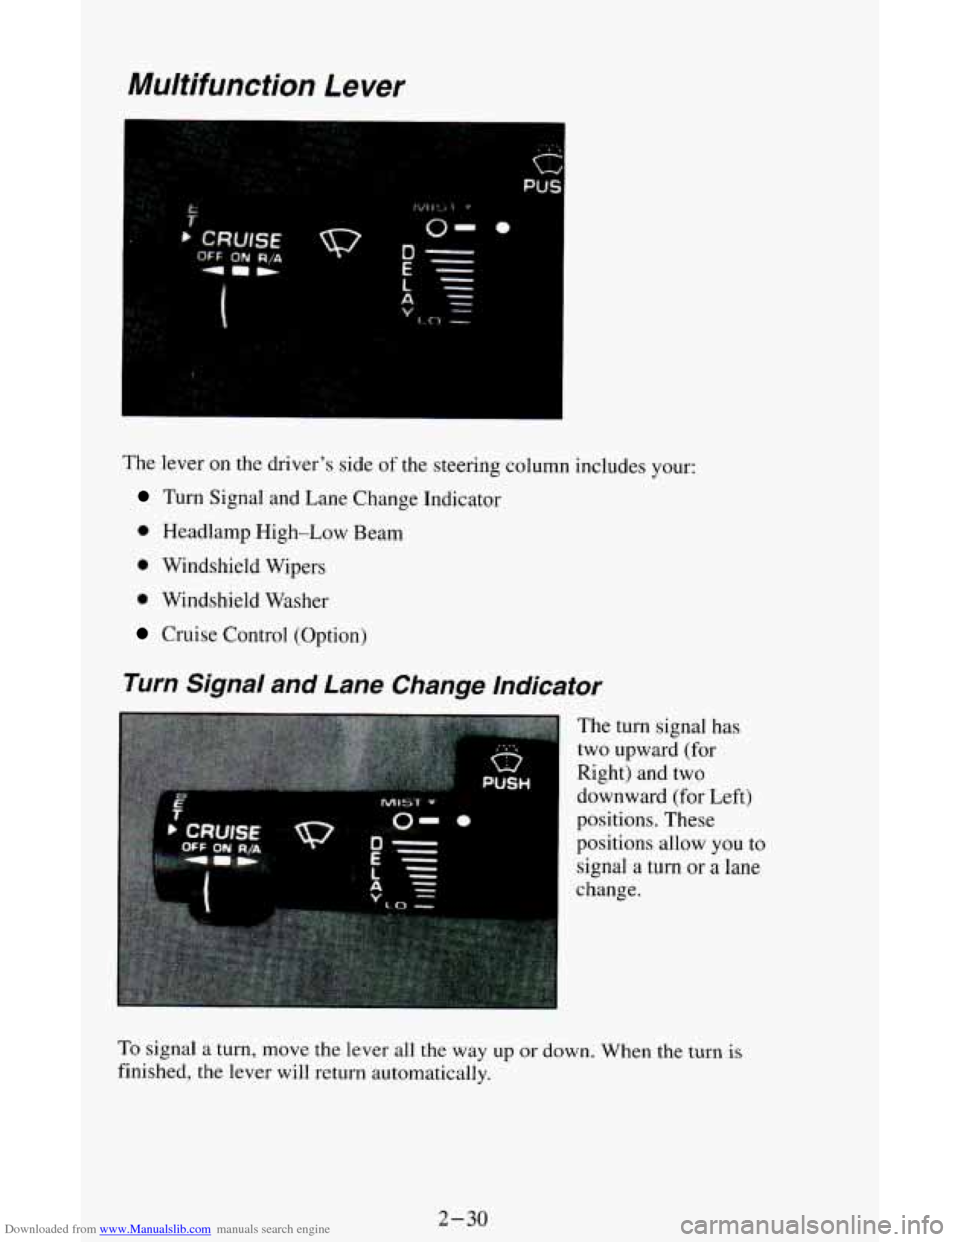
Downloaded from www.Manualslib.com manuals search engine Multifunction Lever
The lever on the driver’s side of the steering column includes your:
Turn Signal and Lane Change Indicator
0 Headlamp High-Low Beam
0 Windshield Wipers
0 Windshield Washer
Cruise Control (Option)
Turn Signal and Lane Change Indicator
The turn signal has
two upward (for
Right) and two
downward (for Left)
positions. These
positions allow you
to
signal a turn or a lane
change.
To signal a turn, move the lever all the way up or down. When the turn is
finished, the lever will return automatically.
2-30
Page 85 of 342
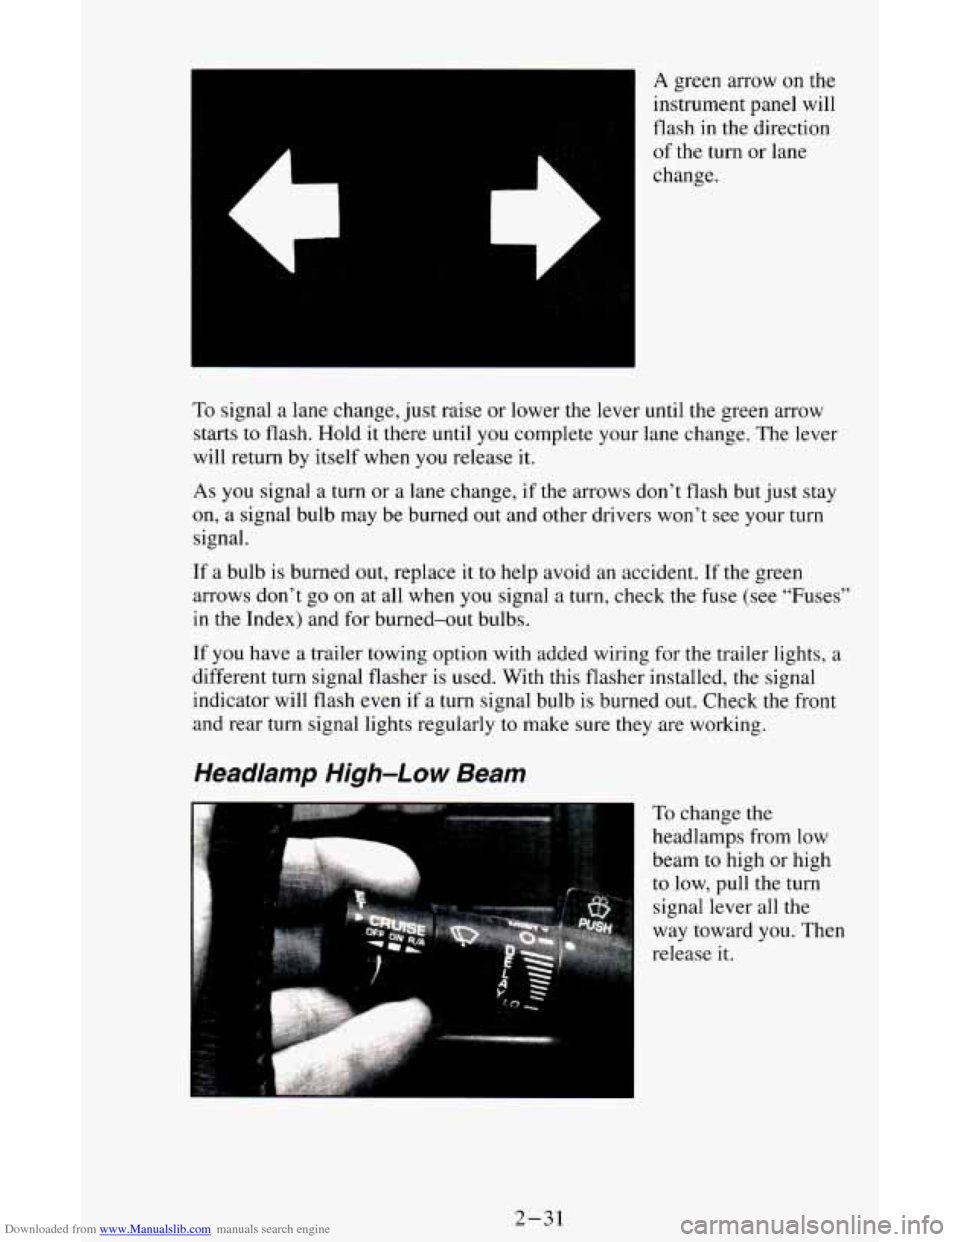
Downloaded from www.Manualslib.com manuals search engine A green arrow on the
instrument panel will
flash
in the direction
of the turn or lane
change.
To signal a lane change, just raise or lower the lever until the green arrow
starts to flash. Hold it there until
you complete your lane change. The lever
will return by itself when
you release it.
As you signal a turn or a lane change, if the arrows don’t flash but just stay
on, a signal bulb may be burned out and other drivers won’t see your turn
signal.
If a bulb is burned out, replace it to help avoid an accident. If the green
arrows don’t go
on at all when you signal a turn, check the fuse (see “Fuses”
in the Index) and for burned-out bulbs.
If you have a trailer towing option with added wiring for the trailer lights, a
different turn signal flasher is used. With this flasher installed, the signal
indicator will flash even if a turn signal bulb
is burned out. Check the front
and rear turn signal lights regularly
to make sure they are working.
Headlamp High-Low Beam
f ,.
To change the
headlamps from low
beam to high or high
to low, pull the turn
signal lever all the
way toward you. Then
release it.
2-31
Page 94 of 342
Downloaded from www.Manualslib.com manuals search engine Lamps
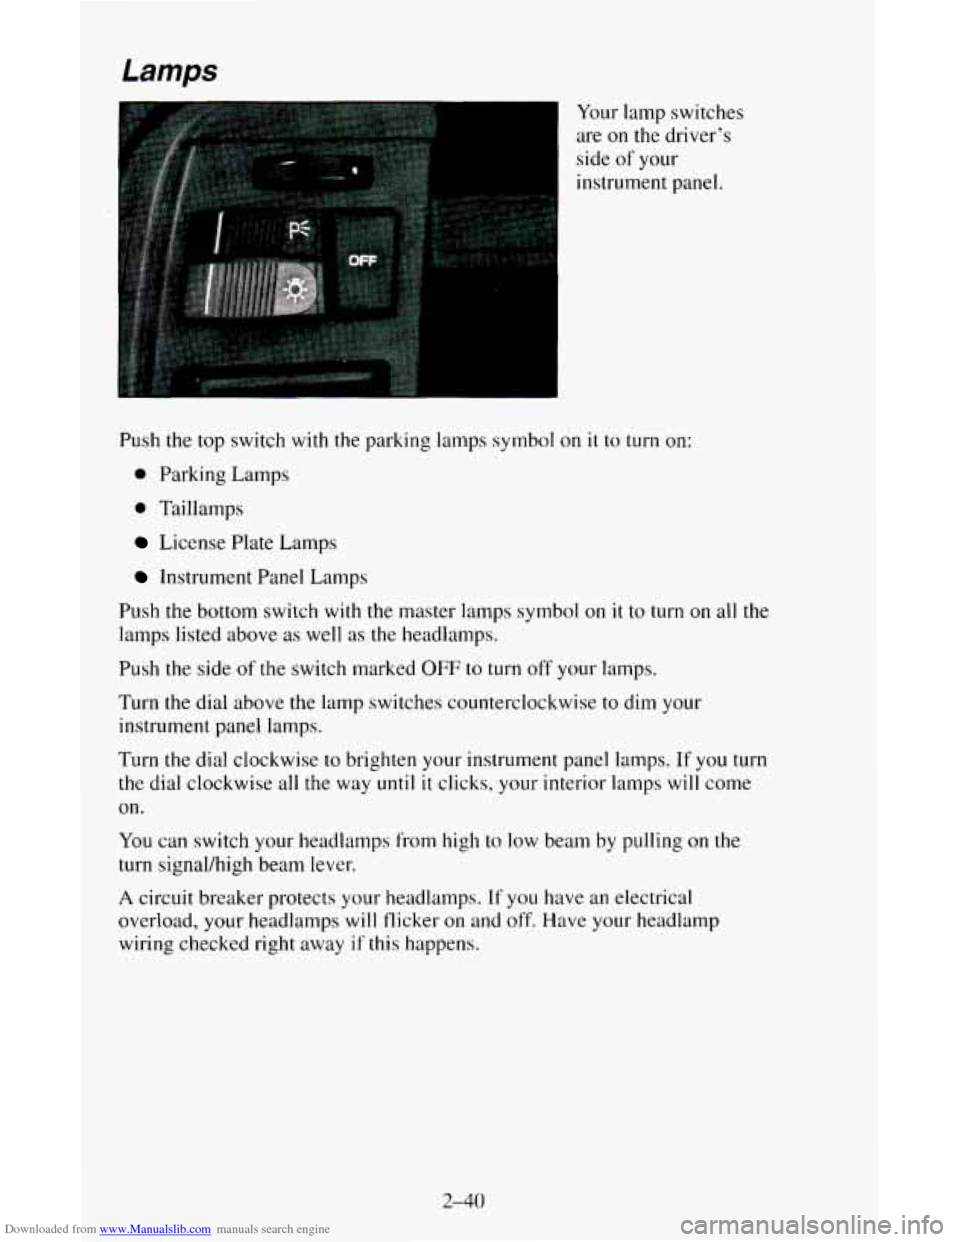
Your lamp switches
are
on the driver’s
side of your
instrument panel.
Push the top switch
with the parking lamps symbol on it to turn on:
0 Parking Lamps
0 Taillamps
License Plate Lamps
Instrument Panel Lamps
Push the bottom switch
with the master lamps symbol on it to turn on all the
lamps listed above as well as the headlamps.
Push the side of
the switch marked OFF to turn off your lamps.
Turn the dial above the lamp switches counterclockwise to dim your
instrument panel lamps.
Turn
the dial clockwise to brighten your instrument panel lamps. If you turn
the dial clockwise all
the way until it clicks, your interior lamps will come
on.
You can switch your headlamps from high to low beam by pulling on the
turn signal/high beam lever.
A circuit breaker protects your headlamps. If you have an electrical
overload, your headlamps
will flicker on and off. Have your headlamp
wiring checked right away
if this happens.
2-40
Page 109 of 342
Downloaded from www.Manualslib.com manuals search engine If the light stays on, or comes on when you’re driving, your vehicle needs
service.
If the regular brake system warning light isn’t on, you still have
brakes, but you don’t have anti-lock brakes. If the regular brake system
warning light
is also on, you don’t have anti-lock brakes and there’s a
problem with your regular brakes. See “Brake System Warning Light”
earlier in this part.
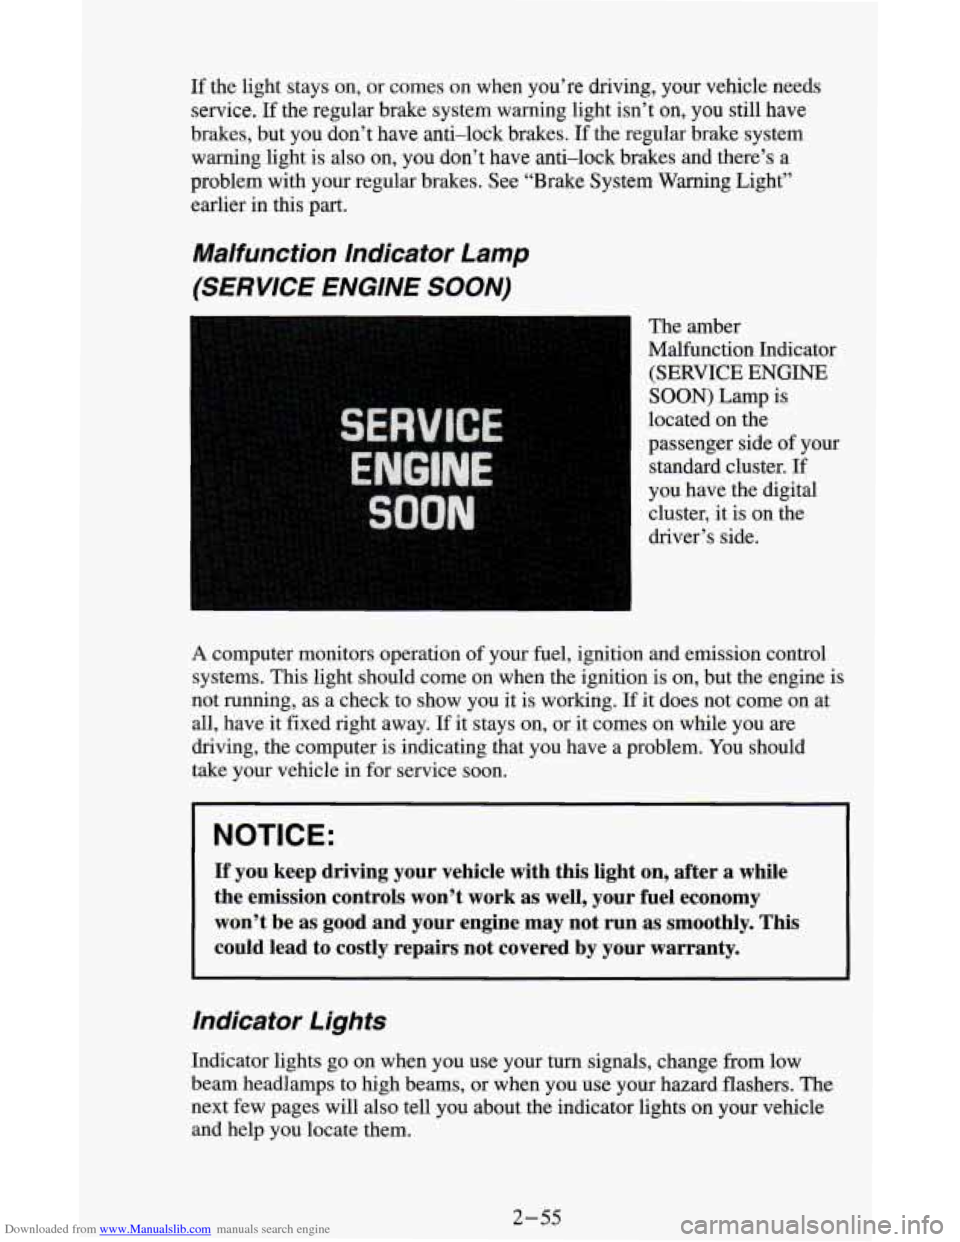
Malfunction Indicator Lamp
(SERVICE ENGINE
SOON)
The amber
Malfunction Indicator
(SERVICE
ENGINE
SOON) Lamp is
located on the
passenger side of your
standard cluster. If
you have the digital
cluster, it is
on the
driver’s side.
A computer monitors operation of your fuel, ignition and emission control
systems. This light should come on when the ignition is
on, but the engine is
not running, as a check to show you it is working.
If it does not come on at
all, have it fixed right away.
If it stays on, or it comes on while you are
driving, the computer is indicating that you have a problem. You should
take your vehicle in for service soon.
NOTICE:
If you keep driving your vehicle with this light on, after a whi\
le
the emission controls won’t work as well, your fuel economy \
won’t be as good and your engine may not run as smoothly. \
This
could lead to costly repairs not covered by your warranty.
Indicator Lights
Indicator lights go on when you use your turn signals, change from low
beam headlamps to high beams, or when you use your hazard flashers.
The
next few pages will also tell you about the indicator lights on your vehicle
and help you locate them.
2-55
Page 111 of 342
Downloaded from www.Manualslib.com manuals search engine For more details about DRL, see “Headlamps and Vehicle Lighting” in this
section.
The
DRL indicator light is on whenever the ignition and the headlight
switch and parking brake are
off. For more details about DRL, see “Lights”
in this part.
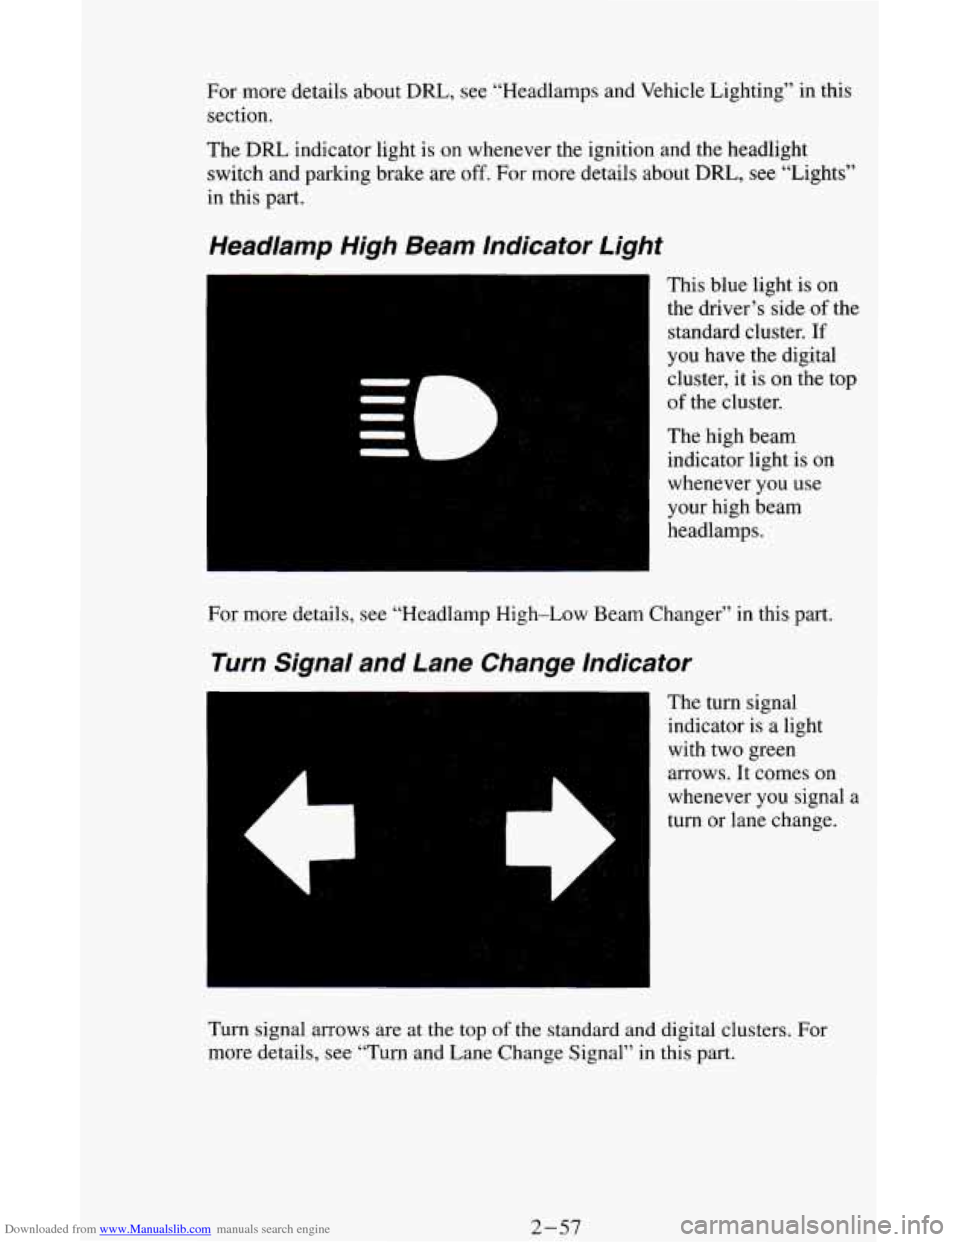
Headlamp High Beam Indicator Light
This blue light is on
the driver’s side
of the
standard cluster.
If
you have the digital
cluster, it
is on the top
of the cluster.
The high beam
indicator light is
on
whenever you use
your high beam
headlamps.
For more details, see “Headlamp High-Low Beam Changer” in this part.
Turn Signal and Lane Change Indicator
The turn signal
indicator is
a light
with two green
arrows. It comes on
whenever you signal
a
turn or lane change.
Turn signal arrows are at the
top of the standard and digital clusters. For
more details, see “Turn and Lane Change Signal”
in this part.
2-57
Page 148 of 342
Downloaded from www.Manualslib.com manuals search engine 0
0
0
0
0
0 0
0
Watch for traffic signs, pavement markings, and lines. If you can see a
sign up ahead that might indicate a turn or an intersection, delay your
pass.
A broken center line usually indicates it’s all right to pass
(providing the road ahead is clear). Never cross a solid line on your
side of the lane or a double solid line, even if the road seems empty
of
approaching traffic.
Do not get too close to the vehicle you want to pass while you’re
awaiting
an opportunity. For one thing, following too closely reduces
your
area of vision, especially if you’re following a larger vehicle.
Also, you won’t have adequate space if the vehicle ahead suddenly
slows or stops. Keep back a reasonable distance.
When it looks like a chance
to pass is coming up, start to accelerate but
stay in the right lane and don’t get too close. Time your move
so you
will be increasing speed as the time comes to move into the other lane.
If the way is clear to pass, you will have a “running start” that more
than makes up for the distance you would lose by dropping back. And
if something happens
to cause you to cancel your pass, you need only
slow down and drop back again and wait for another opportunity.
If other cars are lined up to pass a slow vehicle, wait your turn. But
take care that someone isn’t trying to pass
you as you pull out to pass
the slow vehicle. Remember
to glance over your shoulder and check
the blind spot.
Check your mirrors, glance over your shoulder, and start your left lane
change signal before moving out of the right lane
to pass. When you
are far enough ahead of the passed vehicle to see its front in your inside
mirror, activate your right lane change signal and move back into the
right lane. (Remember that your right outside mirror is convex. The
vehicle you just passed may seem to be farther away from
you than it
really is.)
Try not to pass more than one vehicle at a time on two-lane roads.
Reconsider before passing
the next vehicle.
Don’t overtake a slowly moving vehicle too rapidly. Even though the
brake lights are not flashing, it may be slowing down or starting
to turn.
If you’re being passed, make it easy for the following driver to get
ahead of you. Perham vou
can ease a little to the ripht.
4-10
Page 151 of 342
Downloaded from www.Manualslib.com manuals search engine You can be temporarily blinded by approaching lights. It can take a second
or two, or even several seconds, for your eyes
to readjust to the dark. When
you are faced with severe glare (as from a driver who doesn’t lower the high
beams, or a vehicle with misaimed headlamps), slow down a little. Avoid
staring directly into
the approaching lights.
Keep your windshield and all the glass
on your vehicle clean - inside and
out. Glare at night is made much worse by dirt on the glass. Even the inside
of the glass can build up a film caused by dust. Dirty glass makes lights
dazzle and flash more than clean glass would, making the pupils
of your
eyes contract repeatedly.
Remember that your headlamps light up far less
of a roadway when you are
in a turn or curve. Keep your eyes moving; that way, it’s easier to pick out
dimly lighted objects. Just as your headlamps should be checked regularly
for proper aim,
so should your eyes be examined regularly. Some drivers
suffer from night blindness
- the inability to see in dim light - and aren’t
even aware of it.
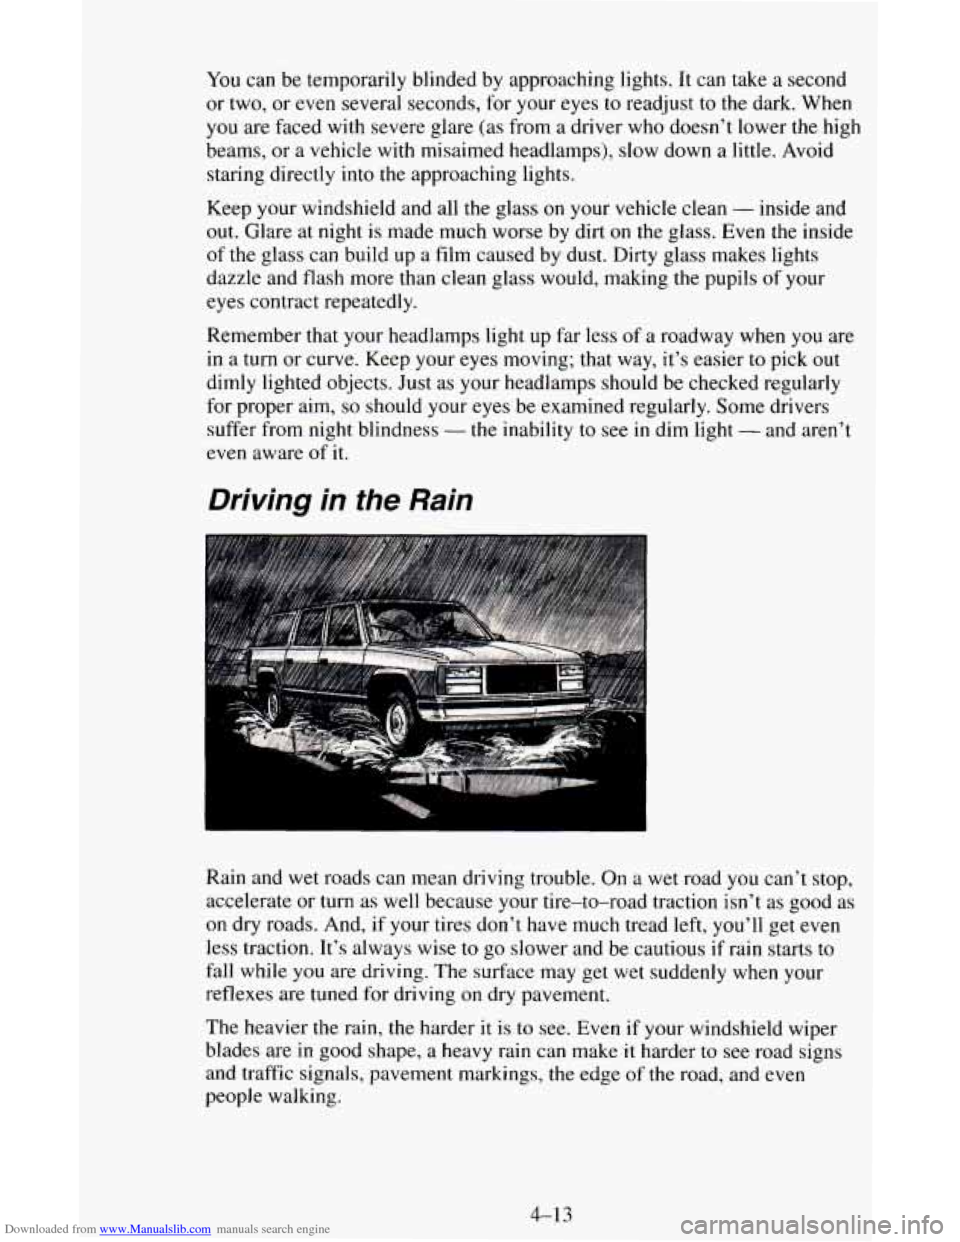
Driving in the Rain
Rain and wet roads can mean driving trouble. On a wet road you can’t stop,
accelerate or turn as well because your tire-to-road traction
isn’t as good as
on dry roads. And, if your tires don’t have much tread left, you’ll get even
less traction. It’s always wise
to go slower and be cautious if rain starts to
fall while you are driving. The surface may get wet suddenly when your
reflexes are tuned
for driving on dry pavement.
The heavier the rain, the harder
it is to see. Even if your windshield wiper
blades are
in good shape, a heavy rain can make it harder to see road signs
and traffic signals, pavement markings, the edge
of the road, and even
people walking.
4-13