1995 CADILLAC FLEETWOOD oil
[x] Cancel search: oilPage 14 of 306
Downloaded from www.Manualslib.com manuals search engine Vehicle Symbols
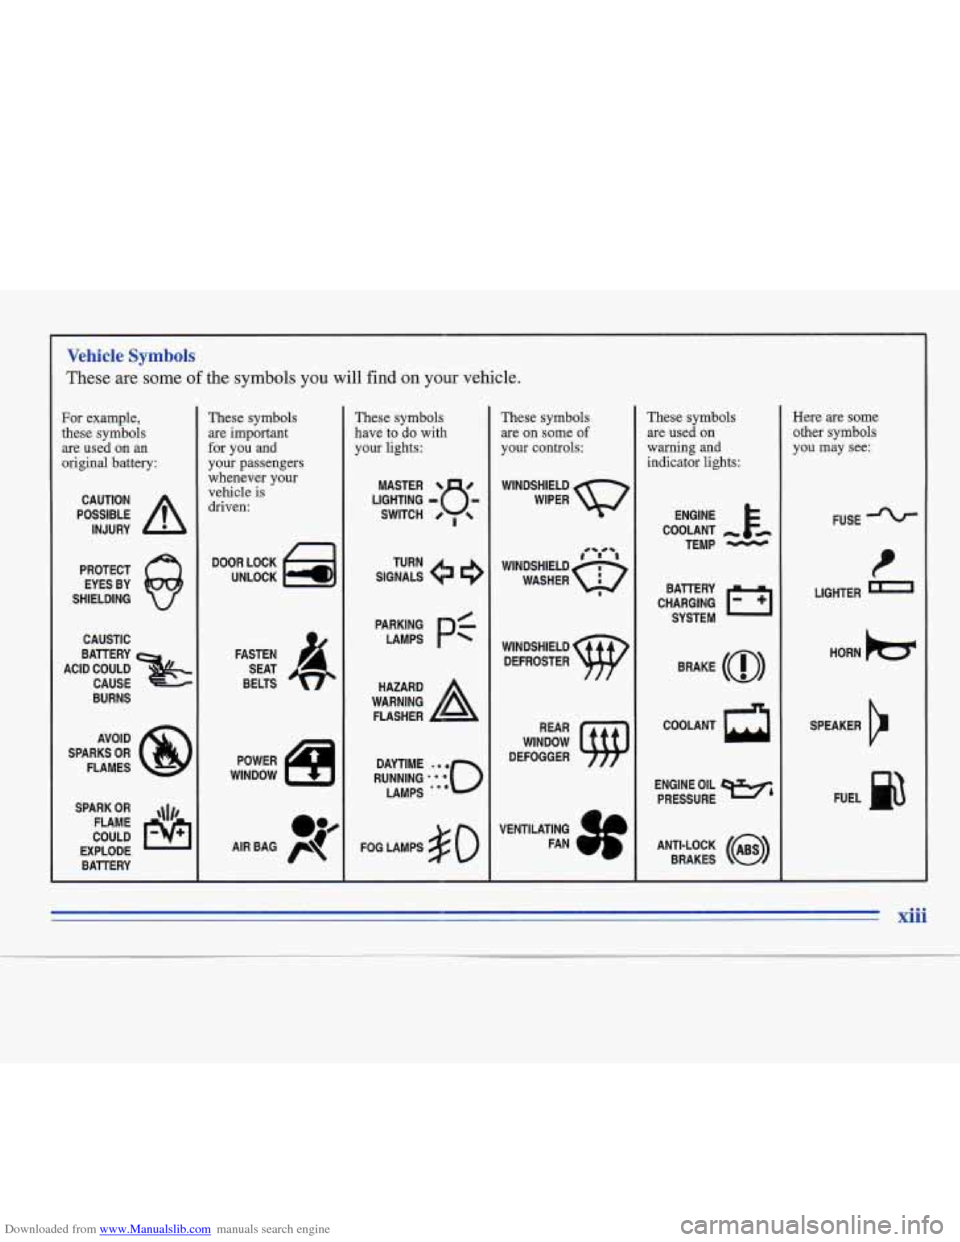
These are some of the symbols you will find on your vehicle.
For example,
these symbols
are used on an
original battery:
POSSIBLE A
CAUTION
INJURY
PROTECT EYES BY
SHIELDING
CAUSTIC
ACID COULD
&
BAllERY
CAUSE
BURNS
AVOID
SPARKS
OR
FLAMES
SPARK
OR ,\I/,
COULD FLAME
EXPLODE BATTERY
These symbols are important
for you and
your passengers
whenever your
vehicle
is
driven:
DOOR LOCK
UNLOCK
FASTEN SEAT
BELTS
POWER
WINDOW
These symbols
have to do with
your lights:
SIGNALS e
TURN
PAERK pf
FOG LAMPS $0
These symbols
are on some
of
your controls:
WIPER w
WINDSHIELD
DEFROSTER
WINDOW
DEFOGGER
VENTILATING FAN
These symbols are used
on
warning and
indicator lights:
COOLANT
TEMP
-
CHARGING Tql
BAllERY
SYSTEM
BRAKE
(0)
COOLANT a
ENGINE OIL e,
PRESSURE
ANTI-LOCK
(a)
BRAKES
Here are some
other symbols
you may see:
FUSE -%-
t
LIGHTER m
HORN )cr
SPEAKER
b
FUEL e3
xiii
Page 77 of 306
Downloaded from www.Manualslib.com manuals search engine Engine Coolant Heater (Canada Only)
In very cold weather, 0°F (- 18 O C) or colder, the engine
coolant heater can help. You’ll get easier starting and
better fuel economy during engine warm-up. Usually, the coolant heater should be plugged in a minimum of
four hours prior to starting your vehicle.
To Use the Coolant Heater
1. Turn off the engine.
2. Open the hood and unwrap the electrical cord.
3. Plug it into a normal, grounded 1 10-volt AC outlet.
A CAUTION:
Plugging the cord into an ungrounded outlet
couId cause an electrical shock. Also, the wrong
kind of extension cord could overheat and cause
a fire.
You could be seriously injured. Plug the
cord into a properly grounded three-prong
110-volt
AC outlet. If the cord won’t reach, use a
heavy-duty three-prong extension cord rated for
at least 15 amps.
4. After you’ve used the coolant heater, be sure to
store the cord as it was before to keep it away
from moving engine parts.
If you don’t, it could
be damaged.
How long should you keep the coolant heater plugged
in? The answer depends on the outside temperature, the
kind of oil you have, and some other things. Instead
of
trying to list everything here, we ask that you contact
your Cadillac dealer in the area where you’ll be parking
your vehicle. The dealer can give you the best advice for
that particular area.
2-18
Page 111 of 306
Downloaded from www.Manualslib.com manuals search engine Instrument Panel CIuster
TRACTION LEVEL
ENGAGED RIDE
TRUNK SECURITY
AJAR SYSTEM
PASS
KEY FAULT TEMP -k -
957; FASTEN
PRESSURE BELTS
SERVICE ENGINE
tziTJK (e) SOON
CRUISE TRACTION
ENGAGED CONTROL
UNLEADED FUEL ONLY
ELOW @ F
irllilllirllilrli
[ P RNOD21 1
FLUID LOW OIL
WASHER
CHANGE
El
(0)
CHARGE
BRAKE
I 3AG AIR
LOW )IL
LEVEL COOLANT LO w
DOOR AJAR BRAKE TO SHIFT
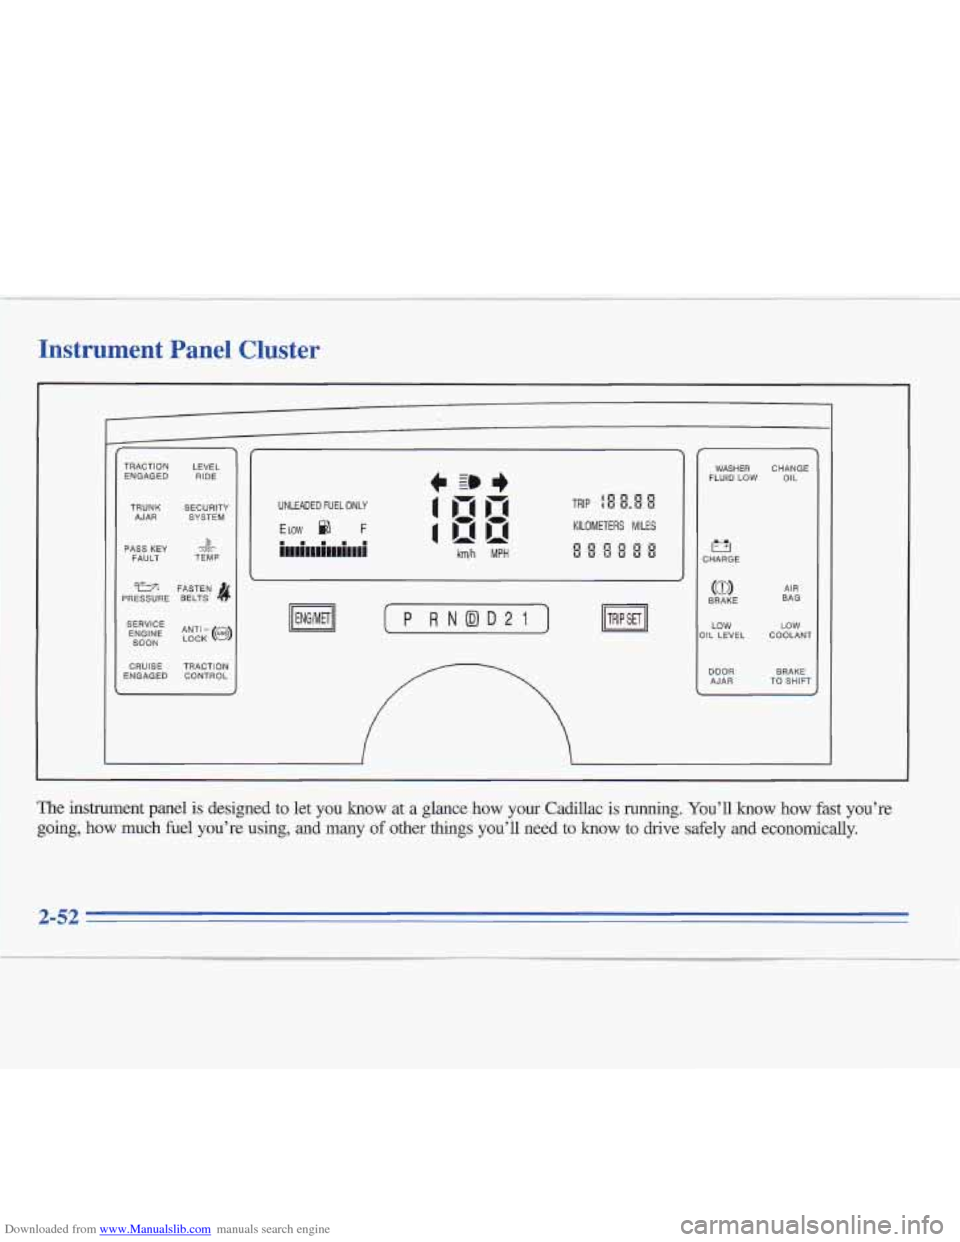
The instrument panel is designed to let
you know at a glance how your Cadillac is running. You’ll know how fast you’re
going, how much fuel you’re using, and
many of other things you’ll need to know to drive safely and economically.
Page 122 of 306
Downloaded from www.Manualslib.com manuals search engine Oil Pressure Light
WA
PRESSURE
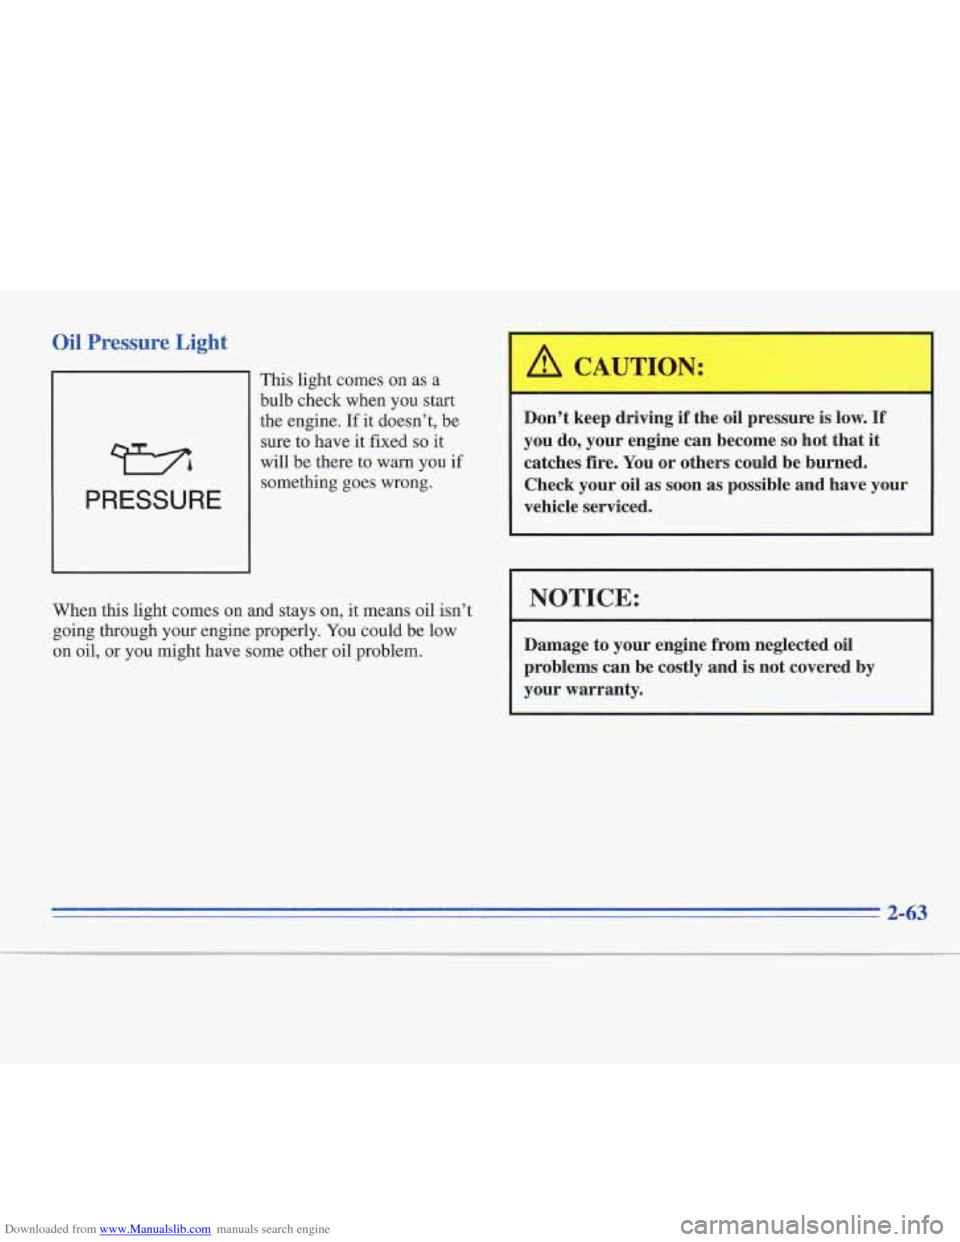
This light comes on as a
bulb check when you start
the engine. If
it doesn’t, be
sure to have it fixed
so it
will be there
to warn you if
something goes wrong.
When
this light comes on and stays on, it means oil isn’t
going through your engine properly. You could be low
on oil, or
you might have some other oil problem.
Don’t keep driving if the oil pressure is low. If
you do, your engine can become so hot that it
catches fire. You or others could be burned.
Check your oil as
soon as possible and have your
vehicle serviced.
I NOTICE:
Damage to your engine from neglected oil
problems can be costly and
is not covered by
your warranty.
2-63
Page 123 of 306
Downloaded from www.Manualslib.com manuals search engine Low Oil Level Light
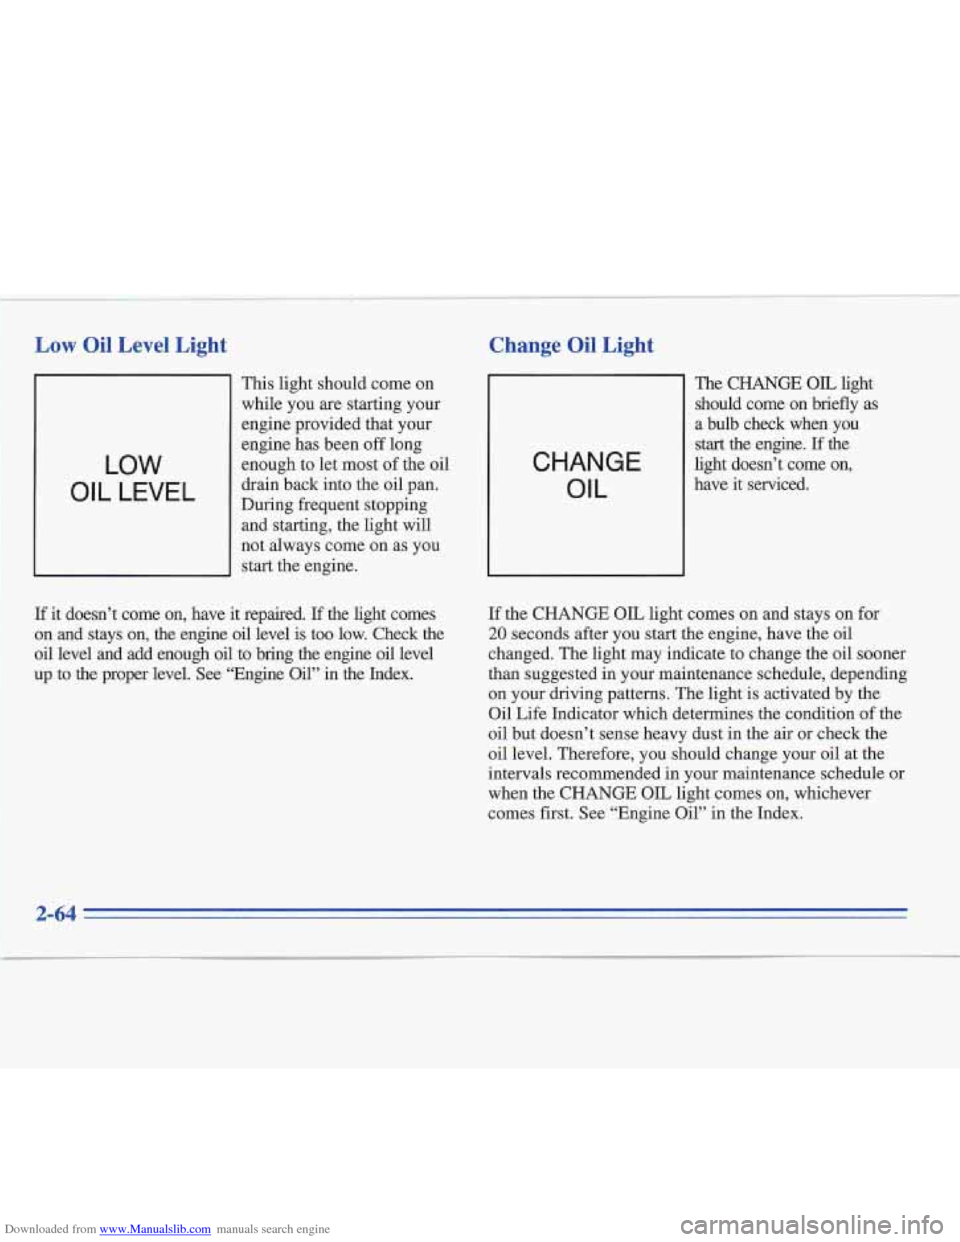
11 This light should come on
while you are starting your
engine provided that your
LOW
OIL LEVEL
engine has been off long
enough to let most
of the oil
drain back into the oil pan.
During frequent stopping and starting, the light will
not always come on as you
start the engine.
If it doesn’t come on, have it repaired. If the light comes
on and stays on, the engine oil level is too low. Check the
oil level and add enough oil to bring the engine oil level
up to the proper level.
See “Engine Oil” in the Index.
Change Oil Light t
CHANGE OIL
The CHANGE OIL light
should come on briefly as
a bulb check when you
start the engine. If the
light doesn’t come on,
have it serviced.
If the CHANGE OIL light comes on and stays on for
20 seconds after you start the engine, have the oil
changed. The light may indicate to change the oil sooner
than suggested in your maintenance schedule, depending
on your driving patterns. The light is activated by the
Oil Life Inlcator which determines the condition of the
oil but doesn’t sense heavy dust in the air or check the
oil level. Therefore, you should change your oil at the
intervals recommended in your maintenance schedule or
when the CHANGE OIL light comes on, whichever
comes first. See “Engine Oil” in the Index.
Page 124 of 306
Downloaded from www.Manualslib.com manuals search engine After changing the engine oil, the system must be reset.
With the ignition key in the
RUN position but the engine
off, fully push and release the accelerator pedal three
times within five seconds. If the
CHANGE OIL light
flashes two times, the system is reset. However,
if the
light comes on and stays on for five seconds, it did not
reset. You’ll need to reset the system again.
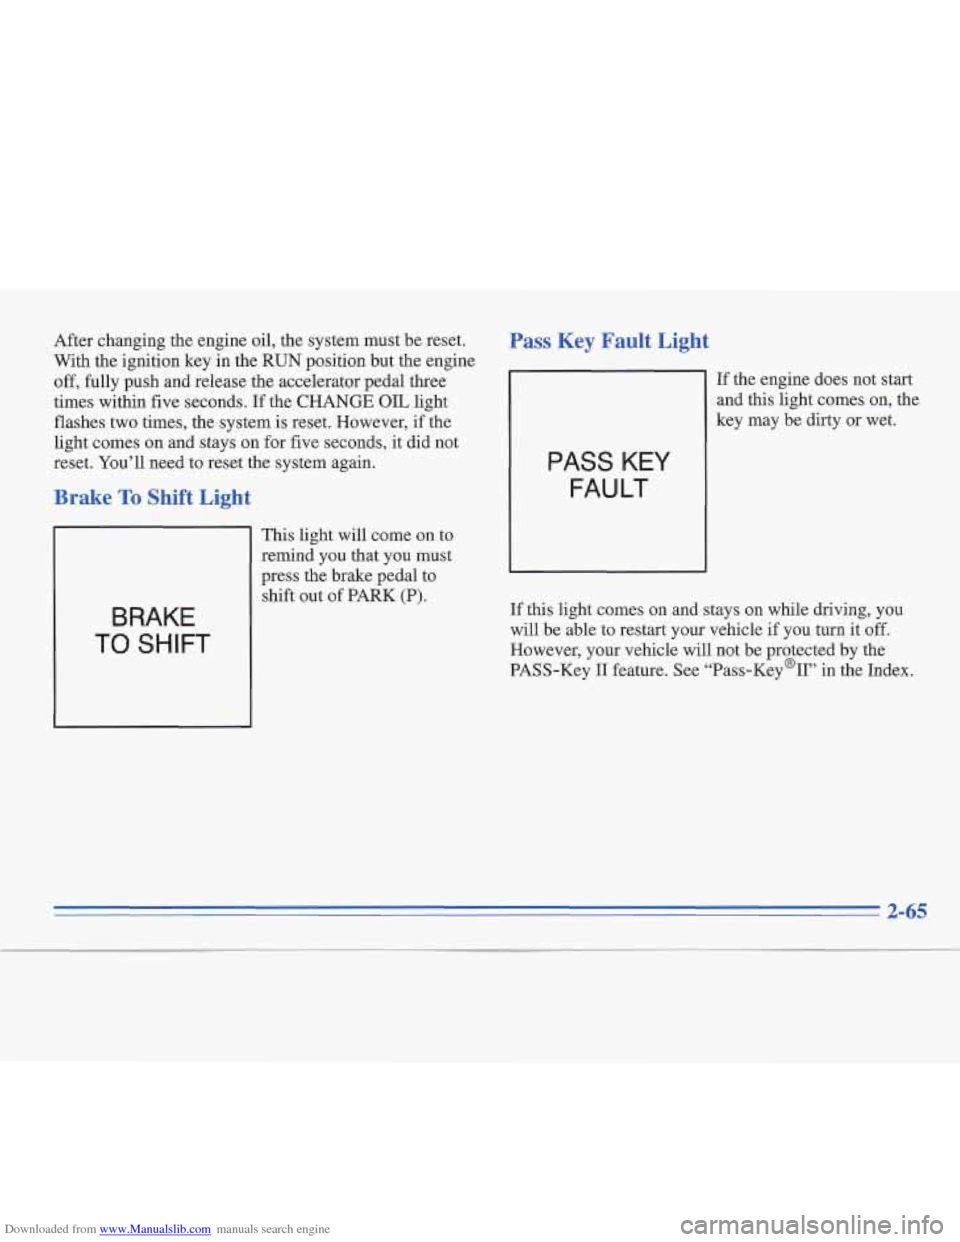
Brake To Shift Light
BRAKE
TO SHIFT
This light will come on to
remind you that you must
press the brake pedal to
shift out
of PARK (P).
Pass Key Fault Light
PASS KEY
FAULT
If the engine does not start
and this light comes on, the
key may be dirty or wet.
If this light comes
on and stays on while driving, you
will be able to restart your vehicle
if you hrrn it off.
However, your vehicle will not be protected by the
PASS-Key
I1 feature. See “Pass-Key%’’ in the Index.
Page 144 of 306
Downloaded from www.Manualslib.com manuals search engine Care of Your Cassette Tape Player
A tape player that is not cleaned regularly can cause
reduced sound quality, ruined cassettes or a damaged
mechanism. Cassette tapes should be stored
in their
cases away from contaminants, direct sunlight and
extreme heat.
If they aren't, they may not operate
properly or may cause failure of the tape player.
Your tape player should be cleaned regularly after every
50 hours of use. Your radio may display CLN to indicate
that you have used your tape player for
50 hours without
resetting the tape clean timer.
If you notice a reduction in
sound quality,
try a known good cassette to see if the tape
or the tape player is at fault. If
this other cassette has no
improvement in sound quality, clean the tape player.
Cleaning may be done with a scrubbing action,
non-abrasive cleaning cassette with pads which scrub
the tape head as the hubs of the cleaner cassette turn.
It
is normal for the cassette to eject while cleaning. Insert
the cassette at least
three times to ensure thorough
cleaning.
A scrubbing action cleaning cassette is
available through your Cadillac dealer. You
may also choose a non-scrubbing action, wet-type
cleaner which uses a cassette with a fabric belt to clean
the tape head. This type of cleaning cassette will not.
eject. It may not clean as thoroughly as the scrubbing
type cleaner.
Cassettes
are subject to wear and the sound quality may
degrade over time. Always make sure that the cassette
tape is
in good condition before you have your tape
player serviced.
Care of Your Compact Discs
Handle discs carefully. Store them in their original cases
or other protective cases and away from direct sunlight and dust.
If the surface of a disc is soiled, dampen a
clean, soft cloth in a mild, neutral detergent solution and
clean
it, wiping from 'the center to the edge.
Be sure never to touch the signal surface when handling
discs. Pick up discs by grasping the outer edges or the
edge of the hole and the outer edge.
3-17
Page 185 of 306
Downloaded from www.Manualslib.com manuals search engine ’men You Are Ready to Leave After
Parking on a Hill
1. Apply your regular brakes and hold the pedal down
while you:
Start your engine;
Shift into a gear; and
Be sure the parking brake has released.
2. Let up on the brake pedal.
3. Drive slowly until the trailer is clear of the chocks.
4. Stop and have someone pick up and store the chocks.
Engine Cooling When Trailering
Your cooling system may temporarily overheat during
severe operating conditions such as:
Climbing grades steeper than four percent at
temperatures above
90°F (32°C) with a loaded
vehicle and trailer.
Stopping after high-speed driving.
Idling for long periods in stop-and-go traffic.
Maintenance When Trailer Towing
Your vehicle will need service more often when you’re
pulling a trailer. See the Maintenance Schedule for more
on this. Things that
are especially important in trailer
operation are automatic transmission fluid (don’t
overfill), engine oil, axle lubricant, belt, cooling system and brake adjustment. Each of these is covered in this
manual, and the Index will help you find them quickly.
If you’re trailering, it’s a good idea to review these
sections before
you start your trip.
Check periodically to see that all hitch nuts and bolts
are tight.
4-40