Page 224 of 395

Downloaded from www.Manualslib.com manuals search engine Driving with a Trailer
n Towing a trailer requires a certain amount of experience. Before setting
out for the open road, you’ll want to get to
know your rig. Acquaint
yourself with the feel
of handling and braking with the added weight of
the trailer. And always keep in mind that the vehicle you are driving is
now a good deal longer and not nearly as responsive as your vehicle is by
itself.
Before you start, check the trailer hitch and platform (and attachments),
safety chains, electrical connector, lamps, tires and mirror adjustment. If
the trailer has electric brakes, start your vehicle and trailer moving and
then apply the trailer brake controller by hand to be sure the brakes are
working. This lets you check your electrical connection at the same time.
. During your trip, check occasionally to be sure that the load is secure, and
that the lights and any trailer brakes are still working.
Following Distance
Stay at least twice as far behind the vehicle ahead as you would when
driving your vehicle without a trailer. This can help you avoid situations
that require heavy braking and sudden turns.
Passing
You’ll need more passing distance up ahead when you’re towing a trailer.
And, because you’re a good deal longer, you’ll need to
go much farther
beyond the passed vehicle before you can return to your lane.
Backing Up
Hold the bottom of the steering wheel with one hand. Then, to move the
trailer to the left, just move that hand to the left.
To move the trailer to
the right, move your hand to the right. Always back up slowly and,
if
possible, have someone guide you.
4-37
Page 274 of 395

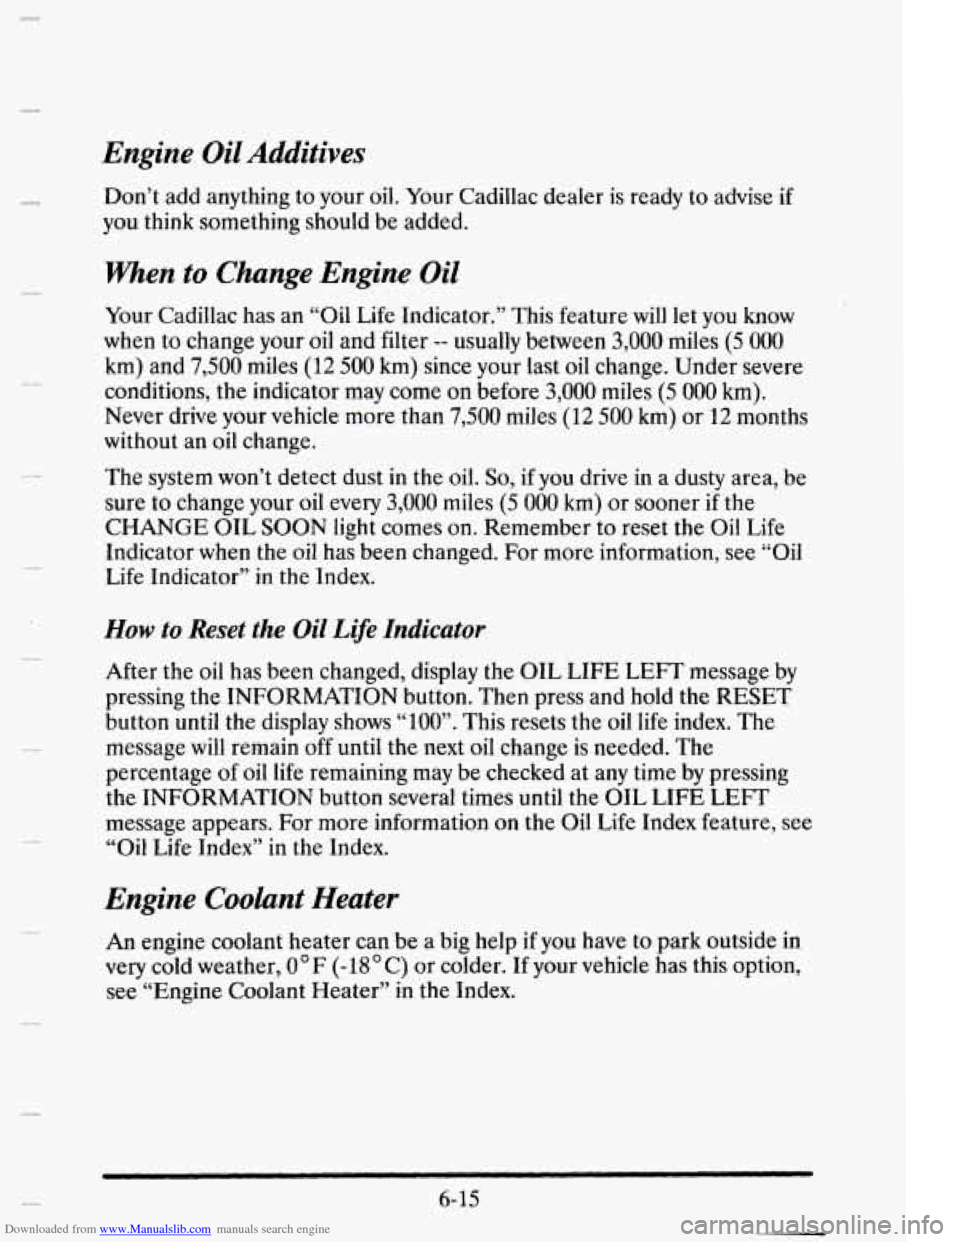
Downloaded from www.Manualslib.com manuals search engine Engine Oil Additives
c
Don’t add anything to your oil. Your Cadillac dealer is ready to advise if
you think something should be added.
When to Change Engine Oil
Your Cadillac has an “Oil Life Indicator.” This feature will let you know
when to change your oil and filter
-- usually between 3,000 miles (5 000
km) and 7,500 miles (12 500 km) since your last oil change. Under severe
conditions, the indicator may come
on before 3,000 miles (5 000 km).
Never drive your vehicle more
than 7,500 miles (12 500 km) or 12 months
without an oil change.
The system won’t detect dust in the oil.
So, if you drive in a dusty area, be
sure to change your oil every
3,000 miles (5 000 km) or sooner if the
CHANGE OIL
SOON light comes on. Remember to reset the Oil Life
Indicator when the
oil has been changed. For more information, see “Oil
Life Indicator” in the Index.
How to Reset the Oil Life Indicator
After the oil has been changed, display the OIL LIFE LEFT message by
pressing the INFORMATION button. Then press and hold the
RESET
button until the display shows “loo”. This resets the oil life index. The
message will remain off until the next
oil change is needed. The
percentage
of oil life remaining may be checked at any time by pressing
the INFORMATION button several times until the OIL LIFE LEFT
message appears. For more information on the
Oil Life Index feature, see
“Oil Life Index” in the Index.
Engine Coolant Heater
An engine coolant heater can be a big help if you have to park outside in
very cold weather, 0°F (-18OC) or colder. If your vehicle has this option,
see “Engine Coolant Heater” in the Index.
6- 15
Page 284 of 395
Downloaded from www.Manualslib.com manuals search engine To Check Coolant
When your engine is cold, the coolant level shouId be at the proper fill
level, which is two and a half inches (60 mm) below the base of the fill
neck. Use a flashlight as necessary to see into the tank.
To Add Coolant
If you need more coolant, add the proper mix at the surge tank, but only
when the engine is cool.
When replacing
the pressure cap, make sure it is tight.
SURGE TANK PRESSURE CAP
-~
NOTICE:
Your surge tank cap is a 15 psi (105 kPa) pressure-type cap and
must be tightly installed to prevent coolant
loss and possible
engine damage
from overheating. Be sure the arrows on the cap
line up with the overflow tube on the radiator filler neck.
If your surge tank pressure cap needs to be replaced an AC@ cap is
recommended.
6-25
Page 289 of 395
Downloaded from www.Manualslib.com manuals search engine To Check Brake Fluid
Remove the cap.
. .. .. . , ... r .._ ..:- . , -.
The fluid level must be to the maximum fill line at the base of the neck as
shown.
When your brake fluid>$alis
to a low level, your brake warning light will
come
on. See "Brake System Warning Light" in the Index.
,
6-30
Page 380 of 395

Downloaded from www.Manualslib.com manuals search engine C
.
.
.
.
.
c
.
.
.
.
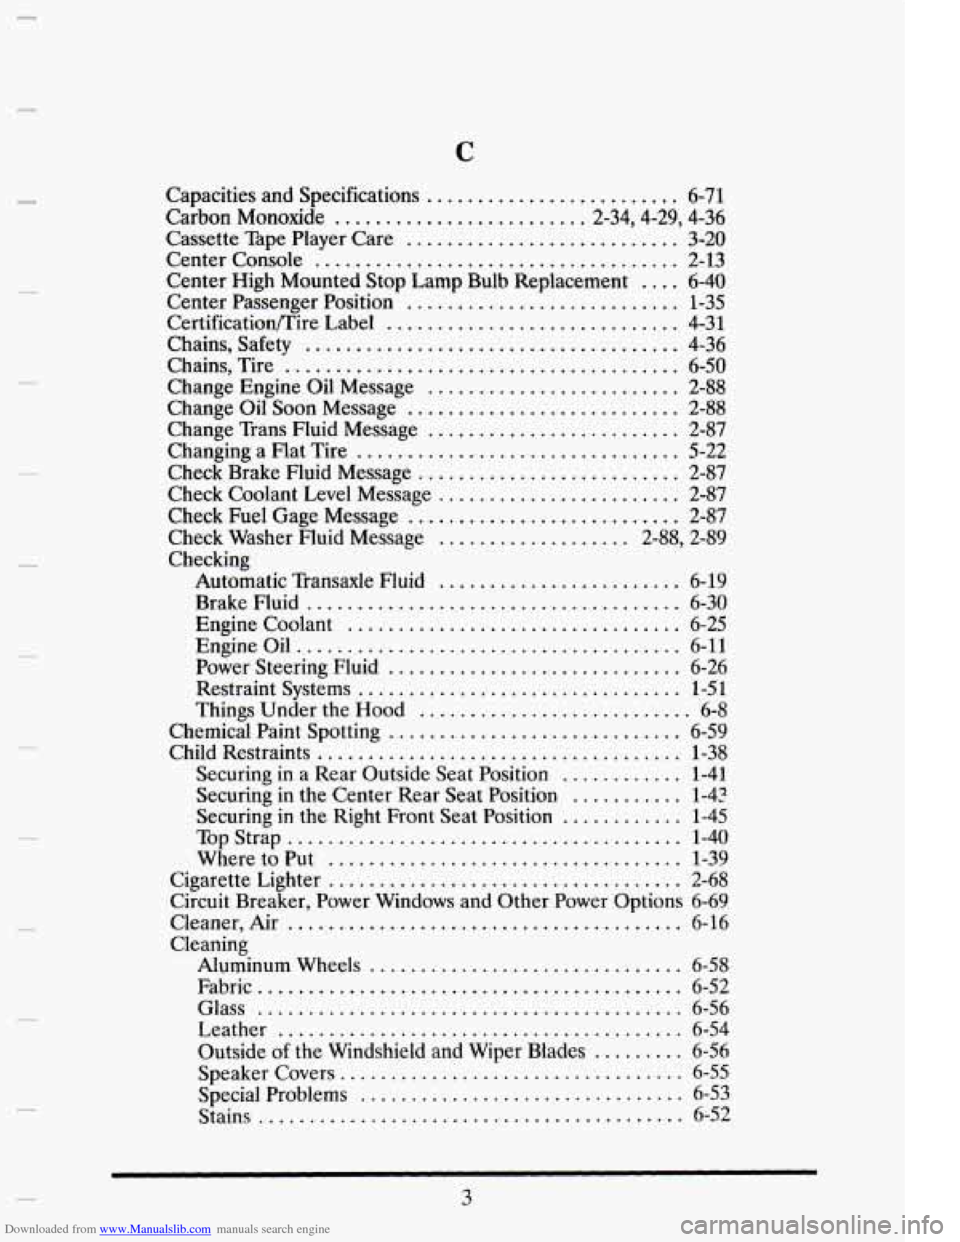
Capacities and Specifications ......................... 6-71
Carbon Monoxide ......................... 2.34.4.29. 4.36
Cassette Tape Player Care ........................... 3-20
Center Console .................................... 2-13
Center High Mounted Stop Lamp Bulb Replacement .... 6-40
Center Passenger Position ........................... 1-35
Certificationmire Label ............................. 4-31
Chains. Safety ..................................... 4-36
Chains. Tire ....................................... 6-50
Change Engine Oil Message ......................... 2-88
Change Oil Soon Message ........................... 2-88
Change Trans Fluid Message ......................... 2-87
Changing a Flat Tire ................................ 5-22
Check Brake Fluid Message .......................... 2-87
Check Coolant Level Message ........................ 2-87
Check Fuel Gage Message ........................... 2-87
Check Washer Fluid Message ................... 2.88, 2.89
Checking
Automatic Transaxle Fluid
........................ 6-19
Brake Fluid ..................................... 6-30
Engine Coolant ................................. 6-25
Engineoil ...................................... 6-11
Power Steering Fluid ............................. 6-26
Restraint Systems ................................ 1-51
Things Under the Hood ........................... 6-8
Chemical Paint Spotting ............................. 6-59
Child Restraints .................................... 1-38
Securing in a Rear Outside Seat Position ............ 1-41
Securing in the Center Rear Seat Position ........... 1-42
Securing in the Right Front Seat Position ............ 1-45
Top Strap ....................................... 1-40
Where to Put ................................... 1-39
Cigarette Lighter ................................... 2-68
Circuit Breaker. Power Windows and Other Power Options 6-69
Cleaner, Air ....................................... 6-16
Cleaning
Aluminum Wheels
............................... 6-58
Fabric .......................................... 6-52
Glass .......................................... 6-56
Leather ........................................ 6-54
Outside of the Windshield and Wiper Blades ......... 6-56
Speaker Covers .................................. 6-55
Special Problems ................................ 6-53
Stains ........................................... 6-52
.
.
Page:
< prev 1-8 9-16 17-24