1995 BUICK REGAL service
[x] Cancel search: servicePage 79 of 340
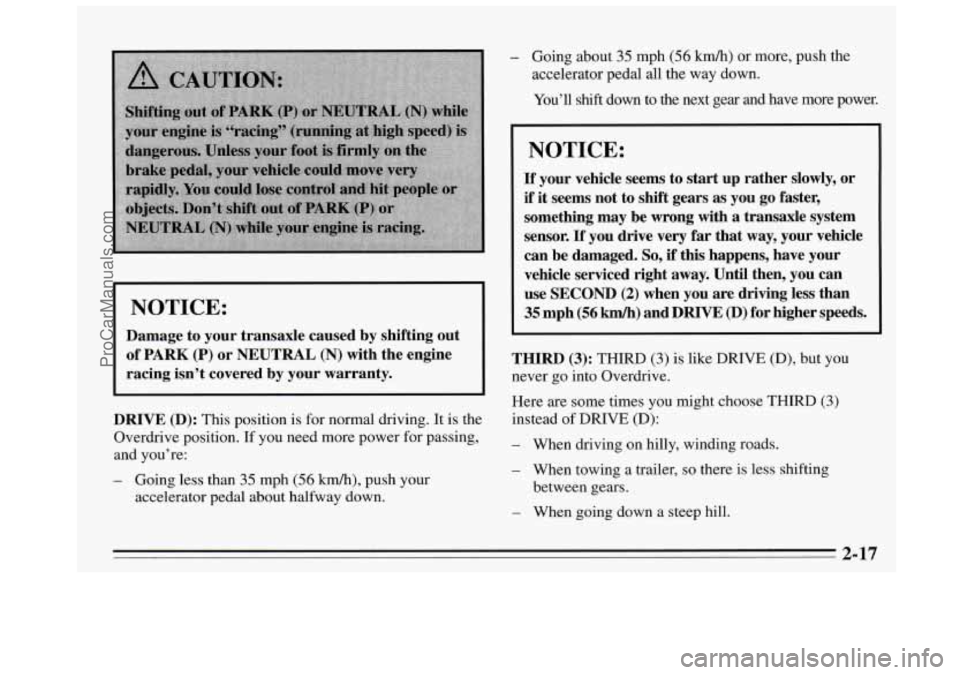
I NOTICE:
Damage to your transaxle caused by shifting out of
PARK (P) or NEUTRAL (N) with the engine
racing isn’t covered by your warranty.
DRIVE (D): This position is for normal driving. It is the
Overdrive position.
If you need more power for passing,
and you’re:
- Going less than 35 mph (56 km/h), push your
accelerator pedal about halfway
down.
- Going about 35 mph (56 km/h) or more, push the
accelerator pedal all
the way down.
You’ll shifi down to the next gear and have more power.
NOTICE:
If your vehicle seems to start up rather slowly, or
if it seems not to shift gears as you go faster,
something may be wrong with
a transaxle system
sensor.
If you drive very far that way, your vehicle
can be damaged.
So, if this happens, have your
vehicle serviced right away. Until then, you can
use
SECOND (2) when you are driving less than
35 mph (56 km/h) and DRIVE (D) for higher speeds.
THIRD (3): THIRD (3) is like DRIVE (D), but you
never go into Overdrive.
Here are some times you might choose
THIRD (3)
instead of DRIVE (D):
- When driving on hilly, winding roads.
- When towing a trailer, so there is less shifting
- When going down a steep hill.
between gears.
2-17
ProCarManuals.com
Page 106 of 340

Warning Lights, Gages and
Indicators
This part describes the warning lights and gages that
may be on your vehicle. The pictures will help
you
locate them.
Warning lights and gages can signal that something
is
wrong before it becomes serious enough to cause an
expensive repair or replacement. Paying attention to
your warning lights and gages could also save
you or
others from injury.
Warning lights come on when there may be or is a
problem with one of your vehicle’s functions. As
you
will see in the details on the next few pages, some
warning lights come
on briefly when you start the
engine just to let
you know they’re working. If you are
familiar with this section, you should
not be alarmed
when this happens.
Gages can indicate when there may be or is
a problem
with one of your vehicle’s functions. Often gages and
warning lights work together to let you know when
there’s a problem with your vehicle. When
one
of the warning lights comes on and stays on
when you are driving, or when one of the gages shows
there may be a problem, check the section that tells
you
what to do about it. Please follow this manual’s advice.
Waiting
to do repairs can be costly -- and even
dangerous.
So please get to know your warning lights
and gages. They’re
a big help.
Fuel Gage
I UNLEADED FUEL ONLY
I
Your fuel gage tells you
about how much fuel you
have left when the ignition
is on. When the indicator
nears
EMPTY (E), you still
have a little fuel left, but
you should get more soon.
Here are some things owners ask about. All these
situations are normal and do not show
a problem with
your fuel gage:
0 At the service station, the pump shuts off before the
gage reads
FULL (F).
2-44
ProCarManuals.com
Page 108 of 340
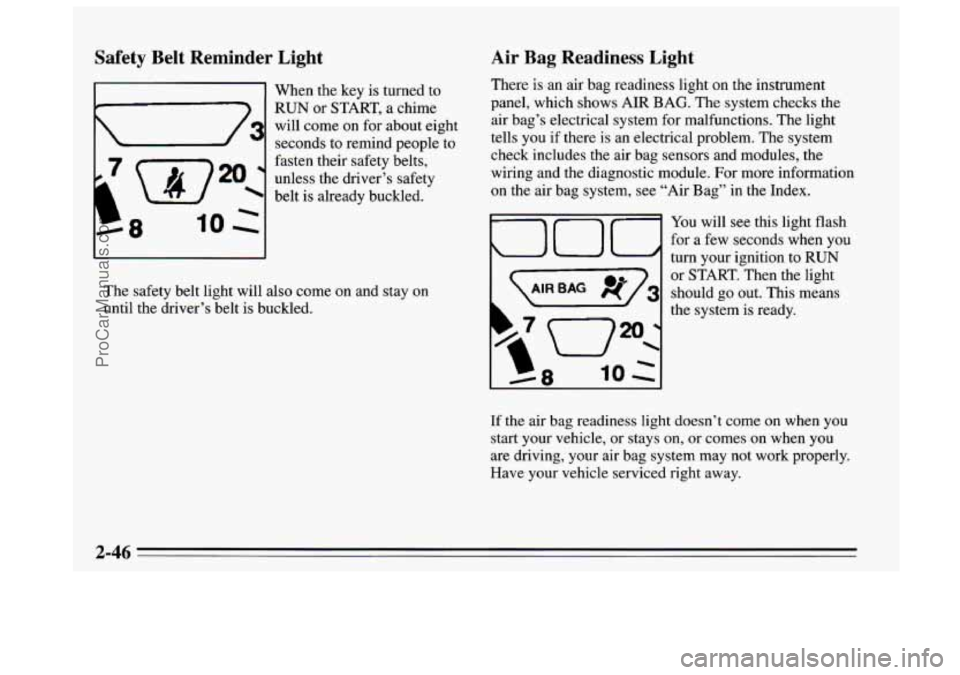
Safety Belt Reminder Light
b3
8
When the key is turned to
RUN or START, a chime
will come
on for about eight
seconds to remind people to
fasten their safety belts,
unless the driver’s safety belt
is already buckled.
The safety belt light will also come on and stay
on
until the driver’s belt is buckled.
Air Bag Readiness Light
There is an air bag readiness light on the instrument
panel, which shows AIR BAG. The system checks the
air bag’s electrical system for malfunctions. The light
tells
you if there is an electrical problem. The system
check includes the air bag sensors and modules, the
wiring and the diagnostic module. For more information
on the air bag system, see “Air Bag” in the Index.
10: I
You will see this light flash
for a few seconds when you
turn your ignition to RUN
or START. Then the light
AIR BAG 4 3 should go out. This means
the system is ready.
-8 10 :
If the air bag readiness light doesn’t come on when you
start your vehicle, or stays on, or comes on when you
are driving, your air bag system may not work properly.
Have your vehicle serviced right away.
2-46
ProCarManuals.com
Page 109 of 340
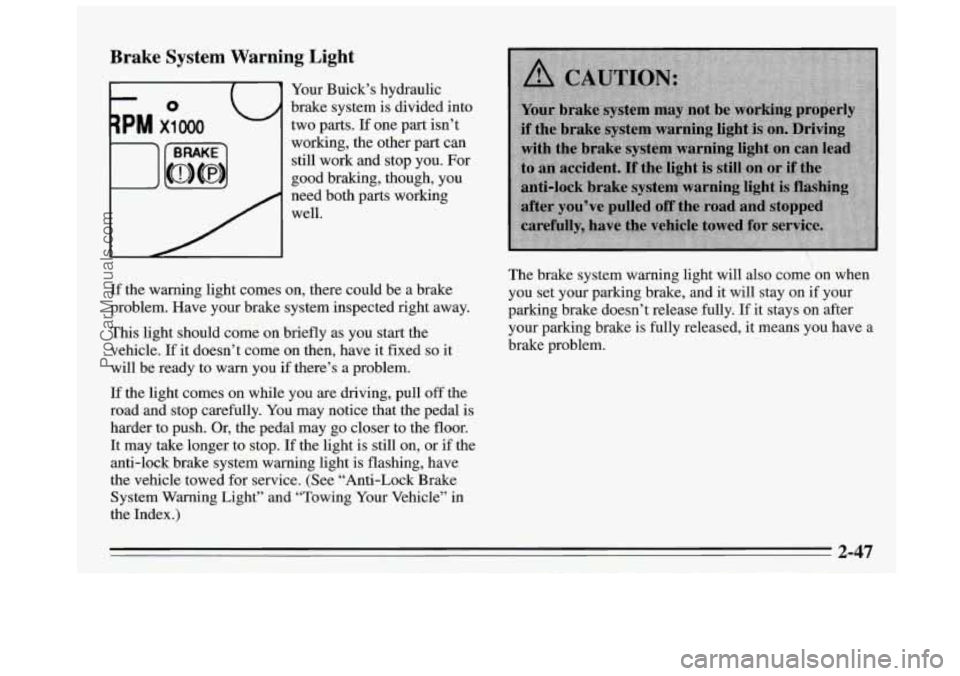
Brake System Warning Light
Your Buick’s hydraulic
brake system is divided into
two parts.
If one part isn’t
working, the other part can
still work and stop you. For
good braking, though, you
need both parts working
well.
If the warning light comes on, there could be a brake
problem. Have your brake system inspected right away.
This light should come on briefly as you start the
vehicle.
If it doesn’t come on then, have it fixed so it
will be ready to warn you if there’s a problem.
If the light comes on while you are driving, pull
off the
road and stop carefully. You may notice that the pedal is
harder to push. Or, the pedal may go closer to the floor.
It may take longer to stop. If the light is still on, or if the
anti-lock brake system warning light is flashing, have
the vehicle towed for service. (See “Anti-Lock Brake
System Warning Light” and “Towing Your Vehicle” in
the Index.
)
The brake system warning light will also come on when
you set your parking brake, and it
will stay on if your
parking brake doesn’t release fully.
If it stays on after
your parking brake is fully released, it means you have
a
brake problem.
2-47
ProCarManuals.com
Page 110 of 340
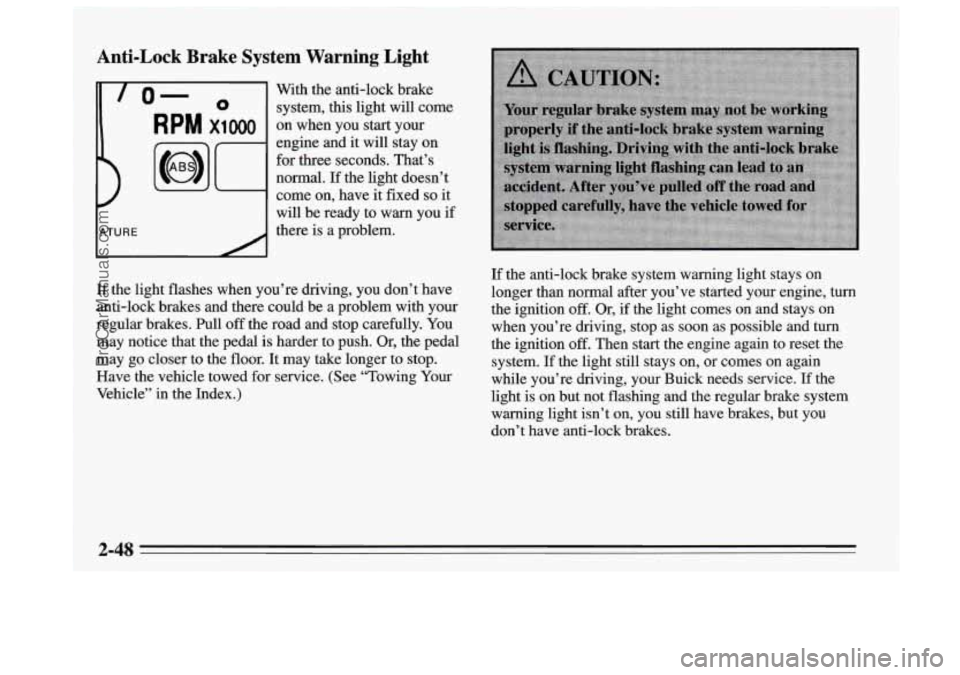
Anti-Lock Brake System Warning Light
-
lo- 0 system, this light will come
With
the anti-lock brake
RPM x1000 on when you start your
engine and it will stay on
for three seconds. That’s
normal. If the light doesn’t
come on, have it fixed
so it
will be ready to warn you
if
there is a problem.
If the light flashes when you’re driving, you don’t have
anti-lock brakes and there could be a problem with your
regular brakes.
Pull off the road and stop carefully. You
may notice that the pedal is harder to push.
Or, the pedal
may go closer to the floor. It may take longer to stop.
Have the vehicle towed for service. (See “Towing Your
Vehicle’’ in the Index.)
If the anti-lock brake system warning light stays on
longer than normal after you’ve started your engine,
turn
the ignition off. Or, if the light comes on and stays on
when you’re driving, stop as soon as possible and
turn
the ignition off. Then start the engine again to reset the
system.
If the light still stays on, or comes on again
while you’re driving, your Buick needs service. If the
light
is on but not flashing and the regular brake system
warning light isn’t
on, you still have brakes, but you
don’t have anti-lock brakes.
2-48
ProCarManuals.com
Page 112 of 340
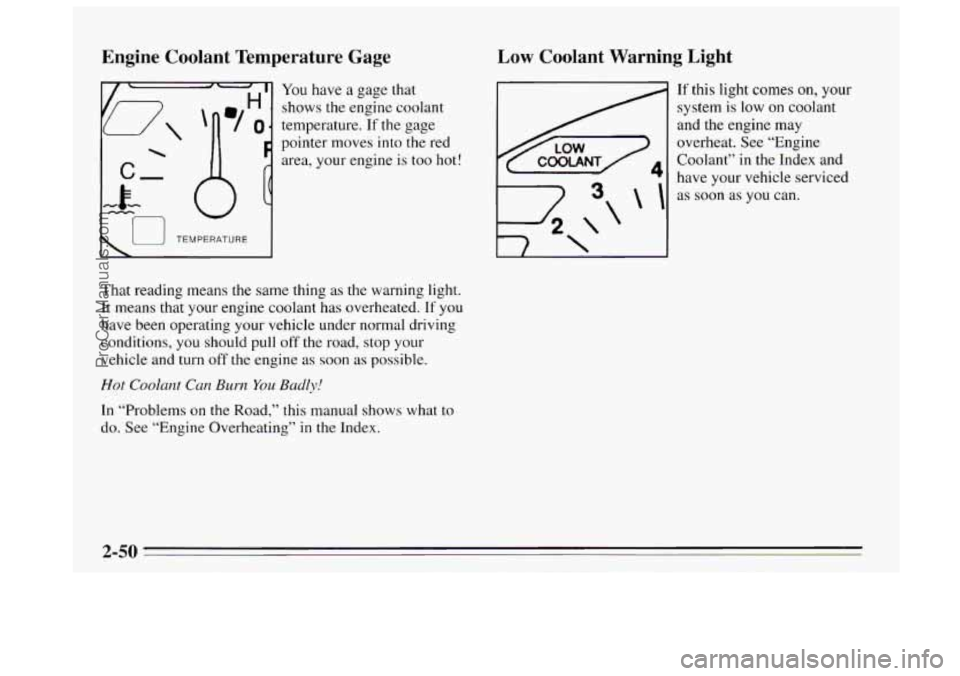
Engine Coolant Temperature Gage
You have a gage that
shows the engine coolant
temperature.
If the gage
pointer moves into the red
area, your engine is too hot!
I u TEMPERATURE I
That reading means the same thing as the warning light.
It means that your engine coolant has overheated.
If you
have been operating your vehicle under normal driving
conditions, you should pull
off the road, stop your
vehicle
and turn off the engine as soon as possible.
Hot Coolant Can Burn You Badly!
In “Problems on the Road,” this manual shows what to
do. See “Engine Overheating” in the Index.
Low Coolant Warning Light
\I
4 \‘
If this light comes on, your
system
is low on coolant
and the engine may
overheat. See “Engine
Coolant” in the Index and
have your vehicle serviced
as soon as you can.
2-50
ProCarManuals.com
Page 113 of 340

Malfunction Indicator Lamp (Check Engine Light)
111 A computer monitors
operation of your fuel,
ignition and
emission
control systems. This light
should come on when the
SOON ignition is on, but the
engine is not running, as a
check to show you it is
working.
If it does not come on at all, have it fixed right away. If
it stays on, or it comes on while you are driving, the
computer is indicating that you have a problem. You
should take your vehicle in for service soon.
NOTICE:
If you keep driving your vehicle with this light on,
after a while the emission controls won’t work as
well, your fuel economy won’t be as good and your
engine may
not run as smoothly. This could lead to
costly repairs not covered by your warranty.
Oil Warning Light
If you have a problem with
your oil, this light may stay
on after you start your
engine, or come on when
you are driving.
This indicates that oil is not going through your engine
quickly enough to keep it lubricated. The engine could
be low on oil or could have some other oil problem.
Have it fixed right away.
The oil light could also come on in three other
situations:
0 When the ignition is on but the engine is not running,
the light will come on as a test to show you
it is
working, but the light will go out when you turn the
ignition to START. If it doesn’t come
on with the
ignition on, you may have a problem with the fuse or
bulb. Have it fixed right away.
2-51
ProCarManuals.com
Page 134 of 340
Care of Your Cassette Tape Player
A tape player that is not cleaned regularly is subject to
reduced sound quality, ruining the cassette, or damaging
the mechanism. Tape cassettes that are
not properly
stored in their plastic cases away from contaminants,
direct sunlight, and extreme heat may not operate
properly and could cause premature failure of the tape
player.
Your tape player should be cleaned with every
50 hours
of use to provide optimum performance. Your radio may
display Cln to indicate that
you have used your tape
player for
50 hours without resetting the tape clean
timer. If you notice a reduction in sound quality,
regardless
of when the tape player was last cleaned, try
playing a different cassette to see if the tape or the tape
player is at fault.
Tf the second cassette results in no
improvement
in sound quality, try cleaning the tape
player.
Proper tape player cleaning should be done with a
scrubbing action, nonabrasive cleaner cassette. This is a
wet-type cleaning system that uses
a cleaning cassette
with pads which scrub the tape head as the hubs of the
cleaner cassette turn.
To properly clean your tape player,
follow
the instructions with the cleaning cassette. If you
use this type of cleaner, the radio may display an error
and eject the cartridge. This is normal and is the result of an
added feature
in the tape player that detects broken
tapes. If an error occurs, you
will need to insert the
cleaning cassette at least three times to thoroughly clean
the tape player.
You may prefer to use a non-scrubbing action, wet-type
cleaner. This type
of cleaner uses a fabric belt to clean
the tape head. This type of cleaner cassette will not
cause an error,
but it may not clean the tape player as
thoroughly as the scrubbing type cleaner.
A scrubbing action cleaner is available through your
dealer
(GM Part No. 12344600).
Cassettes are subject to wear and the sound quality may
degrade over time. Always verify that the cassette tape
is in good condition and the tape player is clean before
obtaining service on your tape player.
Care of Your Compact Discs
Handle discs carefully. Store them in their original cases
or other protective cases and away from direct sunlight
and dust.
If the surface of a disc is soiled, dampen a
clean, soft cloth
in a mild, neutral detergent solution and
clean
it, wiping from the center to the edge.
Be sure never
to touch the signal surface when handling
discs. Pick up discs
by grasping the outer edges or the
edge of the hole and the outer edge.
ProCarManuals.com