Page 11 of 385
Here are some other symbols you may see:
Fuse Hood Release
n
iighker Horn
X
ProCarManuals.com
Page 94 of 385
Turn Signal and Lane Change lndicator
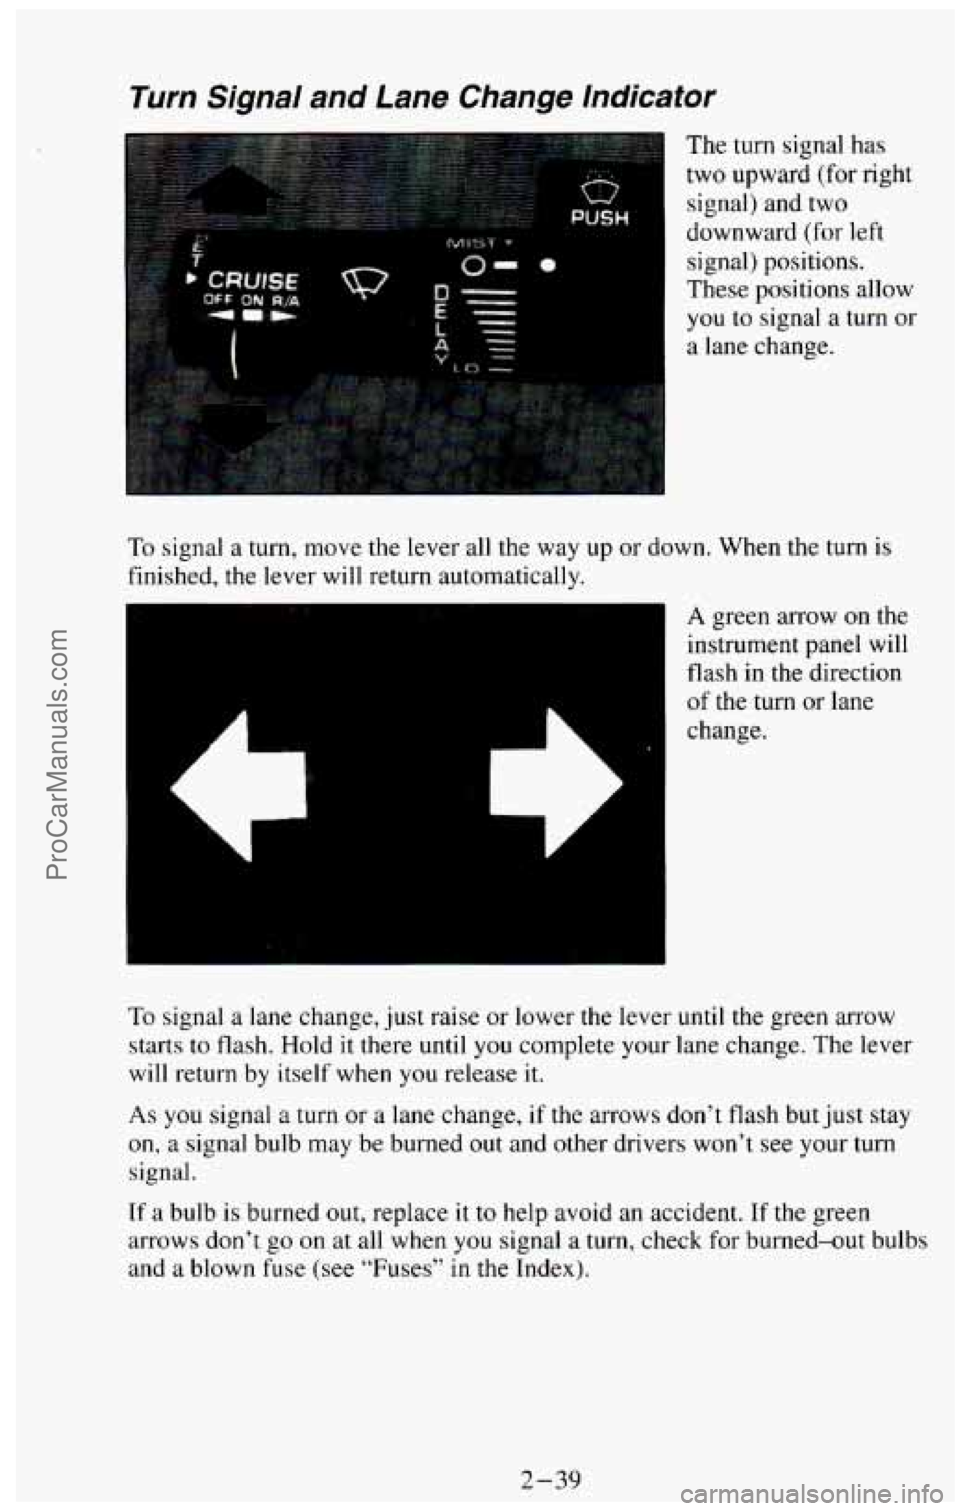
The turn signal has
two upward (for right
signal) and two
downward
(for left
signal) positions.
These positions allow
you to signal a turn or
a lane change.
To signal a turn, move the lever all the way up or down. When the turn
is
finished, the lever will return automatically.
A green arrow on the
instrument panel will
flash in the direction
of the turn or lane
change.
To signal a lane change, just raise or lower the lever until the green arrow
starts to flash. Hold it there until
you complete your lane change. The lever
will return by itself when
you release it.
As you signal a turn or a lane change, if the arrows don’t flash but just stay
on, a signal bulb may be burned out and other drivers won’t see your turn
signal.
If a bulb is burned out, replace it to help avoid an accident. If the green
arrows don’t
go on at all when you signal a turn, check for burned-out bulbs
and a blown fuse (see “Fuses” in
the Index).
2-39
ProCarManuals.com
Page 96 of 385
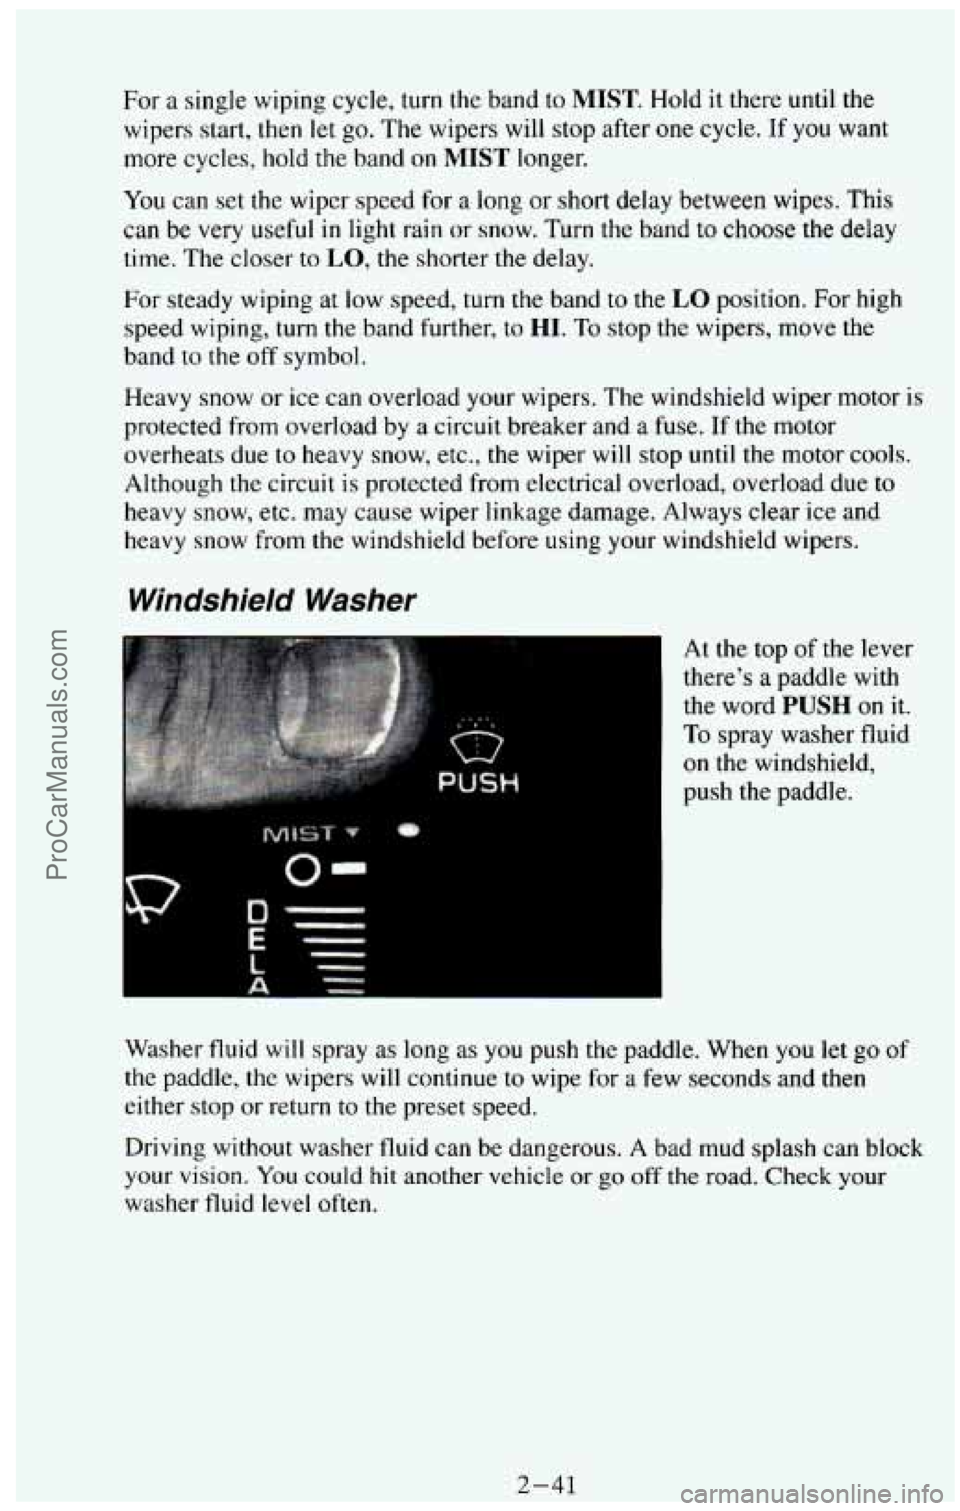
For a single wiping cycle, turn the band to MIST. Hold it there until the
wipers start, then let go.
The wipers will stop after one cycle. If you want
more cycles, hold
the band on MIST longer.
You can set the wiper speed for a long or short delay between wipes. This
can be very
useful in light rain or snow. Turn the band to choose the delay
time.
The closer to LO, the shorter the delay.
For steady wiping at low speed, turn the band to the LO position. For high
speed wiping, turn the band further, to
HI. To stop the wipers, move the
band to the off symbol.
Heavy snow or ice can overload your wipers.
The windshield wiper motor is
protected from overload by a circuit breaker and a
fuse. If the motor
overheats due to
heavy snow, etc., the wiper will stop until the motor cools.
Although
the circuit is protected from electrical overload, overload due to
heavy snow, etc. may cause wiper linkage damage. Always clear ice and
heavy snow from
the windshield before using your windshield wipers.
Windshield Washer
0-
At the top of the lever
there's
a paddle with
the word
PUSH on it.
To spray washer fluid
on the windshield,
push the paddle.
Washer fluid will spray as long
as you push the paddle. When you let go of
the paddle, the wipers will continue to wipe for a few seconds and then
either stop or return
to the preset speed.
Driving without washer fluid can be dangerous. A bad mud splash can block
your vision.
You could hit another vehicle or go off the road. Check your
washer fluid level often.
2-41 ProCarManuals.com
Page 119 of 385
Instrument Panel
13 1’2
1. Side Window Defogger Vents
2. Light Controls
3. Air Vents
4. Multifunction Lever
5. Tilt Lever
6. Instrument Cluster
7. Gearshift Lever
8. Audio System
9. Comfort Control System
10. Glove Box
1 1. Audio System
12. Ashtray
13. Rear Window Defogger Switch
or Rear Heater Switch
15. Dome Light Override Switch
16. Fuse Panel
17. Parking Brake Release Handle
Instrument Cluster
Your instrument cluster is designed to let you know at a glance how your
vehicle is running.
You’ll know how fast you’re going, about how much
fuel you have
and many other things you’ll need to know to drive safely and
economically.
Tachometer Cluster
If you have the tachometer cluster, it looks different but will tell you
everything the standard cluster does, with the addition of displaying your
engine’s revolutions per minute (rpm).
2-64 ProCarManuals.com
Page 135 of 385
If you need to carry long items, move the cross rails as far apart as they
will go. Tie the load to the cross rails and the side rails or side rail
supports. Also tie
the load to the bumpers. Do not tie the load so tightly
that the cross rails or side rails are damaged.
After moving the cross rails, be sure to tighten all the slider screws.
Trailer Wiring Harness (Option)
An optional 7-wire
harness
is stored under
your vehicle along the
rear frame
crossmember. The
harness has a
30 amp.
in-line fused battery
feed wire and no
connector, and should
be wired by a
qualified electrical
technician.
Securely attach the harness
to the trailer, then tape or strap it to your
vehicle’s frame rail. Be sure
you leave it loose enough so the wiring won‘t
bind or break when turning with the trailer, but
not so loose that it drags on
the ground.
Store the harness in its original position. Wrap the harness together and tie it
neatly so it won’t be damaged.
2-80
ProCarManuals.com
Page 247 of 385
......................
................
Brake Master Cylinder ................................... 6-43
Replacing Brake System Parts .............................. 6-46
Other Maintenance Items .................................... 646
Lubrication ............. ..... 648
Battery ................ ....... 6-49
Bulb Replacement ......................................... 6-50
Fuses and Circuit Breakers ................................ 6-56
Exhaust System ....................................... 6-58
Loading Your Vehicle ...................................... 6-59
Tires .................................................... 6-62
Inflation-Tire Pressure .................................. 6-62
Tire Inspection and Rotation ............................... 6-64
When It’s Time for New Tires ......................... 6-65
Buying New Tires ..................................... 6-66
Uniform Tire Quality Grading ............................. 6-66
Wheel Alignment and Tire Balance ......................... 6-67
Wheel Replacement ..................................... 6-68
Tire Chains ............................................ 6-69
Appearancecare .......................................... 6-69
Cleaning the Inside of Your Vehicle ......................... 6-70
Cleaning the Outside of Your Vehicle ..................... 6-74
Appearance Care Materials .................................. 6-77
Vehicle Identification Number .............................. 6-78
Service Parts Identification Label ............................. 6-80
Specification Charts ...................................... 6-81
6-2
ProCarManuals.com
Page 301 of 385
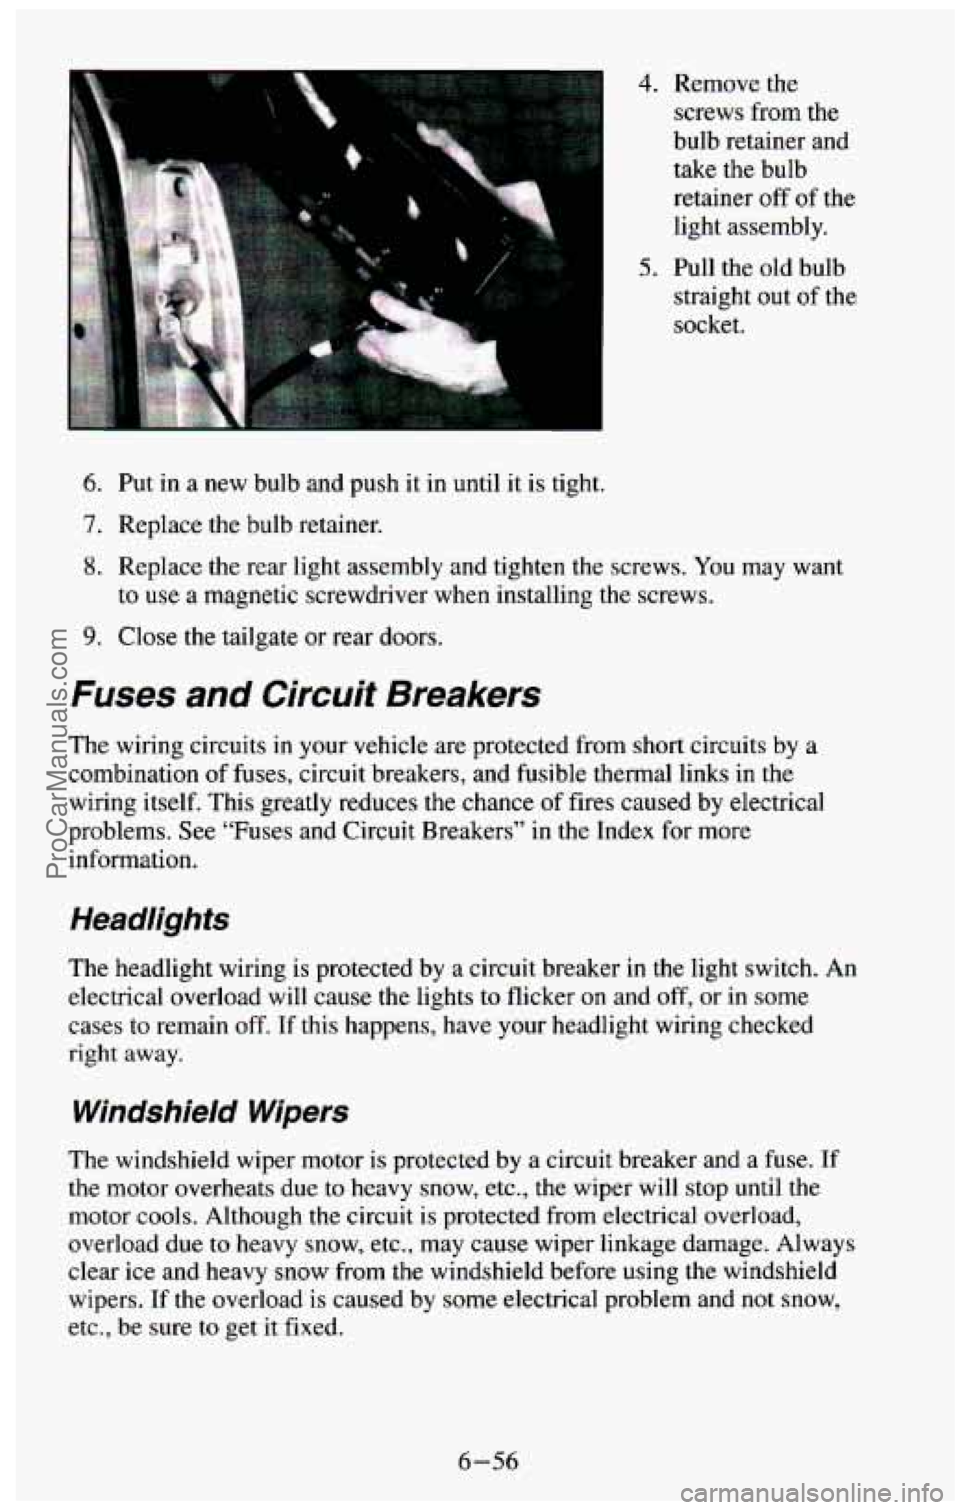
4. Remove the
screws from the
bulb retainer and
take the bulb
retainer
off of the
light assembly.
5. Pull the old bulb
straight out
of the
socket.
6. Put in a new bulb and push it in until it is tight.
7. Replace the bulb retainer.
8. Replace the rear light assembly and tighten the screws. You may want
to use
a magnetic screwdriver when installing the screws.
9. Close the tailgate or rear doors.
Fuses and Circuit Breakers
The wiring circuits in your vehicle are protected from short circuits by a
combination
of fuses, circuit breakers, and fusible thermal links in the
wiring itself. This greatly reduces the chance of fires caused by electrical
problems. See “Fuses and Circuit Breakers” in the Index for more
information.
The headlight wiring is protected by
a circuit breaker in the light switch. An
electrical overload
will cause the lights to flicker on and off, or in some
cases to remain off.
If this happens, have your headlight wiring checked
right away.
Windshield Wipers
The windshield wiper motor is protected by a circuit breaker and a fuse. If
the motor overheats due to heavy snow, etc., the wiper will stop until the
motor cools. Although
the circuit is protected from electrical overload,
overload due to heavy snow, etc., may cause wiper linkage damage. Always
clear ice and heavy snow from the windshield before using the windshield
wipers.
If the overload is caused by some electrical problem and not snow,
etc., be sure to get it fixed.
6-56
ProCarManuals.com
Page 302 of 385
Power Windows and Other Power Options
Circuit breakers in the fuse panel protect the power windows and other
power accessories. When the current load is too heavy, the circuit breaker
opens and closes. This protects the circuit until the current load returns to
normal or the problem is fixed
.
Trailer Wiring Harness
The optional seven-wire trailer wiring harness is protected by an in-line
fuse in the battery feed wire. This fuse is near the junction block. See
“Trailer Wiring Harness” in the Index for more information.
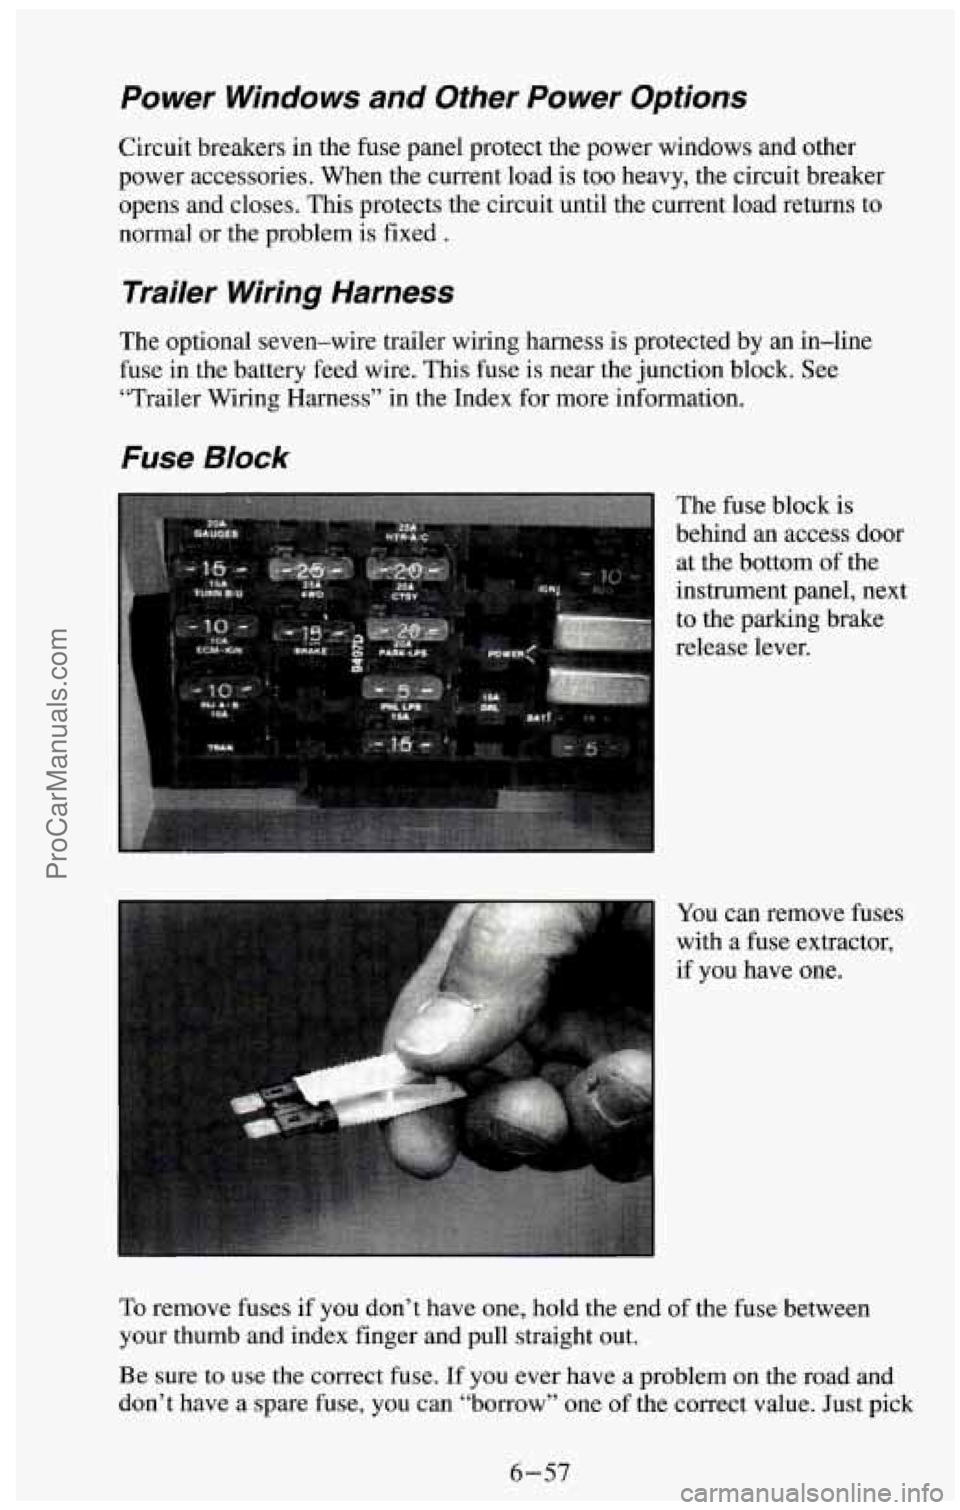
Fuse Block
The fuse block is
behind an access door
at the bottom
of the
instrument panel, next
to the parking brake
release lever.
You can remove fuses
with a fuse extractor,
if you have one.
To remove fuses if you don’t have one, hold the end of the fuse between
your thumb and index finger and pull straight out.
Be sure to use the correct fuse. If
you ever have a problem on the road and
don’t have a spare fuse, you can “borrow” one of the correct value. Just pick
6-57
ProCarManuals.com