1994 CHEVROLET S10 wipers
[x] Cancel search: wipersPage 48 of 340
Downloaded from www.Manualslib.com manuals search engine ...
.
Four-wheel Drive ......................................... 2-27
Manual Transfer Case
.................................... 2-27
Electronic Transfer Case
.................................. 2-29
Windows
................................................ 2-31
Horn
.................................................... 2-33
TiltWheel
............................................... 2-33
Turn SignaYMultifunction Lever
.............................. 2-34
Turn Signal and Lane Change Indicator
...................... 2-34
Headlight High-Low Beam
............................... 2-36
Windshield Wipers
...................................... 2-36
Windshield Washer
...................................... 2-37
Cruise Control
.......................................... 2-39
Lights
................................................... 2-45
Mirrors
.................................................. 2-48
Accessory Power Outlets
.................................... 2-51
Cigarette LightedAshtray ................................... 2-52
Storage Compartments ...................................... 2-53
Instrument Cluster
......................................... 2-55
Wamrng Lights, Gages and Indicators
....................... 2-58
Center High Mounted Stop Lamp (CHMSL) Feed Wire
............ 2-67
Trailer Wiring Harness
...................................... 2-68
2-2
Page 56 of 340
Downloaded from www.Manualslib.com manuals search engine Ignition Switch
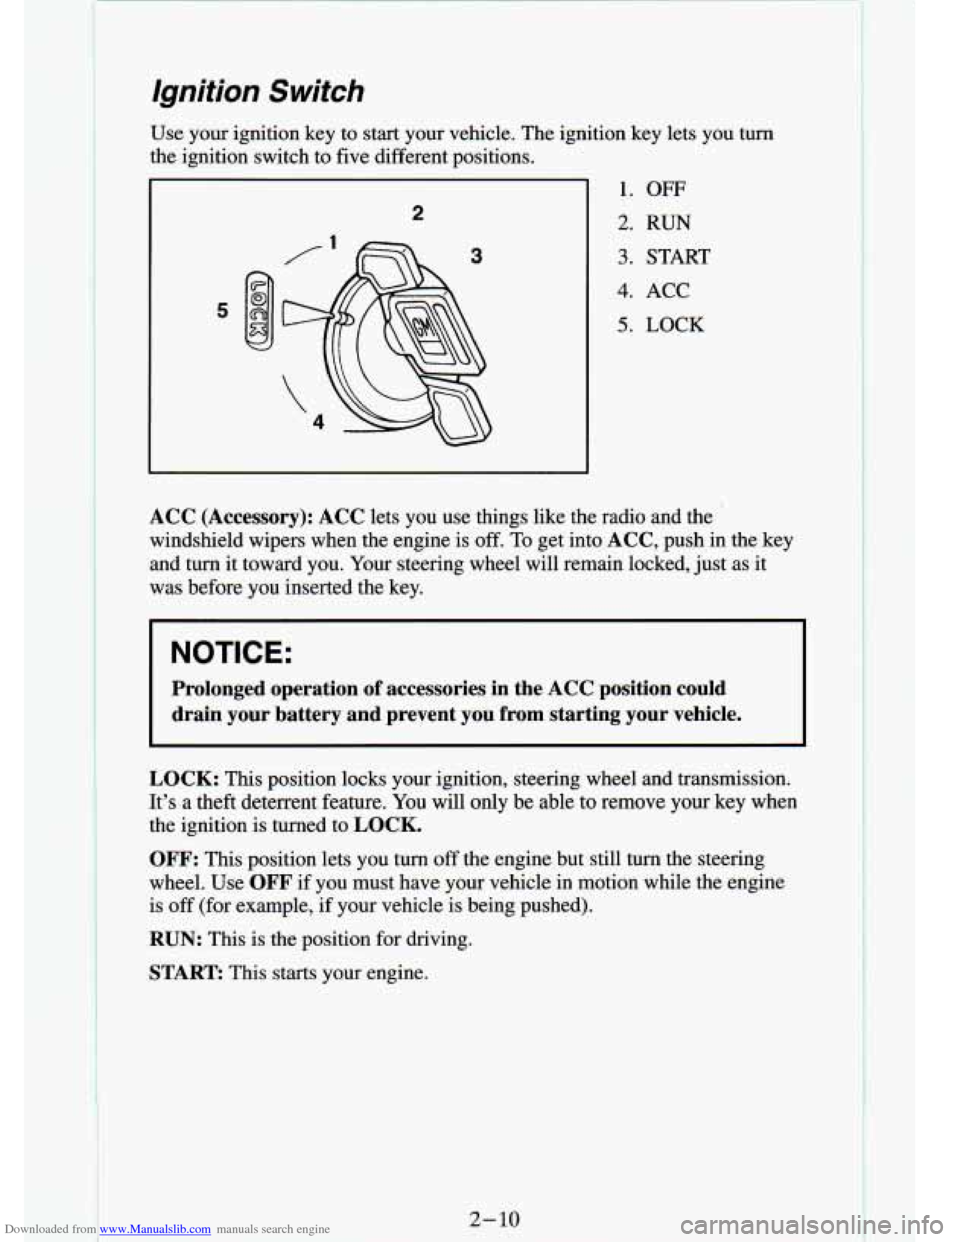
Use your ignition key to start your vehicle. The ignition key \
lets you turn
the ignition switch to five different positions.
2
3
1. OFF
2. RUN
3. START
4. ACC
5. LOCK
ACC (Accessory): ACC lets you use things like the radio and the
windshield wipers when the engine is
off. To get into ACC, push in the key
and turn it toward you. Your steering wheel will remain locked, just as it
was before you inserted the key.
NOTICE:
Prolonged operation of accessories in the ACC position could
drain vour battery and prevent you
from starting your vehicle.
LOCK: This position locks your ignition, steering wheel and transmissi\
on.
It’s a theft deterrent feature. You will only be able to remove your key when
the ignition is turned to
LOCK.
OFF: This position lets you turn off the engine but still turn the steering
wheel. Use
OFF if you must have your vehicle in motion while the engine
is off (for example,
if your vehicle is being pushed).
RUN: This is the position for driving.
START: This starts your engine.
Page 80 of 340
Downloaded from www.Manualslib.com manuals search engine Turn SignaUMultifunction Lever
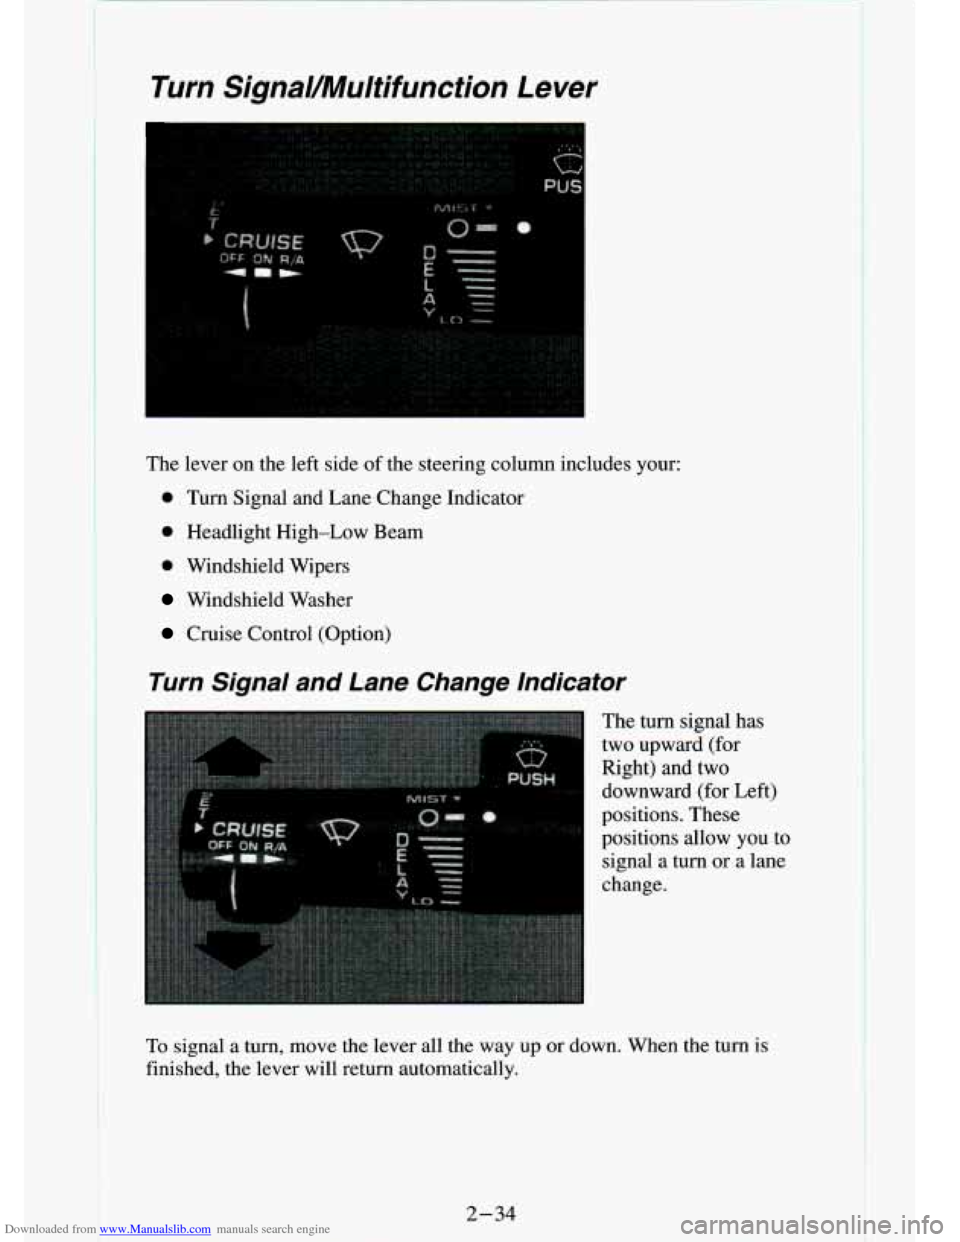
The lever on the left side of the steering column includes your:
0 Turn Signal and Lane Change Indicator
0 Headlight High-Low Beam
0 Windshield Wipers
Windshield Washer
Cruise Control (Option)
Turn Signal and Lane Change Indicator
The turn signal has
two upward (for
Right) and two downward (for Left)
positions. These
positions allow you to
signal a turn
or a lane
change.
To signal a turn, move the lever all the way up or down. When the turn is
finished, the lever will return automatically.
2-34
Page 81 of 340
Downloaded from www.Manualslib.com manuals search engine A green arrow on the
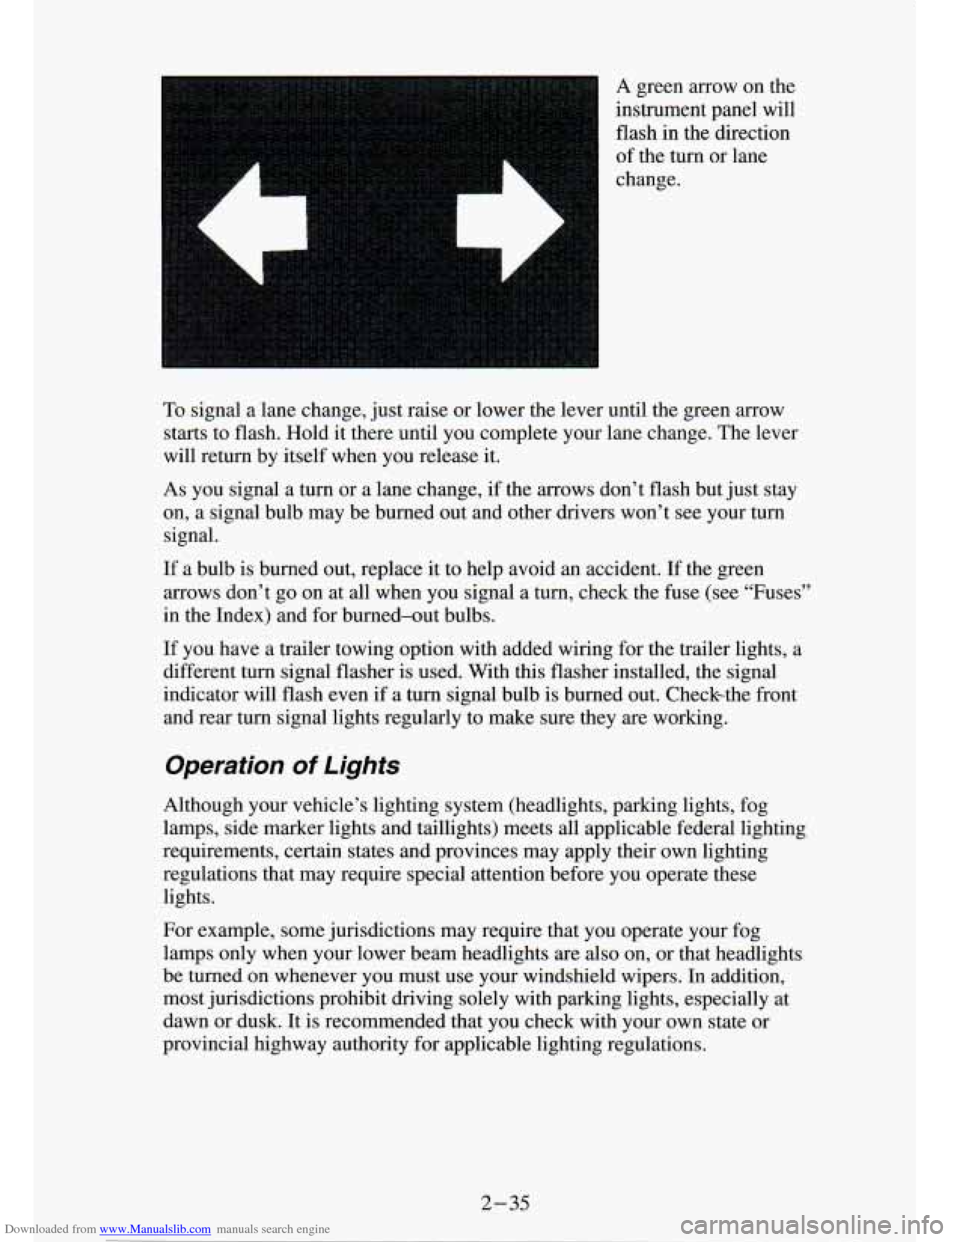
instrument panel will
flash in the direction
of the turn
or lane
change.
To signal a lane change, just raise or lower the lever until the green arrow
starts to flash. Hold it there until you complete your lane change. The lever
will return by itself when you release it.
As you signal a turn or a lane change, if the arrows don’t f\
lash but just stay
on, a signal bulb may be burned out and other drivers won’t see your turn
signal.
If a bulb is burned out, replace it to help avoid an accident. If the green
arrows don’t go
on at all when you signal a turn, check the fuse (see “Fuses”
in the Index) and for burned-out bulbs.
If you have a trailer towing option with added wiring for
the trailer lights, a
different turn signal flasher is used. With this flasher installed, the signal
indicator will flash even if a turn signal bulb is burned out. Checkthe front
and rear turn signal lights regularly to make sure they
are working.
Operation Of Lights
Although your vehicle’s lighting system (headlights, parking \
lights, fog
lamps, side marker lights and taillights) meets all applicable federal ligh\
ting
requirements, certain states and provinces may apply their own lighting
regulations that may require special attention before you operat\
e these
lights.
For example, some jurisdictions may require that you operate your f\
og
lamps only when your lower beam headlights
are also on, or that headlights
be turned on whenever you must use your windshield wipers. In add\
ition,
most jurisdictions prohibit driving solely with parking lights, \
especially at
dawn or dusk. It is recommended that you check with your own state or
provincial highway authority for applicable lighting regulations.
2 -35
Page 82 of 340
Downloaded from www.Manualslib.com manuals search engine Headlight High-Low Beam
Windshield Wipers
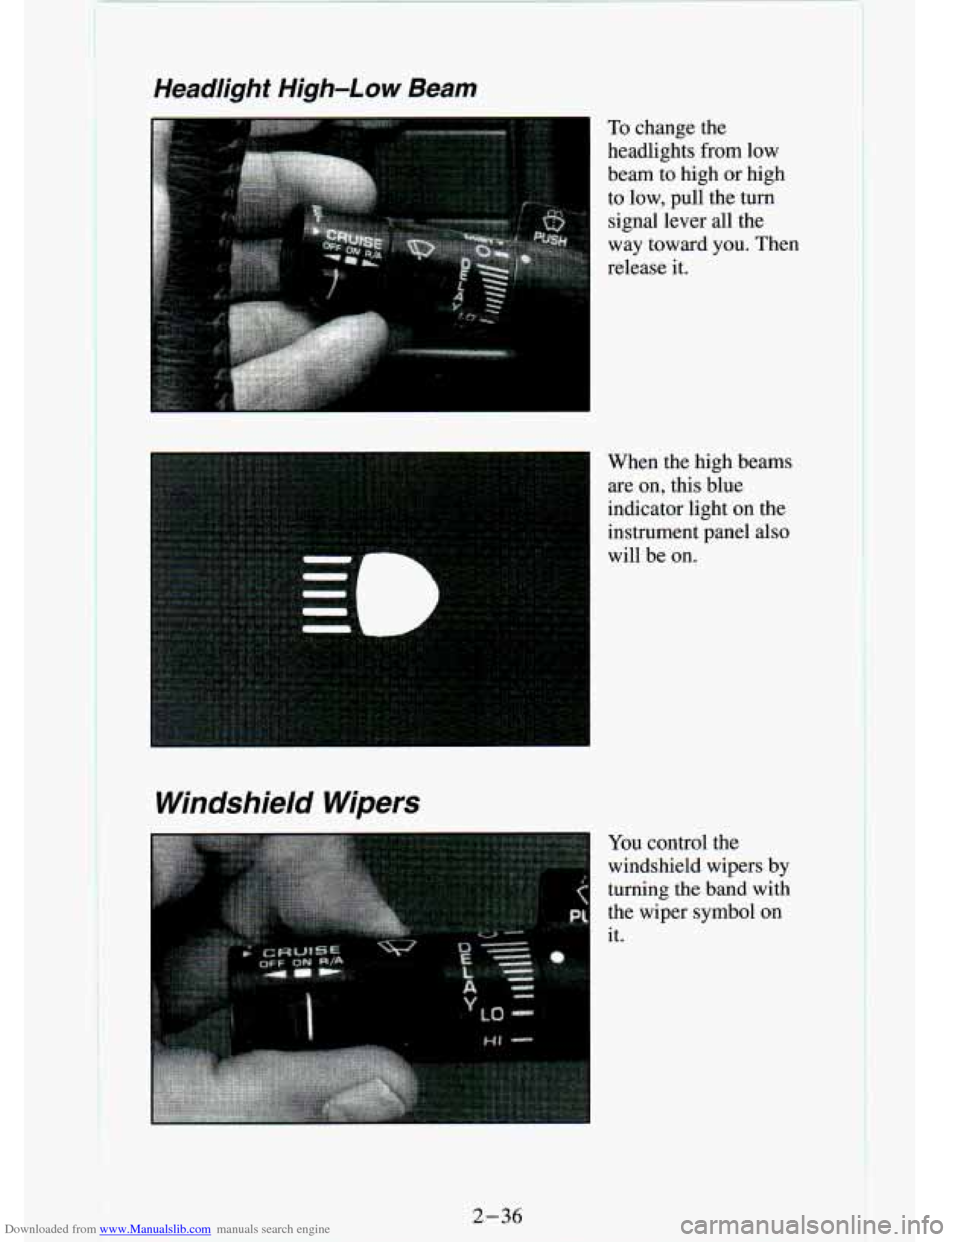
To change the
headlights from low
beam to high or high
to low, pull the
turn
signal lever all the
way toward you. Then
release
it.
When the high beams are on, this blue
indicator light
on the
instrument panel also
will be
on.
You control the
windshield wipers by
turning the band with
the wiper symbol on
it.
2-36
Page 83 of 340
Downloaded from www.Manualslib.com manuals search engine For a single wiping cycle, turn the band to MIST. Hold it there until the
wipers start, then let go. The wipers will stop after one cycle. If you want
more cycles, hold the band on
MIST longer.
You can set the wiper speed for a long or short delay between wipes. This
can be very useful in light rain or snow. Turn the band to
choose the delay
time. The closer to
LO, the shorter the delay.
For steady wiping at low speed, turn the band away from you \
to the
LO
position. For high speed wiping, turn the band further, to HI. To stop the
wipers, move the band to the off symbol.
Remember that damaged wiper blades may prevent you from seeing \
well enough to drive safely.
To avoid damage, be sure to clear ice and snow from
the wiper blades before using them. If they’re frozen to the windshield,
carefully loosen or thaw them. If your blades do become damaged, get new
blades
or blade inserts.
Heavy snow or ice
c overload y---r wipers. A circuit breaker will stop
them until the motor cools. Clear away snow
or ice to prevent an overload.
Windshield Washer
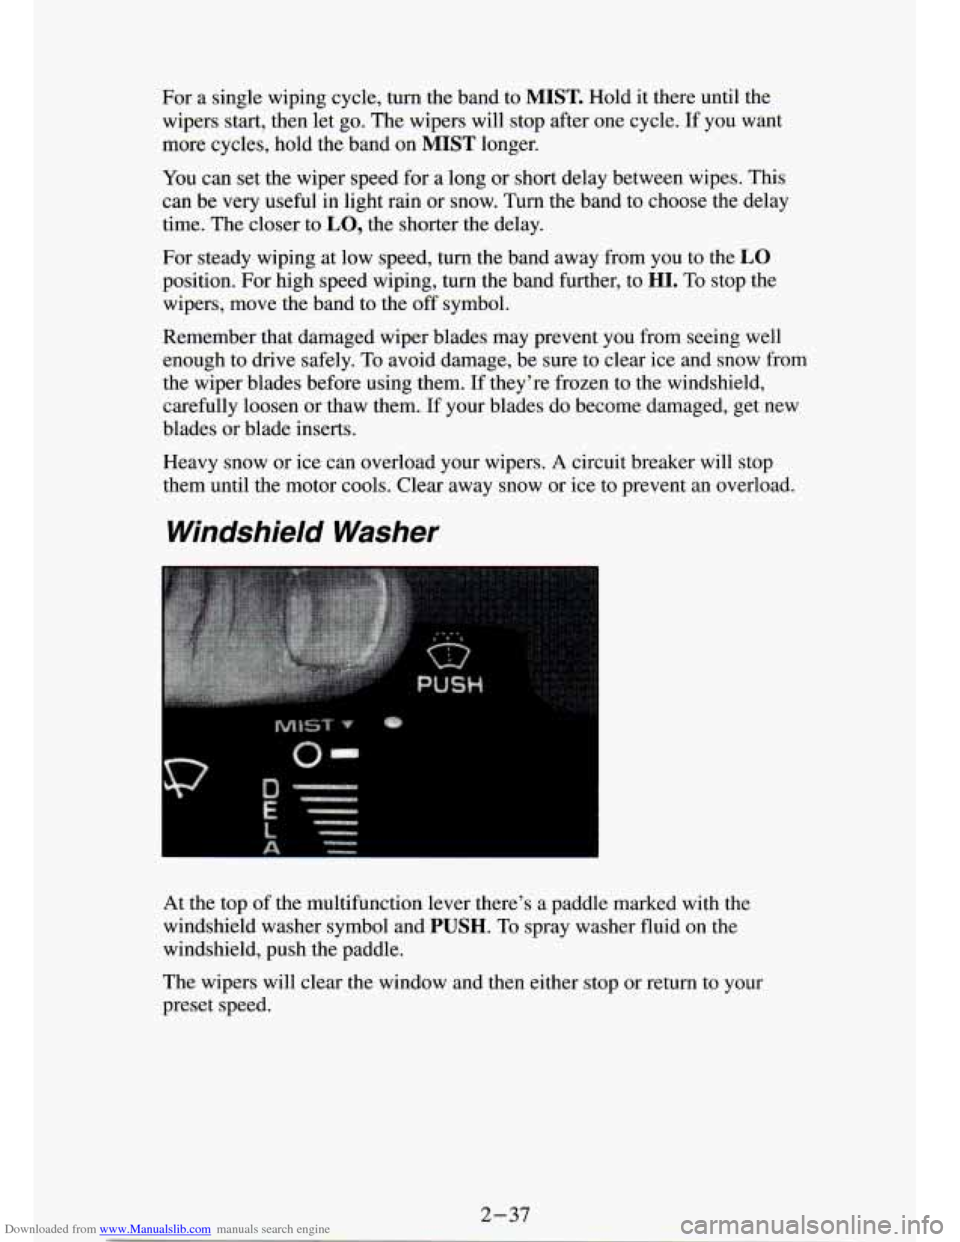
At the top of the multifunction lever there’s a paddle marked with the
windshield washer symbol and
PUSH. To spray washer fluid on the
windshield, push the paddle.
The wipers will clear the window and then either stop or return t\
o your
preset speed.
2-37
Page 289 of 340
Downloaded from www.Manualslib.com manuals search engine Headlights
The headlight wiring is protected by a circuit breaker in the light switch. An
electrical overload will cause the lights to go on and off, or in some cases to
remain
off. If this happens, have your headlight wiring checked right away.
Windshield Wipers
The windshield wiper motor is protected by a circuit breaker and a fuse. If
the motor overheats due to heavy snow, etc., the wiper will stop until .the
motor cools. If the overload is caused by some electrical problem and not
snow, etc., be sure to get it fixed.
Power Windows and Other Power Options
Circuit breakers in the fuse panel protect the power windows and other
power accessories. When the current load is too heavy, the circuit breaker
opens and closes, protecting the circuit until the problem is fixed.
Trailer Wiring Harness
The optional seven-wire trailer wiring harness is protected by an in-line
fuse in the battery feed wire. This fuse
is near the junction block. See
“Trailer Wiring Harness”
in the Features & Controls section.