Page 81 of 340

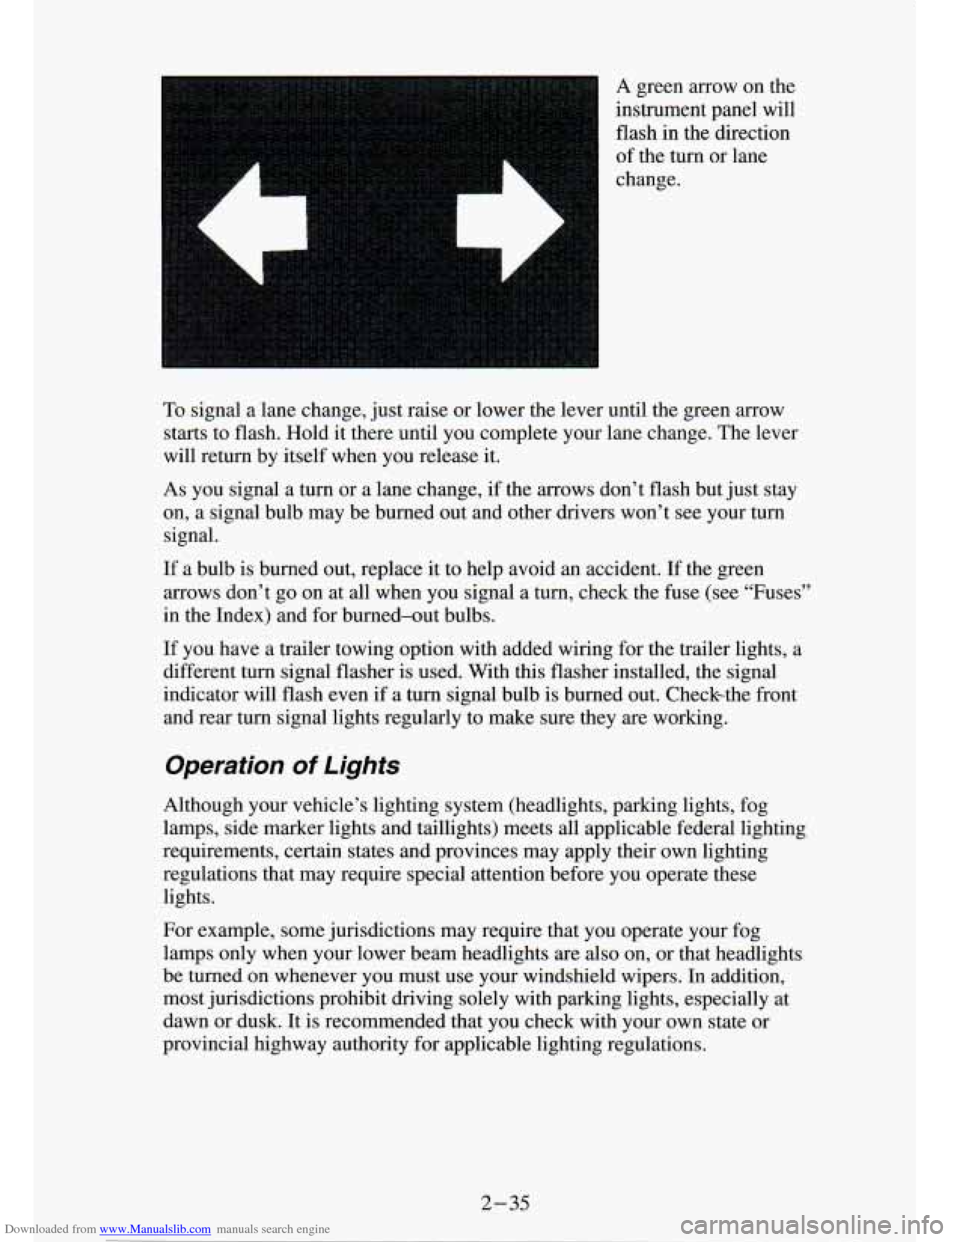
Downloaded from www.Manualslib.com manuals search engine A green arrow on the
instrument panel will
flash in the direction
of the turn
or lane
change.
To signal a lane change, just raise or lower the lever until the green arrow
starts to flash. Hold it there until you complete your lane change. The lever
will return by itself when you release it.
As you signal a turn or a lane change, if the arrows don’t f\
lash but just stay
on, a signal bulb may be burned out and other drivers won’t see your turn
signal.
If a bulb is burned out, replace it to help avoid an accident. If the green
arrows don’t go
on at all when you signal a turn, check the fuse (see “Fuses”
in the Index) and for burned-out bulbs.
If you have a trailer towing option with added wiring for
the trailer lights, a
different turn signal flasher is used. With this flasher installed, the signal
indicator will flash even if a turn signal bulb is burned out. Checkthe front
and rear turn signal lights regularly to make sure they
are working.
Operation Of Lights
Although your vehicle’s lighting system (headlights, parking \
lights, fog
lamps, side marker lights and taillights) meets all applicable federal ligh\
ting
requirements, certain states and provinces may apply their own lighting
regulations that may require special attention before you operat\
e these
lights.
For example, some jurisdictions may require that you operate your f\
og
lamps only when your lower beam headlights
are also on, or that headlights
be turned on whenever you must use your windshield wipers. In add\
ition,
most jurisdictions prohibit driving solely with parking lights, \
especially at
dawn or dusk. It is recommended that you check with your own state or
provincial highway authority for applicable lighting regulations.
2 -35
Page 178 of 340

Downloaded from www.Manualslib.com manuals search engine trailer brake controller by hand to be sure the brakes are working. This lets
you check your electricql connection at the same time.
During your trip, check occasionally to be sure that the load \
is secure, and
that the lights and any trailer brakes
are still working.
Following Distance
Stay at least twice as far behind the vehicle ahead as you would when
driving your vehicle without a trailer. This can help you avoid situations \
that
require heavy braking apd sudden turns.
Passing
You’ll need more passing distance up ahead when you’re to\
wing a trailer.
And, because you’re a good deal longer, you’ll need to g\
o much farther
beyond the passed vehicle before you can return to your lane. \
Backing Up
Hold the bottom of the steering wheel with one hand. Then, to move the
trailer to the left, just move that hand to the left. To move the trailer to the
right, move your hand to the right. Always back up slowly and\
, if possible,
have someone guide you.
Making Turns
When you’re turning with a trailer, make wider turns than n\
ormal. Do this
so your trailer won’t strike soft shoulders, curbs, road signs, \
trees, or other
objects. Avoid jerky or sudden maneuvers. Signal well in advance.
Turn Signals When Towing a Trailer
When you tow a trailer, your vehicle has to have a different \
turn signal
flasher and extra wiring. The green arrows on your instrument panel wi\
ll
flash whenever you signal a turn or lane change. Properly hooked up, the
trailer lights will also flash, telling other drivers you’re \
about
to turn,
change lanes or stop.
When towing a trailer, the green arrows on your instrument pan\
el will flash
€or
turns even if the bulbs on the trailer are burned out. Thus, you may think
drivers behind you are seeing your signal when they are not. It’s importan\
t
to check occasionally to be sure the trailer bulbs are still \
working.
4-42
Page 219 of 340

Downloaded from www.Manualslib.com manuals search engine Service & Appearance Care
I
Section
Here you will find information about the care of your vehicle . This part
begins with service and fuel information. and then it shows ho\
w to check important fluid and lubricant levels
. There is also technical information
about your vehicle. and a section devoted to its appearance care
.
Service ................................................... 6-2
Fuel
..................................................... 6-3
Engineoil
.............................................. 6-9
Aircleaner
............................................ 6-14
Automatic Transmission Fluid
............................. 6-15
Manual Transmission Fluid
............................... 6-18
Hydraulic Clutch
........................................ 6-20
RearAxle
............................................. 6-20
Transfer Case
.......................................... 6-21
FrontAxle
............................................. 6-22
Power Steering Fluid
.................................... 6-26
Windshield Washer Fluid
................................. 6-28
Checking Things Under the Hood
.............................. 6-6
Engine Coolant
......................................... 6-23
Brake Master Cylinder
................................... 6-29
Replacing Brake System Parts
................................ 6-32
Bulb Replacement
......................................... 6-33
Battery
.................................................. 6-32
Vehiclestorage
........................................... 6-32
Other Maintenance Items
.................................... 6-39
Loading Your Vehicle
...................................... 6-45
Tires
.................................................... 6-51
Appearancecare
.......................................... 6-59
Vehicle Identification Number (VIN)
.......................... 6-68
Service Parts Identification Label
............................. 6-70
Fuses and Circuit Breakers
.................................. 6-70
Capacities and Specifications Charts
........................... 6-73
6-1
Page 251 of 340
Downloaded from www.Manualslib.com manuals search engine Fluid Leak Check
After the vehcle has been parked for awhile, inspect the surface under the
vehicle
for water, oil, fuel OX other fluids. Water dripping from the air
conditioning system after it has been used is normal. If you notice fuel leaks
or fumes, the causes should be found and corrected at once.
Bulb Replacement
Before you replace any bulbs, be sure that all the lights are off and the
engine isn’t running.
Halogen Bulbs
NOTICE:
Page 252 of 340
Downloaded from www.Manualslib.com manuals search engine Composite Headlights
1. Open the hood.
2. Remove the screws at the top
of the radiator
support.
3. Pull the headlight
lens assembly
out.
4. Unplug the
electrical
connector.
1 5. Turn the bulb to
6-34
Page 253 of 340
Downloaded from www.Manualslib.com manuals search engine 6. Put the new bulb
into the headlight
lens assembly
and turn it to the
right until
it is
tight.
7. Plug in the electrical
connector.
8. Put the headlight lens assembly back into the vehicle. Install and
tighten the screws.
Sealed Beam Headlights
1. Remove the
screws from the
headlight retainer.
2. Pull the headlight
out
and remove
the retainer.
3. Unplug and
remove the
headlight.
4. Plug in the new headlight and put it in place.
5. Put the retainer on the headlight and install and tighten the \
screws.
6-35
Page 254 of 340
Downloaded from www.Manualslib.com manuals search engine Front ParklTurn Signal Lights
(Composite and Sealed Beam)
If you have fog lamps, the fog lamp bracket must be removed \
before you can replace the front park/turn signal lights.
1. Reach under the bumper and behind the parking/turn signal light\
assembly.
3. Pull the bulb out of the socket.
_. Turn the socket to
the left
and pull it
out.
4. Push the new bulb into the socket.
5. Put the socket back into the parking/turn signal light assembly and turn
it to the right until it locks in place.
6-36
Page 255 of 340
Downloaded from www.Manualslib.com manuals search engine Rear Lights
1. Open the tailgate.
2. Remove the light assembly screws
near the tailgate
latch and pull out
the light
assembly.
3. Pull the light assembly away
from the pickup
side panel.
4. Turn the socket to
the left to remove
it.
Push the tab in
while you turn
the socket.
5. Pull the bulb out.
6. Push the new bulb into the socket.
7. Put the socket into the light assembly and turn the socket to the right
until it locks in place.
8. Replace the light assembly. Install and tighten the screws.
9. Close the tailgate.
6-37