1994 CHEVROLET CAVALIER audio
[x] Cancel search: audioPage 2 of 243
Downloaded from www.Manualslib.com manuals search engine OChevrolet Cavalier I994 Owner’s Manual
Table of Contents
I
Part I
Part 2
Part 3
Seats & Restraint Systems.................. 1.,1
Features & Controls.. ........................... 41
Comfort Controls
& Audio Systems.... 91
Part 4 Your Driving and the Road ................ 107
Part 5 Problems on the Road ....................... 127
Part 6
Part 7
Part 8
Maintenance Schedule ...................... 203
Customer Assistance Information
.... 221
Includes “Reporting Safety Defects” on page 224
Y
Part 9
Service Station Information .... Last Page
Printed in USA 10234005 B First Edition
Page 7 of 243
Downloaded from www.Manualslib.com manuals search engine Using Your 7994 Chevrolet
Owner’s Manual
Many people read their owner’s
manual
from beginning to end when
they first receive their new vehicle. This
will help you learn about the
features and controls for your vehicle.
In this manual, you’ll find that
pictures and words work together
to explain things quickly.
There are nine parts with thumb-tabbed
pages in this manual. Each part begins
with a brief list of contents,
so you can
usually tell at a glance if that part
contains the information you want.
You can bend the manual slightly to
reveal the tabs that help you find a part.
Part 1: Seats & Restraint Systems
This part tells you how to use your seats
and safety belts properly.
Part 2 Features & Controls
This part explains how to start and
operate your Chevrolet
.
Part 3: Comfort Controls & Audio
Systems
This part tells you how to adjust the
ventilation and comfort controls and
how to operate your audio system.
Part 4 Your Driving and the Road
Here you’ll find helpful information and
tips about the road and how
to drive
under different conditions.
Part 5: Problems on the Road
This part tells you what to do if you
have a problem while driving, such as a
flat tire or engine overheating.
Part 6: Service & Appearance Care
Here the manual tells you how to keep
your Chevrolet running properly and
looking good.
Part 7: Maintenance Schedule
This part tells you when to perform
vehicle maintenance and what fluids
and lubricants to use.
Page 82 of 243

Downloaded from www.Manualslib.com manuals search engine The Instrument Panel-
Your Information System
Your instrument panel is designed to let
you know at a glance how your vehicle
is running. You’ll
know how fast you’re
going, how much fuel you’re using, and
many other things you’ll need to drive
safely and economically. The
main components of your
instrument panel are:
1. Side Vent
2. Instrument Panel Intensity Control
3. Turn Signal/Multifunction Lever
4. Hazard Warning Flashers Switch
5. Instrument Cluster
6. Ignition Switch
7. Windshield Wipermasher Controls
8. Interior Light Control
9. Audio System
10. Center Vents
1 1. Cup Holder
12. Side Vent
13. Glove Box
14. Climate Controls and Rear Window
15. Parking Brake Lever
16. Ashtray/Lighter
17. Gearshift Lever
18. Horn
19. Tilt Steering Wheel Lever (Option)
20. Fuse Panel
21. Hood Release Lever
Defogger
Page 92 of 243
Downloaded from www.Manualslib.com manuals search engine In this part you'll find out how to
operate the comfort control systems and audio systems
offered with your Chevrolet. Be
sure to read about the particular
system supplied with your vehicle.
Part 3
Comfort Controls & Audio Systems
Climate Control System ........................................................................\
.................... 92
Air Conditioning System ........................................................................\
.................. 93
Rear Window Defogger ........................................................................\
..................... 95
Setting the Clock ........................................................................\
............................... 97
AM/FM Stereo Radio ........................................................................\
........................ 97
AM/FM Stereo Radio with Cassette Tape Player .................................................... 99
AM/FM Stereo Radio with Compact Disc Player.. ................................................ 101
Understanding Radio Reception. ........................................................................\
.... 104
Care of Your Cassette Tape Player ........................................................................\
. 104
Care of Your Compact Discs ........................................................................\
.......... 105
Fixed Mast Antenna ........................................................................\
........................ 105
Page 93 of 243
Downloaded from www.Manualslib.com manuals search engine Comfort Controls & Audio Systems
I Climate Control System
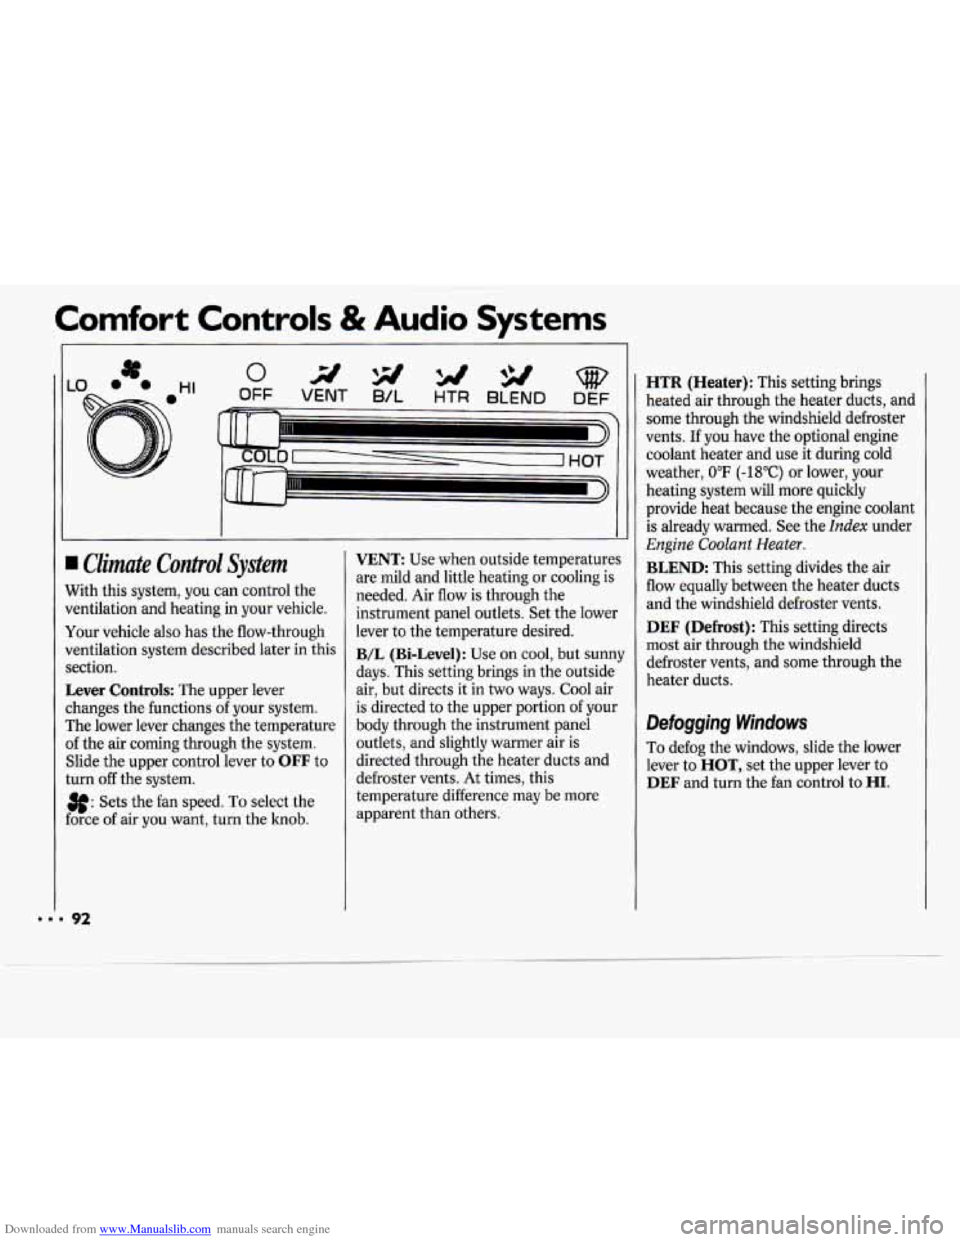
Nith this system, you can control the
rentilation and heating in your vehicle.
four vehicle also has the flow-through
Jentilation system described later in this
rection.
Lever Controls: The upper lever
:hanges the functions
of your system.
rhe lower lever changes the temperature
If the air coming through the system.
Slide the upper control lever to
OFF to
:urn
off the system.
3f: Sets the fan speed. To select the
:orce of air you want, turn the knob.
VENT: Use when outside temperatures
are mild and little heating or cooling is
needed. Air flow is through the
instrument panel outlets. Set the lower
lever to the temperature desired.
B/L (Bi-Level): Use on cool, but sunny
days. This setting brings in the outside
air, but directs it in two ways. Cool air
is directed to the upper portion of your
body through the instrument panel
outlets, and slightly warmer air is
directed through the heater ducts and
defroster vents.
At times, this
temperature difference may be more
apparent than others.
HTR (Heater): This setting brings
heated air through the heater ducts, and
some through the windshield defroster
vents.
If you have the optional engine
coolant heater and use it during cold
weather,
0°F (-18°C) or lower, your
heating system will more quickly
provide heat because the engine coolant
is already warmed. See the
Index under
Engine Coolant Heater.
BLEND: This setting divides the air
flow equally between the heater duets
and the windshield defroster vents.
DEF (Defrost): This setting directs
most air through the windshield
defroster vents, and some through the
heater ducts.
Defogging Windows
To defog the windows, slide the lower
lever to
HOT, set the upper lever to
DEF and turn the fan control to HI.
Page 95 of 243
Downloaded from www.Manualslib.com manuals search engine Comfort Controls & Audio Systems
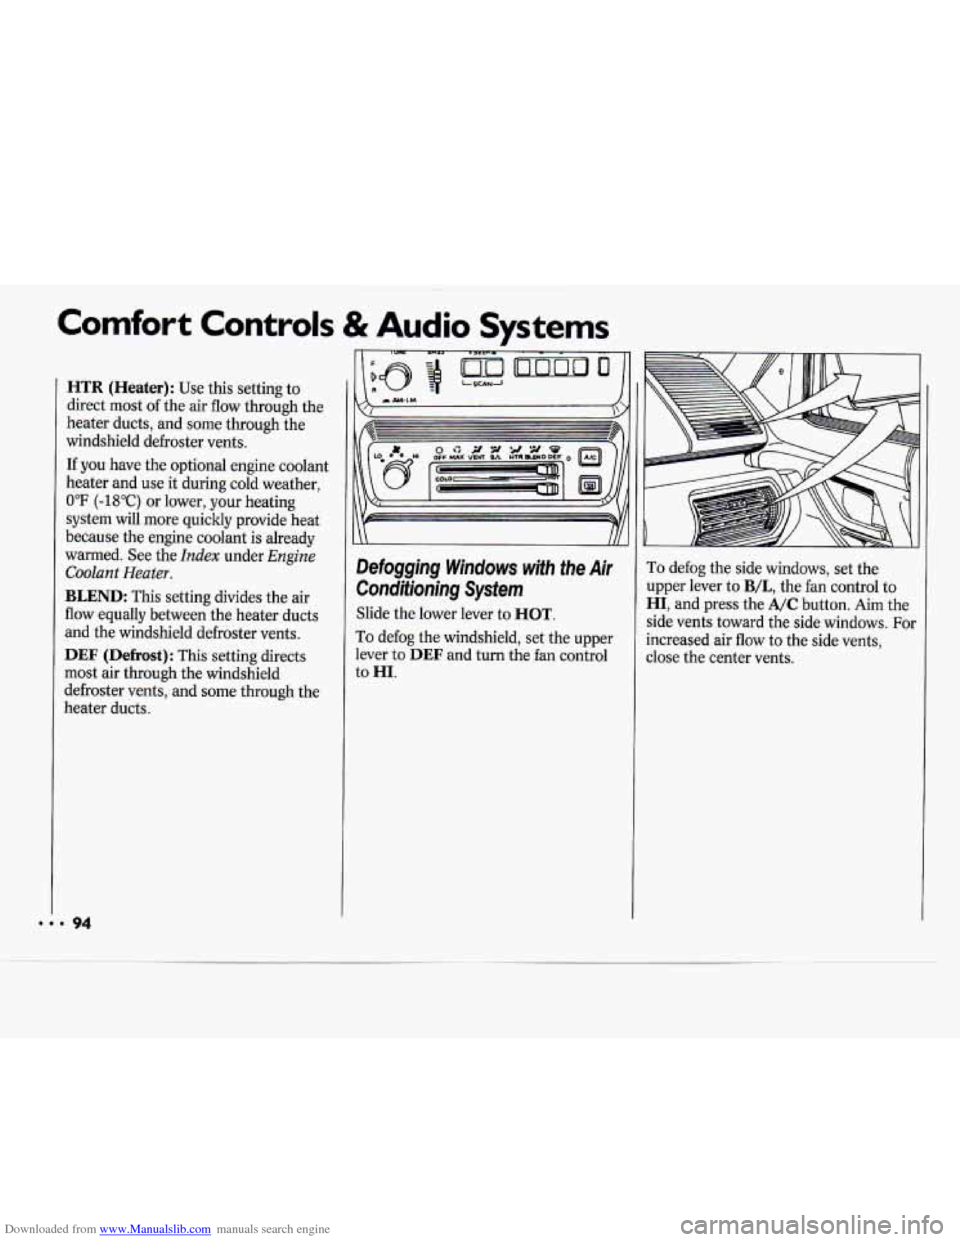
HTR (Heater): Use this setting to
direct most of the air flow through the
heater ducts, and some through the
windshield defroster vents.
If you have the optional engine coolant
heater and use it during cold weather,
0°F (-18°C) or lower, your heating
system will more quickly provide heat
because the engine coolant is already
warmed. See the
Index under Engine
Coolant Heater.
BLEND: This setting divides the air
flow equally between the heater ducts
and the windshield defroster vents.
DEF (Defrost): This setting directs
most air through the windshield
defroster vents, and some through the
heater ducts.
Defogging Windows with the Air
Conditioning System
Slide the lower lever to HOT.
To defog the windshield, set the upper
lever
to DEF and turn the fan control
to
HI.
To defog the side windows, set the
upper lever to
B/L, the fan control to
HI, and press the A/C button. Aim the
side vents toward the side windows. For
increased air flow to the side vents,
close the center vents.
... 94
Page 97 of 243
Downloaded from www.Manualslib.com manuals search engine Comfort Controls & Audio Systems
Ventilation Tips
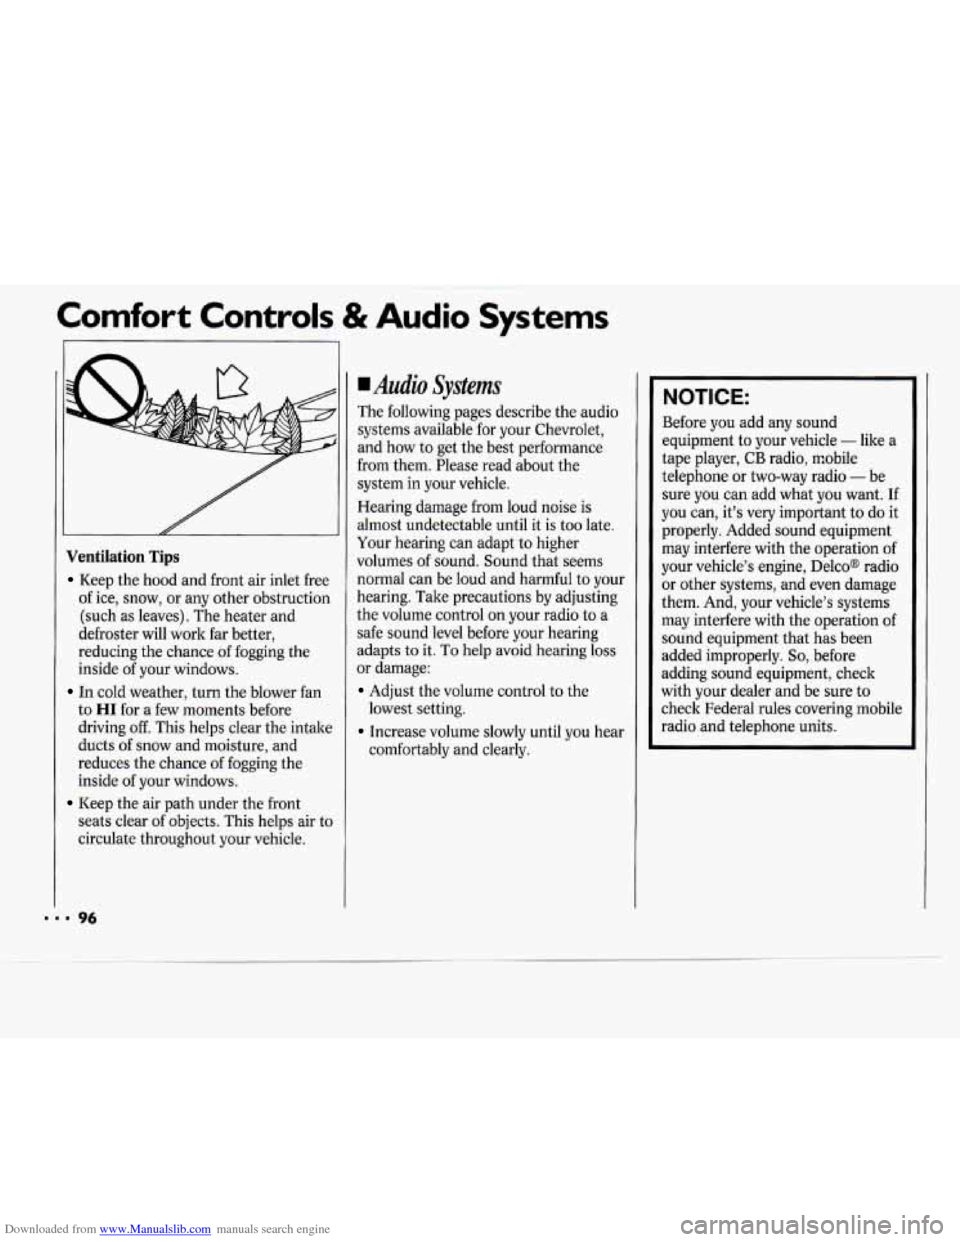
Keep the hood and front air inlet free
of ice, snow, or any other obstruction
(such as leaves). The heater and
defroster will work far better,
reducing the chance
of fogging the
inside of your windows.
In cold weather, turn the blower fan
to
HI for a few moments before
driving off. This helps clear the intake
ducts of snow and moisture, and
reduces the chance of fogging the
inside of your windows.
Keep the air path under the front
seats clear of objects. This helps air to
circulate throughout your vehicle.
Audio Systems
The following pages describe the audio
systems available for your Chevrolet,
and how to get the best performance
from them. Please read about the
system in your vehicle.
Hearing damage from loud noise is
almost undetectable until it is too late.
Your hearing can adapt to higher
volumes
of sound. Sound that seems
normal can be loud and harmful to your
hearing. Take precautions by adjusting
the volume control on your radio to a
safe sound level before your hearing
adapts to it.
To help avoid hearing loss
or damage:
Adjust the volume control to the
Increase volume slowly until you hear
lowest
setting.
comfortably and clearly.
NOTICE:
Before you add any sound
equipment to your vehicle
- like a
tape player,
CB radio, mobile
telephone or two-way radio
- be
sure you
can add what you want. If
you can, it’s very important to do it
properly. Added sound equipment
may interfere with the operation of
your vehicle’s engine, DelcoB radio or other systems, and even damage
them. And, your vehicle’s systems
may interfere with the operation of
sound equipment that has been
added improperly.
So, before
adding sound equipment, check
with your dealer and be sure to
check Federal rules covering mobile
radio and telephone units.
Page 98 of 243
Downloaded from www.Manualslib.com manuals search engine If- 71
c
VSEEKA 1234sET
I ILSCANA
I' I
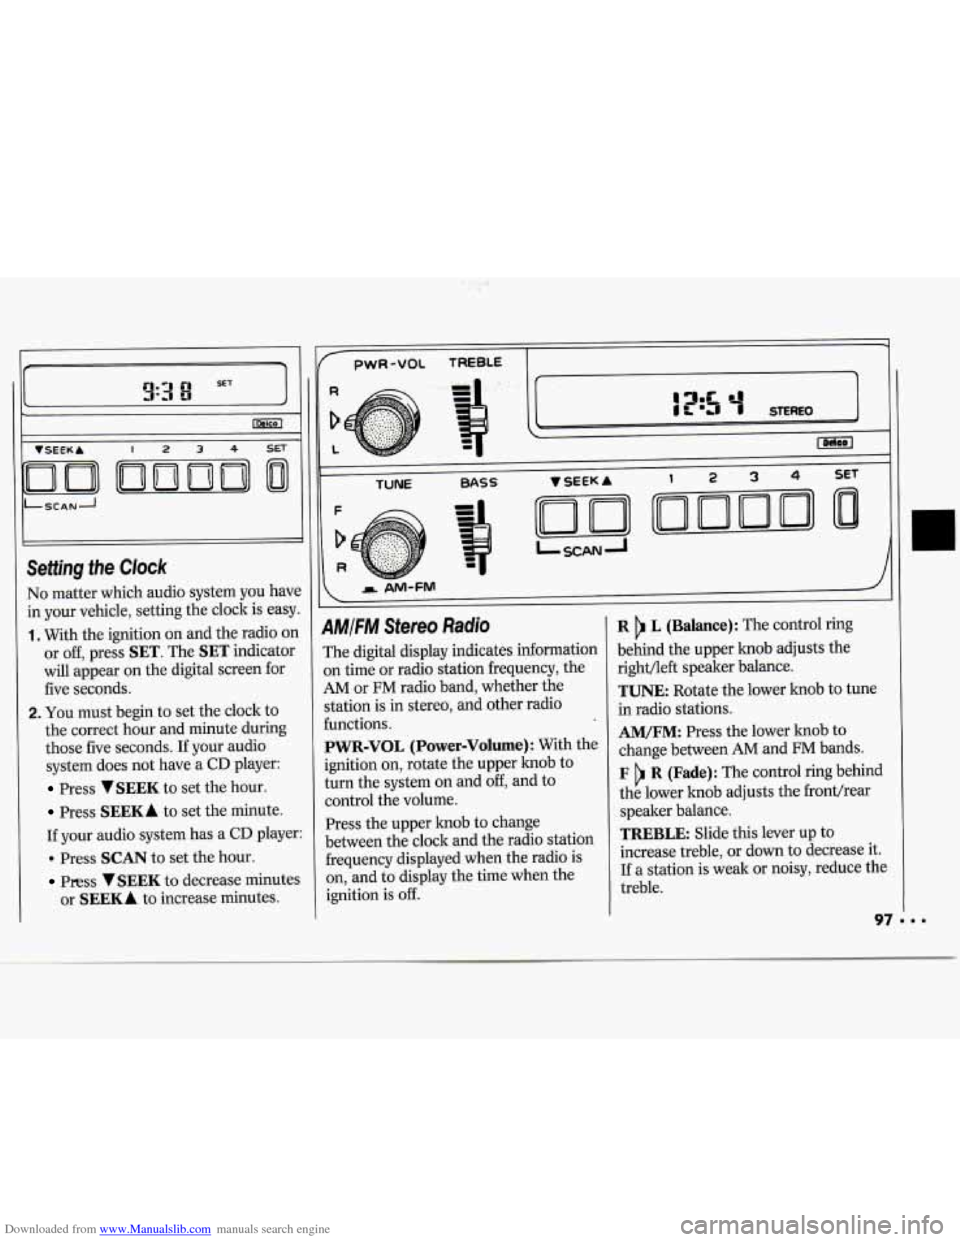
No matter which audio system you have
in your vehicle, setting the clock is easy.
1. With the ignition on and the radio on
or off, press
SET. The SET indicator
will appear on the digital screen for
five seconds.
2. You must begin to set the clock to
the correct hour and minute during
those five seconds. If your audio
system does not have a
CD player:
Press VSEEK to set the hour.
Press SEEKA to set the minute.
If your audio system has a
CD player:
. Press SCAN to set the hour.
Press VSEEK to decrease minutes
or
SEEKA to increase minutes.
1
pwR-VOL TREBLE -
TUNE BASS
AMIFM Stereo Radio
The digital display indicates information
on time
or radio station frequency, the
AM or FM radio band, whether the
station is in stereo, and other radio
functions.
PWR-VOL (Power-Volume): With the
ignition
on, rotate the upper knob to
turn the system
on and off, and to
control the volume.
Press the upper knob to change
between the clock and the radio station
frequency displayed when the radio is
on, and to display the time when the
ignition is
off.
R L (Balance): The control ring
behind the upper knob adjusts the
right/left speaker balance.
TUNE: Rotate the lower knob to tune
in radio stations.
AM/FM: Press the lower knob to
change between
AM and FM bands.
F R (Fade): The control ring behind
the lower knob adjusts the fronthear
speaker balance.
TREBLE: Slide this lever up to
increase treble, or
down to decrease it.
If a station is weak or noisy, reduce the
treble.