1994 CHEVROLET CAVALIER warning light
[x] Cancel search: warning lightPage 129 of 243
Downloaded from www.Manualslib.com manuals search engine Problems on the Road
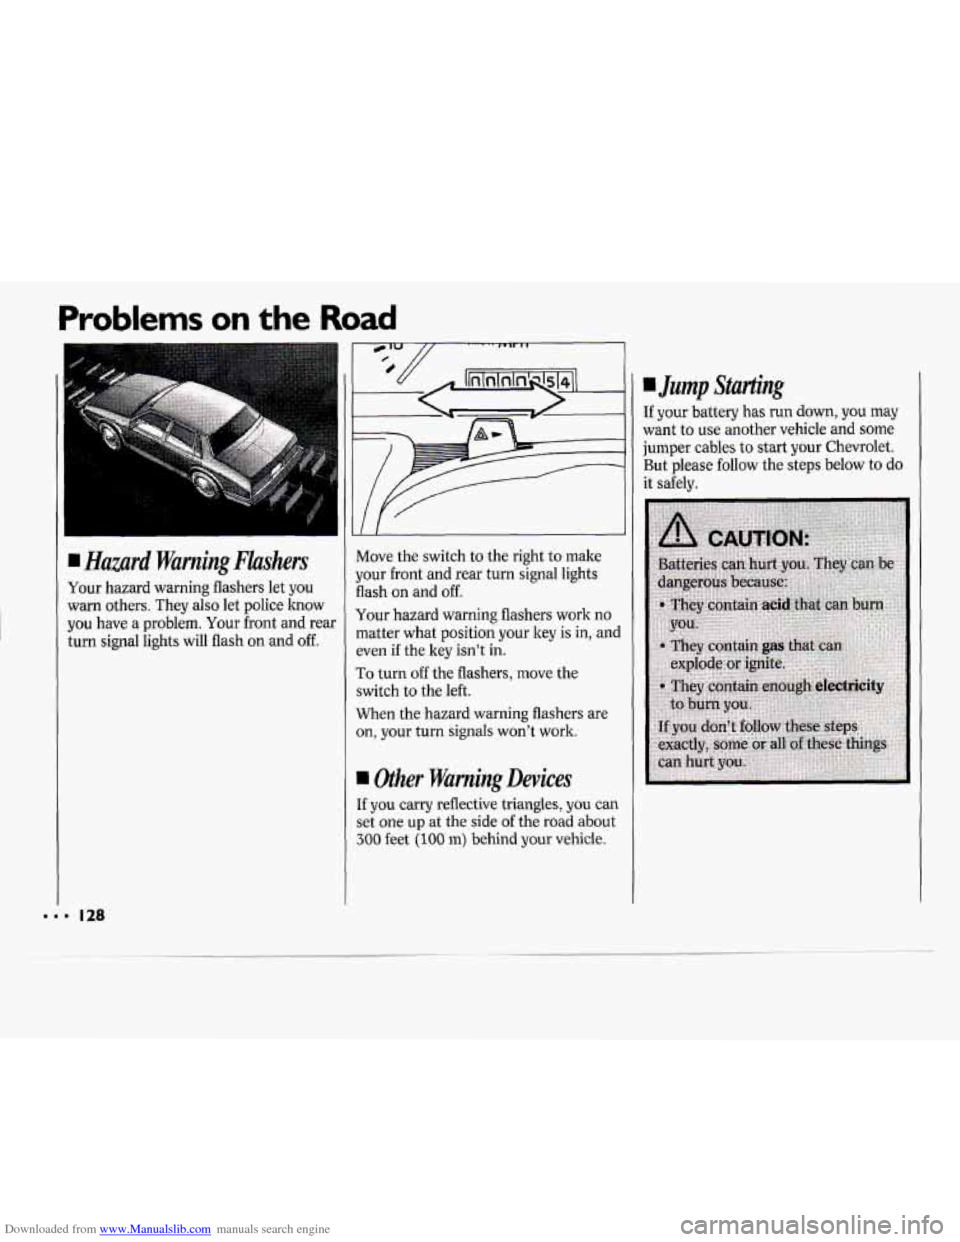
Hazard Warning Flashers
Your hazard warning flashers let you
warn others. They also let police know
you have a problem. Your front and rear
turn signal lights will flash on and
off.
Move the switch to the right to male
your front and rear turn signal lights
flash on and
off.
Your hazard warning flashers work no
matter what position your key
is in, and
even if the key isn’t
in.
To turn off the flashers, move the
switch to the left.
When the hazard warning flashers are
on, your turn signals won’t work.
Other Warning Devices
If you carry reflective triangles, you can
set one
up at the side of the road about
300 feet (100 m) behind your vehicle.
Jump Starting
If your battery has run down, you may
want to use another vehicle and some
jumper cables to start your Chevrolet.
But please follow the steps below to do
it safely.
Page 163 of 243
Downloaded from www.Manualslib.com manuals search engine Service & Appearance Care
Engine Oil
If the oil warning light on the
instrument panel comes on, it means
you need to check your engine oil level
right away. For more information, see
Engine Oil Warning Light in the Index.
You should check your engine oil level
regularly; this is an added reminder.
It’s a good idea to check your engine oil
every time you get fuel. In order to get
an accurate reading, the oil must be
warm and the vehicle must be on level
ground.
Turn
off the engine and give the oil a
few minutes to drain back into the oil
pan. If you don’t, the oil dipstick might
not show the actual level.
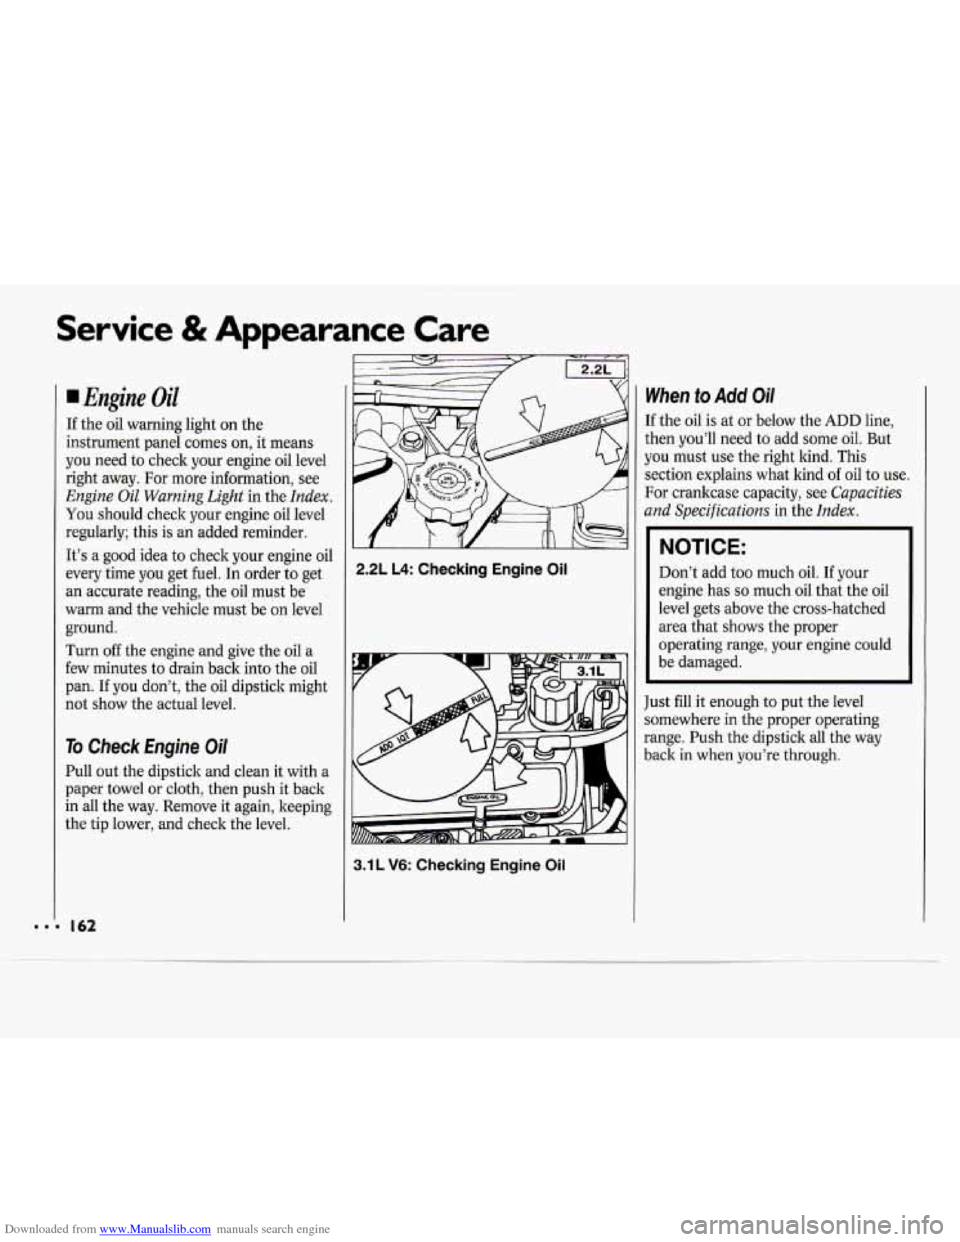
To Check Engine Oil
Pull out the dipstick and clean it with a
paper towel or cloth, then push it back
in all the way. Remove it again, keeping
the tip lower, and check the level.
2.2L L4: Checking Engine Oil
3.1 L V6: Checking Engine Oil
When to Add Oi/
If the oil is at or below the ADD line,
then you’ll need to add some oil. But
you must use the right kind. This
section explains what kind of oil to use.
For crankcase capacity, see
Capacities
and Specifications
in the Index.
NOTICE:
Don’t add too much oil. If your
engine has
so much oil that the oil
level gets above the cross-hatched
area that shows the proper
operating range, your engine could
be damaged.
Just
fill it enough to put the level
somewhere in the proper operating
range. Push the dipstick all the way
back in when you’re through.
Page 171 of 243
Downloaded from www.Manualslib.com manuals search engine ~~ ~ Service & Appearance Care
170
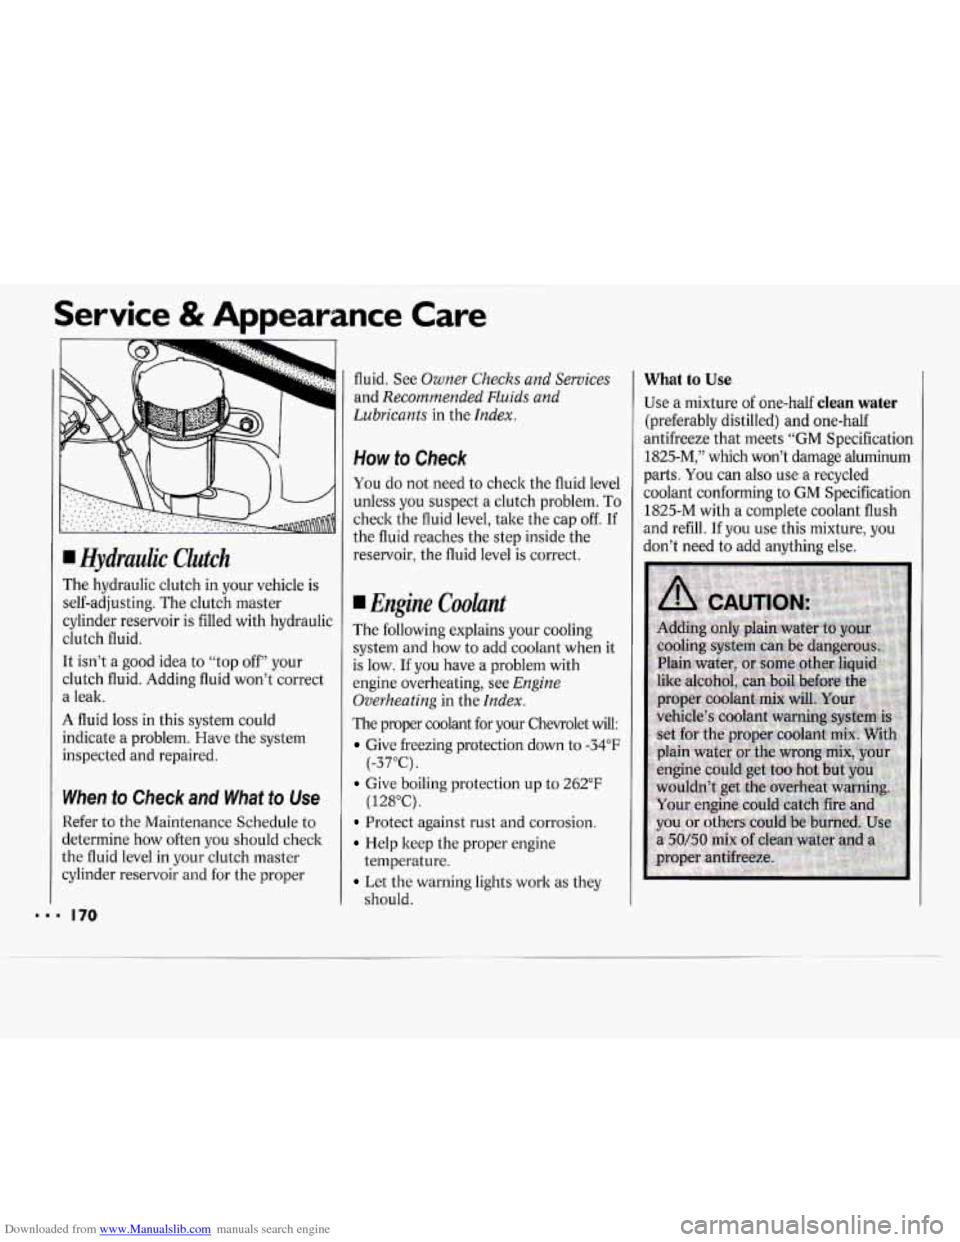
I Hydraulic Clutch
The hydraulic clutch
in your vehicle is
self-adjusting. The clutch master
cylinder reservoir is filled with hydraulic
clutch fluid.
It isn’t
a good idea to “top off” your
clutch fluid. Adding fluid won’t correct
a leak.
A fluid loss in this system could
indicate a problem. Have the system
inspected and repaired.
When to Check and What to Use
Refer to the Maintenance Schedule to
determine how often
you should check
the fluid level in your clutch master
cylinder reservoir and for the proper fluid. See
Owner Checks and
Services
and Recommended Fluids and
Lubricants
in the Index.
How to Check
You do not need to check the fluid level
unless you suspect a clutch problem.
To
check the fluid level, take the cap off. If
the fluid reaches the step inside the
reservoir, the fluid level is correct.
I Engine Coolunt
The following explains your cooling
system and how
to add coolant when it
is low.
If you have a problem with
engine overheating, see
Engine
Overheating
in the Index.
The proper coolant for your Chevrolet will:
Give freezing protection down to -34°F
Give boiling protection up to 262°F
Protect against rust and corrosion.
Help keep the proper engine
Let the warning lights work as they
(-37°C).
(128°C).
temperature.
should.
What to Use
Use a mixture
of one-half clean water
(preferably distilled) and one-half
antifreeze that meets “GM Specification
1825-M,” which won’t damage aluminum
parts. You can also use a recycled
coolant conforming to GM Specification
1825-M with
a complete coolant flush
and refill. If you use this mixture, you
don’t need to add anything else.
Page 175 of 243
Downloaded from www.Manualslib.com manuals search engine Service & Appearance Care
NOTICE:
When using concentrated washer
fluid, follow the manufacturer’s
instructions for adding water.
Don’t mix water with ready-to-
use washer fluid. Water can cause
the solution to freeze and damage
your washer fluid tank and other
parts of the washer system. Also,
water doesn’t clean as well
as
washer fluid.
Fill your washer fluid tank only %
full when it’s very cold. This
allows for expansion, which could
damage the tank if it is
completely full.
Don’t use radiator antifreeze in
your windshield washer. It can
damage your washer system and
paint.
I Brakes
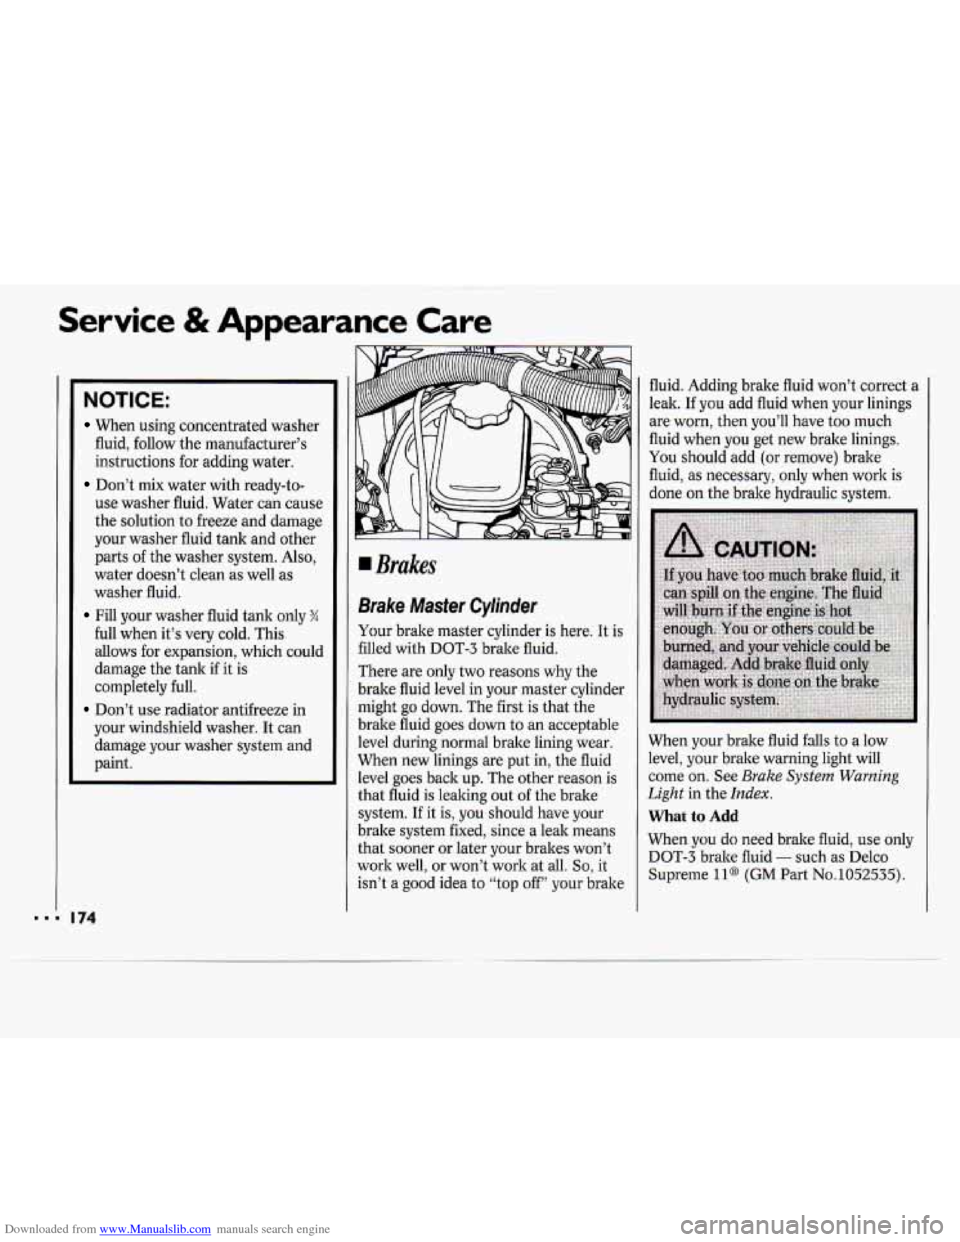
Brake Master Cylinder
Your brake master cylinder is here. It is
filled with DOT-3 brake fluid.
There are only two reasons why the
brake fluid level in your master cylinder
might go down. The first is that the
brake fluid goes down to an acceptable
level during normal brake lining wear.
When new linings are put in, the fluid
level goes back up. The other reason is
that fluid is leaking out of the brake
system.
If it is, you should have your
brake system fixed, since a leak means
that sooner or later your brakes won’t
work well,
or won’t work at all. So, it
isn’t a good idea to “top off” your brake fluid. Adding brake fluid won’t correct a
leak.
If you add fluid when your linings
are worn, then you’ll have too much
fluid when
you get new brake linings.
You should add (or remove) brake
fluid, as necessary, only when work
is
done on the brake hydraulic system.
When your brake fluid falls
to a low
level, your brake warning light will
come on. See
Brake System Warning
Light in the Index.
What to Add
When you do need brake fluid, use only
DOT-3 brake fluid
- such as Delco
Supreme
11@ (GM Part No.1052535).
Page 176 of 243
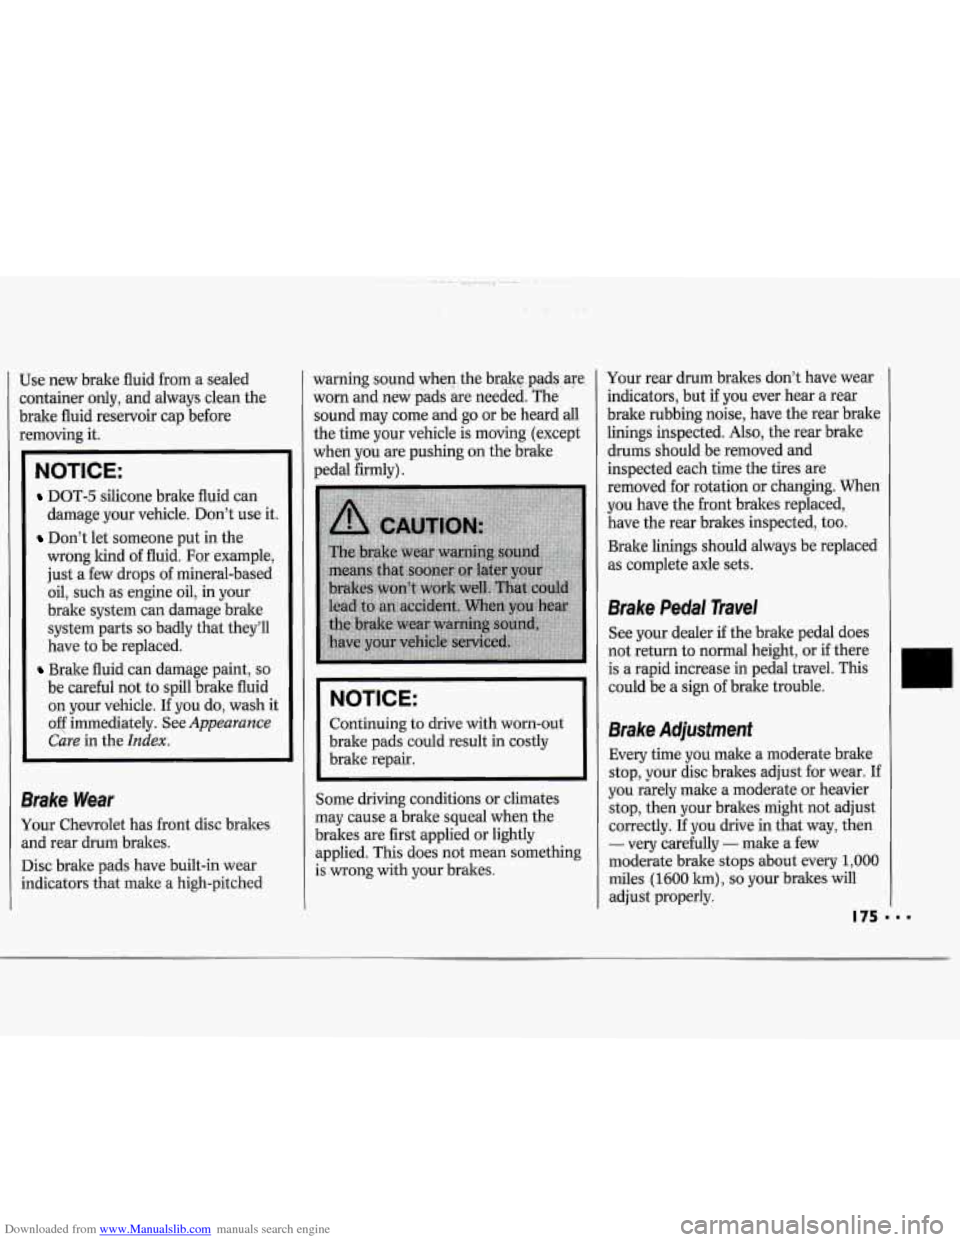
Downloaded from www.Manualslib.com manuals search engine Use new brake fluid from a sealed container only, and always clean the
brake fluid reservoir cap before
removing it.
I
NOTICE:
DOT-5 silicone brake fluid can
Don’t let someone put in the
damage your vehicle. Don’t
use it.
wrong kind of fluid. For example,
just
a few drops of mineral-based
oil, such as engine
oil, in your
brake system can damage brake system parts
so badly that they’ll
have to be replaced.
Brake fluid can damage paint, so
be careful not to spill brake fluid
on your vehicle. If you do, wash it
OF immediately. See Appearance
Cave
in the Index.
II
Brake Wear
Your Chevrolet has front disc brakes
and rear drum brakes.
Disc brake pads have built-in wear
indicators that make a high-pitched warning sound when
~ the
b&e..p@dsa .ve,
worn and new‘
pads are needed: .The ‘
sound may come and go or be heard all
the time your vehicle is moving (except
when you are pushing on the brake
pedal firmly).
NOTICE:
Continuing to drive with worn-out
brake pads could result in costly
brake repair.
Some driving conditions or climates
may cause
a brake squeal when the
brakes are first applied or lightly
applied. This does not mean something
is wrong with your brakes. Your
rear drum brakes don’t have wear
indicators, but if you ever hear a rear
brake rubbing noise, have the rear brake
linings inspected.
Also, the rear brake
drums should be removed and
inspected each time the tires are
removed for rotation or changing. When
you have the front brakes replaced,
have the rear brakes inspected, too.
Brake linings should always be replaced
as complete axle sets.
Brake Pedal Travel
See your dealer if the brake pedal does
not return to normal height, or if there
is
a rapid increase in pedal travel. This
could be a sign of brake trouble.
Brake Adjustment
Every time you make a moderate brake
stop, your disc brakes adjust for wear. If
you rarely make a moderate or heavier stop, then your brakes might not adjust
correctly.
If you drive in that way, then
- very carefully - make a few
moderate brake stops about every
1,000
miles (1600 lun), so your brakes will
adjust properly.
Page 197 of 243

Downloaded from www.Manualslib.com manuals search engine Service & Appearance Care
Vse Usage 1
196
Fuse
INST LPS
ECM
DR UNLK
CIG LTR
RDO 2
GAUGES
PIUTURN
HTR-A/C
WIPER
F/P
RDO
1
CTSY
WDO CRUISE
TURN-B/U S/LP
FTP
ACC HDLP
Rating
(AMP.)
5
10
10
15
10
10
15
25
25
10
10
15
30
10
15
20
20
30
20
Circuitry
Instrument Panel Lamps
Electronic Control Module, Fuel Injectors
Automatic Door Unlock (Remove to Disable)
Cigarette Lighter, Glove Box Light
Radio Power
Gages, Audio Warning System, Cluster Telltales, TCC,
Rear Defogger Relay, Brake Transaxle Shift Interlock,
Multiport Fuel Injection
Park and Turn Lamps
Heater and A/C Power, Daytime Running Lights
(Canada), Anti-Lock Brakes
Windshield Wipers
Fuel Pump Radio Memory, Digital Clock
Interior Lights, Horn, Power Locks, Audible Warning
System, Remote Liftgate Release, Check Oil Light
Power Window (Circuit Breaker)
Cruise Control
Turn Signal, Back-Up Lamps
Stop Lamps, Hazard Flashers
Flash-To-Pass
Power Locks, Rear Window Defogger (Circuit Breaker)
Headlamp (Circuit Breaker)
Page 217 of 243
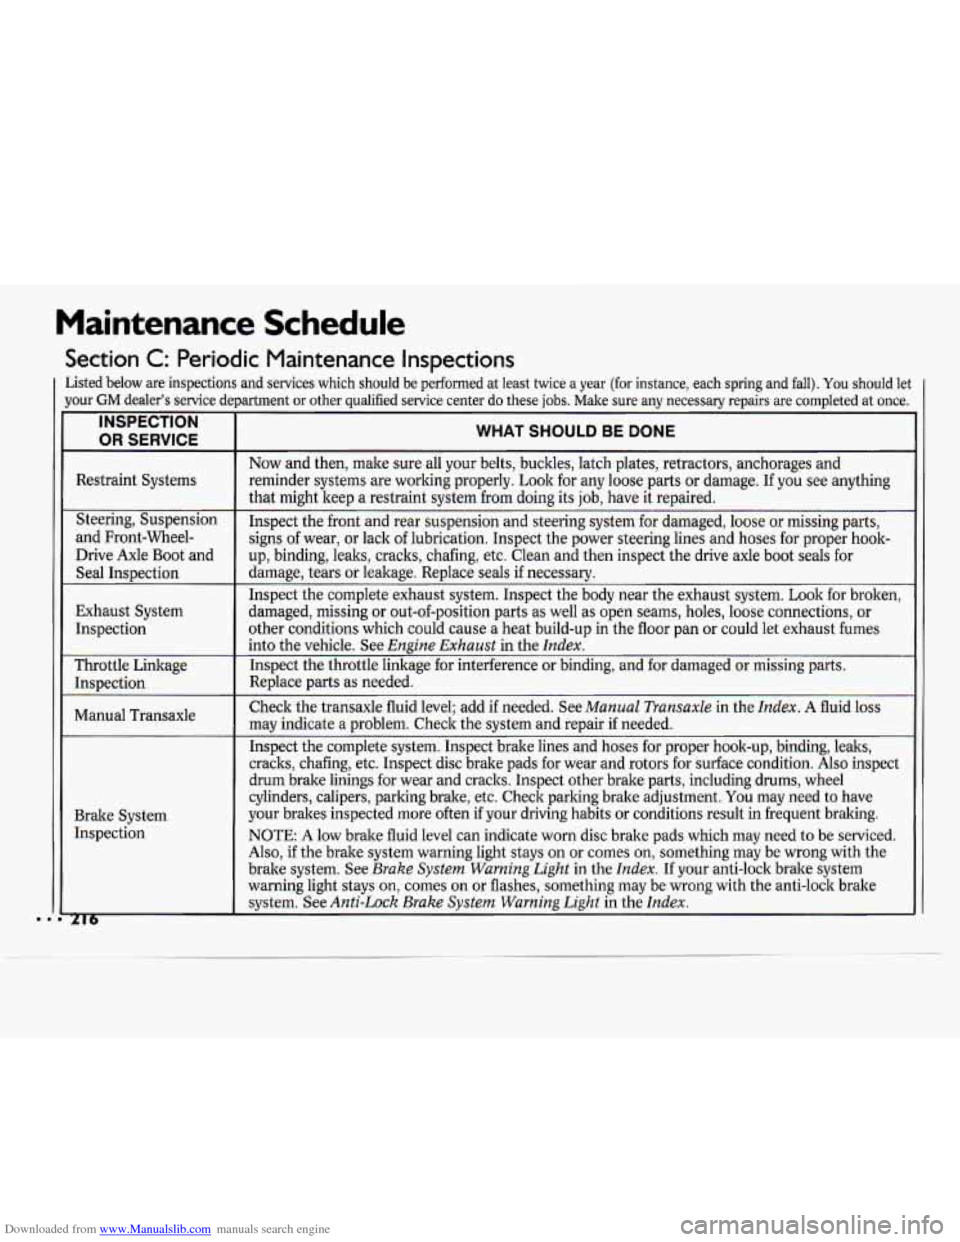
Downloaded from www.Manualslib.com manuals search engine Maintenance Schedule
Section C: Periodic Maintenance Inspections
Listed below are inspections and services which should be performed at least twice a year (for instance, each spring and fall). You should let
Jour
GM dealer’s service department or other qualified service center \
do these jobs. Make sure any necessary repairs are completed at once.
INSPECTION
OR SERVICE
Restraint Systems
Steering, Suspension
and Front-Wheel-
Drive Axle Boot and
Seal InsDection
Exhaust System Inspection
Throttle Linkage Inspection
Manual Transaxle
Brake System Inspection
216
WHAT SHOULD BE DONE
Now and then, make sure all your belts, bucltles, latch plates, retractors, anchorages and
reminder systems are worlting properly. Look for any loose parts or damage. If you see anything
that might keep a restraint system from doing its job, have it repaired.
Inspect the front and rear suspension and steering system for damaged, loose or \
missing parts,
signs of wear, or lack
of lubrication. Inspect the power steering lines and hoses for proper hook-
up, binding, leaks, cracks, chafing, etc. Clean and then inspect the drive axle boot seals for
damage, tears or leakage. Replace seals if necessary.
~ ~~~~~~
Inspect the complete exhaust system. Inspect the body near the exhaust system. Look for broken,
damaged, missing or out-of-position parts as well as open seams, holes, loose connections, or
other conditions which could cause a heat build-up in the floor pan or could let exhaust fumes
into the vehicle. See
Engine Exhaust in the Index.
Inspect the throttle linkage for interference or binding, and for damaged or missing parts.
Replace parts as needed.
.-
Check the transaxle fluid level; add if needed. See Manual Transaxle in the Index. A fluid loss
may indicate a problem. Check the system and repair if needed.
Inspect the complete system. Inspect brake lines and hoses for proper hook-\
up, binding, leaks,
cracks, chafing, etc. Inspect disc brake pads for wear and rot\
ors for surface condition. Also inspect
drum brake linings for wear and cracks. Inspect other brake parts, including drums, wheel
cylinders, calipers, parking brake, etc. Check parking brake adj\
ustment. You may need to have
your brakes inspected more often if your driving habits or conditions result in frequent braking.
NOTE: A low brake fluid level can indicate worn disc brake pads which \
may need to be serviced.
Also, if the brake system warning light stays on or comes
on, something may be wrong with the
brake system. See
Brake System Warning Light in the Index. If your anti-lock brake system
warning light stays on, comes on or flashes, something may be wrong with the anti-lock brake
system. See
Anti-Lock Brake System Warning Light in the Index.
11
.
Page 234 of 243
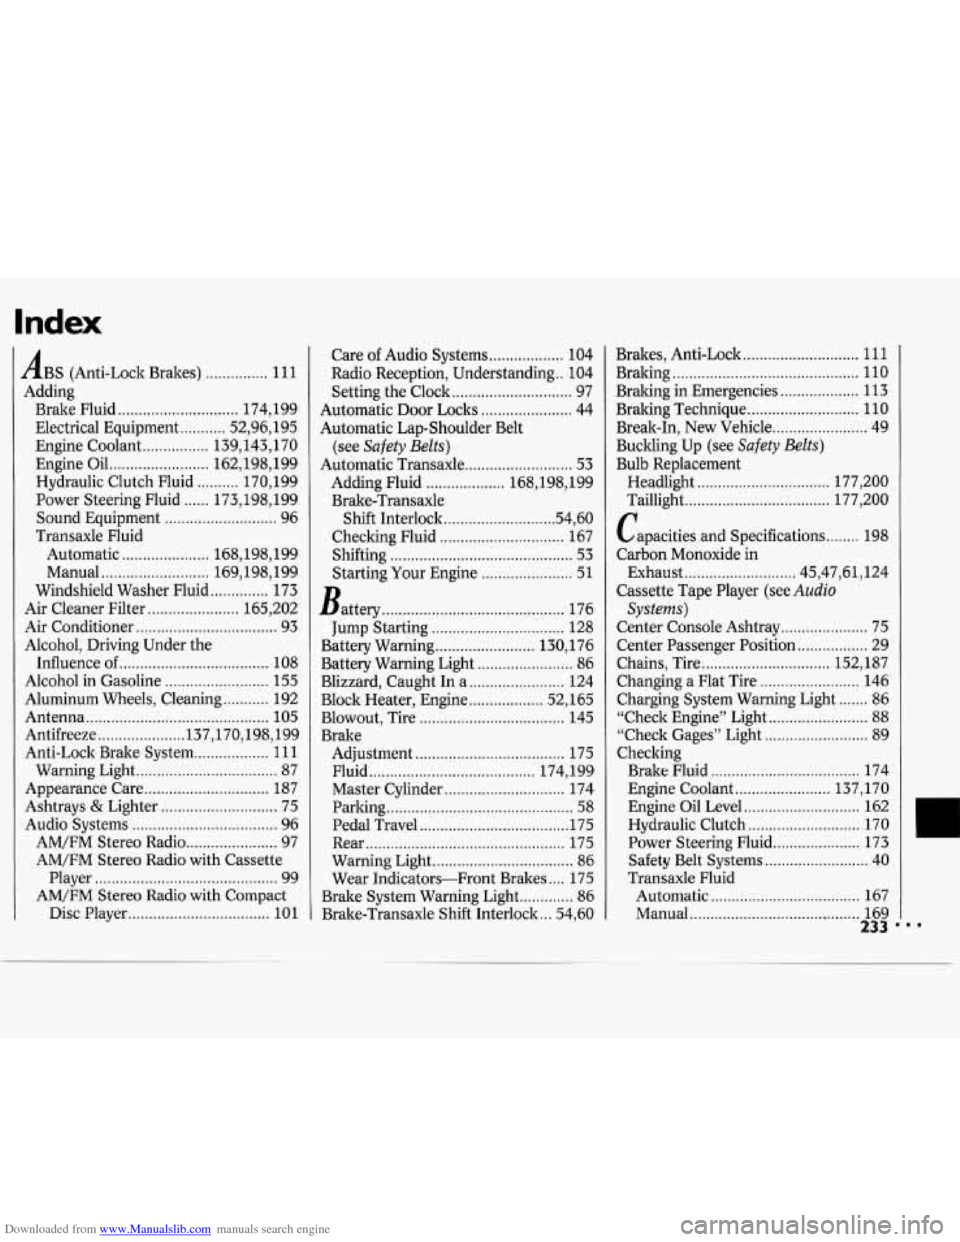
Downloaded from www.Manualslib.com manuals search engine Index
ABS (Anti-Lock Brakes) ............... 11 1
Adding
Brake Fluid
............................. 174. 199
Engine Coolant
................ 139.143. 170
Engine Oil
........................ 162,198, 199
Hydraulic Clutch Fluid
.......... 170, 199
Power Steering Fluid
...... 173,198, 199
Sound Equipment ........................... 96
Transaxle Fluid
Automatic
..................... 168,198, 199
Manual
.......................... 169,198, 199
Windshield Washer Fluid
.............. 173
Air Cleaner Filter
...................... 165, 202
Air Conditioner
.................................. 93
Alcohol. Driving Under the
Influence of
.................................... 108
Alcohol in Gasoline
......................... 155
Antenna ............................................ 105
Antifreeze ..................... 137,170,198, 199
Anti-Lock Brake System
.................. 111
Warning Light .................................. 87
Appearance Care
.............................. 187
Ashtrays & Lighter ............................ 75
Audio Systems
................................... 96
AM/FM Stereo Radio
...................... 97
AM/FM Stereo Radio with Cassette
Player
............................................ 99
AM/FM Stereo Radio with Compact
Disc Player
.................................. 101
Electrical
Equipment
........... 52.96. 195
Aluminum Wheels, Cleaning
........... 192 Care
of Audio
Systems .................. 104
Radio Reception. Understanding
.. 104
Setting the Clock
............................. 97
Automatic Door Loclts
...................... 44
Automatic Lap-Shoulder Belt
(see
Safety Belts)
Automatic Transaxle .......................... 53
Adding Fluid ................... 168.198. 199
Brake-Transaxle Shift Interlock..
........................ .54. 60
Checking Fluid
.............................. 167
Shifting
............................................ 53
Starting Your Engine ...................... 51
Battery
............................................ 176 .
Jump Starting ................................ 128
Battery Warning
........................ 130. 176
Battery Warning Light
....................... 86
Blizzard. Caught In
a ....................... 124
Block Heater. Engine
.................. 52. 165
Blowout. Tire
................................... 145
Brake Adjustment
.................................... 175
Fluid
........................................ 174. 199
Master Cylinder ............................. 174
Parking
............................................. 58
Pedal Travel .................................... 175
Rear
................................................ 175
Warning Light
.................................. 86
Wear Indicators-Front Brakes .... 175
Brake System Warning Light
............. 86
Brake-Transaxle Shift Interlock ... 54. 60 Brakes. Anti-Lock
............................ 111
Bralcing ............................................. 110
Bralcing in Emergencies
................... 113
Braking Technique ........................... 110
Break-In. New Vehicle
....................... 49
Buckling
Up (see Safety Belts)
Bulb Replacement
Headlight
................................ 177, 200
Taillight
................................... 177, 200
Capacities and Specifications
........ 198
Carbon Monoxide in
Exhaust
........................... 45,47,61, 124
Cassette Tape Player (see
Audio
Systems)
Center Console Ashtray ..................... 75
Center Passenger Position
................. 29
Chains, Tire
............................... 152, 187
Changing
a Flat Tire ........................ 146
Charging System Warning Light
....... 86
“Check Engine” Light ........................ 88
“Check Gages” Light ......................... 89
Checking
Brake Fluid
.................................... 174
Engine Coolant
....................... 137, 170
Engine Oil Level
............................ 162
Hydraulic Clutch
........................... 170
Power Steering Fluid
..................... 173
Safety Belt Systems
......................... 40
Transaxle Fluid
Automatic
.................................... 167
Manual
................................ ,. ........ 169
233