1994 CHEVROLET CAVALIER instrument panel
[x] Cancel search: instrument panelPage 93 of 243
Downloaded from www.Manualslib.com manuals search engine Comfort Controls & Audio Systems
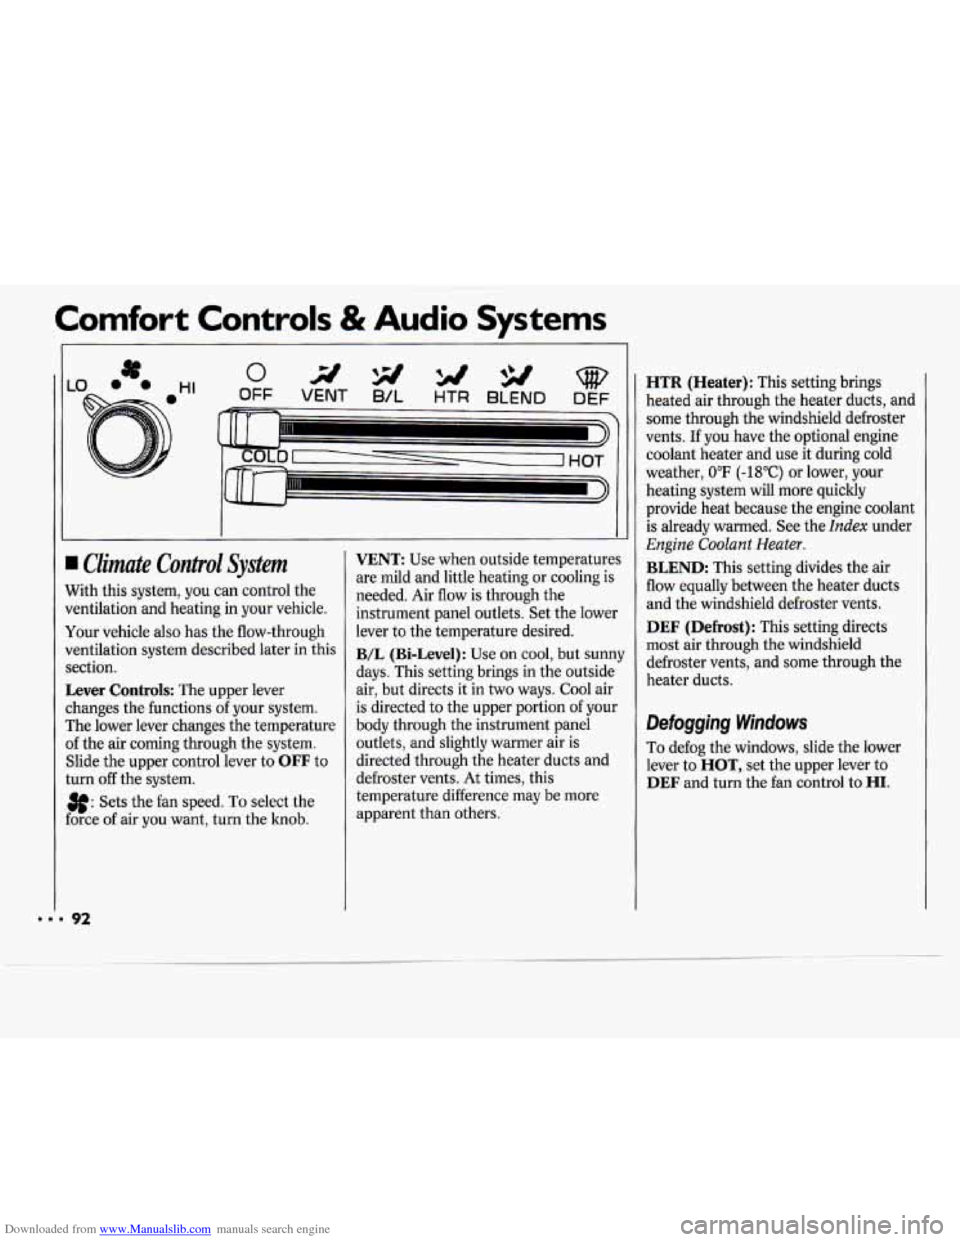
I Climate Control System
Nith this system, you can control the
rentilation and heating in your vehicle.
four vehicle also has the flow-through
Jentilation system described later in this
rection.
Lever Controls: The upper lever
:hanges the functions
of your system.
rhe lower lever changes the temperature
If the air coming through the system.
Slide the upper control lever to
OFF to
:urn
off the system.
3f: Sets the fan speed. To select the
:orce of air you want, turn the knob.
VENT: Use when outside temperatures
are mild and little heating or cooling is
needed. Air flow is through the
instrument panel outlets. Set the lower
lever to the temperature desired.
B/L (Bi-Level): Use on cool, but sunny
days. This setting brings in the outside
air, but directs it in two ways. Cool air
is directed to the upper portion of your
body through the instrument panel
outlets, and slightly warmer air is
directed through the heater ducts and
defroster vents.
At times, this
temperature difference may be more
apparent than others.
HTR (Heater): This setting brings
heated air through the heater ducts, and
some through the windshield defroster
vents.
If you have the optional engine
coolant heater and use it during cold
weather,
0°F (-18°C) or lower, your
heating system will more quickly
provide heat because the engine coolant
is already warmed. See the
Index under
Engine Coolant Heater.
BLEND: This setting divides the air
flow equally between the heater duets
and the windshield defroster vents.
DEF (Defrost): This setting directs
most air through the windshield
defroster vents, and some through the
heater ducts.
Defogging Windows
To defog the windows, slide the lower
lever to
HOT, set the upper lever to
DEF and turn the fan control to HI.
Page 94 of 243
Downloaded from www.Manualslib.com manuals search engine Air Conditioning System
(OPTION)
The air conditioner and heater work
best if you keep your windows closed
while using them. Your vehicle also has
the flow-through ventilation system
described later in this section.
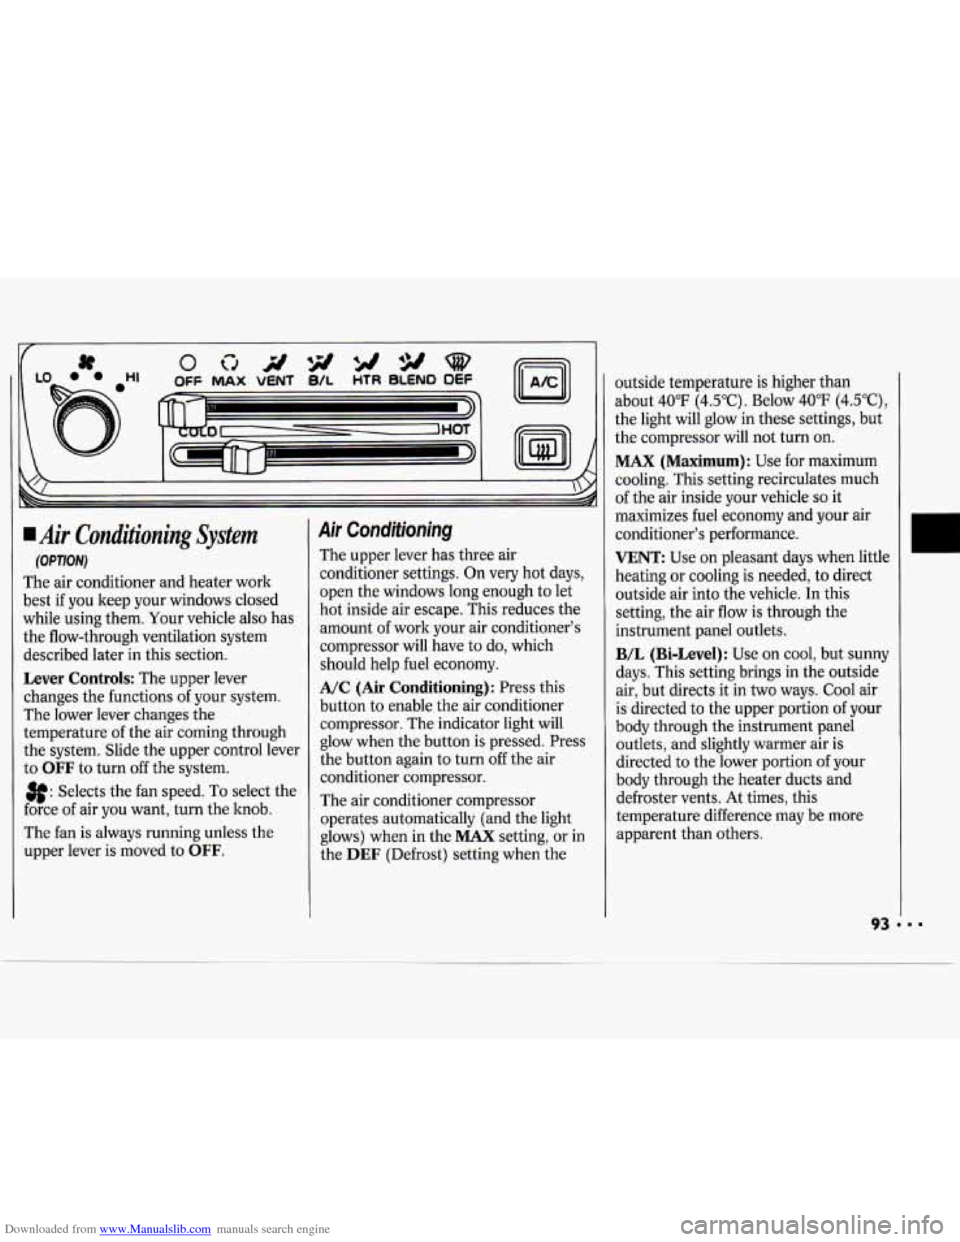
Lever Controls: The upper lever
changes the functions
of your system.
The lower lever changes the
temperature of the air coming through
the system. Slide the upper control lever
to
OFF to turn off the system.
3f: Selects the fan speed. To select the
force of air you want, turn the hob.
The fan is always running unless the
upper lever is moved to
OFF.
Air Conditioning
The upper lever has three air
conditioner settings. On very hot days,
open the windows long enough to let
hot inside air escape. This reduces the
amount of work your air conditioner's
compressor will have to do, which
should help fuel economy.
A/C (Air Conditioning): Press this
button
to enable the air conditioner
compressor. The indicator light will
glow when the button is pressed. Press
the button again to turn
off the air
conditioner compressor.
The air conditioner compressor
operates automatically (and the light
glows) when in the
MAX setting, or in
the
DEF (Defrost) setting when the outside temperature
is higher than
about 40°F (4.5"C). Below 40°F (4.5"C),
the light will glow in these settings, but
the compressor will not turn on.
MAX (Maximum): Use for maximum
cooling. This setting recirculates much
of the air inside your vehicle
so it
maximizes fuel economy and your air
conditioner's performance.
VENT: Use on pleasant days when little
heating or cooling is needed, to direct
outside air into the vehicle.
In this
setting, the air flow is through the
instrument panel outlets.
B/L (Bi-Level): Use on cool, but sunny
days. This setting brings in the outside
air, but directs it in two ways. Cool air
is directed to the upper portion of your
body through the instrument panel
outlets, and slightly warmer air is
directed to the lower portion of your
body through the heater ducts and
defroster vents. At times, this
temperature difference may be more
apparent than others.
Page 112 of 243
Downloaded from www.Manualslib.com manuals search engine And, of course, actual stopping
distances vary greatly with the surface
of the road (whether it’s pavement or
gravel); the condition
of the road (wet,
dry, icy); tire tread; and the condition
of
your brakes.
Avoid needless heavy braking. Some people drive in spurts
- heavy
acceleration followed by heavy braking
- rather than keeping pace with traffic.
This is a mistake. Your brakes may not
have time to cool between hard stops.
Your brakes
will wear out much faster if
you do a lot
of heavy braking. If you
keep pace with the traffic and allow realistic following
distances, you will
eliminate a lot of unnecessary braking.
That means better braking and longer
brake life.
If your engine ever stops while you’re
driving, brake normally but don’t pump
your brakes. If you do, the pedal may
get harder to push down. If your engine
stops, you will still have some power
brake assist. But you will use it when
you brake. Once the power assist is
used
up, it may take longer to stop and
the brake pedal will be harder to push.
L
- 20
- 10
9nti-Lock Brakes (ABS)
Your Chevrolet has an advanced
dectronic braking system that will help
prevent skidding.
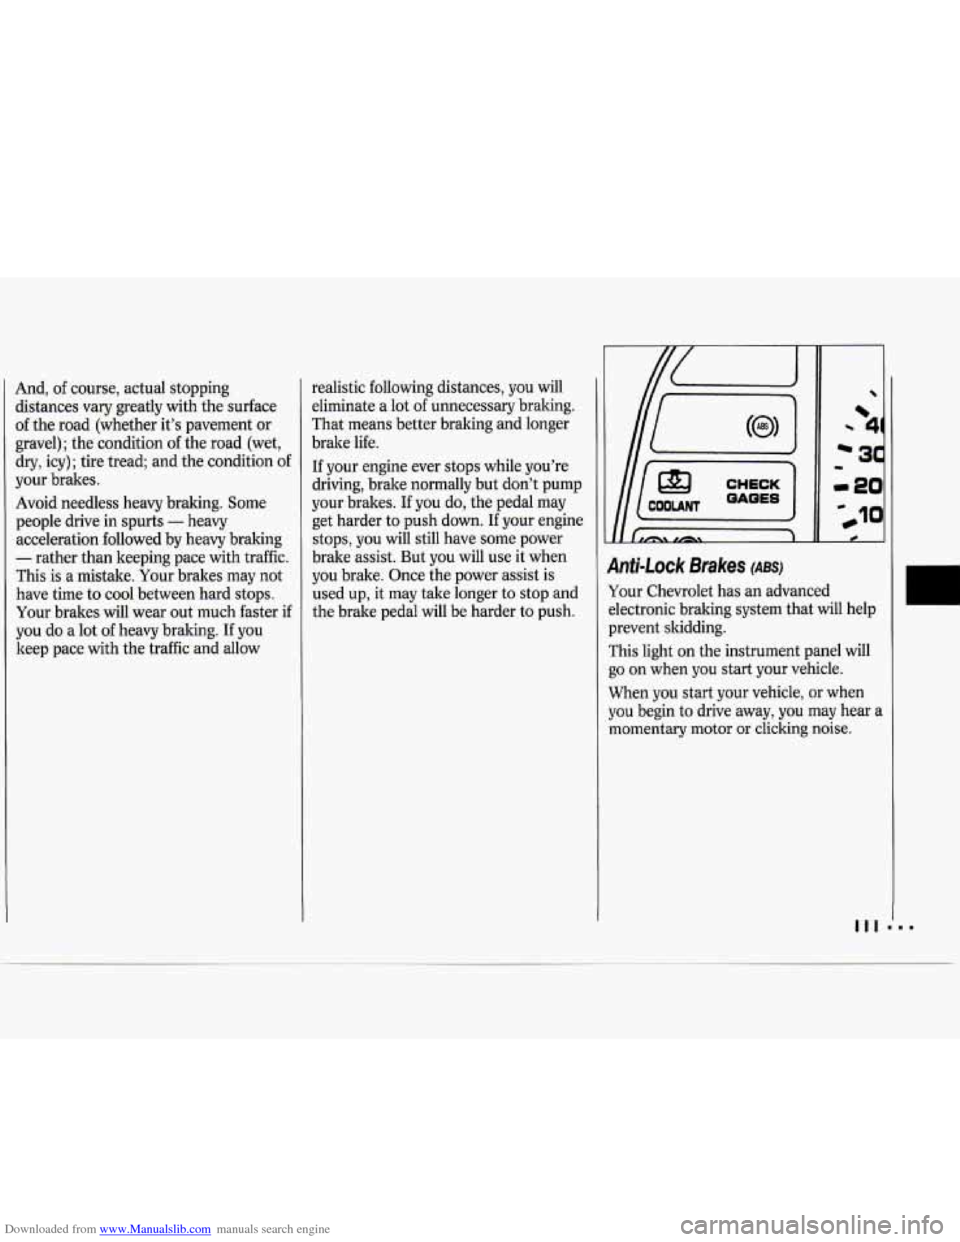
rhis light on the instrument panel will
30 on when you start your vehicle.
When you start your vehicle, or when
you begin to drive away, you may hear a
momentary motor
or clicking noise.
Page 137 of 243
Downloaded from www.Manualslib.com manuals search engine Problems on the Road
All Models:
NOTICE:
Towing a vehicle over rough
surfaces could damage a vehicle.
Damage can occur from vehicle to
ground or vehicle to wheel-lift
equipment. To help avoid damage,
install a towing dolly and raise
vehicle until adequate clearance is
obtained between the ground
and/or wheel-lift equipment.
Do not attach winch cables or J-hooks
to suspension components when
using car carrier equipment. Always
use T-hooks inserted in the T-hook
slots.
r I I
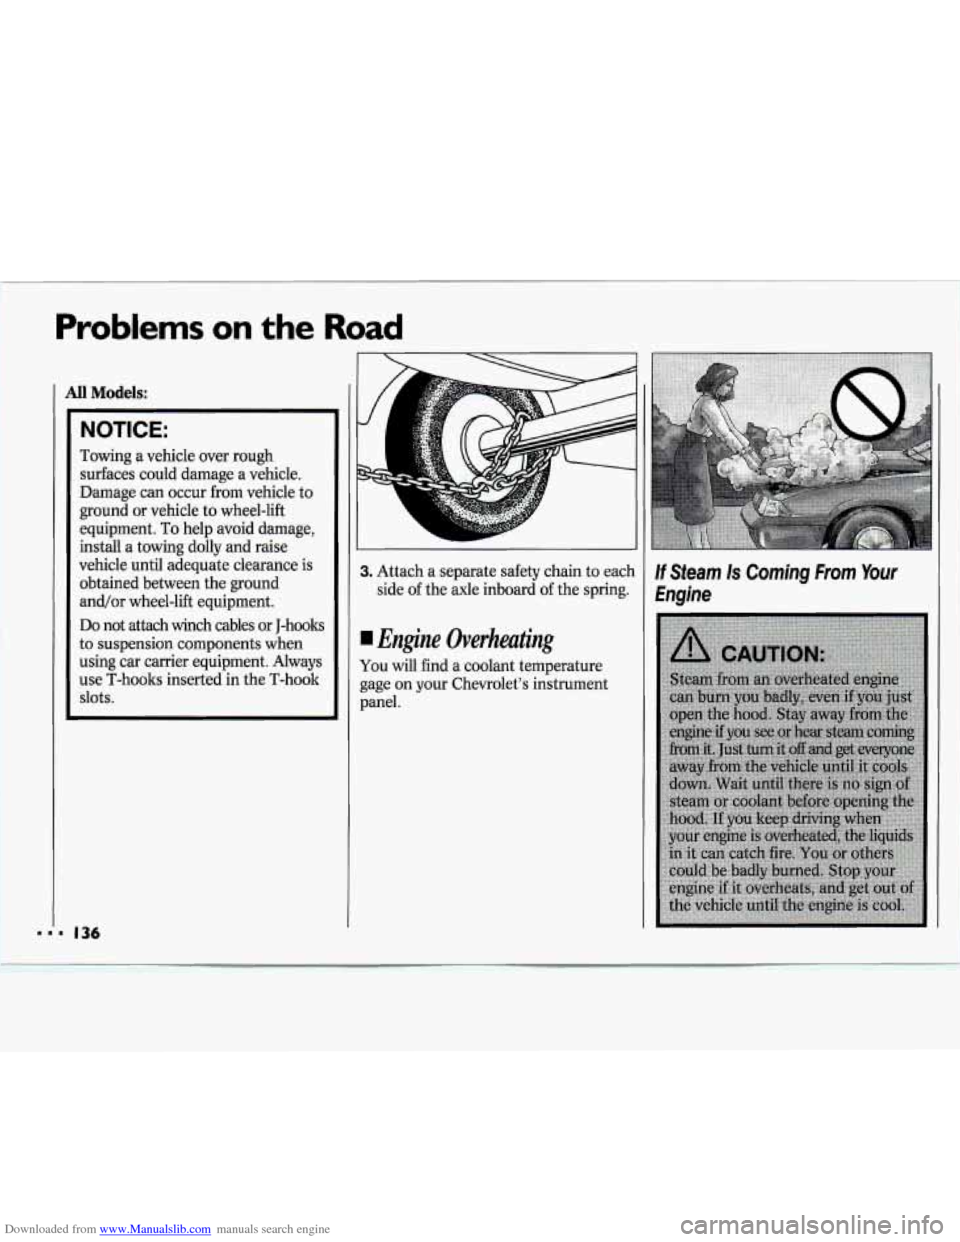
3. Attach a separate safety chain to each
side of the axle inboard
of the spring.
Engine Overheating
You will find a coolant temperature
gage on your Chevrolet’s instrument
panel.
If Steam Is Coming From Your
Engine
Page 163 of 243
Downloaded from www.Manualslib.com manuals search engine Service & Appearance Care
Engine Oil
If the oil warning light on the
instrument panel comes on, it means
you need to check your engine oil level
right away. For more information, see
Engine Oil Warning Light in the Index.
You should check your engine oil level
regularly; this is an added reminder.
It’s a good idea to check your engine oil
every time you get fuel. In order to get
an accurate reading, the oil must be
warm and the vehicle must be on level
ground.
Turn
off the engine and give the oil a
few minutes to drain back into the oil
pan. If you don’t, the oil dipstick might
not show the actual level.
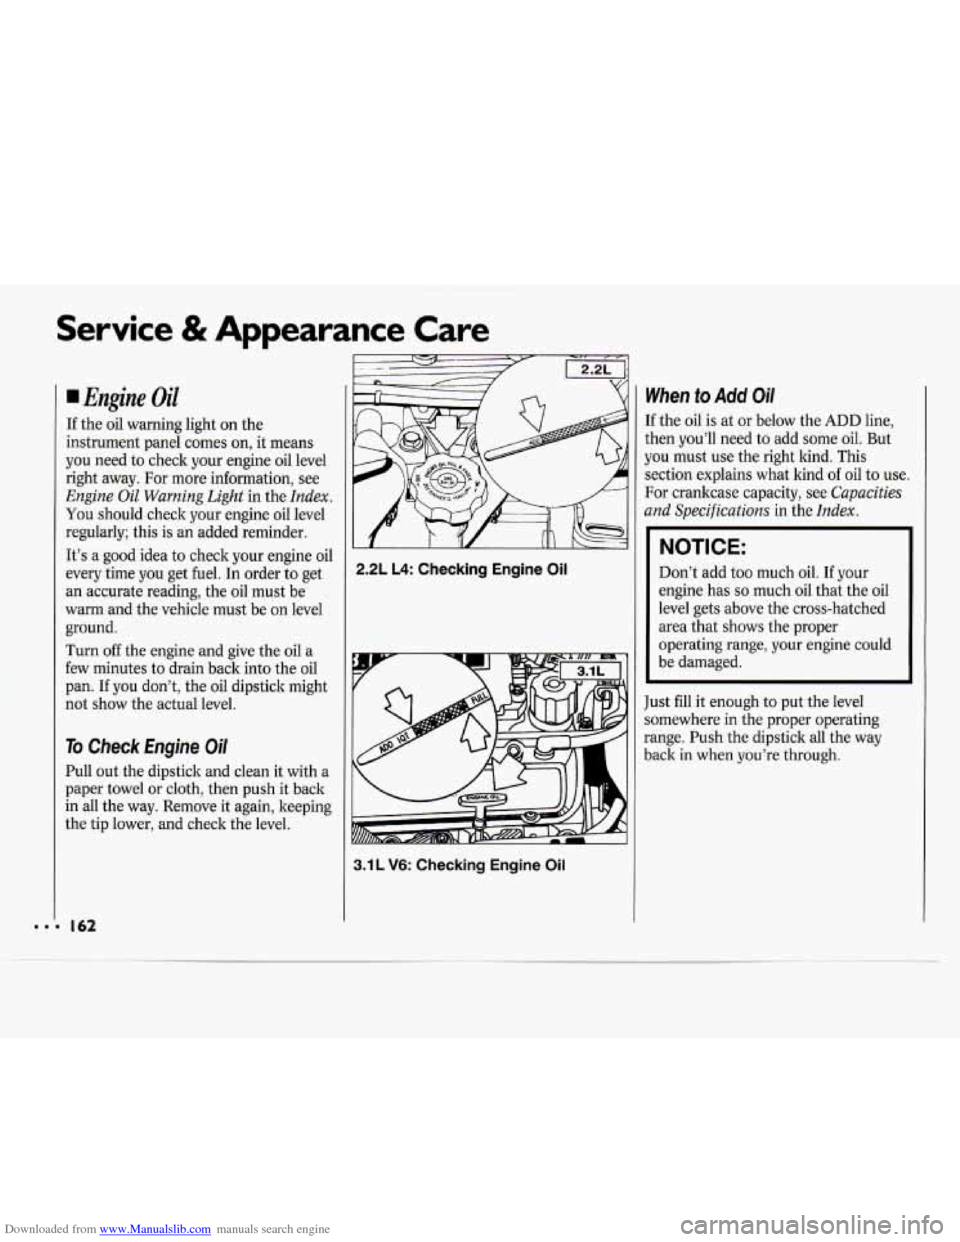
To Check Engine Oil
Pull out the dipstick and clean it with a
paper towel or cloth, then push it back
in all the way. Remove it again, keeping
the tip lower, and check the level.
2.2L L4: Checking Engine Oil
3.1 L V6: Checking Engine Oil
When to Add Oi/
If the oil is at or below the ADD line,
then you’ll need to add some oil. But
you must use the right kind. This
section explains what kind of oil to use.
For crankcase capacity, see
Capacities
and Specifications
in the Index.
NOTICE:
Don’t add too much oil. If your
engine has
so much oil that the oil
level gets above the cross-hatched
area that shows the proper
operating range, your engine could
be damaged.
Just
fill it enough to put the level
somewhere in the proper operating
range. Push the dipstick all the way
back in when you’re through.
Page 191 of 243
Downloaded from www.Manualslib.com manuals search engine Service & Appearance Care
190
Cleaning Vinyl
Use warm water and a clean cloth.
Rub with a clean, damp cloth to
remove dirt.
You may have to do it
more than once.
polish will stain if you don’t get them
off quickly. Use a clean cloth and a
solvent-type vinyl cleaner.
Things like tar, asphalt and shoe
Cleaning the Top of the
Instrument Panel
Use only mild soap and water to clean
the top surfaces of the instrument
panel. Sprays containing silicones or
waxes may cause annoying reflections
in the windshield and even make it
difficult to see through the windshield
under certain conditions.
1 Ckaning the Cupholder
If beverages get spilled on your
cupholder, it may become difficult to
operate. The slider mechanism can
become clogged with pop, coffee, etc.
To clean and return the cupholder to normal
operation, simply spray
a water-
based cleaner (such as Glass Plus@ or
Windex@) on the tracks of the slider
mechanism, and then slide the
cupholder in and out until normal
operation
is regained. Hold a paper
towel under the cupholder to catch any
excess cleaner which could drip on your
carpet or seats.
Care of Safety Belts
Keep belts clean and dry.
Glass
Glass should be cleaned often. GM
Glass Cleaner
(GM Part No. 1050427)
or a liquid household glass cleaner will
remove normal tobacco smoke and dust
films.
Don’t use abrasive cleaners on glass,
because they may cause scratches.
Avoid placing decals
on the inside rear
window, since they may have to be
scraped
off later. If abrasive cleaners are
used on the inside of the rear window,
an electric defogger element may be
damaged. Any temporary license should
not be attached across the defogger grid.
I Cleaning the Outside of the
Windshield and Wiper
Blades
If the windshield is not clear after using
the windshield washer, or if the wiper
blade chatters when running, wax or
other material may be on the blade
or
windshield.
Page 195 of 243
Downloaded from www.Manualslib.com manuals search engine Service & Appearance Care
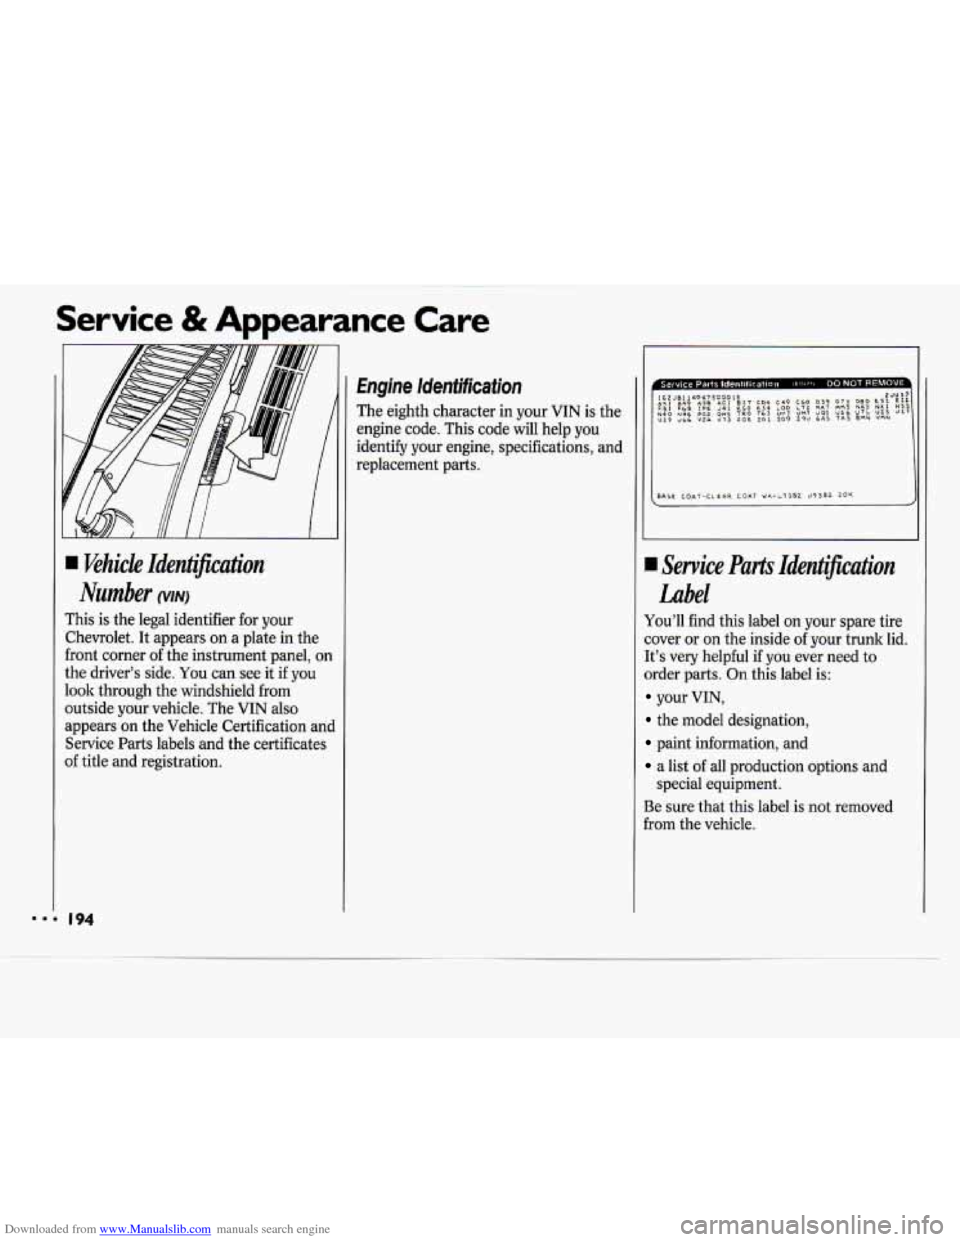
I khicle Identification
Number
This is the legal identifier for your
Chevrolet. It appears on a plate in the
front corner
of the instrument panel, on
the driver's side. You can see it if you
look through the windshield from
outside your vehicle. The
VIN also
appears on the Vehicle Certification and
Service Parts labels and the certificates
of title and registration.
Engine ldenfificafion
The eighth character in your VIN is the
engine code. This code will help you
identify your engine, specifications, and
replacement parts.
SASE COAT-CLEA~ COAT W4--1382 09382 20K
.I Service Parts Identification
Label
You'll find this label on your spare tire
cover or on the inside of your trunk lid.
It's very helpful
if you ever need to
order parts. On this label is:
your VIN,
the model designation,
paint information, and
a list of all production options and
Be sure that this label
is not removed
from the vehicle.
special
equipment.
Page 196 of 243

Downloaded from www.Manualslib.com manuals search engine NOTICE:
Don’t add anything electrical to
your Chevrolet unless you check
with your dealer first. Some electrical
equipment can damage your vehicle
and the damage wouldn’t be
covered by your warranty. Some
add-on electrical equipment can
keep other components from
working as they should.
Fuses & Circuit Breakers
The wiring circuits in your vehicle are
protected from short circuits by a
combination of fuses, circuit breakers,
and fusible thermal links
in the wiring
itself. This greatly reduces the chance
of
damage caused by electrical problems. The fuse panel
is located under the
lower left side of the instrument panel.
To identify and check fuses, refer to the
Fuse Usage chart.
Look at the silver-colored band inside
the fuse. If the band is broken
or
melted, replace the fuse. Be sure you
replace a bad fuse with a new one of the
identical size and rating.
I95