Page 6 of 399

Downloaded from www.Manualslib.com manuals search engine Standardization opened the eyes of
the industrial world ar-’ ---? the cor-
ner-stone
of modern1
production. From this achievement
I_.
evolved the reference to Cadillac as
“Standard of the World:’
In 1909 Cadillac was purchased
by the then new General Motors
Corporation. Convenience, clean-
liness and all-weather comfort were
greatly enhanced in 1910 when Cad-
illac became the first manufacturer
to offer closed bodies as standard
equipment.
“The Penalty
of Leadership”
first appeared in the January 2, 1915
issue of The Saturdav Evenine Post
as an expression
of the Cadillac com-
mitment
to leadership, quality, and
innovation.
It is widely regarded as
one of the finest documents ever
written and was published following
the introduction of the first produc-
tion V8 engine. The V8 was stan-
dard in all 1915 model Cadillacs.
Many Cadillac “firsts” have fol-
lowed over the years, including the
synchro-mech clashless transmis-
sion, a nation-wide comprehensive
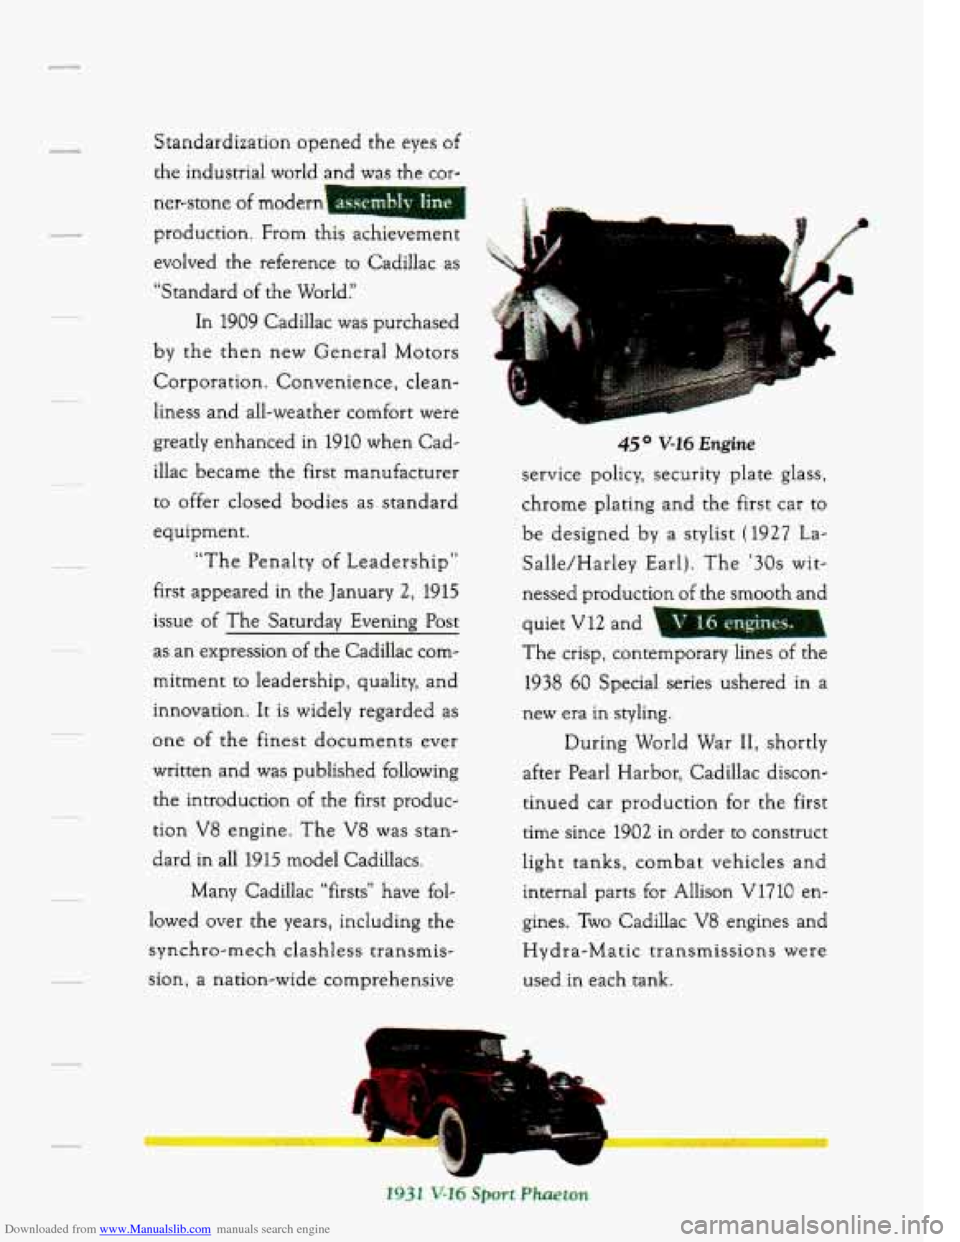
45 O V-16 Engine
service policy, security plate glass,
chrome plating and the first car to
be designed by a stylist (1927 La-
Salle/Harley Earl). The
’30s wit-
nessed production of the smooth and
quiet V12 and
The crisp, contemporary lines of the
1938
60 Special series ushered in a
new era in styling.
During World War
11, shortly
after Pearl Harbor, Cadillac discon-
tinued car production for the first
time since 1902 in order to construct
light tanks, combat vehicles and internal parts for Allison V1710 en-
gines. Two Cadillac V8 engines and
Hydra-Matic transmissions were
used in each tank.
Page 34 of 399
Downloaded from www.Manualslib.com manuals search engine 3 3. Pick up the latch
plate and pull the
belt across you.
Don’t let it get
twisted.
4. Push the latch plate into the buckle until it clicks.
Pull up on the latch plate to make sure it is secure.
If the belt isn’t long
enough, see
“Safety Belt Extender’’ at the end of this section.
Make sure the release button on the buckle is positioned
so you would
be able to unbuckle the safety belt quickly
if you ever had to.
21
Page 54 of 399
Downloaded from www.Manualslib.com manuals search engine If the belt stops
before it reaches
the buckle, tilt the
latch plate and
keep pulling until
you can buckle it.
Pull up on the
latch plate to
make sure it is
secure.
If the belt is not long enough, see “Safety Belt Extender” at the end
of
this section. Make sure the release button on the buckle is positioned
so you would be able to unbuckle the safety belt quickly if you ever
had to.
3. To make the lap
part tight, pull
down on the
buckle end of the
belt as you pull up
on the shoulder
part.
41
Page 61 of 399
Downloaded from www.Manualslib.com manuals search engine I
CHILD RESTMNTS
Be sure to follow the instructions for the restraint. You may find these
instructions on the restraint itself or in
a booklet, or both. These
restraints use the belt system
in your vehicle, but the child also has to be
secured within the restraint to help reduce the chance
of personal injury.
The instructions that come with the infant or child restraint will show you
how to do that.
mere to Put the Restraint
Accident statistics show that children are safer if they are restrained in
the rear rather than the front seat. We at General Motors therefore
recommend that you put your child restraint in the rear seat.
NEVER put
a rear-facing child restraint
in the front passenger seat. Here's why:
i
Page 62 of 399

Downloaded from www.Manualslib.com manuals search engine r
Wherever you install it, be sure to secure the child restraint properly.
7 Keep in mind that an unsecured child restraint can move around in a
collision
or sudden stop and injure people in the vehicle. Be sure to
properly secure any child restraint in your vehicle
-- even when no child is
7 in it.
r
r
I
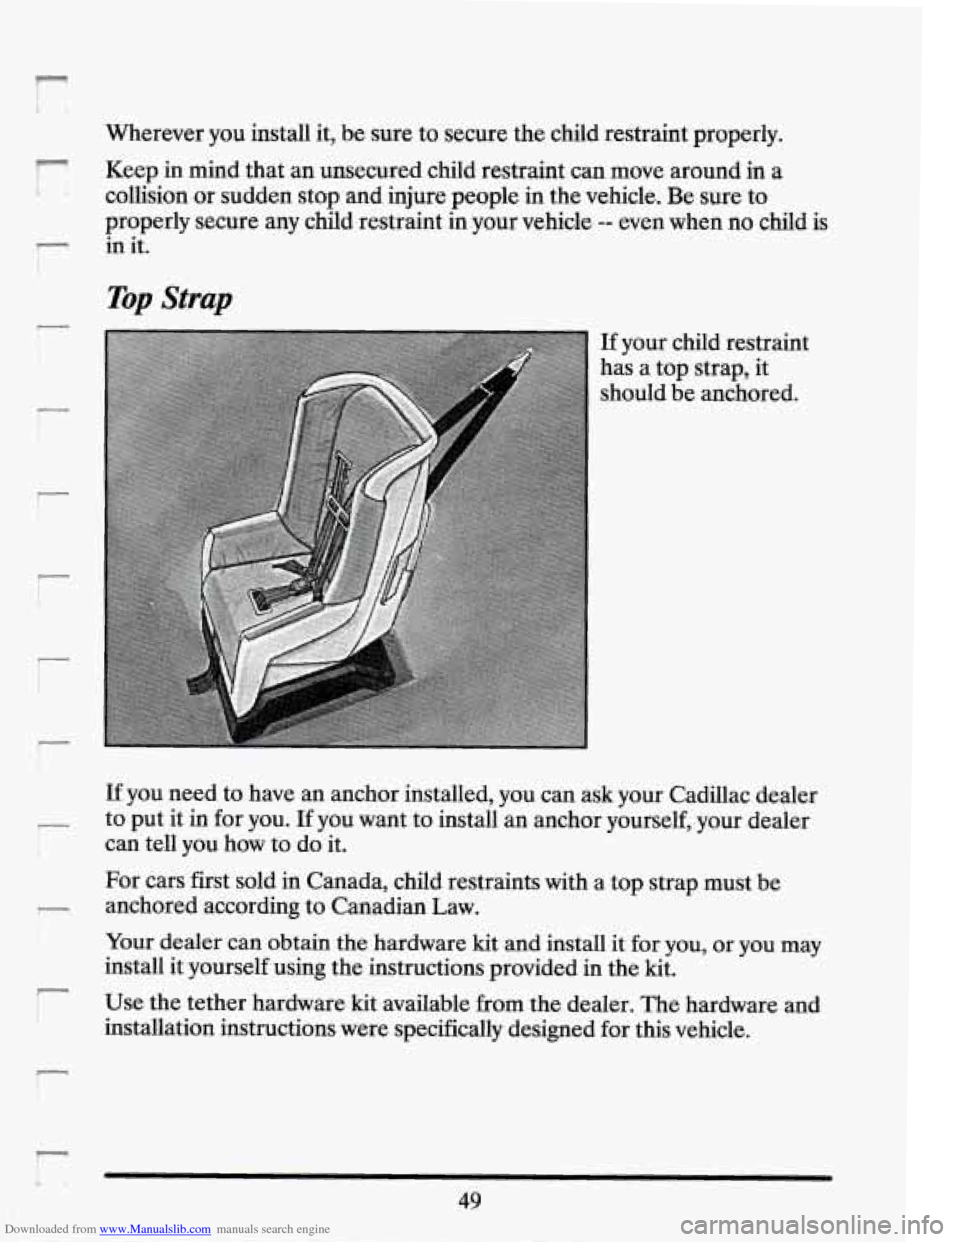
Top Strap
If your
has a tc
should child
restraint
~p strap, it
be anchored.
If you need to have an anchor installed, you can ask your Cadillac dealer
to put it in for you.
If you want to install an anchor yourself, your dealer
can tell you how to do it.
For cars first sold in Canada, child restraints with a top strap must be
anchored according to Canadian Law.
Your dealer can obtain the hardware kit and install it for you, or you may
install it yourself using the instructions provided in the kit.
Use the tether hardware kit available from the dealer. The hardware and
installation instructions were specifically designed for this vehicle.
49
Page 63 of 399
Downloaded from www.Manualslib.com manuals search engine Securing a Child Restraint in a Rear Outside Position
You’ll be using the lap-shoulder belt. See the earlier section about the top -
strap if the child restraint has one. i,
1. Put the restraint on the seat. Follow the instructions for the child
restraint.
2. Secure the child in the child restraint as the instructions say.
3. Pick up the latch plate, and run the lap and shoulder portions of the
vehicle’s safety belt through
or around the restraint. The child
restraint instructions will
show you how. Tilt the latch plate to adjust
the belt if needed.
If the shoulder belt goes in front of the child’s face or neck, put it
behind the child restraint.
:-
.,
50
Page 65 of 399
Downloaded from www.Manualslib.com manuals search engine 6. Push and pull the
child restraint in
different
directions to be
sure it is secure.
To remove the child restraint, just unbuckle the vehicle's safety belt and
let it go back all the way. The safety belt
will move freely again and be
ready to work for an adult or larger child passenger.
Securing a Child Restraint in the Center Rear Seat
Position
When you secure a child restraint in a center seating position, you'll be
using the lap belt.
See the earlier section about the top strap if the child restraint has one.
52
Page 66 of 399
Downloaded from www.Manualslib.com manuals search engine 1
1. Make the belt as
long as possible by
tilting the latch
plate and pulling
it along the belt.
2. Put the restraint on the seat. Follow the instructions for the child
3. Secure the child in the child restraint as the instructions say.
4. Run the vehicle's safety belt through or around the restraint. The child
restraint.
restraint instructions
will show you how.
53