1993 PONTIAC BONNEVILLE bulb
[x] Cancel search: bulbPage 75 of 322
Features & Controls
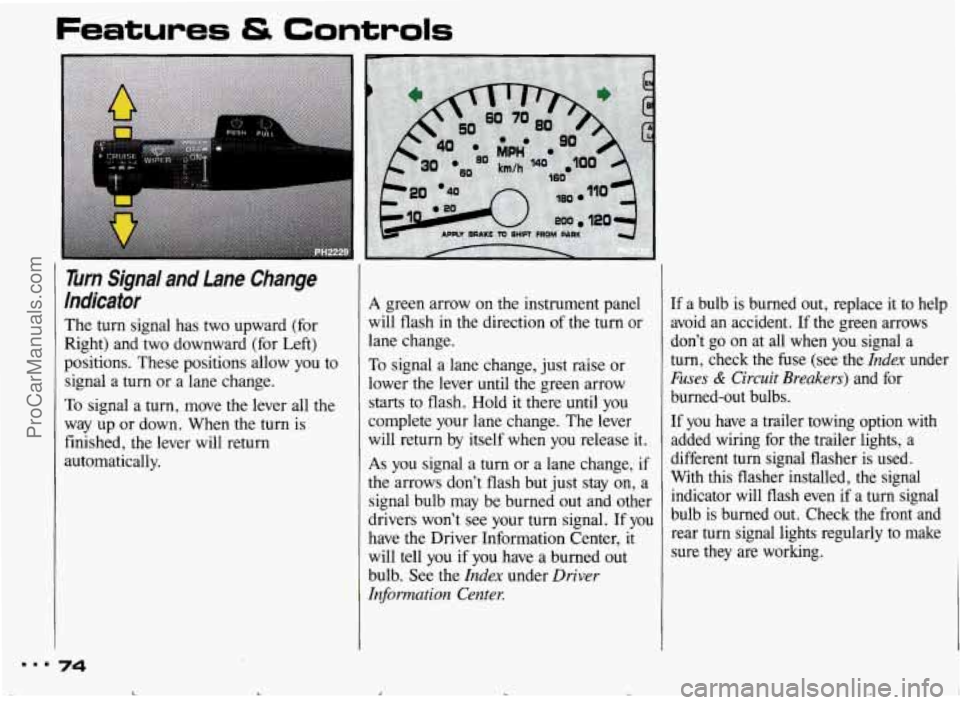
Turn Signal and Lane Change
Indicator
The turn signal has two upward (for
Right) and two downward (for Left)
positions. These positions allow you to
signal a turn or a lane change.
To signal a turn, move the lever all the
way up or down. When the turn is
finished, the lever will return
automatically.
A green arrow on the instrument panel
will flash in the direction of the turn or
lane change.
To signal a lane change, just raise or
lower the lever until the green arrow
starts to flash. Hold it there until you
complete your lane change. The lever
will return by itself when you release
it.
As you signal a turn or a lane change, if
the arrows don’t flash but just stay
on, a
signal bulb may be burned out and other
drivers won’t see your turn signal.
If you
have the Driver Information Center, it
will tell you if you have a burned out
bulb. See the
Index under Driver
Information
Center.
If a bulb is burned out, replace it to help
avoid an accident.
If the green arrows
don’t go on at all when you signal a
turn, check the fuse (see the
Index under
Fuses & Circuit Breakers) and for
burned-out bulbs.
If you have a trailer towing option with
added wiring for the trailer lights, a
different
turn signal flasher is used.
With this flasher installed, the signal
indicator will flash even if a
turn signal
bulb is burned out. Check the front and
rear turn signal lights regularly to make
sure they are working.
... 74
.. c L ProCarManuals.com
Page 103 of 322
Features & Controls
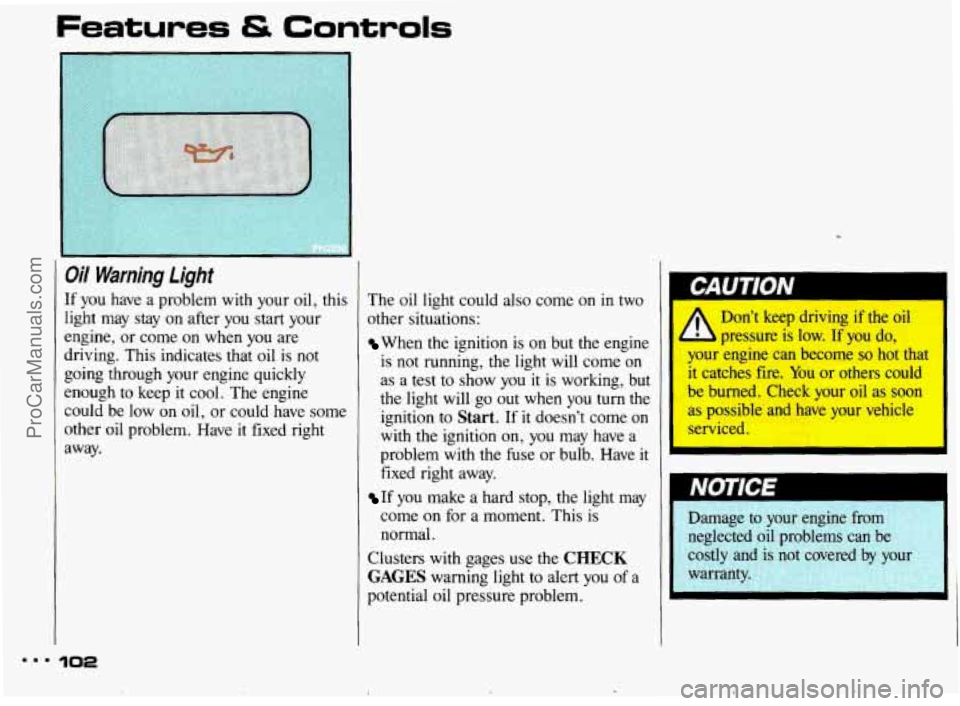
Oil Warning Light
If you have a problem with your oil, this
light may stay on after you
start your
engine, or come on
when you are
driving. This indicates that oil is not
going through your engine quickly
enough to keep
it cool. The engine
could be low
on oil, or could have some
other oil problem. Have
it fixed right
away. The
oil light could also come
on in two
other situations:
When the ignition is on but the engine
is not running, the light will come
on
as a test to show you it is working, but
the light will go out when you turn the
ignition to
Start. If it doesn't come on
with the ignition on, you may have a
problem with the fuse or bulb. Have
it
fixed right away.
If you make a hard stop, the light may
come on for a moment. This is
normal.
Clusters with gages use the CHECK
GAGES warning light to alert you of a
potential oil pressure problem.
4iU I JUN
Don't keep driving if the oil
pressure is low. If you do,
your
engine can become so hot that
it catches fire. You or others could
be burned. Check your oil as soon
as possible and have your vehicle
serviced.
[
Damage to your engine from,: . .. ', .
neglected oil problems can be ' .I'
costly and is not covered by your
., , ,l ,
ProCarManuals.com
Page 104 of 322
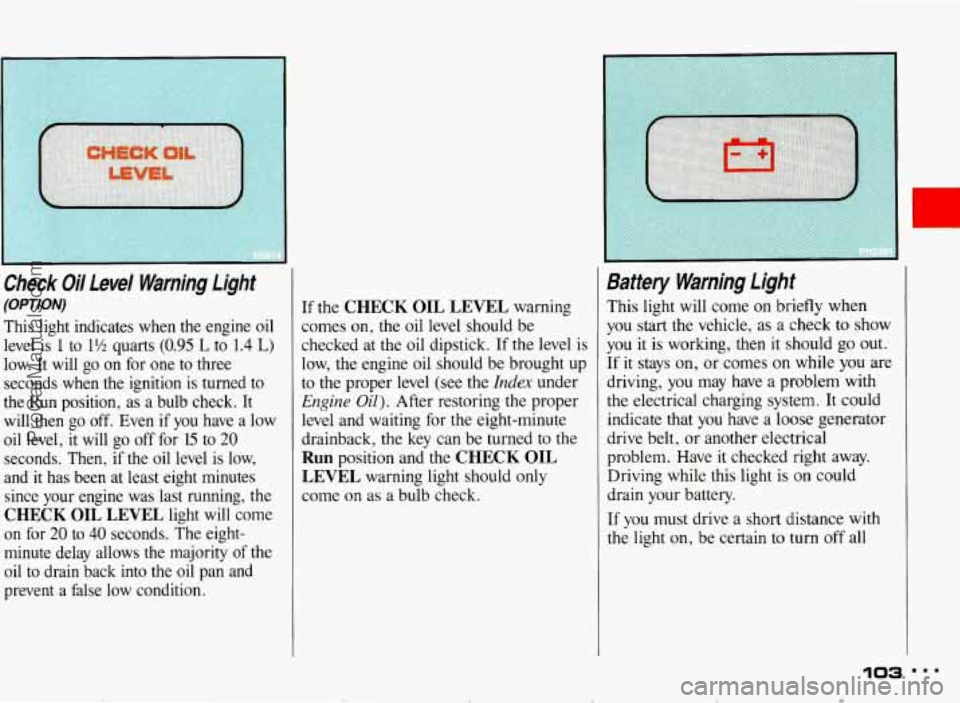
Check Oii Levei Warning Light
fO#-rn#)
This light indicates when the engine oil
level is
1 to 1% quarts (0.95 L to 1.4 L)
low. It will go on for one to three
seconds when the ignition is turned to
the Run position, as a bulb check. It
will then
go off. Even if you have a law
oil level, it will go off for 15 to 20
seconds. Then, if the oil level is low,
and it has been at least eight minutes
since your engine was last running, the
CHECK OIL LEVEL light will come
on for
20 to 40 seconds. The eight-
minute delay
allows the majority of the
oil to drain back into the oil pan and
prevent a false low condition.
If the CHECK OIL LEVEL warning
comes on, the oil level should be
checked at the oil dipstick. If the level is
low, the engine oil should
be brought up
to the proper level (see the
Index under
Engine Oil). After restoring the proper
level and waiting for the eight-minute
drainback, the key can be
turned to the
Run position and the CHECK OIL
LEVEL warning light should only
come on as a bulb check.
Battery Warning,Lighf
This light will come on briefly when
you
start the vehicle, as a check to show
you it is
working, then it should go out.
If it stays on, OF comes on while you are
driving, you
may have a problem with
the electrical charging system. It could
indicate that you have a loose generator
drive belt, or another electrical
problem. Have it checked right away.
Driving while this light is
on could
drain your battery.
If you must drive a short distance with
the light
on, be certain to turn off all
103
ProCarManuals.com
Page 113 of 322
Features & Controls
Diver Information Center
(Cont.)
LAMP MONITOR: Whenever you try
to use one of the following lights,
LAMP MONITOR will tell you if a
bulb is out.
Head Lamp (Low and High beam)
Turn Signal
Park Lamp
Brake Lamp
Back-up Lamp
Tail Lamp
If
a bulb is out, you will see a message,
such as PARK LAMP, and you will
also see where the problem is on the
vehicle outline. The message
stays on
until the problem is fixed. See the
Index
under Replacement Bulbs for bulb details.
112 mmm
If a burned-out bulb is replaced, the
warning light will stay on until the bulb
is used (for example, by turning on your
lights).
If you pull a trailer, the extra trailer
lamp bulbs will not allow the lamp
monitor to properly detect a burned-out
bulb. When the trailer lights are
disconnected, the lamp monitor will
again monitor the bulbs.
SECURITY You’ll get a DOOR AJAR
message if a door is not fully closed.
The vehicle outline will show
you which
door it is. You will also get a
HOOD
AJAR or TRUNK AJAR message if
the hood or the trunk isn’t fully closed.
The vehicle outline will also
show you
these are ajar.
ProCarManuals.com
Page 189 of 322
‘Your Driving and the Road
Driving with a Tmiler (CONX)
Following Distance
Stay at least twice as far behind the
vehicle ahead as you would when
driving your vehicle without a trailer.
This can help you avoid situations that
require heavy braking and sudden
turns.
You’ll need more passing distance up
ahead when you’re towing a trailer.
And, because you’re a good deal longer,
you’ll need to go much farther beyond
the passed vehicle before you can return
to your lane.
Backing Up
Hold the bottom of the steering wheel
with one hand. Then, to move the trailer
to
the left, just move that hand to the
left. To move the trailer to the right,
move your hand to the right. Always
back up slowly and, if possible, have
someone guide you.
188
Passing
Making ’hrns
When you’re turning with a trailer,
make wider turns than normal.
Do this
so your trailer won’t strike soft
shoulders, curbs, road signs, trees, or
other objects. Avoid jerky or sudden
maneuvers. Signal well in advance.
Turn Signals When Towing a Trailer
When you tow a trailer, your vehicle has
to have a different turn signal flasher
and extra wiring. The green arrows on
your instrument panel will flash
whenever you signal a turn or lane
change. Properly hooked up, the trailer
lights will also flash, telling other
drivers you’re about to turn, change
lanes or stop.
When towing a trailer, the green arrows
on your instrument panel will flash for
turns even if the bulbs on the trailer are
burned out. Thus, you may think drivers behind you
are seeing your signal when
they are not. It’s important to check
occasionally to be sure the trailer bulbs
are still working.
Vehicles with the optional Lamp Monitor System will warn you when a
bulb burns out. But when you plug
trailer lights into your vehicle’s lighting
system, its bulb warning lights may not
let you know if one
of your lights goes
out.
So, when you have trailer lights
plugged in, be sure to check your
vehicle and trailer lights from time to
time to be sure they’re all working. Once you disconnect the trailer lights,
your Lamp Monitor System again can
tell you if one
of your vehicle lights is
out.
ProCarManuals.com
Page 222 of 322
Part 6
I .
COO25
Here you will find information
about the care of your Pontiac
. This
part begins with service and fuel
information. and then it
shows how
to check important fluid and
lubricant levels
. There is also
technical information about your
vehicle. and
a section devoted to its
appearance care
.
Service G Appearance Care
Service ............................. .................. 222
Fuel
......................................................... 222
Engineoil
...................................................... 231
HoodRelease
.................................................... 227
Aircleaner
..................................................... 233
TransaxleFluid
.................................................. 236
Enginecoolant
.................................................. 238
Power Steering Fluid
.............................................. 242
Windshield Washer Fluid
........................................... 242
Bulb Replacement
.............................................. 246
Loading Your Vehicle
............................................. 248
Appearance Care
................................................. 257
Vehicle Identification Number (VIN)
................................. 264
Add-on Electrical Equipment
....................................... 265
Fuses
& Circuit Breakers ........................................... 266
Capacities
& Specifications ......................................... 270
Normal Maintenance Replacement Parts
............................... 271
Fluids
& Lubricants ............................................... 272
Replacement Bulbs
................................................ 273
Brakes
......................................................... 243
Battery
.......................................................... 245
Windshield Wiper Blade Replacement
...................... ....... 248
Tires
.......................................................... 250
221 ...
ProCarManuals.com
Page 247 of 322
Service & Appearance Care
Halogen Bulbs
L Halogen bulbs have
l pressurized gas inside and can
if you drop or scratch the
bulb. You or others could be
' jured. Take special care when
llmdling and disposing
of halogen
bulbs.
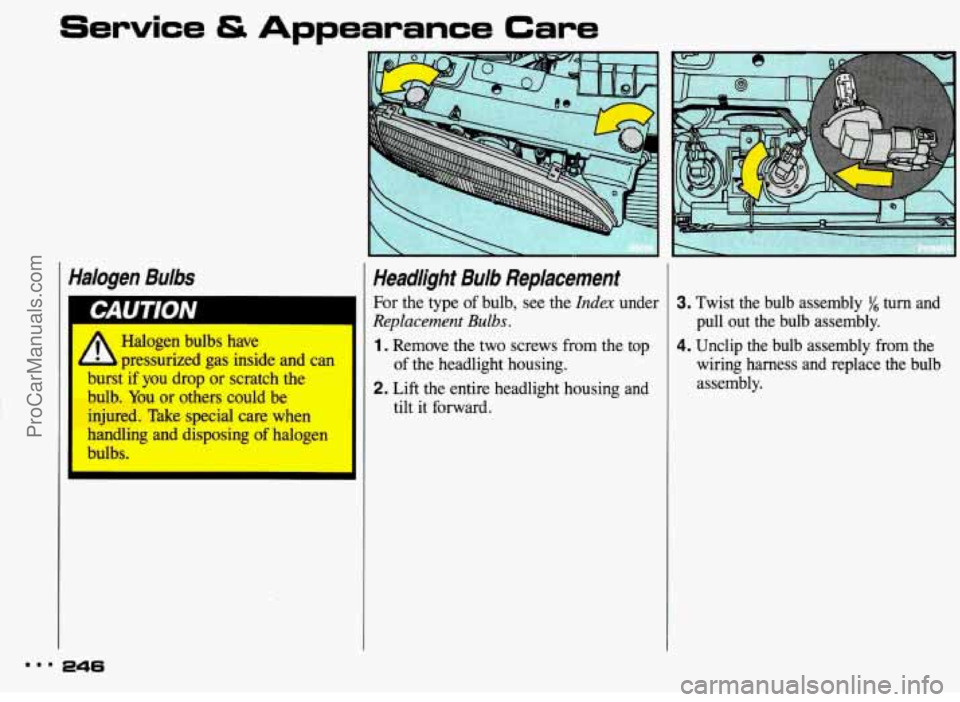
Headlight Bulb Replacement
For the type of bulb, see the Index under
Replacement Bulbs.
1. Remove the two screws from the top
2. Lift the entire headlight housing and
of
the headlight housing.
tilt it forward.
3. Twist the bulb assembly $/6 turn and
4. Unclip the bulb assembly from the pull out the bulb assembly.
wiring harness and replace the bulb
assembly.
ProCarManuals.com
Page 248 of 322
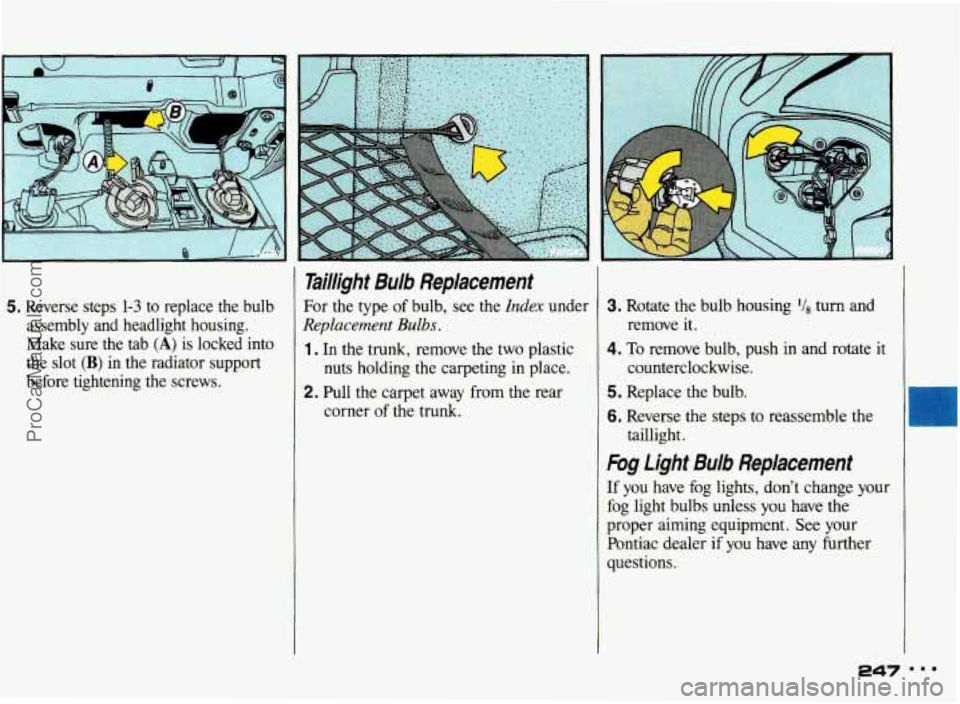
5. Reverse steps 1-3 to replace the bulb
assembly and headlight housing.
Make sure
the tab (A) is locked into
the slot
(B) in the radiator support
before tightening the screws.
Taillight Bulb Replacement
For the type of bulb, see the Index under
Replacement Bulbs.
1 . In the trunk, remove the two plastic
nuts holding the carpeting in place.
2. Pull the carpet away from the rear
corner
of the trunk.
3. Rotate the bulb housing turn and
remove it.
4. To remove bulb, push in and rotate it
counterclockwise.
5. Replace the bulb.
6. Reverse the steps to reassemble the
taillight.
Fog Light Bulb Replacement
If you have fog lights, don’t change your
fog light bulbs unless
you have the
proper aiming equipment. See your
Pontiac dealer if you have any further
questions.
247
ProCarManuals.com