Page 844 of 1254
PBECAUTIONS
AND PREPARA'IION
Precautions
r wh.n
in.rrl[ng
rubber parb,
finat tiglnening nusr b.
eEi€d oui undd rhe lollowhg
@ndhlorc and {hh ties on
FEl, rdi.ror @l.nt .nd
englE oll i!tt. Spae ti€, ja.k
hand ro|3 snd nar. i. d6lqn.t d pchlorc.
. us tools wlEn €Ming or imr.l[ng brake llF.
. When
Em@hg @ft suspensio. parri
chek whel .ligF
mm.nd adi.d
n l|ecegry.
. Do
not
iek up
at the lorer am.
PreDaration
SPECIAL SEFVICE TOOIS
RA.2
Page 849 of 1254
REAB
AXLE -
Wheel Hub and Knuclde -
(l.R.S. type)
cq-@'' 6'
Y
@
@
o
@
o
Removal
. Removewhee boaing lock nul.
. Bemovepa*in! brak6.ab €, brake
(Feter lo secl of BR.)
secuiely place
a jack
und€f €nd ol
tension stll exlsls. Disenqag€ upper
ing rcd usino sliiabla lool
Lowd ja.k
slowly and when sprinq
*"*"lgl RA-7
Page 861 of 1254
REAR
SUSPENSION -
Redr Spring (l.F.S.
type)
Femovsl
7).
Dis@nnect b€ke tlbe a.dI'onl
end or pa'ling
brake
1_
2_ Remove
spnng sed bon.
Pos tion jack
al end sldace ol rcar sping.
Oi6enqaqe lower b.l jonr
ol lerr
3.
$r,i
i\>
J
RA.19
Page 866 of 1254
REAR
AXLE -
Axle Shan (Rigid
Rear Axle type)
&E
'&)
Disass€mbly
1. Oisconned brake tube and palkng
b€k. cabl€.
2. Aemove nuls sour ng baJtlo plal6
lo rcar ax €.
3. Oaw
oul axle shall wilh suliable too Remove ax e shail
When clwlng oll €1, .lway8 €d* sith E |lg
oE,
8,4.24
Page 877 of 1254

CHECK
AND AD.IUSTMEI.IT
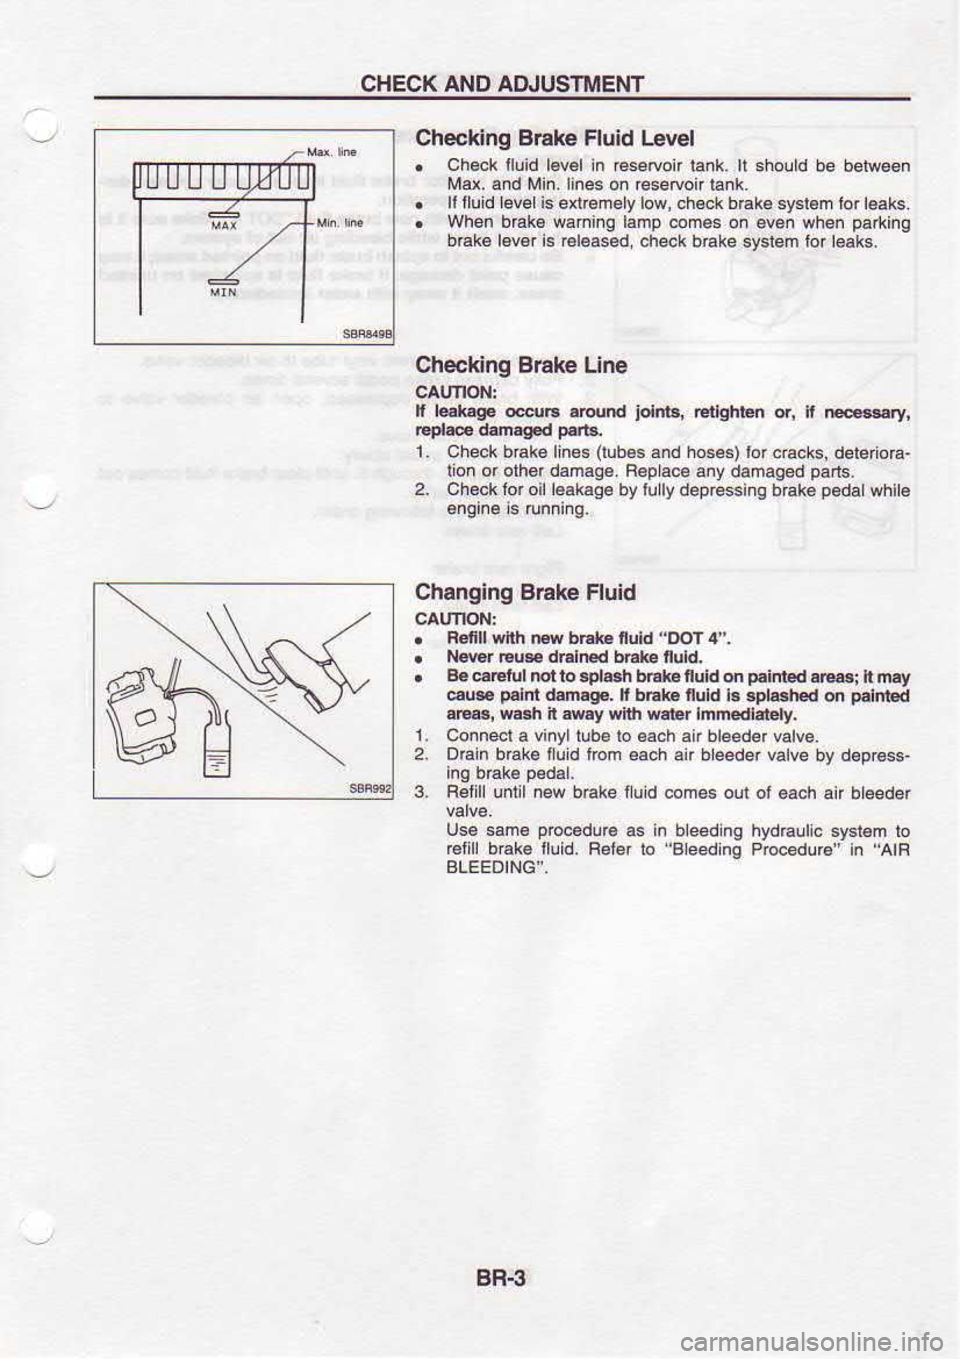
Checking B6ke Fluid
lrvel
. Ch€ck
iluid l€v€l in
€seruoir tank. tt sholtd be belw€6n
Md. and Min.lines on resetoon lank.
. ll
tluld level is enremely low, ch€.k b€kB syslem lor leaks.
. Wh6n brak€ waFi.q l.mp.on€6
o. eve. when paltr.O
bmk6 l6v6r is €leased.
check b6ke svsieh tor l€aks.
Checking Brake Lin6
t l@lGdo edE.Nnt jolnl6,
G{ghlen or, n E.gry,
1. Check bak6lin6s (lubes
6nd hos6) lorc6cks,
deleiura-
tion or olh damaa6. B€p
aca any damaged pa.ls.
2. Chock tor oil l€akaga
by l!
ly
depessing b €ke p€da
whit€
Changlng Srake Fluid
. Renll -nh |w bE G 6uld
"DOT 4".
. N@r
Eus dEln€d bE*€ nuld.
. B€€ratulmtlo.pL.h
b6t fuid on pdnt€d.|6i
i m.y
€@ p.lnt.t
mrgE. r bEk nuid
b 6pla3hcd on pdnbd
a|@i Msh n e.y wir'| w.ter
Inmedlatety,
1. Co.ned a vinvl lub€ lo €ach air bleedd valve.
2. DG n b6ke I u d lbm €ach
air b eeder valve bv deorss,
3. F€lill unlil
new b6ke fluid com6s oul ol6ach
an bleeder
Us€ sm€ prcc€dlF
a. in bleed ng hydraulic sysr€m ro
€lli brak€ lluid.
F€fer io Beedng PrccedlE" i. 'AlR
BLEEDING',
Page 879 of 1254
BRAKE
HYDRAULIC LINE
o, tud
I'nos n,
., 64dP)f-
0r.q8.
o ,
F-
d
9;i, en,s'
r: o@d
9'.' rj.q*4
Page 880 of 1254
ARAKE
HYDRAULIC
LINE
N Removal
. B€
ergtul not to 3plr.h
bhke illd on p6ihl6d
E|lB; it nay
eus p.int
d.m.ge. ll b6ke nuld i..pb8h€d on p.lnied
.|@, msn n My wt[| w€t6r imm€di.r€ly.
. All
hos mu.r b6 frE lrcm
exe$l@ b6nding, rwtudng
1. Conngcl s vinyl rube
b anbreedervalve.
2. DBn bBk.lllid 1106
each ar b eeder valvB by d€pr6ss-
3. Fehove llarc nul5€.! ng brake
tube io hos6, lh.n wirh-
4. Cover
openings lo prcvont
€nt€n.€ ol
din whenever dis
connecling hyd€llic in€.
Inspeclion
checkbEke li.es (iubes
and hosos) ror cacks,
detedodtion or
other dafrage. Fepla€ enydamagad pans.
Installation
. Fafill
wi'l |Fwb6ke
iuld DO-I4".
. N.@
Bue dhlmd b6ke fiuid.
1. Tighten
alliare nuls and @nnsciing bohs.
pl: I -
11 N.n (03 -
r.1 kg-m,
65 -
3.7 nnb)
F,: 17
.
m N.m (1.7 .
2.0 ks{, t 2 -
ra ftb)
2 Beril unli new b6le ll-id 6re5
oul ol each air ol€ed€r
3. B e6d ar. R6ler
lo 'Bleeding
Prooedu€ i. 'AlR
BLEED.
ING".
Page 884 of 1254
LOAD
SENSING VALVE
Insp€clion and Adjustment
. Chek
l4l In
brake nuld lt.amn,
. Renll efth lw bhte n0ld DoT4'.
. N.c
€@ dr6in.d bdG
nuii
. B.
eElul rbtto.pL6h
bhke nulrl on palnt
d6|tsihruy
eB pdnl
dam.ge, t bdke fiuld ls sOl6lh€d on pdnrcd
.Ba @.t lt amy wlth qat€r
htudl|ldy.
1. Beto€ adjust ng load sensing valve
sp nqle.gth,checktor
popBr inslallation and abnomal wear ol b6ks pads
and
2. Fedovo lh6 air bled lrom
the wheet €tiper, and nstatl
a p€$uBgauo€
(a)lo
lhe bleed valve hole.
(:!
D 3.
Bl@d ihe
air lom rh6 toni bEke pipr.g.
4. R.m@e
the at bleed v, v€ lbm
the rcar wh€et cytindor,
and insial a p@$uE
sauq€ (b)
io lhe bl€6d valvB hol..
BF-10