1993 CHEVROLET SUBURBAN inflation pressure
[x] Cancel search: inflation pressurePage 267 of 386
Service & Appearance Care
Replacing Brake System Parts ........................................................................\
.. 6-33
Other Maintenance Items
........................................................................\
........... 6-34
Lubrication
........................................................................\
.................................... 6-35
Electrical System
........................................................................\
......................... 6-37
Battery
........................................................................\
...................................... 6-37
Bulb Replacement
........................................................................\
.................... 6-37
Fuses and Circuit Breakers
........................................................................\
.... 6-43
Exhaust System
........................................................................\
........................... 6-45
Loading Your Vehicle
........................................................................\
.................. 6-46
Tires
........................................................................\
.............................................. 6-48
Inflation-Tire Pressure
........................................................................\
........... 6-49
Tire Inspection and Rotation
........................................................................\
.. 6-52
When It’s Time for New Tires ........................................................................\
6-53
Buying New Tires
........................................................................\
.................... 6-53
Uniform Tire Quality Grading
........................................................................\
.. 6-54
Wheel Alignment and Tire Balance
............................................................... 6-55
Wheel Replacement
........................................................................\
................. 6-55
Tire Chains
........................................................................\
............................... 6-56
Appearance Care
........................................................................\
........................ 6-57
Cleaning the Inside Of Your Vehicle
............................................................. 6-58
Cleaning the Outside
Of Your Vehicle .......................................................... 6-61
Appearance Care Materials
........................................................................\
........ 6-64
Vehicle Identification Number
........................................................................\
..... 6-65
Service Parts Identification Label
...................................................................... 6-67
Specification Charts ........................................................................\
..................... 6-68
6-2
ProCarManuals.com
Page 311 of 386
Loading Your Vehicle
MFD BY GENERAL MOTORS CORP L-4
I
. , .. .-. .. ,. . ,FFECT
CROWN ABOVE.
1
TIRE SIZE
-EL XISPEED RIM PSVKPA (COLD)
SPA
SEE OWNERS MANUAL FOR ADDITIONAL INFORMATION
K2134
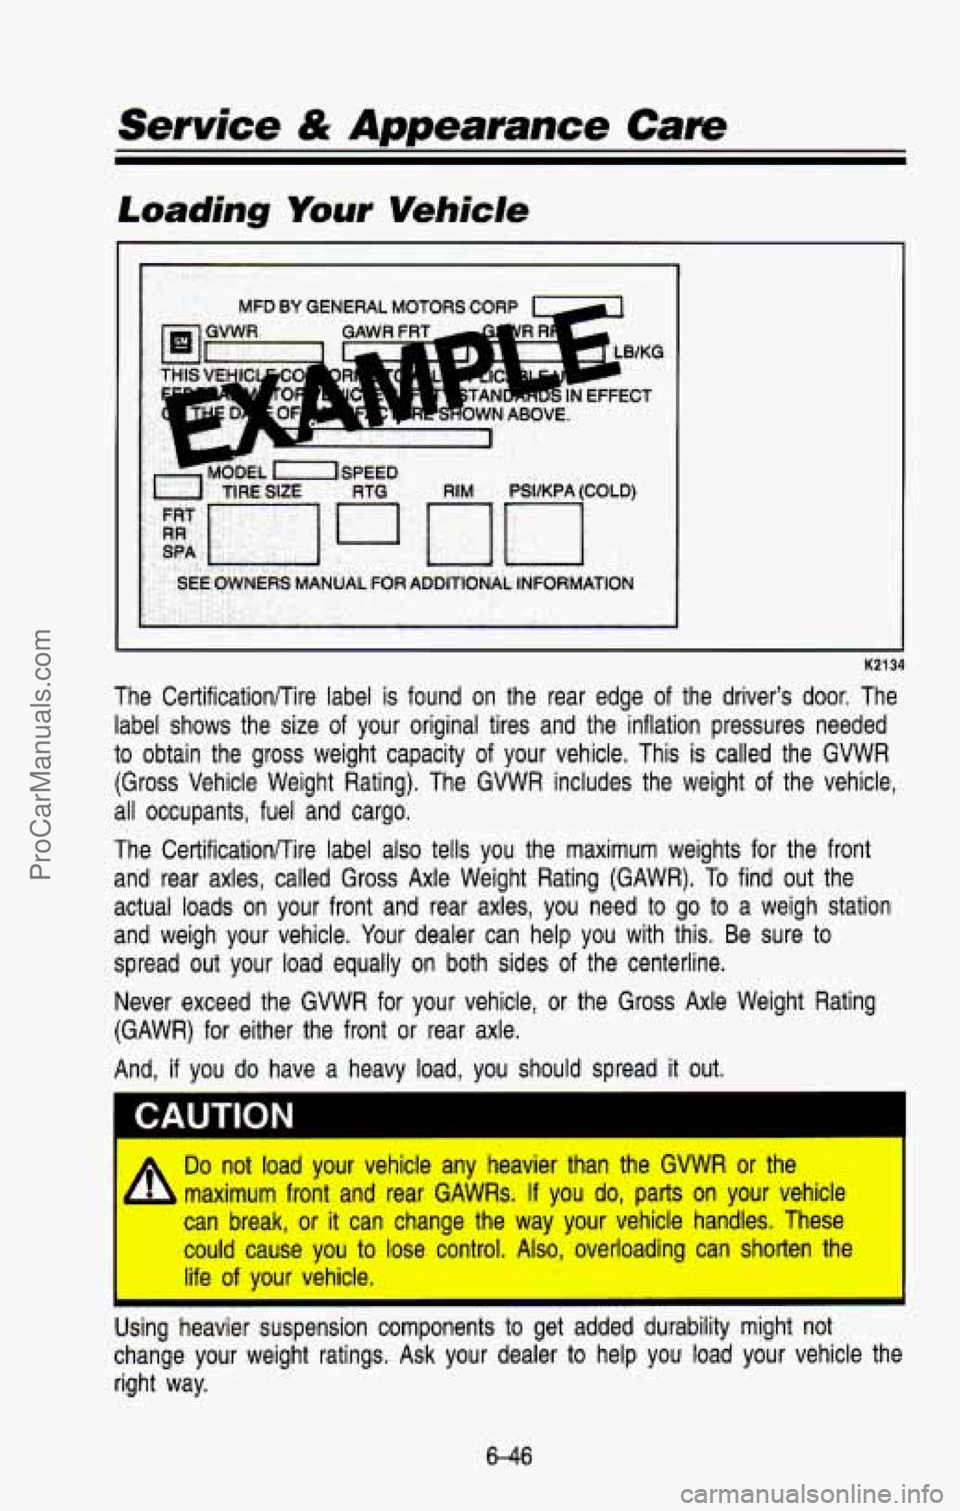
The Certificationflire label is found on the rear edge of the driver's door. The
label shows the size of your original tires and the inflation \
pressures needed
to obtain the gross weight capacity of your vehicle. This is called the GVWR
(Gross Vehicle Weight Rating). The GVWR includes the weight o\
f the vehicle,
all occupants, fuel and cargo.
The Certificationnire label also tells you the maximum weights for the front
and rear axles, called Gross Axle Weight Rating (GAWR). To find out the
actual loads on your front and rear axles, you need to go to\
a weigh station
and weigh your vehicle. Your dealer can help you with this. Be sure to
spread out your load equally on both sides of the centerline. \
Never exceed the GVWR
for your vehicle, or the Gross Axle Weight Rating
(GAWR) for either the front or rear axle.
And,
if you do have a heavy load, you should spread it out.
A
Do not load your vehicle any heavier than the GVWR or the I
maximum front and rear GAWRs. If you do, parts on your vehicl\
e
can break, or
it can change the way your vehicle handles. These
could cause you
to lose control. Also, overloading can shorten the
life of your vehicle.
Using heavier suspension components
to get added durability might not
change your weight ratings. Ask your dealer to help you load your vehicle the
right way.
6-46
ProCarManuals.com
Page 314 of 386
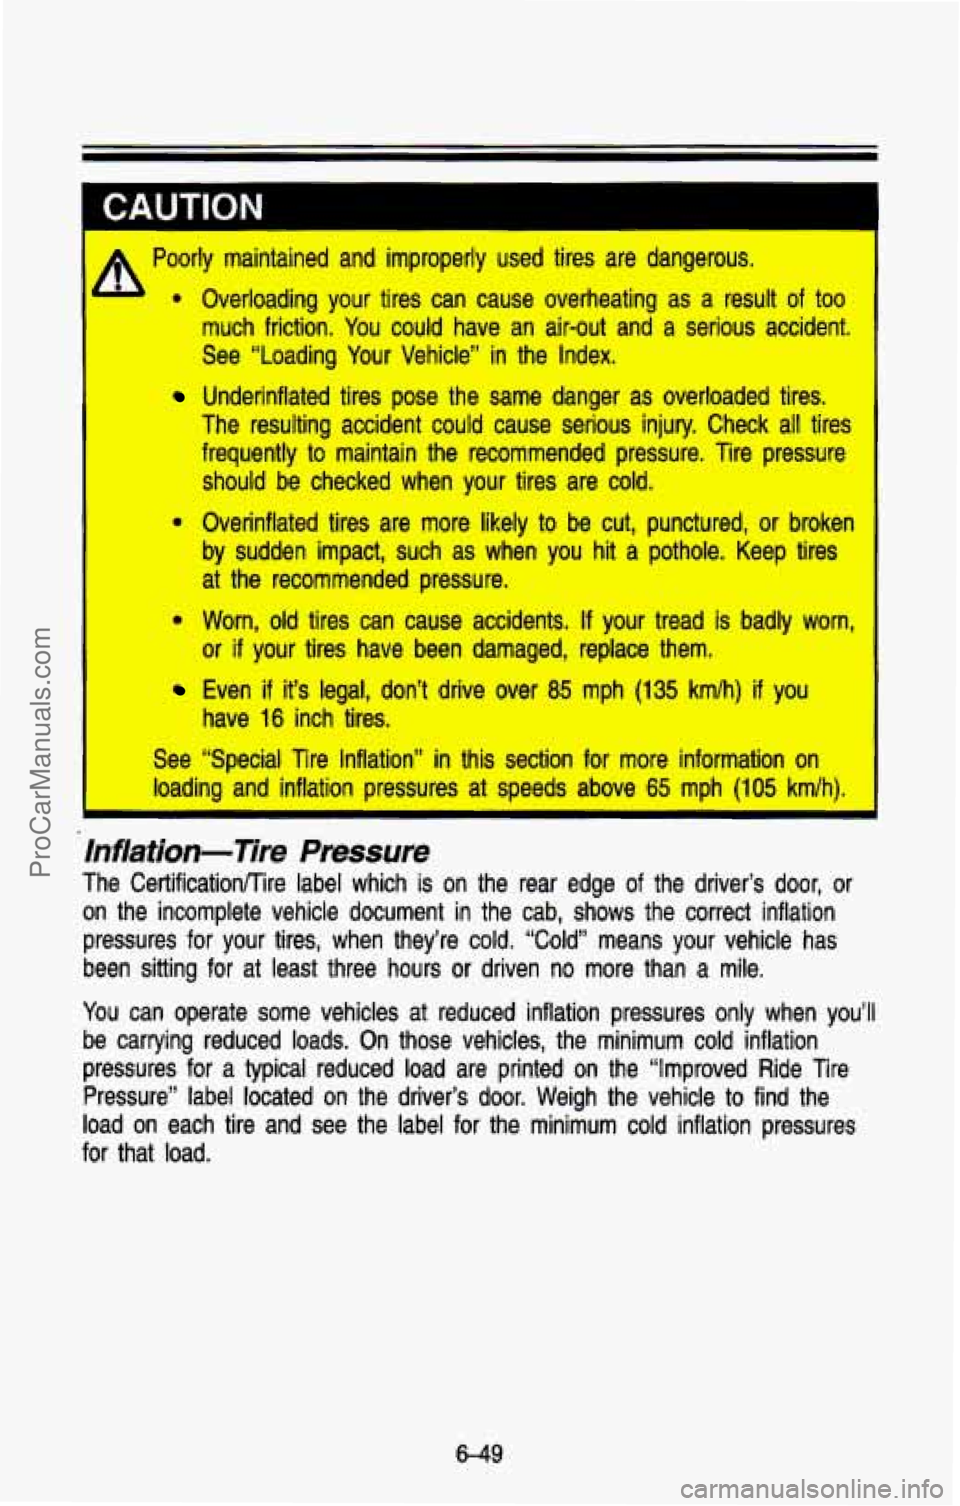
Poorly maintained and improperly used tires are dangerous. Overloading your tires can cause overheating as
a result of too
much friction. You could have an air-out and a serious accident.
See “Loading Your Vehicle”
in the Index.
The resulting accident could cause serious injury. Check all tires
frequently to maintain the recommended pressure. Tire pressure
should
be checked when your tires are cold,
0 Overinflated tires are more likely to be cut, punctured, or broken
by sudden impact, such as when you hit a pothole. Keep tires
at the recommended pressure.
0 Worn, old tires can cause accidents, If your tread is badly worn,
or if your tires have been damaged, replace them.
Even if it’s legal, don’t drive over 85 mph (135 kmh) if you
have
16 inch tires.
See “Special Tire Inflation”
in this section for more information on
loading
and inflation pressures at speeds above 65 mph (105 kmh).
Underinflated tires pose the same danger as overloaded tires.
Inflation-Tire Pressure
The Certification/Tire label which is on the rear edge of the driver’s door, or
on the incomplete vehicle document in the cab, shows the correct inflation
pressures for your tires, when they’re cold. “Cold” mea\
ns your vehicle has
been sitting for at least three hours or driven no more than a mile.
You can operate some vehicles at reduced inflation pressures only when you’ll
be carrying reduced loads. On those vehicles, the minimum cold \
inflation
pressures for a typical reduced load are printed
on the “Improved Ride Tire
Pressure” label located on the driver’s door. Weigh the v\
ehicle to find the
load on each tire and see the label for the minimum cold inflation pressures
for that load.
6-49
ProCarManuals.com
Page 315 of 386
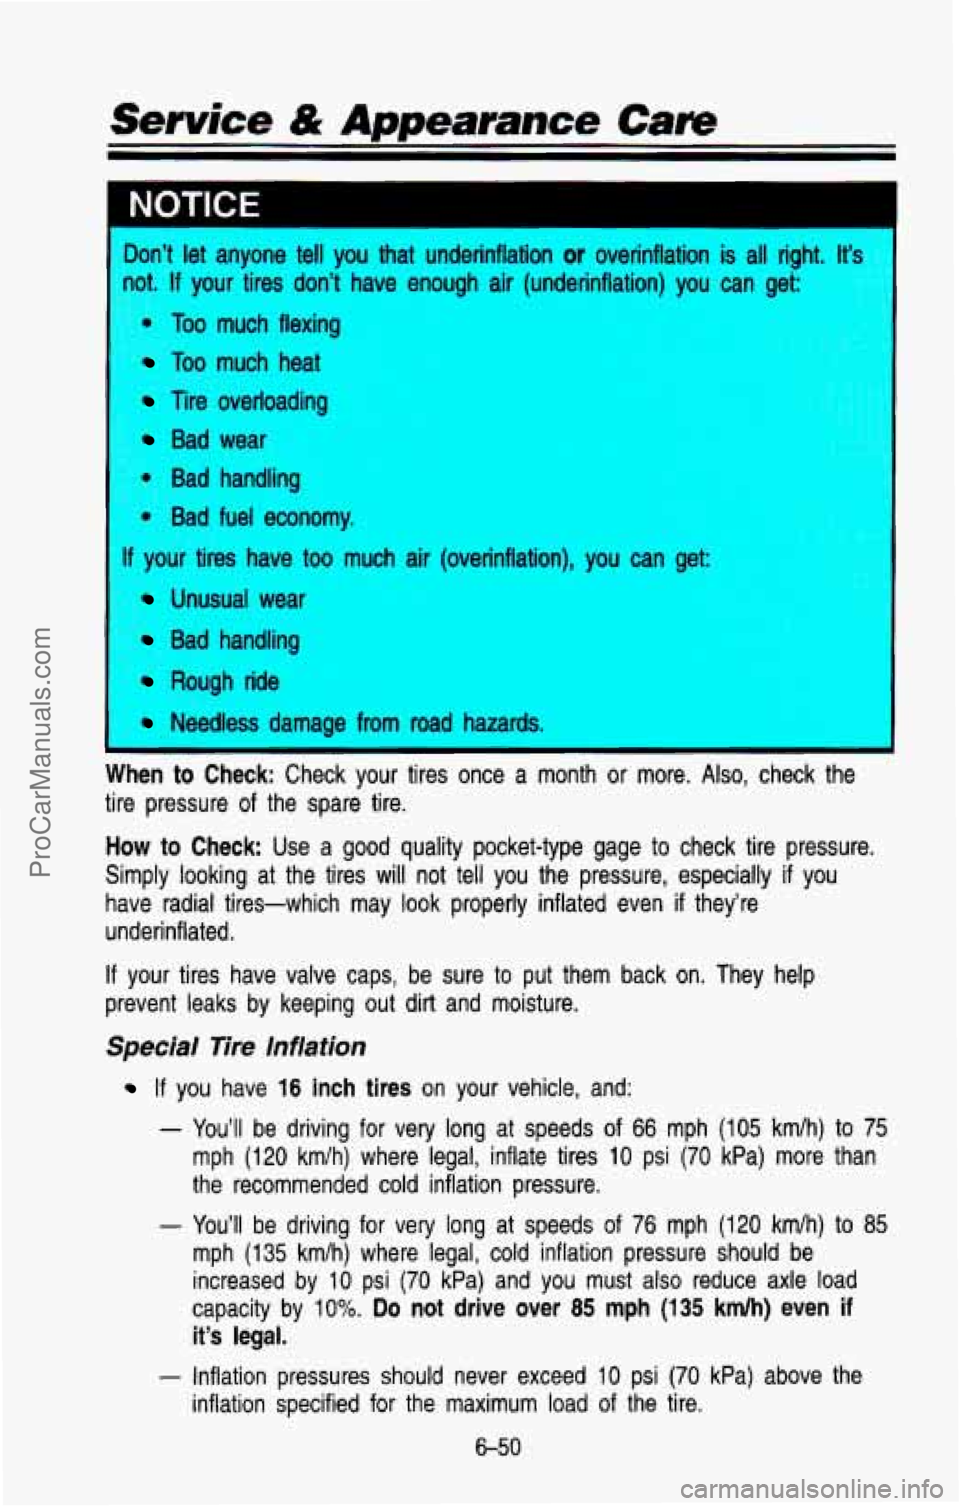
Don’t let anyone tell you that underinflation or overinflation is all right. It’-
9. If your tires don’t have enough air (underinflation) you can get
Too much flexing
Too much heat
tire overloading
Bad wear
Bad handling
Bad fuel economy.
I If your tires have too much air (overinflation), you can get:
Unusual wear
Bad handling
Rough ride
Needless damage from road hazards.
nth
or more. Also, check the
tire pressure of the spare tire.
How to Check: Use a good quality pocket-type gage to check tire pressure.
Simply looking at the tires will not tell you the pressure, e\
specially if you
have radial tires-which may look properly inflated even
if they’re
underinflated.
If your tires have valve caps, be sure to put them back on. The\
y help
prevent leaks by keeping out dirt and moisture.
Special Tire Inflation
If you have 16 inch tires on your vehicle, and:
- You’ll be driving for very long at speeds of 66 mph (105 km/h) to 75
mph
(120 km/h) where legal, inflate tires 10 psi (70 kPa) more than
the recommended
cold inflation pressure,
- You’ll be driving for very long at speeds of 76 mph (120 kmih) to 85
mph (135 km/h) where legal, cold inflation pressure should be
increased
by 10 psi (70 kPa) and you must also reduce axle load
capacity by
10%. Do not drive over 85 mph (135 kmlh) even if
it’s legal.
- Inflation pressures should never exceed 10 psi (70 kPa) above the
inflation specified for the maximum
load of the tire.
6-50
ProCarManuals.com
Page 317 of 386
Service & Appearance Care
Tire lnspecfion and Rotation
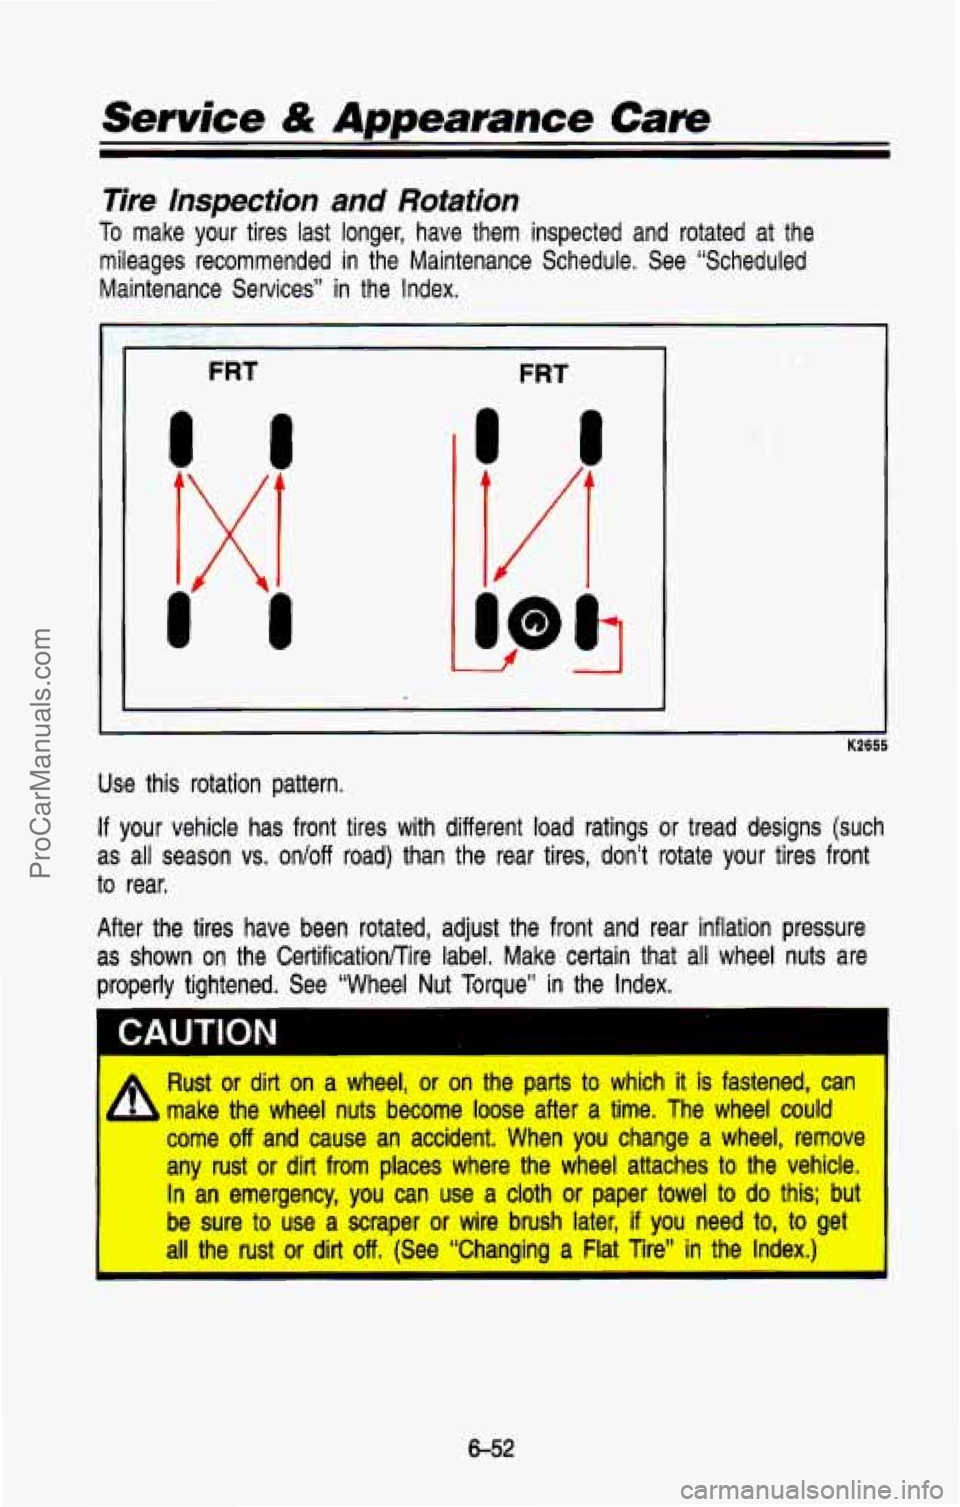
To make your tires last longer, have them inspected and rotated at the
mileages recommended in the Maintenance Schedule. See “Scheduled
Maintenance Services” in the Index.
FRT FRT
L
I I
K2655
Use this rotation pattern,
If your vehicle has front tires with different load ratings or tr\
ead designs (such
as all season vs. on/off road) than the rear tires, don’t rotate \
your tires front
to rear,
After the tires have been rotated, adjust the front and rear \
inflation pressure
as shown on the CertificationRire label. Make certain that all \
wheel nuts are
properly tightened.
See “Wheel Nut Torque” in the Index.
1 CAUTION
Rust or dirt on a wheel, or on the parts to which it is fastened, can
make the wheel nuts become loose after a time. The wheel could
come
off and cause an accident. When you change a wheel, remove
any rust or dirt from places where the wheel attaches
to the vehicle.
In an emergency, you can use a cloth or paper towel to
do this; but
be sure to use a scraper or wire brush later, if you need to, to get
I
I all the rust or dirt off. (See ‘Changing a Flat Tire” in the Index.) I
&52
ProCarManuals.com
Page 359 of 386
Scheduled Maintenance Services
When the wheels are removed for rotation, inspect disc brake p\
ads for wear
and rotors for surface condition.
Also inspect drum brake linings for wear and
cracks. Inspect other brake parts, including drums, wheel cylind\
ers, parking
brake, etc., at the same time. Remove any rust
or dirt from the wheel and
mounting surfaces before mounting the wheel.
Inspect brakes more often if driving habits or conditions result in
frequent braking.
Owner Checks and Services
Listed below are owner checks and services which should be made at the
time period specified to help ensure proper safety, emission pe\
rformance, and
dependability of your vehicle.
Be sure any necessary repairs are completed at once. Whenever \
any fluids
or lubricants are added to your vehicle, make sure they are the proper ones,
as shown in this Section.
At Least Once a Month
Tire inflation pressure check --Check the tires for proper inflation. If they
are low, inflate them to the level specified on the certification label
or on the
tire inflation charts. See “Loading Your Vehicle” or “Inflation-Tire Pressure” in
the Index.
At Least Once a Year
Key lock cylinder lubrication --Lubricate key lock cylinders with engine oil.
See the “Recommended Fluid and Lubricants” chart in this section.
Transmission neutral or clutch start switch operation
4 When you are doing this check, the vehicle could move suddenly. If
it does, you or others could be injured. Follow the steps below. I
1. Before you start, be sure you have enough room around the veh\
icle.
2. Firmly apply both the manual parking brake and the regular bra\
ke. See
“Brakes” and “Parking Brake” in the Index.
Do not use the accelerator
pedal.
3. Be ready to turn off the engine immediately if it starts.
4. On automatic transmission vehicles, try to start the engine in each gear.
The starter should work only in
P (Park) or N (Neutral).
7-22
ProCarManuals.com
Page 379 of 386
INDEX
H
Halogen Bulbs .............................. 6.38
Hazard Warning Flashers
.............. 5-2
Head Restraints
.............................. 1-5
Headlights
............... 2-46, 6-38, 6-43
Composite
.................................. 6-39
High Beam Indicator Light
...... 2-74
High-Low Beam
............. 2-38, 4-36
Reminder
................................... 2-47
Replacement
................... 6-37, 6-72
Sealed Beam
............................. 6-38
Heating System (with AIC)
........... 3-5
Rear (Wagon Models)
................ 3-8
Rear Window Defogger
........... 3-11
System Controls
......................... 3-6
Heating System (without AIC)
..... 3-4
Fan Knob ..................................... 3-4
Function Lever
............................ 3-4
Rear Window Defogger
........... 3-1 1
Temperature Lever ...................... 3-4
Highway Hypnosis
........................ 4-46
Hitches
........................................... 4-59
Hood
Latches and Hinge ................... 6-36
Release
........................................ 6-8
Horn
............................................... 2-35
Hydraulic Clutch
........................... 6-21
Grease Fitting
............................ 6-23
Hydroplaning
................................. 4-38
1
If You’re Stuck In Sand, Mud,
Ice or Snow
.............................. 5-31
Ignition Switch
.............................. 2-1 1
Inflation-Tire Pressure ................. 6-49
Instrument Panel
.......................... 2-62
Standard Cluster
....................... 2-64
J
Jack and Tools ............................. 5-18
Removal ..................................... 5-1 8
Storage
............................ 5-29, 5-30
Jump Starting
................................. 5-3
K
Key Release Lever ....................... 2-13
Keys
................................................. 2-3
L
Lights ............................................. 2-46
Brake System Warning
............ 4-17
Bulb Replacement .................... 6-37
Charging System Light
........... 2-71
Check Gages Light
.................. 2-73
Dome
......................................... 2-48
Front Parkingnurn Signal
........ 6-40
Headlights (See “Headlights”)
Indicator
..................................... 2-68
Operation
................................... 2-37
Reading
..................................... 2-49
Roof Marker
.............................. 6-42
Service Engine
Soon ..... 2-72, 6-45
Rear
........................................... 6-42
Replacement Chart
.................. 6-72
Side Marker
.............................. 6-41
Underhood Reel
....................... 2-50
Loading Your Vehicle
........ 4-25, 6-46
Add-on Equipment
................... 6-48
Lubrication
..................................... 6-35
Accelerator Control System
.... 6-35
Constant Velocity Joints
......... 6-36
Front Axle
................................. 6-24
Front Shock Absorbers
........... 6-34
Front Suspension and Steering Linkage
................... 6-34
Front Wheel Bearings
.............. 6-34
Tailgate Handle
......................... 6-37
Hydraulic Clutch Grease Fitting
....................... 6-23
Hood Latches and Hinge
........ 6-36
Lock Cylinders
.......................... 6-36
Propeller Shaft Slip Splines
... 6-36
Rear Axle
.................................. 6-24
Recommended Lubricants
...... 7-25
Transfer Case
............................ 6-23
Luggage Carrier
........................... 2-80
Body
........................................... 6-36
9-4
ProCarManuals.com