1993 CHEVROLET S10 Headlights switch
[x] Cancel search: Headlights switchPage 80 of 356

Downloaded from www.Manualslib.com manuals search engine Features & Controls
Manual Transfer Case
I
PO1 63
The transfer case shift lever is on the floor to the right of the driver. Use this
lever
to shift into and out of four-wheel drive. An indicator light near the lever
shows you the transfer case settings:
2 WHEEL
4 HIGH
N SET PARKING BRAKE
4 LOW
The front axle portion
of the diagram on the indicator will light up when you
shift into four-wheel drive. A slight delay between shifting and the patte\
rn's
lighting is normal.
If the pattern does not light up, or if the front axle does
not go out after you shift out
of four-wheel drive, have your dealer check
your system. Turn the dial above your headlight switch
to the left to dim your
transfer case indicator light when your headlights or parking l\
ights are on.
2 WHEEL: This setting is for driving in most street and highway situations.
Your front axle is not engaged in two-wheel drive.
4 HIGH: This setting engages your front axle to help drive your vehicle.
Use
4 HIGH when you need extra traction, such as on snowy or icy roads, \
or in most off-road situations.
N SET PARKING BRAKE: Shift to this neutral setting only when your vehicle
needs
to be towed.
2-28
I
Page 98 of 356

Downloaded from www.Manualslib.com manuals search engine Features & Contmls
To Erase Speed Memory
When you turn off the Cruise Control or the ignition, your Cruise Control set
speed memory is erased.
Lights
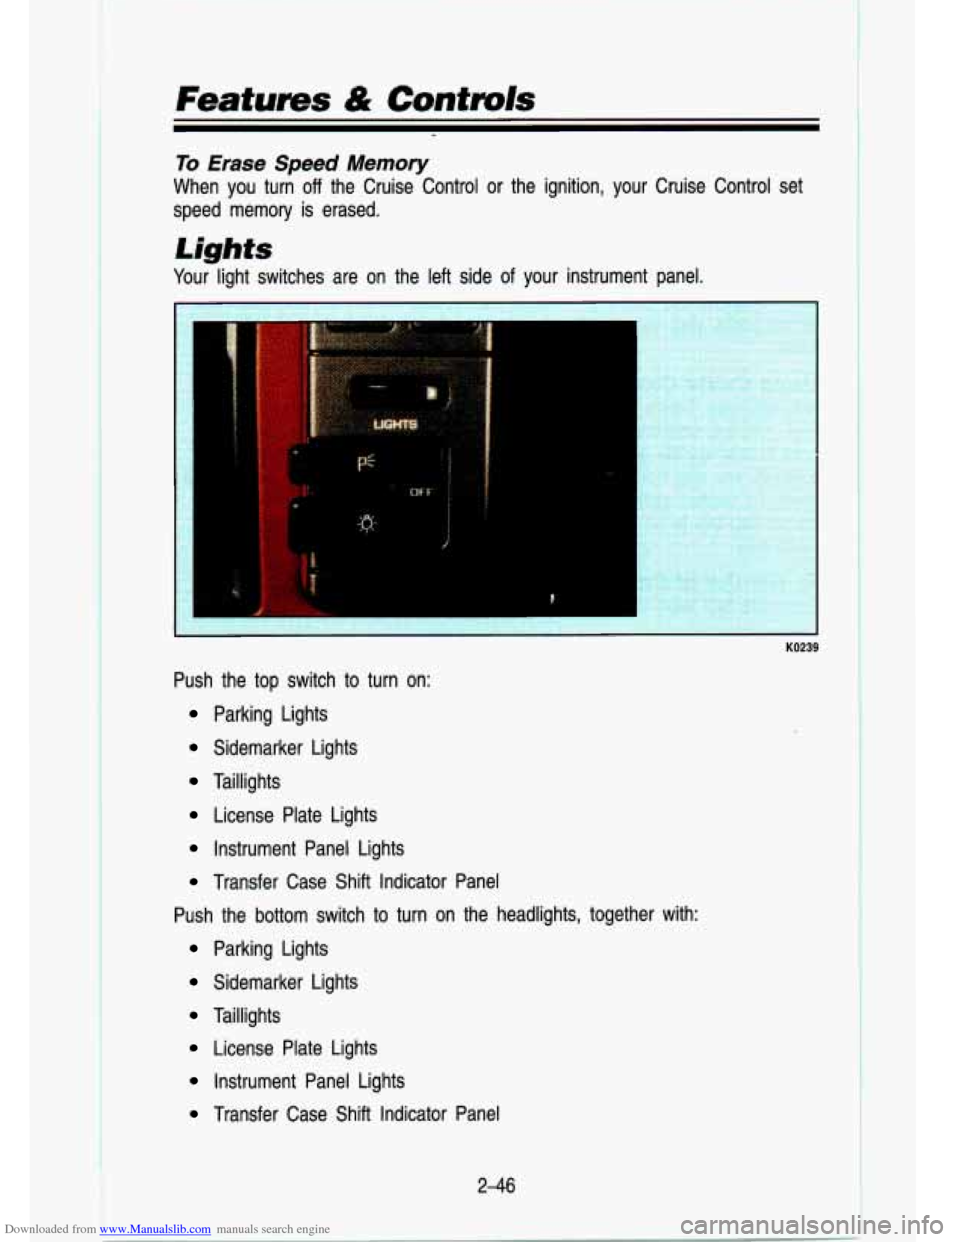
Your light switches are on the left side of your instrument panel.
KO239
Push the top switch to turn on:
Parking Lights
Sidemarker Lights
Taillights
License Plate Lights
Instrument Panel Lights
Transfer Case Shift Indicator Panel
Push the bottom switch to turn on the headlights, together wit\
h:
Parking Lights
Sidemarker Lights
Taillights
License Plate Lights
Instrument Panel Lights
Transfer Case Shift Indicator Panel
2-46
Page 99 of 356

Downloaded from www.Manualslib.com manuals search engine Push the switch marked OFF to turn off your lights.
Turn the dial above the headlight switch to the right to make your instrument
panel and transfer case lights brighter. Turning the dial all the way to the
right until it clicks will turn on the interior lights.
Turn the dial to the left to dim your instrument panel and transfer case
indicator lights.
You can switch your headlights from high to low beam by pulling on the
multifunction lever.
A circuit breaker protects your headlights. If you have an electrical overload,
your headlights will flicker on and
off. Have your headlight wiring checked
right away
if this happens.
Fog Lamps
KO940
Use your optional fog lamps for better vision in foggy or misty conditions.
Your parking lights and/or low beam headlights must be on or your lamps
won’t work.
The fog lamp switch is on the instrument panel under the headlight switch.
Press the right side of the switch to turn the fog lamps on, and the left side
of the switch to turn them
off. A light will glow in the right side of the switch
when they are on.
2-47
Page 101 of 356

Downloaded from www.Manualslib.com manuals search engine Dayiime Running Lights (Canada Only)
The Canadian Federal Government has decided that “Daytime Run\
ning Lights” (DRL) are a useful feature, in that DRL can make \
your vehicle more
visible to pedestrians and other drivers during daylight hours. \
DRL is required
on all new vehicles sold in Canada.
The high beam headlights will come on at reduced brightness in\
daylight when:
The ignition is on
The headlight switch is off, and
The parking brake is released.
vvnen you turn on your headlights, the DRL will switch
off and the exrerlor
lights will come on. When you turn
off the headlights, the exterior lights will
go out and high beams will change to the reduced brightness of DRL again.
The DRL indicator light on the instrument panel will go on wh\
enever the DRL is on. This light means that only the DRL is on. When you turn \
on your
exterior lights, this light will go out. Of course, you may still turn on the
headlights any time you need to.
To idle your vehicle with the DRL
off, set the parking brake. The DRL will
stay
off until you release the parking brake.
Headlights-On Reminder
A reminder tone will sound when your headlights are turned on an\
d your
ignition is in
Off, LOCK or Acc. To turn the tone off, turn the dimmer dial all
the way to the left.
2-49
Page 103 of 356

Downloaded from www.Manualslib.com manuals search engine Inside Mirror
Press the tab under the mirror to reduce glare from headlights behind you.
If your vehicle has optio.nal map lights, they will automatically \
come on for
approximately
15 seconds when either front door is opened, or until the
ignition is turned to
RUN.
You can also turn the map lights on and off by pressing the switch near
each light. However, the ignition must be turned to
RUN for the map lights to
come on.
Outside Mirrors
I
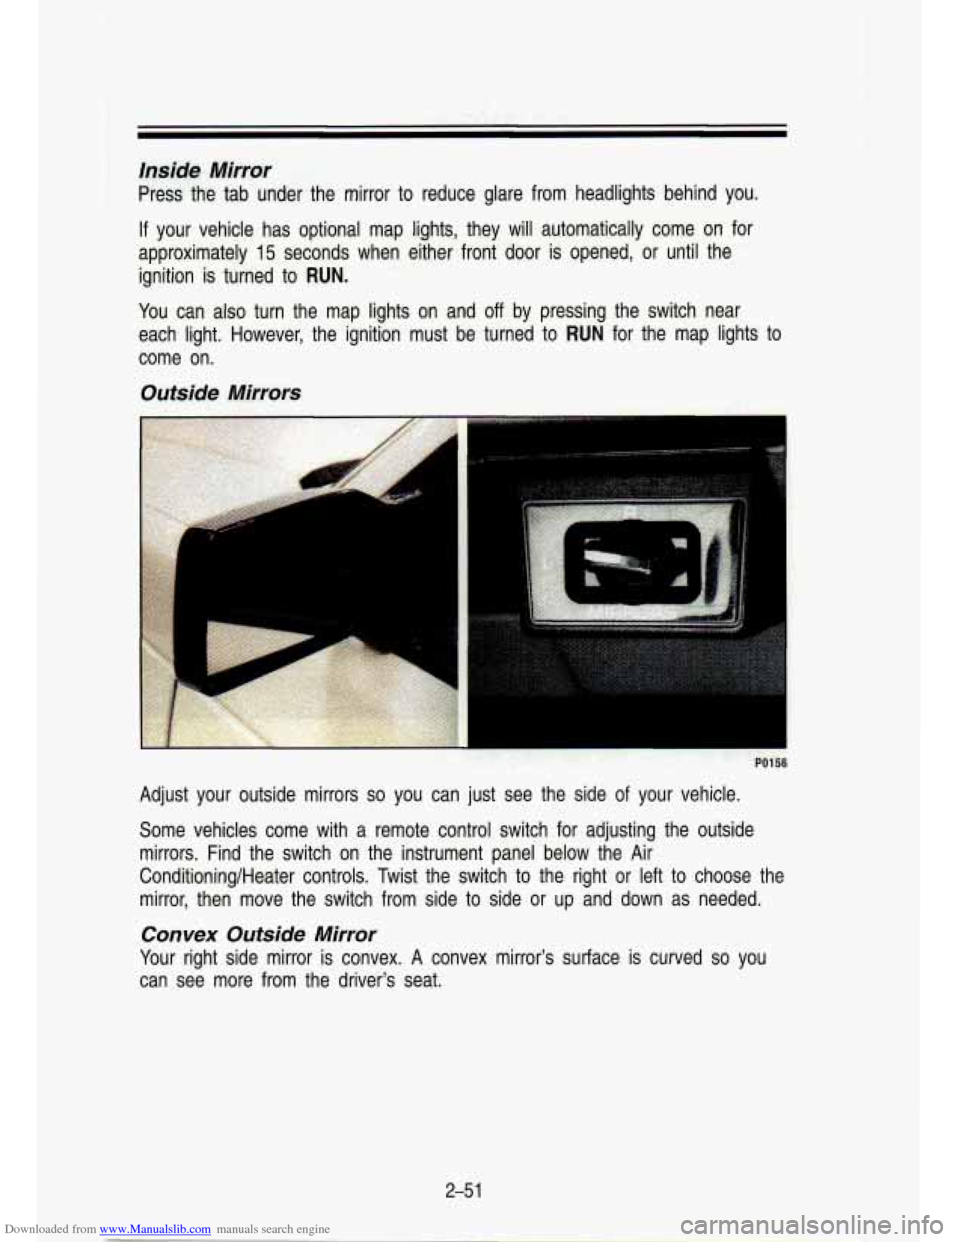
Adjust your outside mirrors so you can just see the side of your vehicle.
Some vehicles come with a remote control switch for adjusting the o\
utside
mirrors. Find the switch on the instrument panel below the Air\
Conditioning/Heater controls. Twist the switch to the right or left to choose the
mirror, then move the switch from side to side or up and down as needed.
Convex Outside Mirror
Your right side mirror is convex. A convex mirror's surface is curved so you
can see more from the driver's seat.
2-5 1
Page 308 of 356

Downloaded from www.Manualslib.com manuals search engine I
Service & Appearance Cave
Headlights
The headlight wiring is protected by a circuit breaker in the \
light switch. An electrical overload will cause the lights to go on and
off, or in some cases to
remain
off. If this happens, have your headlight wiring checked right away.
Windshield Wipers
The windshield wiper motor is protected by a circuit breaker a\
nd a fuse. If
the motor overheats due to heavy snow, etc., the wiper will s\
top until the
motor cools. If the overload is caused by some electrical problem and not
snow, etc., be sure to get it fixed.
Power Windows and Other Power Options
Circuit breakers in the fuse panel protect the power windows a\
nd other power
accessories. When the current load is
too heavy, the circuit breaker opens
and closes, protecting the circuit until the problem is fixed \
or goes away.
Trailer Wiring Harness
The optional seven-wire trailer wiring I ;s is protected by an in-line fuse
in the battery feed wire. This fuse is near rhe junction bloc\
k. See “Trailer
Wiring Harness” in the “Features
& Controls’’ section.
Fuse Block
KO631
The fuse block is in the instrument panel on the driver’s side.
- .: .-: 1
.- .
Remove the cover with a screwdriver and then you can remove f\
uses with a
fuse extractor.
6-60
Page 350 of 356

Downloaded from www.Manualslib.com manuals search engine I
If You’re Stuck In Sand. Mud
Ice. or Snow
............................. 5-30
Ignition Switch ................................ 2-9
Inflation-Tire Pressure ................. 6-44
Instrument Panel ............... 2-58, 2-62
Digital Cluster ................ 2-61, 2-62
Standard Cluster ............ 2-59, 2-60
J
Jack Storage ...................... 5-17, 5-27
Jump Starting ................................. 5-3
K
Key Release Lever ....................... 2-1 1
Keys ................................................. 2-3
L
Lights ........ ................................... 2-46
Brake System Warning ............ 4-1 6
Bulb Replacement .................... 6-31
Charging System Light ............ 2-70
Check Gages Light ................... 2-71
Dome Lights ............................. 2-50
Fog Lamps ................................. 2-47
Indicator ........................ ..2-65, 2-70
Headlights (See “Headlights”)
Malfunction Indicator
.... 2-68, 6-37
Operation ................................... 2-37
Service Engine Soon ............... 6-37
Rear ............................................ 6-33
Loading Information .4-23, 6-38, 6-41
Loading Your Vehicle ........ 4-23, 6-38
Lubrication .................................... 6-35
Front Parkingnurn Signal ........ 6-32
Replacement Chart ................... 6-63
Accelerator Control System .... 6-35
Body ........................................... .- 36
Front Axle ........................ ..... 6-22
Front Suspension and
Steering Linkage
................... 6-34
Front Wheel Bearings
(Two-Wheel Drive)
................ 6-34
Tailgate Handle ......................... 6-36
Hydraulic Clutch Grease
Fitting
..................................... 6-34
Hood Latches and Hinge ........ 6-36
Lock Cylinders .......................... 6-36
Propeller Shaft Slip
SplineslUniversal Joints
....... 6-36
Rear Axle .................................. 6-21
Recommended Lubricants ...... 7-14
Transfer Case ............................ 6-21
M
Other Items ............................... 6-34
Periodic Inspections ................ 7-13
Record ....................................... 7-16
Scheduled Maintenance ............ 7-3
Underbody ................................. 6-55
Master Cylinder (See “Brakes”)
Mirrors
........................................... 2-50
Convex Outside ........................ 2-51
inside ......................................... 2-51
Outside ...................................... 2-51
Vanity ......................................... 2-52
Model Reference ............................... iii
Maintenance
0
Odometer ............................ 2-62, 2-63
Off-Road Driving (See “Driving”)
Off-Road Recovery
...................... 4-1 9
Oil .................................................... 6-9
Additives .................................... 6-13
Disposal of Used ...................... 6-14
Pressure Gage .......................... 2-69
To Check .................................. 6-10
What Kind to Use .................... 6-11
When to Add ............................ 6-10
When to Change ...................... 6-13
Owner Checks and Services ...... 7-11
P
On Hills ........................... 4-48, 4-61
Torque Lock (Automatic
Parking
Over Things That Burn
........... 2-25
Transmission) .............. 2-22, 4-50