1993 CHEVROLET S10 service schedule
[x] Cancel search: service schedulePage 188 of 356

Downloaded from www.Manualslib.com manuals search engine Your Driving and the Road
After Off-Road Driving
Remove any brush or debris that has collected on the underbodv\
. chassis, or
under the hood. These accumulations can be a fire hazard.
After operation in mud or sand, have the brake linings cleaned\
and checked.
These substances can cause glazing and uneven braking. Check th\
e body
structure, steering, suspension, wheels, tires, and exhaust syste\
m for damage.
Also, check the fuel lines and cooling system for any leakage.\
Your vehicle will require more frequent service due to off-road use.\
Refer to
the Maintenance Schedule for additional information.
Driving at Night
AN450005
Night driving is more dangerous than day driving. One reason is that some
drivers are likely
to be impaired-by alcohol or drugs, with night vision
problems, or by fatigue.
Here are some tips on night driving.
Drive defensively. Remember, this is the most dangerous time.
Don’t drink and drive (See “Drunken Driving” in the Index for more on
this problem.)
Adjust your inside rearview mirror to reduce the glare from headlights
behind you.
4-34
Page 216 of 356

Downloaded from www.Manualslib.com manuals search engine Your Driving and the Road
2. Let up on the brake pedal.
3. Drive slowly until the trailer is clear of the chocks.
4. Stop and have someone pick up and store the chocks.
Maintenance When Trailer Towing
Your vehicle will need service more often when you’re pulling a \
trailer. See
the Maintenance Schedule for more on this. Things that are esp\
ecially important in trailer operation are automatic transmission fluid (don’t ove\
rfill),
engine oil, axle lubricant, belt, cooling system, and brake adj\
ustment. Each of
these is covered in this manual, and the Index will help you find them
quickly.
If you’re trailering, it’s a good idea to review these sections before
you start your trip.
Check periodically to see that all hitch nuts and bolts are tight.
Trailer Light Wiring
See “Trailer Wiring Harness” in the Index.
Power Winches
If you wish to use a power winch on your vehicle, only use it when your
vehicle is stationary or anchored.
NOTICE
Use the regular brakes, set the parking brake Or UIWK ihe wheels IW keep
your vehicle from rolling.
4-62
Page 263 of 356
Downloaded from www.Manualslib.com manuals search engine PO267
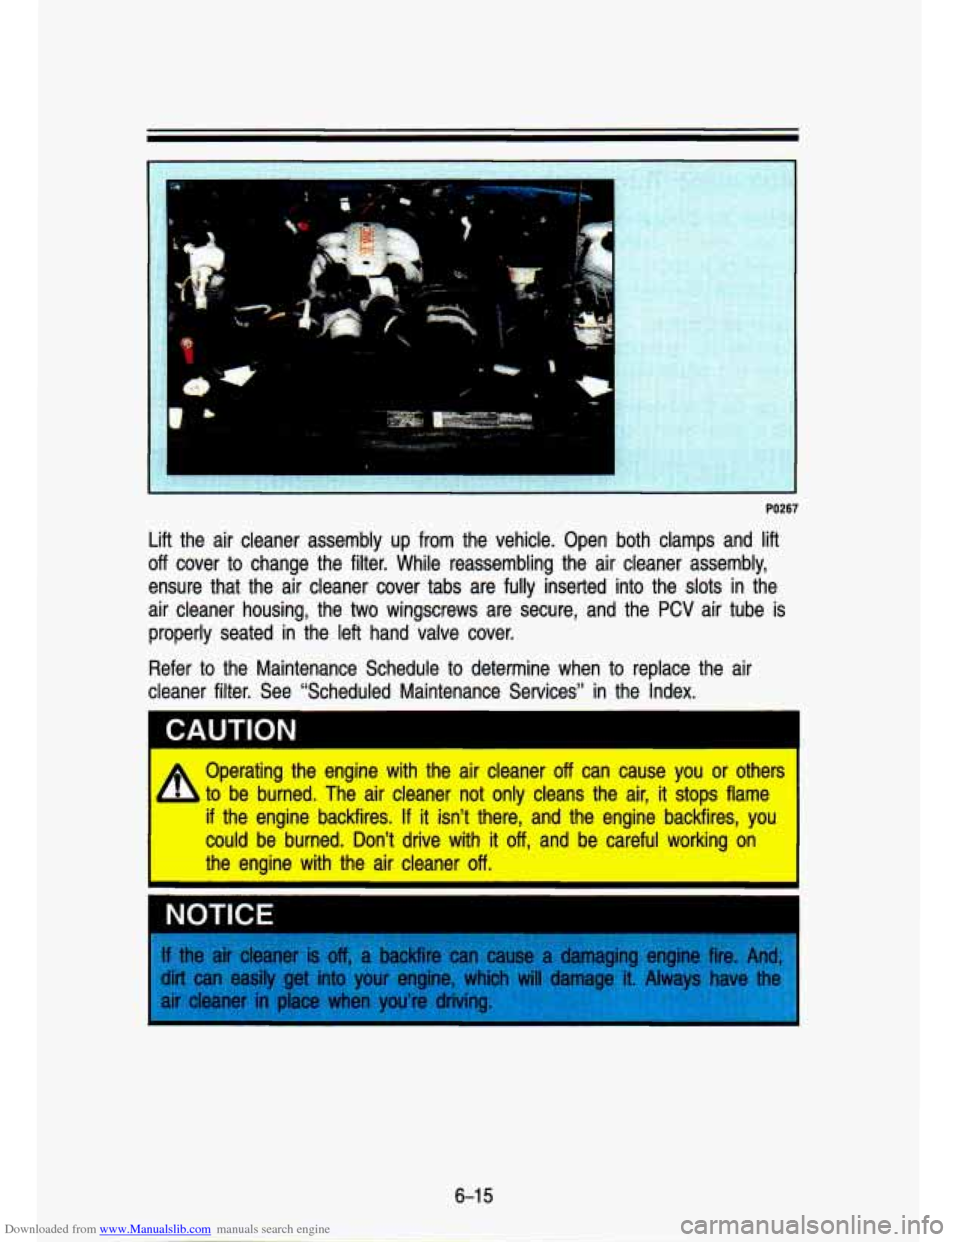
Lift the air cleaner assembly up from the vehicle. Open both \
clamps and lift
off cover to change the filter. While reassembling the air cleaner assembly, \
ensure that the air cleaner cover tabs are fully inserted into\
the slots in the
air cleaner housing, the two wingscrews are secure, and the
PCV air tube is
properly seated in the left hand valve cover.
Refer
to the Maintenance Schedule to determine when to replace the air
cleaner filter. See "Scheduled Maintenance Services'' in the Index.
I
I
I
4 Operating thie engine with the air cleaner off can cause you or others
i to be burned. The air deaner not only cleans the air, it stops filame
if the engine backfires. If it isn't there, and the englinle backfires, yolu
could be burned. Doin't drive with it dig and be careful wor'king oin
the enlgine with tihe air cleane:r off.
I YOTICE I
6-1 5
Page 264 of 356
Downloaded from www.Manualslib.com manuals search engine Service & Appearance Care
Automatic Transmission Fluid
When to Check and Change:
A good time to check your automatic transmission fluid level is when the
engine oil is changed. Refer to the Maintenance Schedule to de\
termine when
to change your fluid. See “Scheduled Maintenance Services” \
in the Index.
How to Check:
Because this operation can be a little difficult, you may choo\
se to have this
done at a dealership Service Department.
If you
do it yourself, be sure to follow all the instructions here, or \
you could
get a false reading on the dipstick.
I NOTICE
Wait at least 30 minutes before checking the transmission fluid level if you
have been driving:
When outside temperatures are above 90°F (32°C).
At high speed for quite a while.
In heavy traffic-especially in hot weather.
While pulling a trailer.
To get the right reading, the fluid must be at normal operating \
temperature,
which is 180°F to 200°F (82°C to 93°C).
To check transmission fluid hot: Get the vehicle warmed up by driving
about
15 miles (24 km) when outside temperatures are above 50°F (10°C). If
it’s colder then 50°F (IO’C), drive the vehicle in D (3rd gear) until the
temperature gage moves and then remains steady for ten minutes.\
Then
follow the hot check procedures.
To check transmission fluid cold: A cold check is made after the vehicle
has been sitting for eight hours or more with the engine off and is used
only
as a reference. Let the engine run at idle for five minutes if outside
temperatures are
50°F (10°C) or more. If it’s colder than 50°F (lO°C), you
may have to idle the engine longer. A hot check must follow when fluid is
added during a cold check.
6-1 6
I
Page 266 of 356
Downloaded from www.Manualslib.com manuals search engine Service & Appearance Care
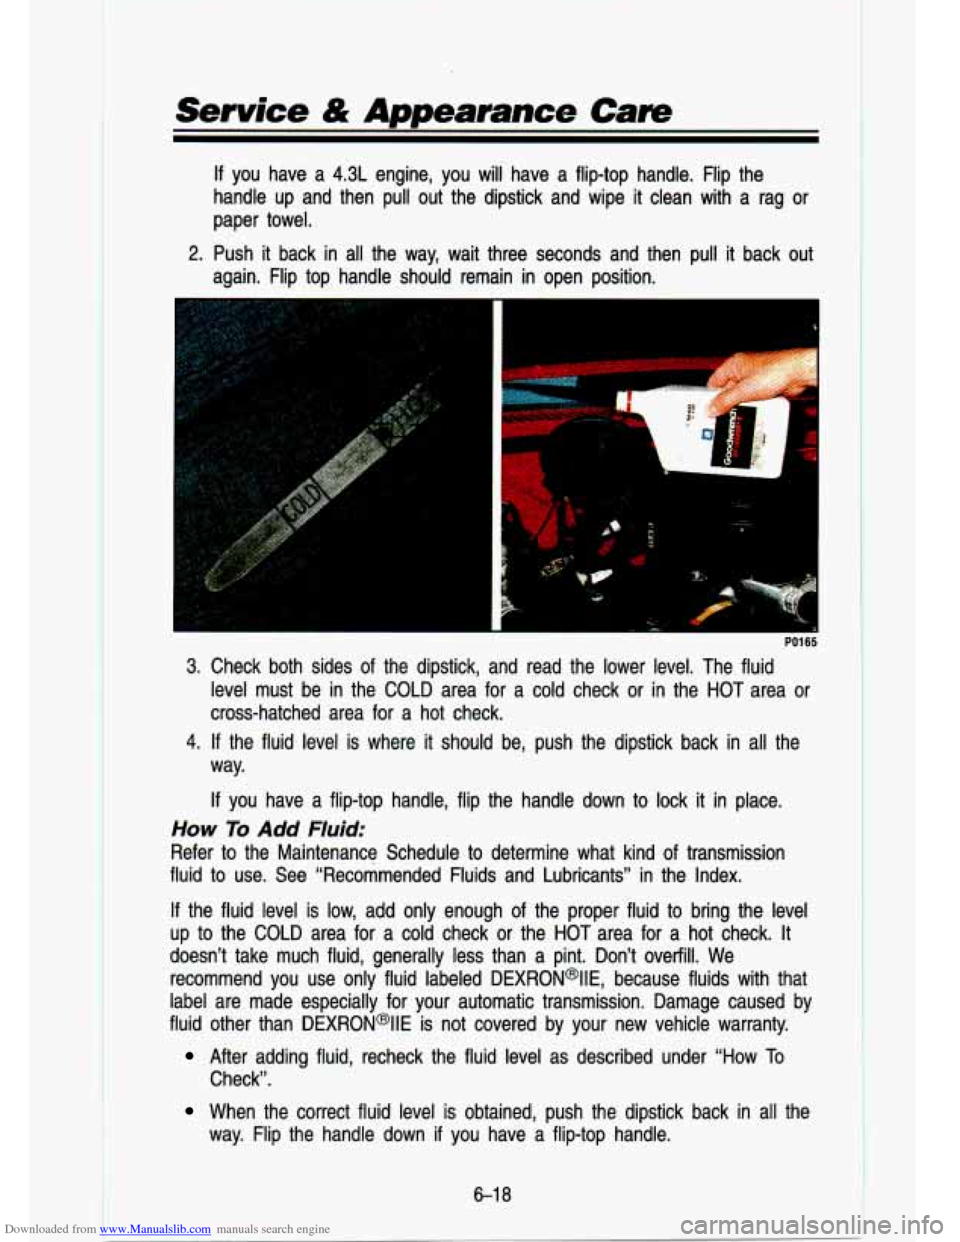
If you have a 4.3L engine, you will have a flip-top handle. Flip\
the
handle up and then pull out the dipstick and wipe it clean with a rag or
paper towel.
2. Push it back in all the way, wait three seconds and then pull it back out
again. Flip top handle should remain in open position.
c
PO1 65
3. Check both sides of the dipstick, and read the lower level. The fluid
level must be in the COLD area for a cold check or in the HOT area or
cross-hatched area for a hot check.
4.
If the fluid. level is where it should be, push the dipstick bac\
k in all the
way.
If you have a flip-top handle, flip the handle down to lock it in place.
How To Add Fluid:
Refer to the Maintenance Schedule to determine what kind of transmission
fluid to use. See “Recommended Fluids and Lubricants” in \
the Index.
If the fluid level is low, add only enough of the proper fluid to bring the level
up to the COLD area for a cold check or the HOT area for a hot c\
heck. It
doesn’t take much fluid, generally less than a pint. Don’\
t overfill. We
recommend you use only fluid labeled DEXRON@lIE, because fluids \
with that
label are made especially for your automatic transmission. Damag\
e caused by
fluid other than DEXRON@IIE is not covered by your new vehicle\
warranty.
After adding fluid, recheck the fluid level as described under \
“How To
Check”.
When the correct fluid level is obtained, push the dipstick ba\
ck in all the
way. Flip the handle down
if you have a flip-top handle.
6-1 8
1
Page 268 of 356

Downloaded from www.Manualslib.com manuals search engine Service & Amearance Cam
How to Add Fluid:
Here’s how to add fluid. Refer to the Maintenance Schedule to determine
what kind of fluid to use. See “Recommended Fluids and Lubricants” in the
Index.
1. Remove the filler plug.
2. Add fluid at the filler plug hole. Add only enough fluid to bring the fluid
3. Install the plug. Be sure it is fully seated.
level up to the bottom
of the filler plug hole.
Hydraulic Clutch
The hydraulic clutch in your vehicle is self-adjusting. A slight amount of play
[1/4
(6 mm)-112 inch (13 mm)] in the pedal is normal.
When to Check and What to Use:
i
c
PO257 I
Refer to the Maintenance Schedule to determine how often you s\
hould check
the fluid level in your clutch master cylinder reservoir and w\
hat to add. See
“Owner Checks and Services” and “Recommended Fluids and \
Lubricants” in
the Index.
How to Check:
The proper fluid should be added if the level does not reach the bottom of
the diaphragm when it’s in place in the reservoir. See the
instructions on the
reservoir cap.
6-20
Page 269 of 356
Downloaded from www.Manualslib.com manuals search engine Rear Axle
When to Check and Change Lubricant:
Refer to the Maintenance Schedule to determine how often to check the
lubricant and when to change it. See “Scheduled Maintenance Services” in
the Index.
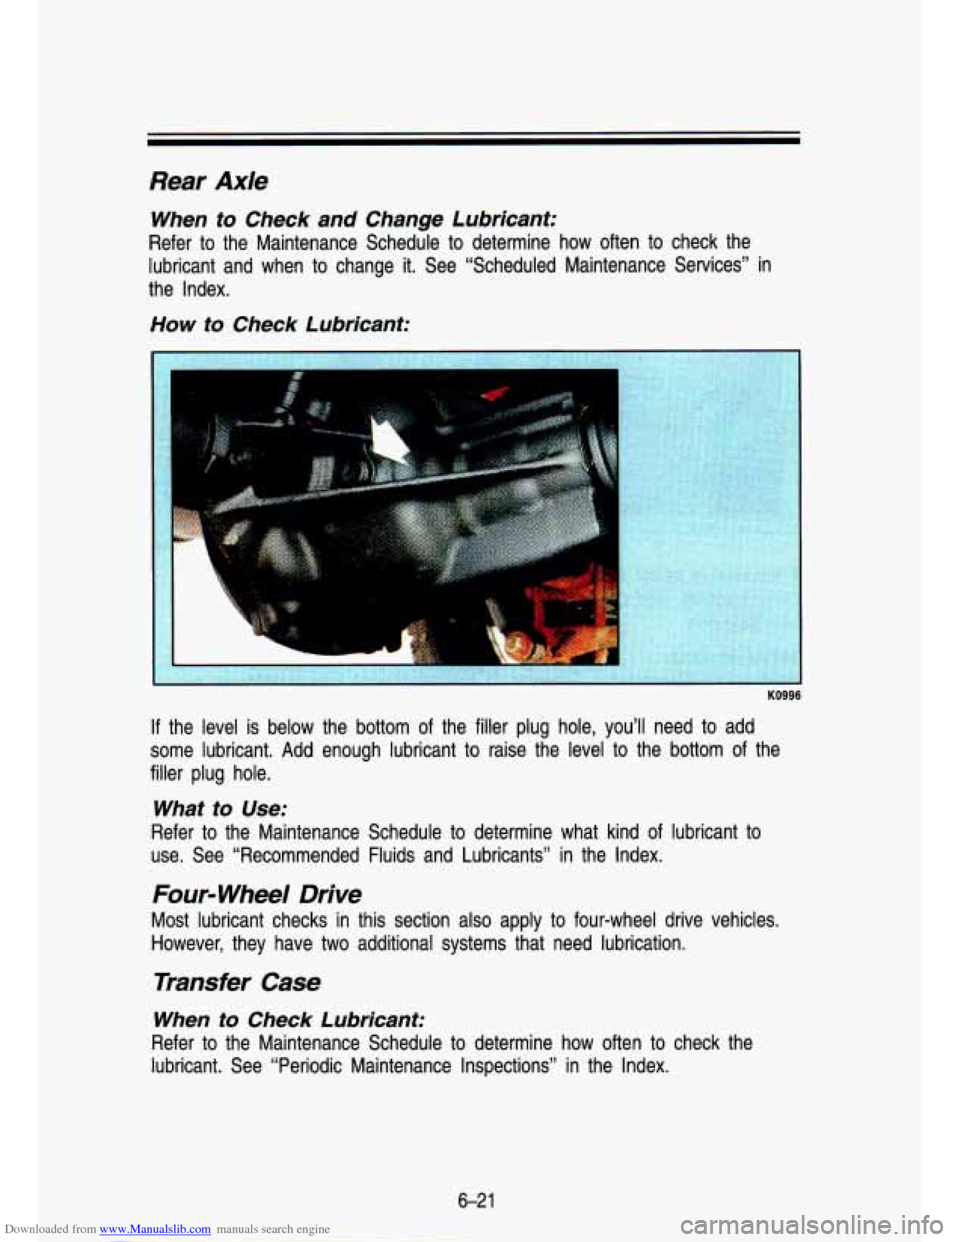
How to Check Lubricant:
KO996
If the level is below the bottom of the filler plug hole, you’ll need to add
some lubricant. Add enough lubricant to raise the level to the bottom
of the
filler plug hole.
What to Use:
Refer to the Maintenance Schedule to determine what kind of lubricant to
use. See “Recommended Fluids and Lubricants” in the Index.
Four- Wheel Drive
Most lubricant checks in this section also apply to four-wheel drive vehicles.
However, they have two additional systems that need lubrication.
Transfer Case
When to Check Lubricant:
Refer to the Maintenance Schedule to determine how often to check the
lubricant. See “Periodic Maintenance Inspections”
in the Index.
6-2 1
Page 270 of 356
Downloaded from www.Manualslib.com manuals search engine .. .
.- .. . ,-
_. .
Service & Appearance Care
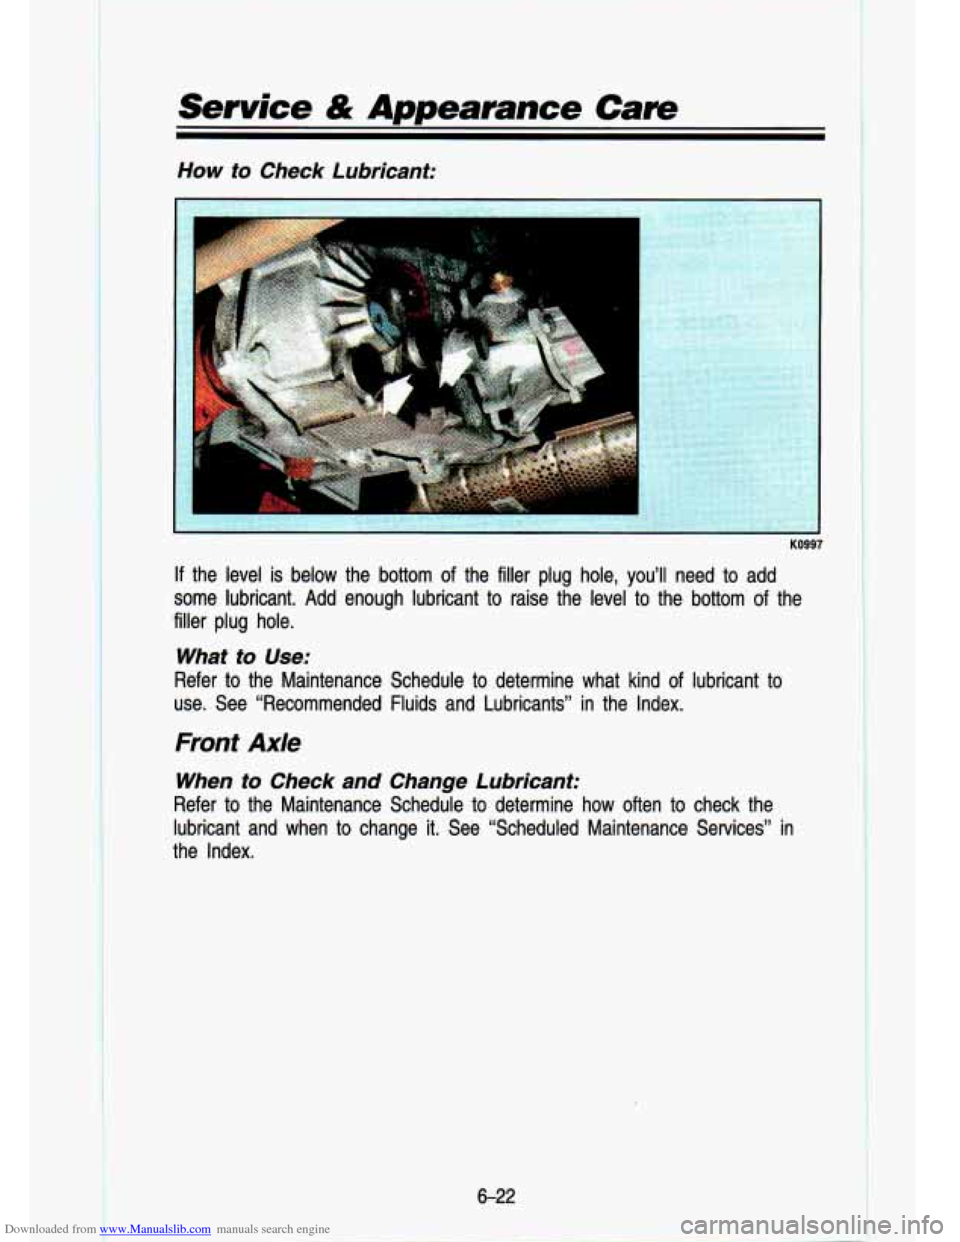
How to Check Lubricant:
I-
- KO997
If the level is below the bottom of the filler plug hole, you’ll need to a\
dd
some lubricant.
Add enough lubricant to raise the level to the bottom of the
filler plug hole.
What to Use:
Refer to the Maintenance Schedule to determine what kind of lubricant to
use. See “Recommended Fluids and Lubricants” in the Index.\
Front Axle
When to Check and Change Lubricant:
Refer to the Maintenance Schedule to determine how often to ch\
eck the
lubricant and when to change it. See “Scheduled Maintenance \
Services” in
the Index.
6-22