Page 225 of 324

Downloaded from www.Manualslib.com manuals search engine 4. To remove a socket with a tab, press
the tab, turn the socket counter-
clockwise and pull
it out. To remove
the other sockets, just turn them
counterclockwise and
pull them out.
5. Pull the bulb out. Do not twist it.
6. Push the new bulb into the socket.
7. Replace the socket in the light
8. Tighten the socket (both kinds) by
9. Replace the carpeting and fasteners.
assembly.
turning
it clockwise.
Back-Up light Bulb Replacement
See the Index under Replacement
Bulbs to check the size and type of bulb
you need
to use.
To Replace the Bulb:
1. Open the trunk and move the carpet
away
from the back of the vehicle.
2. Remove both tail/stop/turn signal
assemblies
as described earlier in this
section.
the back-up assembly.
3. Remove the four wing nuts behind
4. Pull the back-up light assembly from
the vehicle.
5. Push the tab on the socket and turn
the socket counterclockwise.
6. Pull the socket $om the back-up
assembly.
7. To remove the bulb, pull it out of the
socket.
Do not twist the bulb.
8. Push the new bulb into the socket.
9. Reverse steps 1-5 to replace the light
assemblies.
Page 226 of 324

Downloaded from www.Manualslib.com manuals search engine Service & Appearance Care
= = 224
Windshield Wiper Blade
Replacement
Replacement blades come in different
types and are removed in different
ways. Here’s how to remove the type
with a release clip:
1. Pull the windshield wiper ann away
2. Lift the release clip with a
from
the windshield.
screwdriver and pull the blade
assembly
off the wiper arm.
the wiper arm.
3. Push the new wiper blade securely on
Loading Your Vehicle
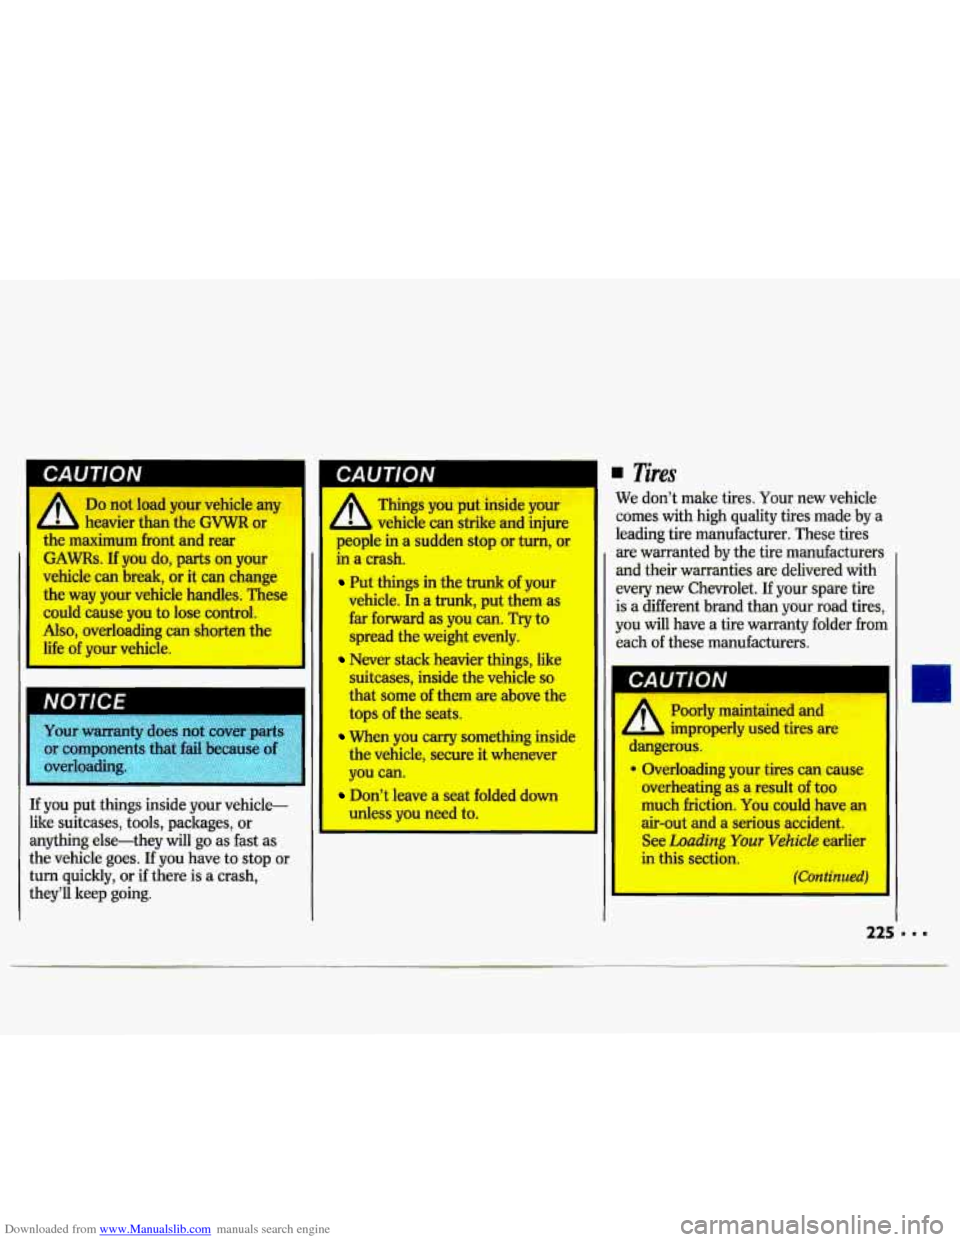
Two labels on your vehicle show how
much weight it may properly carry. The
Tire-Loading Information label found
on the inside of the trunk lid tells you
the proper size, speed rating and
recommended inflation pressures for
the tires on your vehicle. It also gives
you important information about the
number of people that can be in your
vehicle and the total weight that you
can carry. This weight is called the
Vehicle Capacity Weight and includes
the weight of all occupants, cargo, and
all nonfactory-installed options. The
other label is the Certification label,
on the rear edge
of the driver’s door. It
tells you the
gross weight capacity of
your vehicle, called the GVWR (Gross
Vehicle Weight Rating). The
GVWR
includes the weight of the vehicle, all
occupants, fuel and cargo. Never exceed
the GVWR for your vehicle, or the
Gross Axle Weight Rating
(GAWR) for
either the front or rear axle.
And,
if you do have a heavy load, you
should spread it out. Don’t carry more
than
167 lbs. (75 kg) in your trunk.
Page 227 of 324

Downloaded from www.Manualslib.com manuals search engine A
Do not load your vehicle any
Things you put inside your
heavier than the
GVWR or b vehicle can strike and iniure
the maximum front and rear
GAMS. If you do, parts on your
vehicle can break, or it can change
the way your vehicle handles. These
could cause you to lose control.
Also, overloading can shorten the
life of your vehicle.
‘I I
If you put things inside your vehicle-
like suitcases, tools, packages, or
anything else-they
will go as fast as
the vehicle goes. If you have
to stop or
turn quickly, or if there is a crash,
they’ll keep going. people
in a sudden
stop or turn, or
in a crash.
Put things in the trunk of your
vehicle. In a trunk, put them as
far forward
as you can. Try to
spread the weight evenly.
Never stack heavier things, like
suitcases, inside the vehicle
so
that some of them are above the
tops
of the seats.
When you wry something inside
the vehicle, secure it whenever
you can.
Don’t leave a seat folded down
unless
you need to.
. Tires
We don’t make tires. Your new vehicle
comes with high quality tires made by a
leading tire manufacturer. These tires
are warranted
by the tire manufacturers
and their warranties are delivered with
every new Chevrolet. If your spare tire
is a different brand than your road tires,
you will have a tire warranty folder from
each of these manufacturers.
A Poorly maintained and
dangerous.
I improperly used tires are
9 Overloading your tires can cause
overheating as a result of too
much friction. You could have an
air-out and a serious accident.
See Loading Your Vehicle earlier
in this section.
(Continued)
Page 228 of 324
Downloaded from www.Manualslib.com manuals search engine 1,
Service & Appearance Care
Inflation-7ire Pressure
The Tire-Loading Information label
which is on the inside of the trunk lid
shows the correct inflation pressures for
your tires, when they’re cold. “Cold” means your vehicle has been sitting for
at least three hours or driven no more
than a mile. Don’t let anyone tell you
that 1
underinflation or overinflation is
all right. It’s not. If your tires don’t
have enough air (un
Bad fuel econon
If your tires have to
(overinflation) you can get:
Unusual wear [*--
Bad handling
Rough ric,
Needless damage from rp-
hazards.
Page 244 of 324
Downloaded from www.Manualslib.com manuals search engine Service & Appearance Care
Glove Box Fuse Block
I-
. . . 242
W61561
Fuse
3
4
5
6
7
8
9
10
11
12
13
14
15
16
17
18
15
25
10
15
15
20
15
10 5
25
10 10
Rating Circuitry
1 10 Radio & Clock
2 15 Radio & Clock; Passive Restraint Lockout; Delcom
Bose Amplifier
Door Lock; Courtesy, Glove
Box, Underhood, Trunk,
Modular Dim Lights; Lighted Visor Mirror
Windshield Wiper
& Washer
Temp Door Motor; HVAC
& Rear Defogger; DRL
Module (Canada)
Brake Lights; ABS Control Module
ECM
Taillights; Radio
& Clock HVAC; Chime Module;
DRL Module (Canada)
Hazard Warning Flasher
Rear Defogger Timer Relay; Instrument Cluster;
Chime Module; Cruise Control; DIU Module (Canada);
ABS Lamp Driver
Instrument Panel and Switch Lights
HVAC
Turn Signals/Flasher
Not Used
ABS Control Module
Not Used
Not Used
Not Used
(AMP.)
Page 246 of 324
Downloaded from www.Manualslib.com manuals search engine Service & Appearance Care
Passenger Side Underhood Electrical Center
Fuee Rating Circuitry
(AMP*)
1 20 AIR Pump (3.4L Manual)
2 15 Trunk Release, Back-up Lights (Auto)
3 20 ECM; Fuel Pump
4 Not Used
5 Not Used
6 Not Used
7 10 Direct Ignition System
8 10 Fuel Injectors
9 Not Used
10
15 A/C, SOL EGR (2.2L), Secondary Cooling Fan, Generator,
11 10 TCC; AIR Pump (3.4L Manual) ; Primary Cooling Fan (3.1 L)
Digital EGR, Purge Canister, Back-up Lights (3.4L Manual)
1 1.. 244
Relay Rating Circuitry
(AMP.)
12 Fuel Pump
13 AIR Pump (3.4L)
14 Secondary Cooling Fan
15 Primary Cooling Fan
16 A/C Clutch Coil
Fusible Elements
17 60 Starter Solenoid
18 30 Cooling Fan (2.2L, 3.1L)
19 60 Blower Motor
20 60 Cooling Fan
21 30 Fuse Block
60 Cooling Fan (3.4L)
Y
Page 252 of 324
Downloaded from www.Manualslib.com manuals search engine Service & Appearance Care
Fluids & Lubricants (CONT.)
ITEM
Engine Oil ................................................
Windshield Washer Solvent ....................
Power Steering Fluid ...............................
Silicone Grease ........................................
Spray-A-Squeak Silicone Lubricant .......
APPLICATION
Hood, trunk and door hinges
Windshield washer fluid Power Steering System
..............................
GM PART NUMBER
Weatherstrips ..............................................
General purpose silicone lubricant, ...........
weatherstrips
SIZE
1050017 32 oz. (1.0 L)
1052884 16 oz. (0.5 L)
12345579 1 oz. (28 g)
1052276 (aerosol)
4.5 oz. (127 g)
1052277 12 oz. (0.35 L)
Page 273 of 324

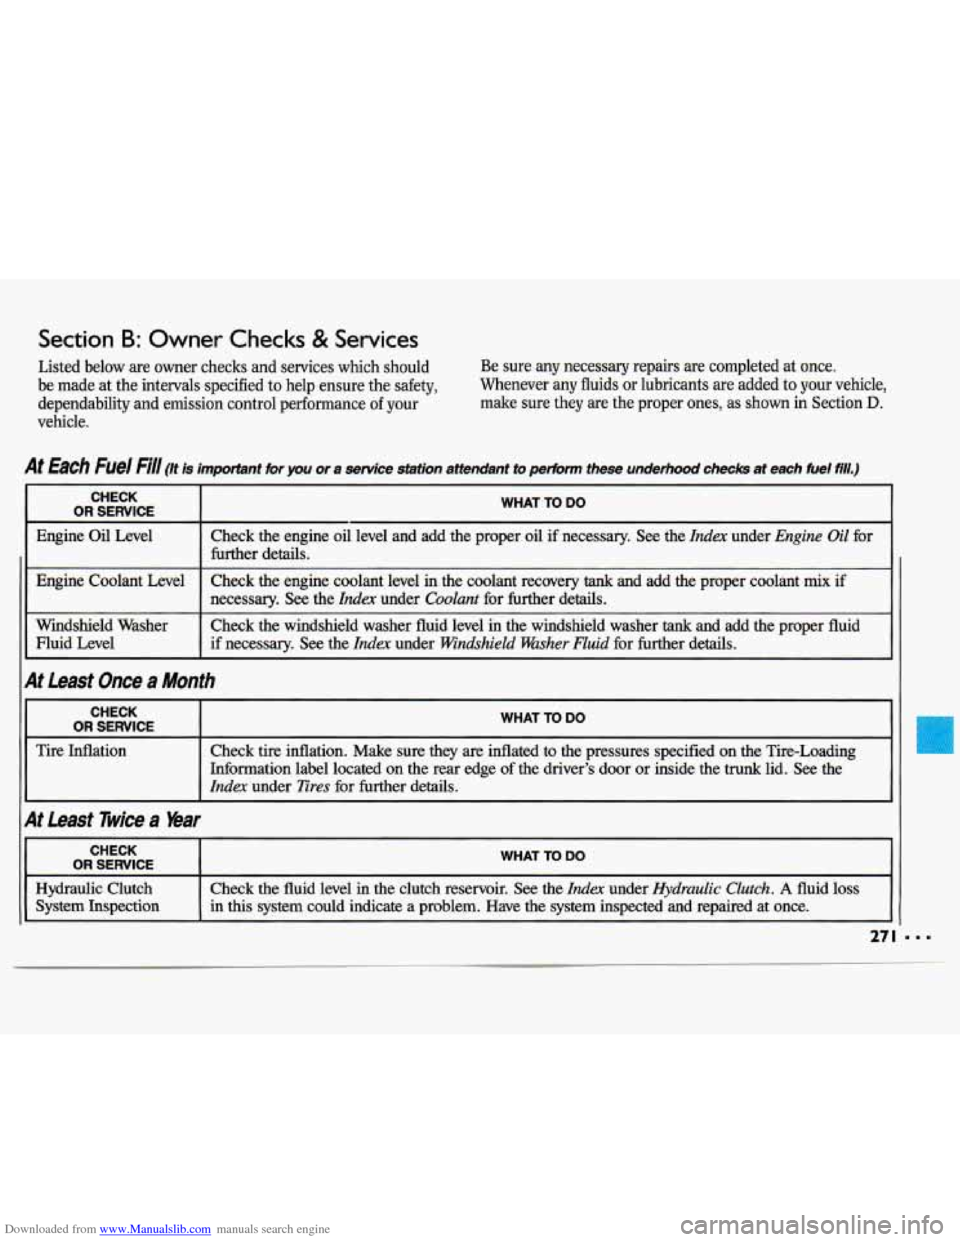
Downloaded from www.Manualslib.com manuals search engine Section B: Owner Checks & Services
Listed below are owner checks and services which should
be made at the intervals specified to help ensure the safety,
dependability and emission control performance of your
vehicle. Be
sure any necessary repairs are completed at once.
Whenever any fluids or lubricants are added to your vehicle,
make sure they are the proper ones, as
shown in Section D.
At Each he/ H// (It is important for you or a service station attendant to pe&m these underhood checks at each fuel fill.)
CHECK
I I Engine Coolant Level
I
Windshield Washer
Fluid Level
1 At Least Once a Month
WHAT TO DO
Check the engine oil level and add the proper oil if necessary. See the Index under Engine Oil for
further details.
Check the engine coolant level in the coolant recovery
tank and add the proper coolant mix if
necessary.
See the Index under Coolurzt for further details.
Check the windshield washer fluid level in the windshield washer tank and add the proper fluid
if necessary. See the Index under Windshield Washer Fluid for further details.
CHECK
I I OR SERVICE
Tire Inflation
I At Least Twice a bar
WHAT TO DO I
Check tire inflation. Make sure they are inflated to the pressures specified on the Tire-Loading
Information label located on the rear edge of the driver's door or inside the trunk lid.
See the
Inda under Tires for further details.
IL .I
CHECK
System Inspection
WHAT TO DO
Check the fluid level in the clutch reservoir. See the Iinda under Hydraulic Clutch. A fluid loss
in this system could indicate a problem. Have the system inspected and \
repaired at once.
27 I