Page 113 of 324

Downloaded from www.Manualslib.com manuals search engine To Preset Radio Stations:
The five pushbuttons can be used to
preset up to ten radio stations (five
AM and five FM stations). The
buttons have other uses when you are
playing a compact disc.
1. Tune the digital display to the station
2. Press SET. The SET indicator will
you want.
appear on the digital screen for five
seconds.
3. While the SET indicator is displayed,
press one of the five pushbuttons.
4. Repeat steps 1-3 for each of five AM
and five FM stations.
To Play a Compact Disc:
Many of the controls for the radio also
have functions for the compact disc
player, as explained here.
Don’t use mini-discs that are called
singles. They won’t eject. Use only full-
size compact discs.
1. Turn PWR-VOL to turn the unit on.
2. Insert a disc part-way into the slot,
with the label side up. The player
will pull it in. In a few seconds, the
disc should play. If
the disc comes back out:
The disc may be upside down.
The disc may be dirty, scratched or
wet.
There may be too much moisture in
the air (wait about one hour and try
again).
The player may be too hot, or the road
may be too rough for the disc to play.
While a disc is playing, the
CD
indicator is displayed on the digital
screen, as is the clock.
1
Page 114 of 324

Downloaded from www.Manualslib.com manuals search engine Comfort Controls & Audio Systems
'I
AMIFM Stereo with Compact Disc
Player (CONT.)
RCL (Recall): Press once to see which
track is playing. Press again within five
seconds to see how long your selection
has been playing. The track number
also will be displayed when the volume
is changed or a new track starts to play.
PRFN (Previous): Press to play a
track again.
If you keep pressing PREV,
the disc will keep backing up to
previous tracks.
NEXT: Press when you want to hear
the next track. If you keep pressing
NEXT, the disc will keep advancing to
other tracks.
I I2
REV (Reverse) : Press and hold to
rapidly back up to a favorite passage.
Release to resume playing.
FWD (Fast Forward): Press and hold
to rapidly advance the disc. Release
to
resume playing.
SCAN: Press to sample each track for
about ten seconds. Scanning
will
continue until you press SCAN again.
RDM (Random): Press to allow the
CD player to play the tracks in a
random order.
COMP (Compression): Depressing
this button makes
soft and loud
passages more equal in volume. Press
again to resume normal play.
When Finished with the Compact I
Disc Player:
If you turn off the power or turn off the
ignition, the disc will stay in the player
and start again when you turn on the
ignition or power switch. The disc will
begin playing at the point where it had
been stopped.
ST-PL (Stop-Play): Press to stop the I
disc player; the radio will play. Press
again to play the disc (the player will
start playing the disc where it was
stopped earlier).
EJCT (Eject): Press to eject the disc;
the radio will play.
Page 115 of 324

Downloaded from www.Manualslib.com manuals search engine Understanding Radio Reception
FM Stereo
FM Stereo will give you the best sound,
but
FM signals will reach only about 10
to
40 miles (16 to 65 km). Tall buildings
or hills can interfere with
FM signals,
causing the sound to come and go.
AM
The range for most AM stations is
greater than for FM, especially at night.
The longer range, however, can cause
stations to interfere with each other.
AM can also pick up noise from things
like storms and power lines.
To lower
this noise, try reducing the treble level.
AM Stereo
Your Delco@ system may be able to
receive C-Quam@ stereo broadcasts.
Many AM stations around the country
use C-Quam@ to produce stereo, though
some do not. C-Quam@
is a registered
trademark of Motorola, Inc. If your
Delco@ system can get C-Quam@ signals, your stereo indicator light
will
come on when you are receiving it.
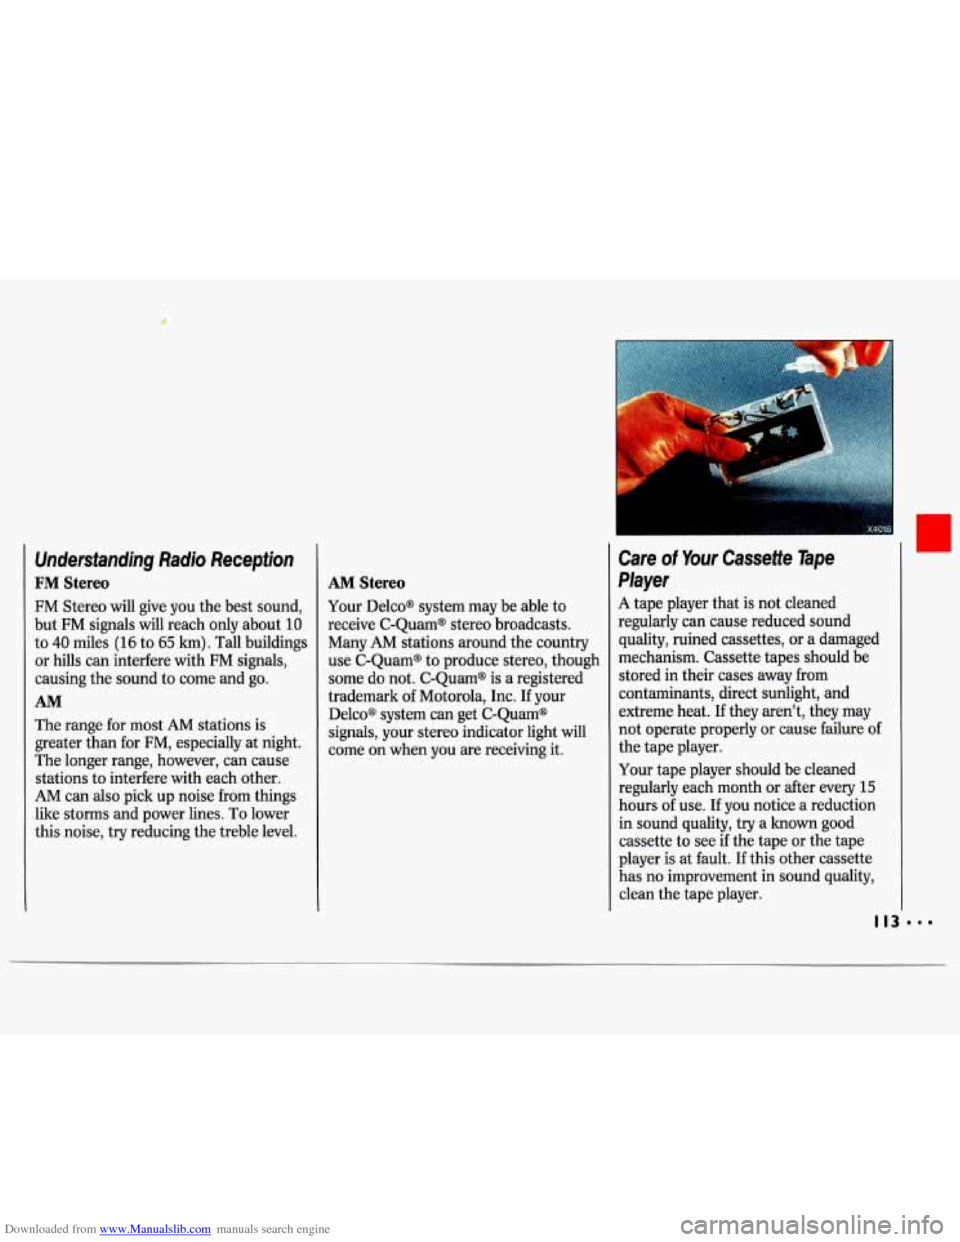
Care of Your Cassette Tape
Player
A tape player that is not cleaned
regularly can cause reduced sound
quality, ruined cassettes, or a damaged
mechanism. Cassette tapes should be
stored in their cases away from
contaminants, direct sunlight, and
extreme heat. If they aren't, they may
not operate properly or cause failure of
the tape player.
Your tape player should be cleaned
regularly each month or after every
15
hours of use. If you notice a reduction
in sound quality,
try a known good
cassette to see if the tape or the tape
player is at fault. If this other cassette
has no improvement in sound quality,
clean the tape player.
Page 116 of 324

Downloaded from www.Manualslib.com manuals search engine Comfort Controls & Audio Systems
Care of Your Cassette Tape
Player
(CONT.)
Clean your tape player with a wiping-
action, non-abrasive cleaning cassette,
and follow the directions provided with
it.
Cassettes are subject to wear and the
sound quality may degrade over time.
Always make sure that the cassette tape
is in good condition before you have
your tape player serviced.
I14
Care of Your Compact Discs
Handle discs carefully. Store them in
their original cases or other protective
cases and away
from direct sunlight and
dust. If the surface
of a disc is soiled,
dampen a clean,
soft cloth in a mild,
neutral detergent solution and clean it,
wiping from the center to the edge.
Be sure never to touch the signal
surface when handling discs. Pick up
discs by grasping the outer edges or the
edge
of the hole and the outer edge.
Fixed Mast Antenna
The fixed mast antenna can withstand
most car washes without being damaged. If the mast should ever
become slightly bent, you can straighten it out
by hand. If the mast is badly bent,
as it might be by vandals, you should
replace it.
Check every once in a while to be sure
the mast is still tightened to the fender.
I
Page 117 of 324
Downloaded from www.Manualslib.com manuals search engine Notes
Page 118 of 324
Downloaded from www.Manualslib.com manuals search engine I
Page 119 of 324

Downloaded from www.Manualslib.com manuals search engine Part 4
Here you’ll find information about
driving on different kinds
of roads
and in varying weather conditions
.
We’ve also included many other useful tips on driving
.
Your Driving and the Road
Road Signs ........................................................................\
................................... 118
Drunken Driving ........................................................................\
......................... 123
Control of a Vehicle
Braking
........................................................................\
..................................... 126
Anti-Lock Brakes ........................................................................\
..................... 127
Steering Tips ........................................................................\
............................. 132
Steering in Emergencies ........................................................................\
.......... 133
Passing ........................................................................\
..................................... 134
Driving at Night ........................................................................\
........................... 137
Driving in the Rain ........................................................................\
...................... 139
Driving in Fog, Mist and Haze ........................................................................\
... 142
City Driving ........................................................................\
.................................. 143
Freeway Driving ........................................................................\
.......................... 144
Driving a Long Distance ........................................................................\
............. 146
Hill and Mountain Roads ........................................................................\
........... 148
Parking on Hills ........................................................................\
.......................... 149
Winter Driving ........................................................................\
............................ 151
Towing a Trailer ........................................................................\
........................... 154
Defensive Driving ........................................................................\
........................ 122
I I7
Page 120 of 324

Downloaded from www.Manualslib.com manuals search engine Your Driving and the Road
Road Signs
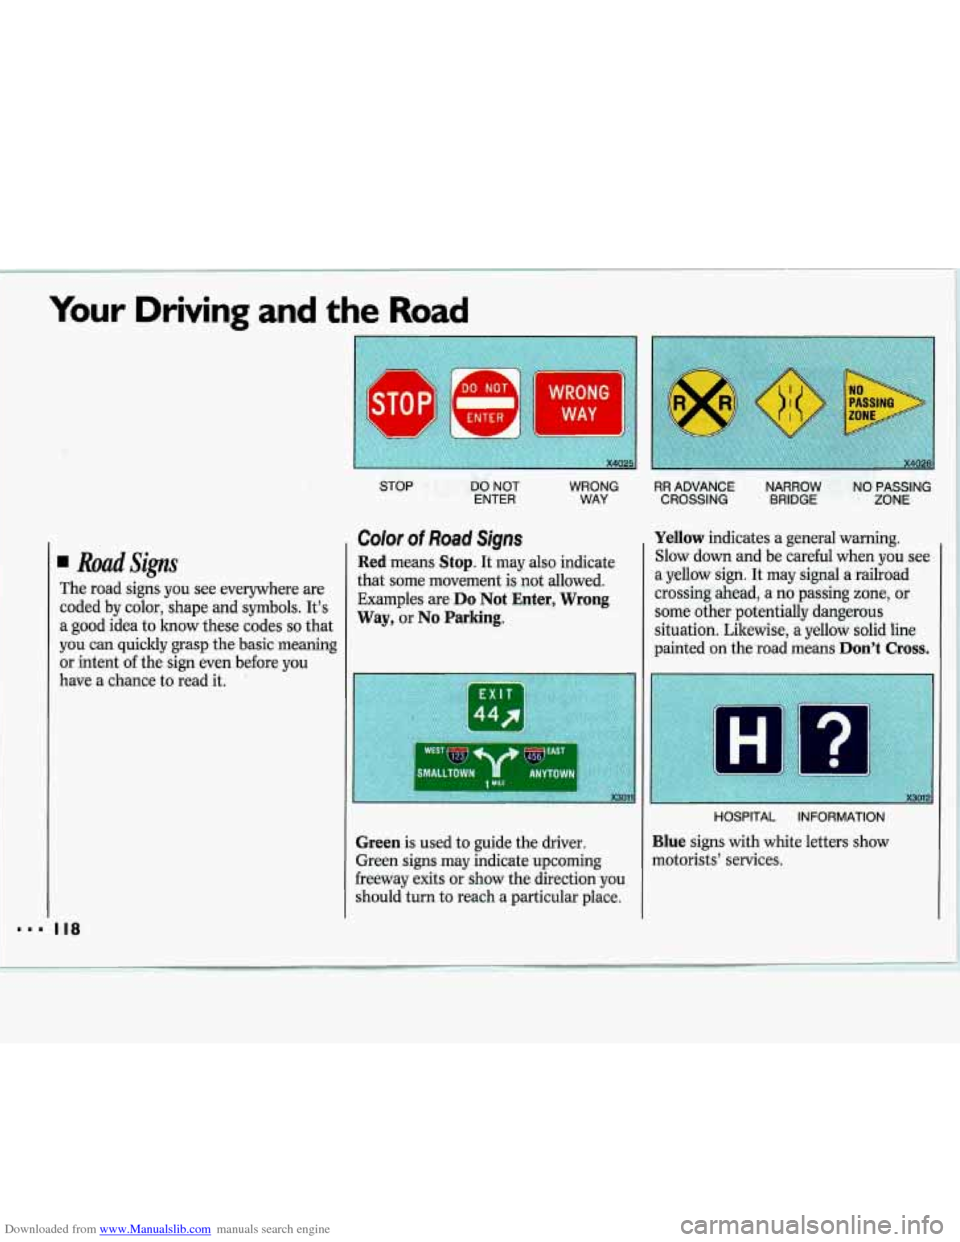
The road signs you see everywhere are coded by color, shape and symbols. It’s
a good idea to lmow these codes
so that
you can quickly grasp the basic meaning
or intent
of the sign even before you
have a chance to read it.
Color of Road Signs
Red means Stop. It may also indicate
that some movement is not allowed.
Examples are
Do Not Enter, Wrong
Way,
or No Parking.
Green
is used to guide the driver.
Green signs may indicate upcoming
freeway exits or show the direction you
should turn to reach a particular place.
RR ADVANCE NARROW NO PASSING
CROSSING BRIDGE ZONE
Yellow indicates a general warning.
Slow down and be careful when you see
a yellow sign. It may signal a railroad
crossing ahead, a no passing zone, or
some other potentially dangerous
situation. Likewise, a yellow solid line
painted on the road means
Don’t Cross.
HOSPITAL INFORMATION
Blue signs with white letters show
motorists’ services.